vscode连接 gitee
下载git并配置
-
首先下载git,网址:https://git-scm.com/downloads
-
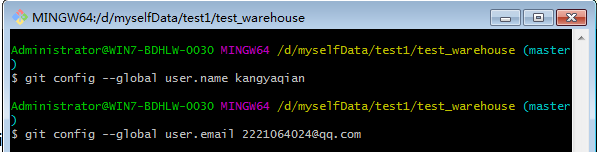
配置git的username;email
其中username是个人资料中的姓名;email是多邮箱管理中的我的邮箱地址
- 生成公共key
ssh-keygen -t rsa -C “xxxx@521.com”
连续按三次回车,设置的密码为空,最后得到了两个文件:id_rsa和id_rsa.pub
在gitee网页创建仓库
-
创建远程仓库
浏览器中进入到自己的Git主页 然后创建一个仓库 如图
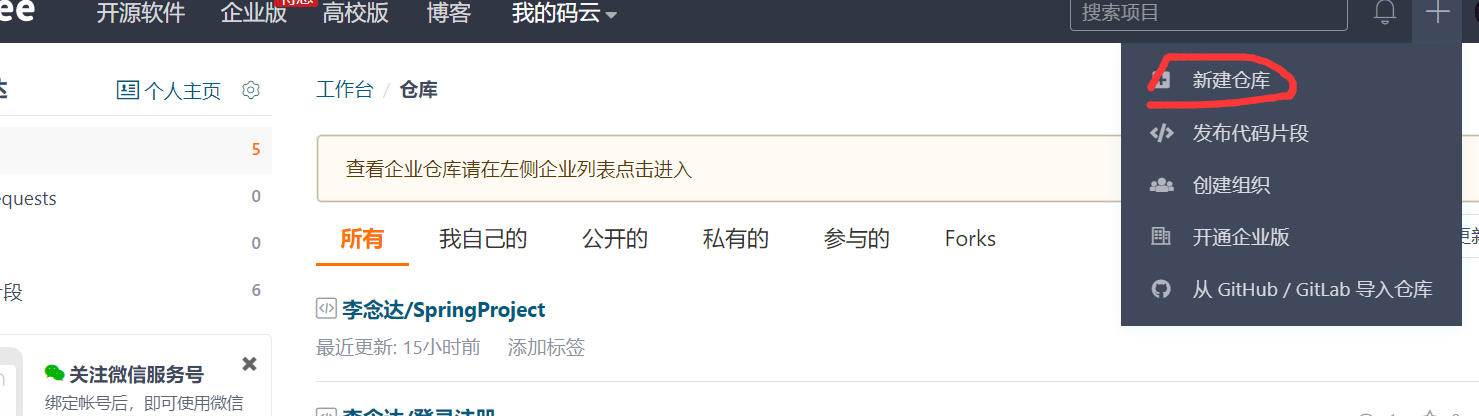
创建仓库图1
创建仓库选择公开 红线位置用默认的 不要进行设置

创建仓库图2
*如果创建成功就会出现下图:*
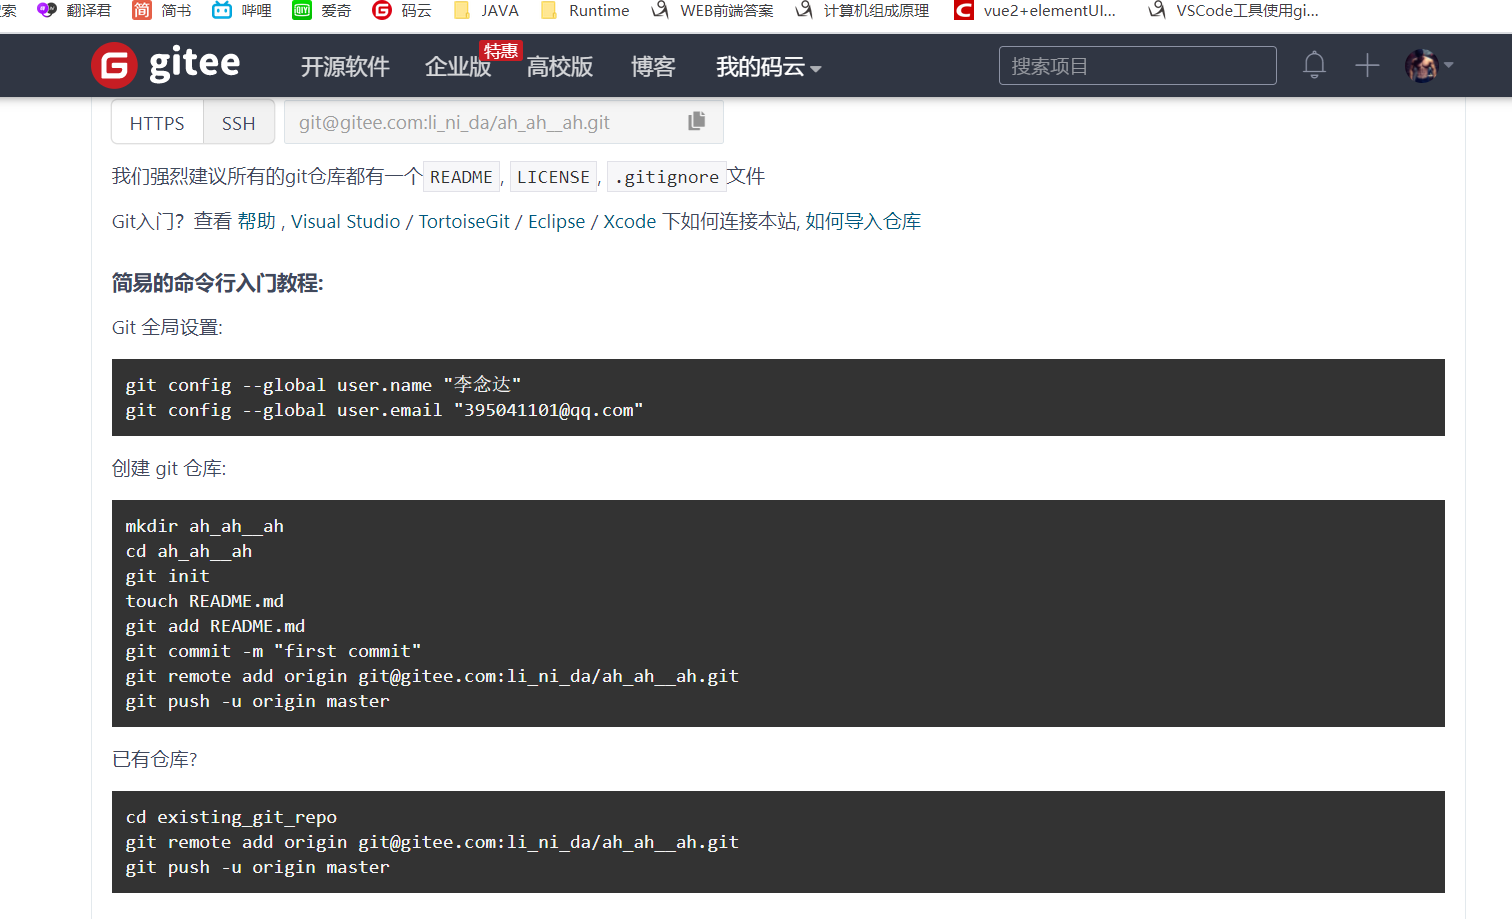
创建成功图3
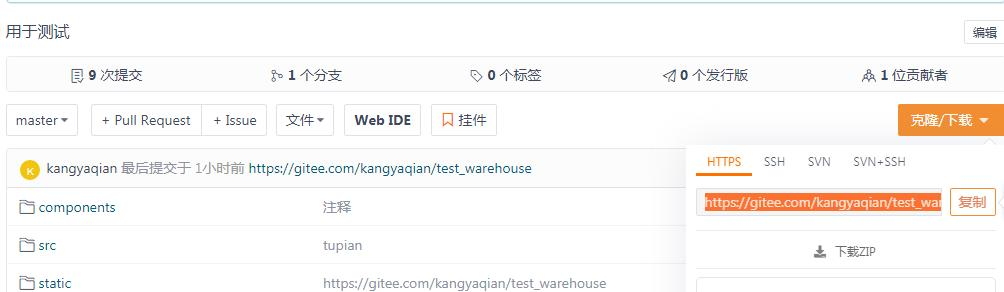
创建完成后会自动到仓库页面,复制仓库地址(后期使用)
配置VsCode
- 创建空白文件夹,用vscode打开
- ctrl+shift+p,输入git,选择克隆;输入复制的仓库地址,回车。然后选择下载到本地的位置。

- 选择打开,就可看到拷贝后的仓库内容
- 在vscode中修改文件,提交到gitee
- 本地创建文件后,vscode中文件是绿色的,后边有U符号;修改是黄色的,有M符号。
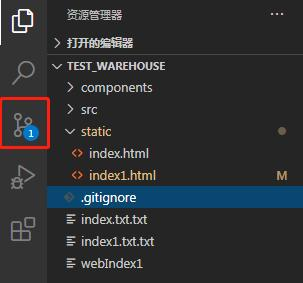
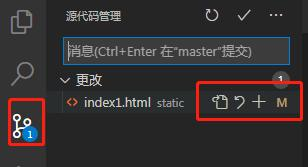
- 点击源代码管理工具,点击右侧加号,暂存修改
- 本地创建文件后,vscode中文件是绿色的,后边有U符号;修改是黄色的,有M符号。
5. 在上面输入文字,ctrl+Enter,然后提交
6. 右侧 … 进行推送到云端gitee仓库(期间会输入 用户名,密码 )
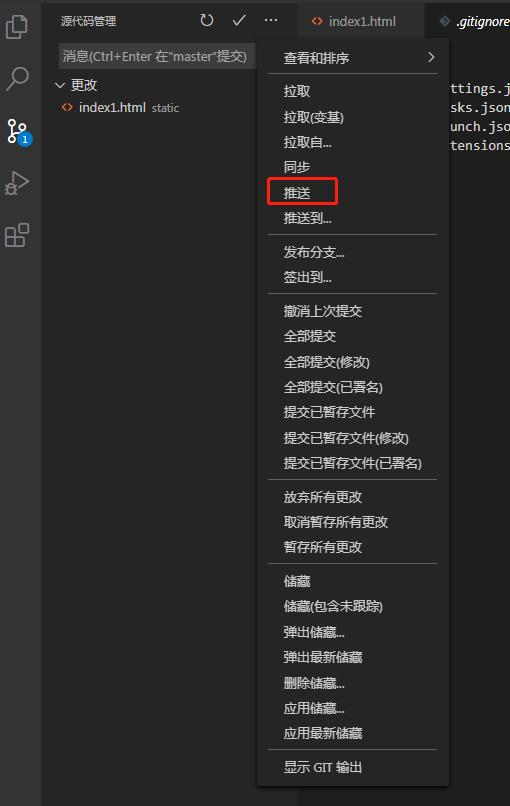
7. 云端查看修改的文件
vscode里根目录有个.gitignore文件 写在里面的内容会被忽视 不会被上传
我这里加了.git 和 node_module
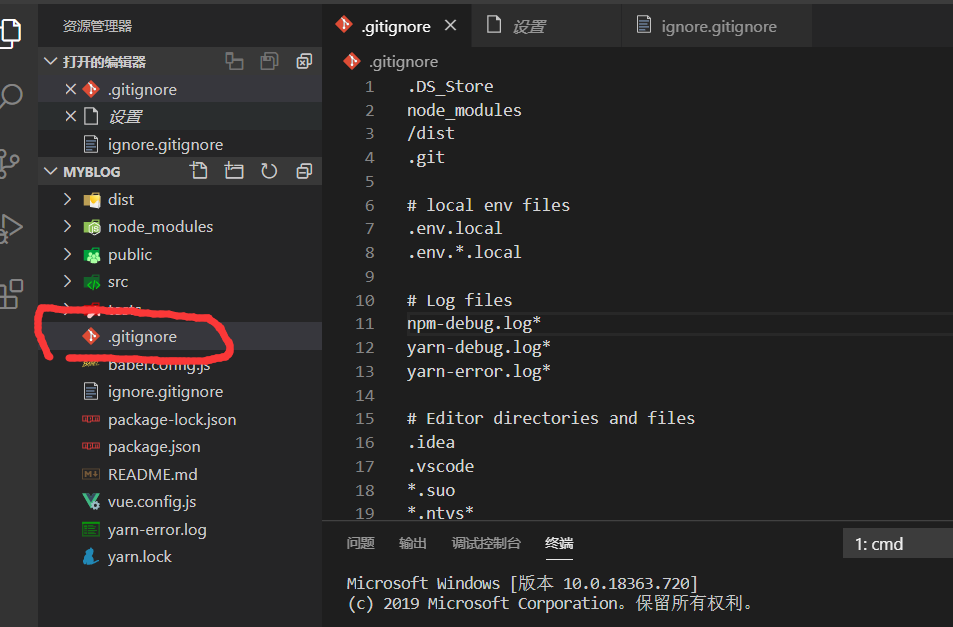
vscode里的.gitignore文件