安装TestNG插件
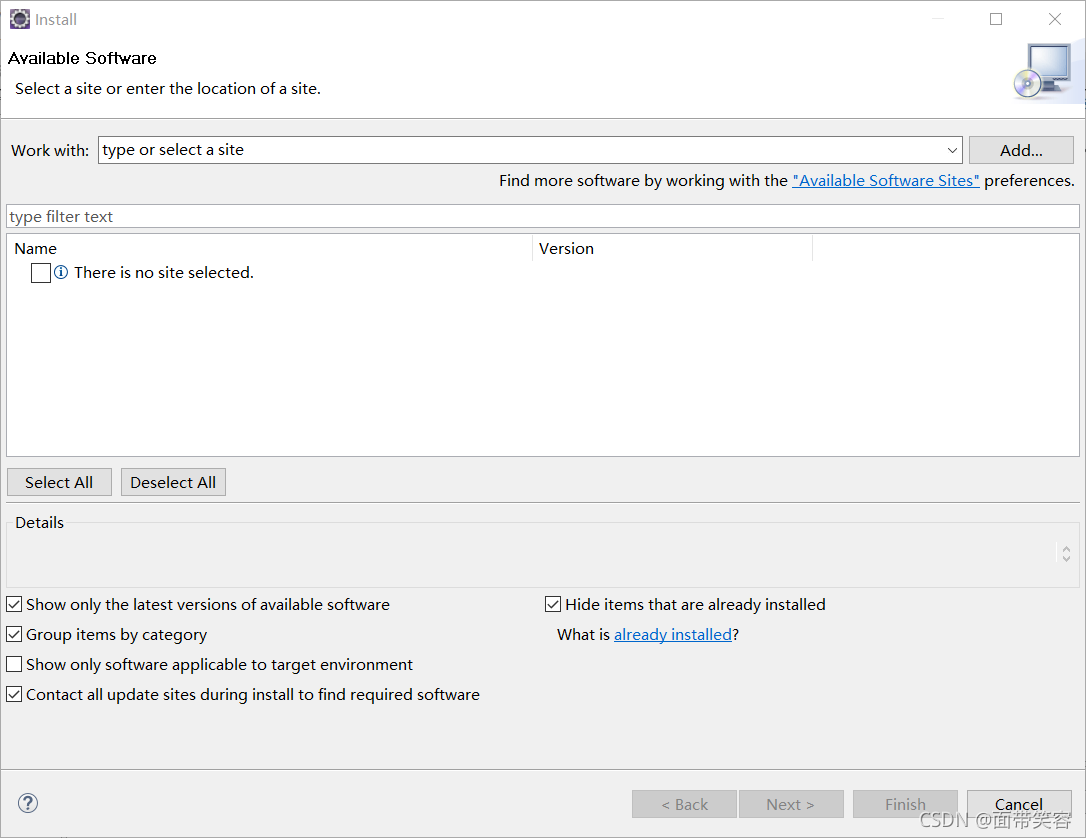
打开eclipse——>Help——>Install New Software 进入安装界面
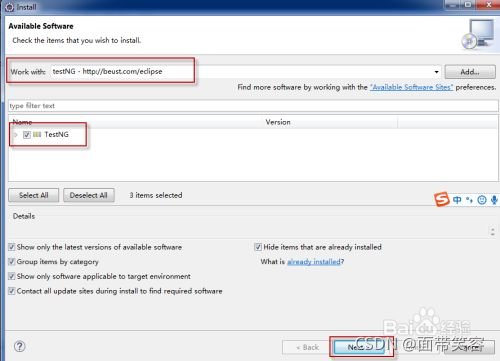
点击Add

第一种——在线安装
①
Name:TestNG
Location:http://beust.com/eclipse
②
TestNG
http://dl.bintray.com/testng-team/testng-eclipse-release/
第二种——离线安装
①下载安装包

②打开eclipse所在位置,将压缩文件直接放在plugins中
③解压文件夹(我这里解压在TestNG文件夹中)
④点击Local…
找到所解压文件夹位置

点击TestNG——>Next

点击Next

点击同意

等待安装
然后选择Yes

检查是否安装成功
①Window——>Preferences找到TestNG
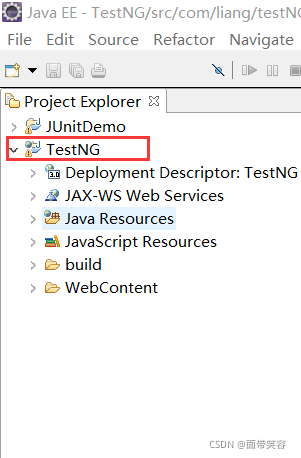
②随便写一个项目

③选择项目——>Build Path——>Configure Build Path…

④Libraries——>Add Library…——>TestNG——>Next
⑤TestNG运行

⑥安装成功
卸载TestNG插件
①打开eclipse——>Help——>already…
②选择要删除的插件(按住Ctrl选择多个)——>Uninstall…
③删除成功
|


