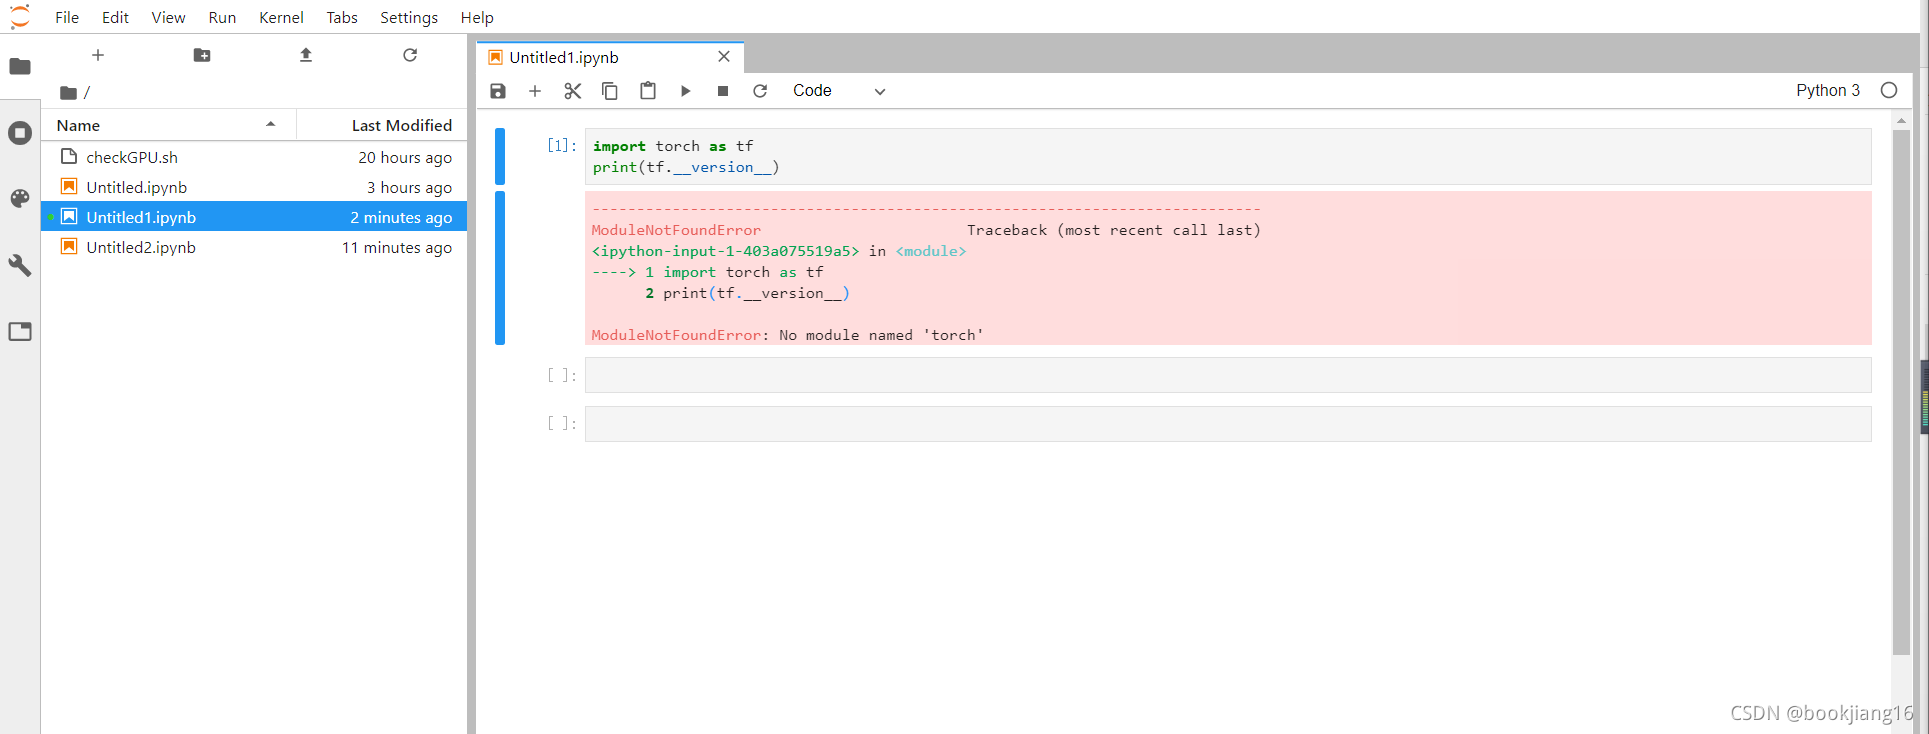
因为实验室服务器已经配置好anaconda 4(anaconda3以后内置jupyter lab,所以不需要另外安装jupyter),所以没有配置的可以找一下配置教程。
整个过程为:配置jupyter lab 远程登录环境–>服务器端开启jupyter lab–>浏览器登录–>创建新的虚拟环境
生成配置文件
[root@xxxx ~]$ jupyter notebook --generate-config
Writing default config to: /root/.jupyter/jupyter_notebook_config.py
记住配置文件的位置,后面需要修改配置文件
创建访问密码
[root@xxxx ~]$ jupyter notebook password
Enter password: ****
Verify password: ****
[NotebookPasswordApp] Wrote hashed password to /home/jpnb/.jupyter/jupyter_notebook_config.json
用户登录jupyter lab的密码
获取访问密码的hash码
先进入ipython,用于生成hash
[root@xxxx ~]$ Ipython
In [1]: from notebook.auth import passwd
In [2]: passwd()
Enter password:
Verify password:
Out[2]:'sha1:xxxxxxxx'
记住,这个hash密码,后面会写入之前生成的配置文件中,这样可以方便浏览器第一次登录后,以后登录不需要再输入密码。
修改配置文件
修改刚刚生成的jupyter_notebook_config.py文件
[root@xxx ~]$ vim /home/wuzhq/.jupyter/jupyter_notebook_config.py
修改下面几个部分
c.NotebookApp.password = u'sha1:xxxxxx'
#就是刚才需要记下的哈希密码

c.NotebookApp.port = 8888
#指定jupyter lab 运行端口,写一个不冲突的端口即可

c.NotebookApp.allow_remote_access = True
# 允许远程访问

c.NotebookApp.ip='*'
# 就是设置所有ip皆可访问

c.NotebookApp.open_browser = False
# 禁止自动打开浏览器
服务器端开启jupyter lab
下面两个命令都可以,最后一个可以将进程挂起到后台运行
[root@centos-7 ~]$ jupyter lab     #窗口运行,窗口一关,进程停止

[root@centos-7 ~]$ nohup jupyter lab > /home/wuzhq/.jupyter/jupyter.log2>&1 & #服务器端后台挂起运行
注意:如果是局域网服务器可以通过ifconfig查看网卡的ip。
如果没法访问可以关闭下防火墙,云服务器记得去控制台的安全组开放端口访问。
客户端登录
在浏览器中数据ip:8888,就可以访问。

创建多个虚拟环境,并在jupyter中显示,即多个jupyter kernel

接下来的流程为:conda创建虚拟环境–>安装包,以在jupyter中可以显示虚拟环境并可以切换–>重启服务器端jupyter lab
创建虚拟环境
[(base) root@xxxx ~]$ conda create -n tf1.12 python=3.6.5 #创建虚拟环境
配置虚拟环境使可以在jupyter中显示
如果不配置在jupyter浏览器端会看不到Anaconda中装的其他虚拟环境,是因为虚拟环境中缺少kernel.json文件
[(tf1.12)root@xxxx ~]$ conda activate test  #进入虚拟环境

[(tf1.12)root@xxxx ~]$ conda install -n tf1.12 ipykernel #在虚拟环境下创建kernel

[(tf1.12)root@xxxx ~]$ source activate tf1.12

[(tf1.12)root@xxxx ~]$ python -m ipykernel install --user --name tf1.12 --display-name "KGAT-tf1.12"  #将该虚拟环境写进notebookde的kernel中,displayname是在jupyter浏览器中显示的名字
重新启动jupyter lab
因为之前用的是后台挂起运行jupyter lab,即nohup command &,命令运行jupyter lab服务,所以需要找一下这个服务的进程id,kill掉再重新运行即可。
[(tf1.12)root@xxxx ~]$ deactivate #先退出虚拟环境

[(base)root@xxxx ~]$ ps -aux | grep "jupyter-lab" #找到对应名字进程
	wuzhq    39207  0.1  0.0 1045048 64012 pts/0   Sl   07:59   0:03 /usr/local/anaconda3/bin/python3.7 /usr/local/anaconda3/bin/jupyter-lab
	wuzhq    42397  0.0  0.0  13136   992 pts/0    S+   08:57   0:00 grep --color=auto jupyter-lab

[(base)root@xxxx ~]$ kill 39207  #可以从上句的输出中的进程运行命令看到第一个是要杀掉的进程

[(base)root@xxxx ~]$ nohup jupyter lab > /home/wuzhq/.jupyter/jupyter.log2>&1 &  #再重新跑一下jupyter-lab服务
就可以看到浏览器中已经可以显示了
