目录
1 VSCode下载与安装
1.1 VSCode下载
下载地址:https://code.visualstudio.com/
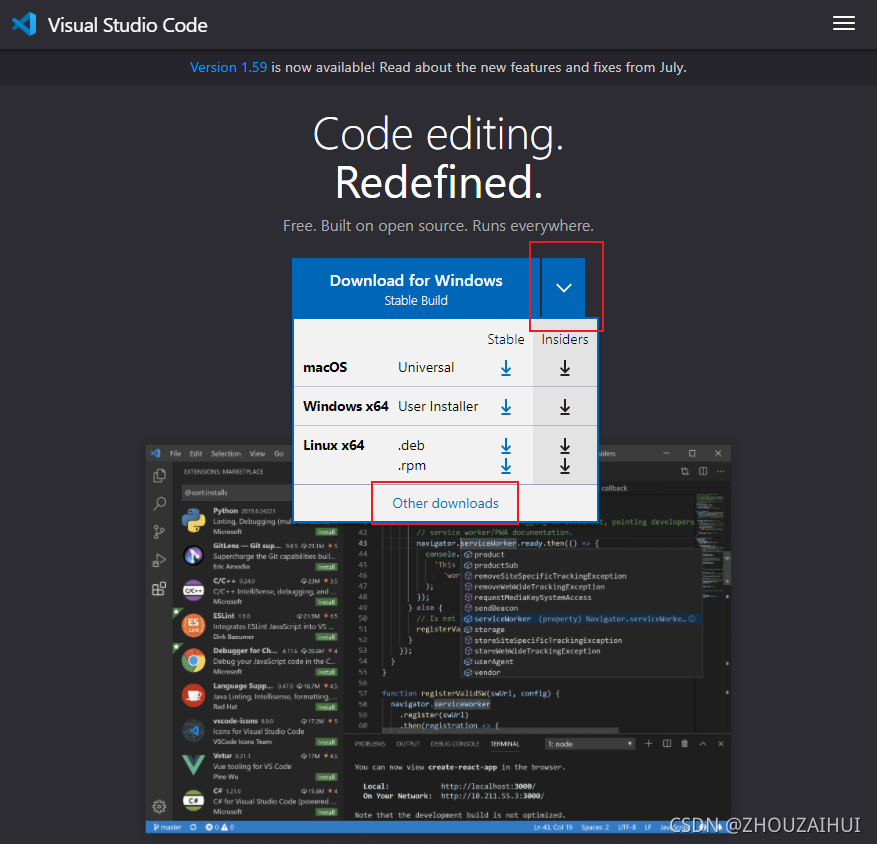

Windows系统下VSCode有两种版本安装程序:User Installer和System Installer,区别在于User Installer版本权限受限,System Installer版本没有权限限制,类似于以管理员权限运行。建议下载安装System Installer版本。
1.2 VScode安装
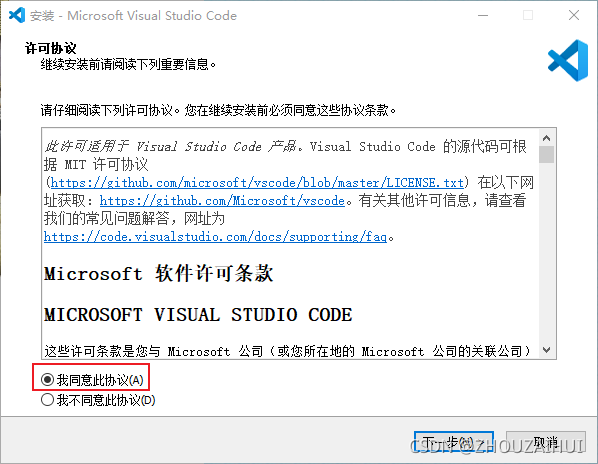


2 VSCode使用
2.1 安装中文语言包

初次打开VScode是英文界面,需要安装中文语言包。

安装完中文语言包后,VSCode重启后会显示中文界面。
2.2 添加远程连接模块
由于需要用到VSCode连接到WSL中的Ubuntu子系统,需要添加远程连接模块Remote-WSL模块,可以直接在远程主机中运行相关Python程序。
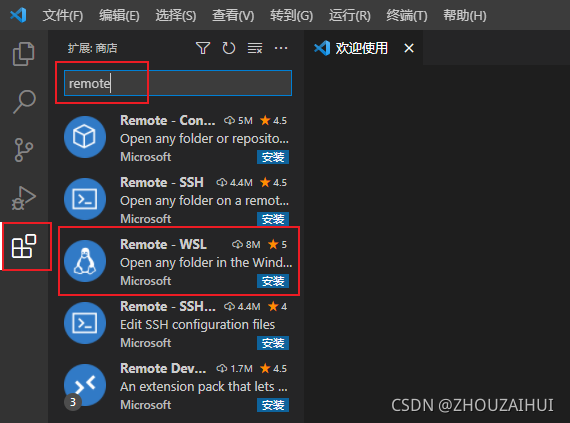
Remote 实际上包含3个模块,分别是Remote - WSL、Remote - Container、Remote - SSH,可以根据需要安装相应的模块。
2.3 远程连接Ubuntu子系统
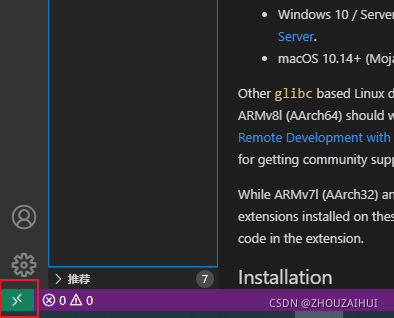
点击左下角绿色标志,从上部打开的选项中选择“New WSL Window”

点击“New WSL Window”之后会打开一个新的窗口,同时在新窗口左下角显示“正在打开远程…”,该操作实际上会在WSL中的Ubuntu子系统中创建新文件"vscode-server",并安装vscode服务


安装完成后会在左下角显示WSL:Ubuntu,

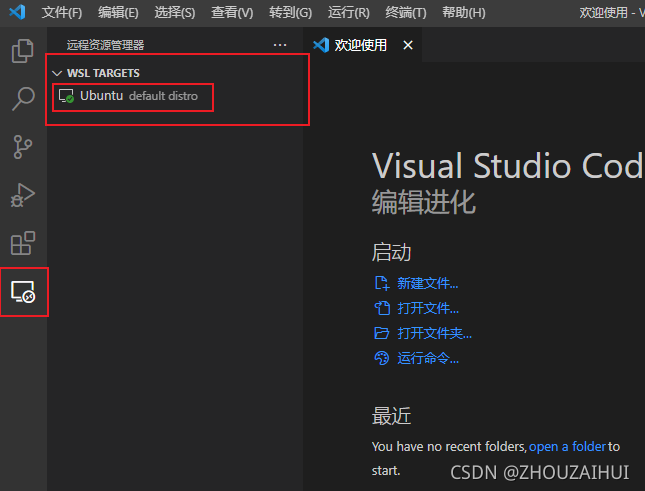
要打开文件,可以选择"启动"-“打开文件”/“打开文件夹”

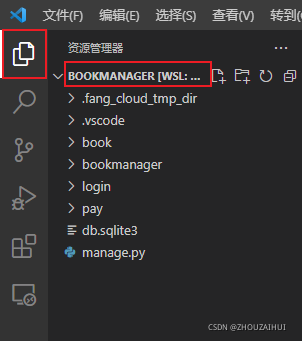
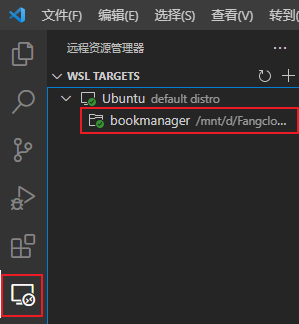
后面就可以对文件进行编辑了
3 VSCode美化(主题、字体等)
主题可以到以下网址查看:https://marketplace.visualstudio.com/vscode
3.1 安装图标主题
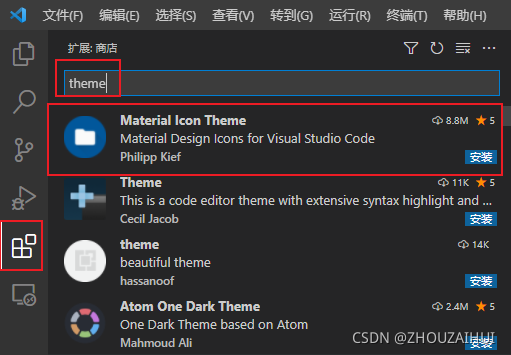
3.2 安装One Dark Pro主题

3.3 字体类型、字体大小修改

在打开的对话框里面,最上面输入font,就会显示与字体有关系的设置

FontFamily为字体设置,里面有多种字体,当前一种字体不能显示的时候会顺次应用下一种字体

这里应用很多人推荐的“Fira Code”编程字体,但是改字体是英文字体,不能显示中文,因此需要添加第二种能显示中文的字体,可以选择“微软雅黑”或者“等线”等字体。
Fire Code 字体下载地址:
https://github.com/tonsky/FiraCode

3.4 字体倾斜修改
由于VScode直接设置中没有字体倾斜选项,只有当主题配置文件中设置了斜体,然后勾选此处的“设置部分代码为斜体”后才能使部分内容显示为斜体,因此需要直接修改主题中相应的配置文件,才能使全部类型的字体显示为斜体。

安装的新主题文件位于以下位置:C:\Users\ZHOU.vscode\extensions

打开主题文件,定位到themes文件下,

打开json配置文件,其中设置字体样式的语句为"fontStyle":“normal”,

"fontStyle":“normal”   //正常字体
"fontStyle":“italic”  //斜体
"fontStyle":“underline”  //下划线
"fontStyle":“italic underline”  //斜体+下划线
修改后的字体
