1.0 python环境
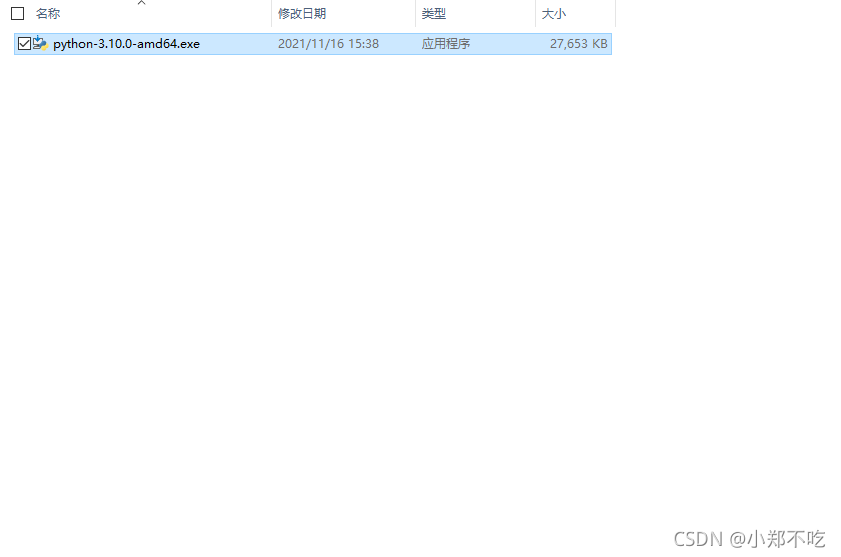
1.1 python下载
环境:win10 64位(环境相同跟着一步一步走就可以,如果不同麻烦根据文中的说明来调整或留言)
在python官网python下载界面点击自己系统版本:

根据自己系统的版本选择32位还是64位的安装包,1为便携版,2为安装版,这里建议安装版,点击就可以下载
python win下载地址直达链接

1.2 python安装
先点上1-添加到环境变量,然后点上2进入下一步

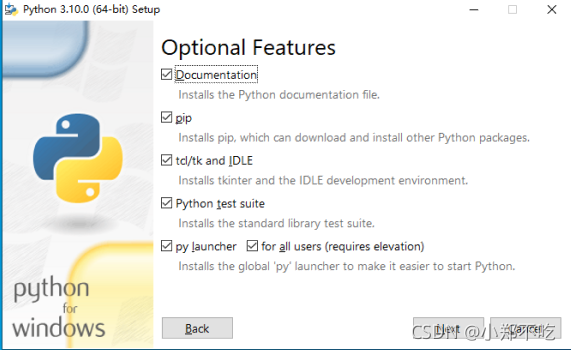
全部选上,然后NEXT

全选,选择安装路径,然后install

点禁用,然后close关闭

1.3 python环境变量配置+微软环境
如果在第一步时未点击环境变量,那么还可以单独进行配置
鼠标右键此电脑,点击属性

设置最大化–高级系统设置–环境变量–双击系统变量path–新建两条变量(两个变量的值一个为python.exe所在路径,存放于python安装路径,一个为pip.exe所在路径存放于python安装路径Scripts文件夹下),依次点确定关闭这些界面

打开自带的命令提示符或者powershell

输入python,如下图出现版本信息就说明安装完成,如果没出现,先重启电脑试试,如果还不行,检查一下环境变量中的配置

如果还不行进入电脑的 程序与功能卸载python后重新安装

接下来安装 微软常用运行库合集 因为在使用python310时,后续使用pip安装某些库时需要微软一系列c++库的支持,如果不解决后续某些库安装时会报错,当然对python基础编程使用无影响,如果不想也可以后续在遇到问题再安装。

微软常用运行库合集 2021.11.09链接

MD5: 0C658407525ED6D594ADC752BC12A59E
SHA1: F8DD5B67EC71643C26051E975EE42A3207569B37
CRC32: E5CEC01D
2.0 python编程环境
2.1 notepad++
最容易使用,各种语言都可以打开,但python体验感相对另两种差,最为轻量,几乎所有人都有使用或者听说,秃头人yyds
notepad++官网

直接下载对应版本,建议安装版

软件界面

2.2 vscode
vscode:Visual Studio Code(简称 VS Code)是一款由微软开发且跨平台的免费源代码编辑器。该软件支持语法高亮、代码自动补全(又称 IntelliSense)、代码重构、查看定义功能,并且内置了命令行工具和 Git 版本控制系统。用户可以更改主题和键盘快捷方式实现个性化设置,也可以通过内置的扩展程序商店安装扩展以拓展软件功能
体验感高于notepad低于pycharm,在几种中最为方便,玩法非常非常多,且开源免费
vscode官网

点下载后进行下载界面,根据系统及位数选择版本
中文插件:拓展中搜索Chinese (Simplified) (简体中文) Language Pack for Visual Studio Code

其它拓展可根据后续需求来下载
2.3 pycharm
pychram:用于计算机编程的集成开发环境(IDE),主要用于Python语言开发,由捷克公司JetBrains开发,提供代码分析、图形化调试器,集成测试器、集成版本控制系统,并支持使用Django进行网页开发
写python体验感最好,但是专业版需要付费:pycharm官网

点击下载进入下载界面直接下载专业版

安装后先进行30天免费试用进入软件打开界面

安装中文插件
1.安装好Pycharm并打开Pycharm
2.打开File,找到Settings并打开
3.打开Settings中的Pulgins,选择Marketplace,搜索chinese

时间重置插件(软件试用时间重置):搜索IDE Eval Reset,然后安装,如果找不到请点击链接(v2.3.5)

然后直接把zip包拖进IDE的窗口来进行插件的安装
如果无法拖动安装,你可以在Settings/Preferences… -> Plugins 里手动安装插件(Install Plugin From Disk…)插件使用教程