Vscode配置python环境
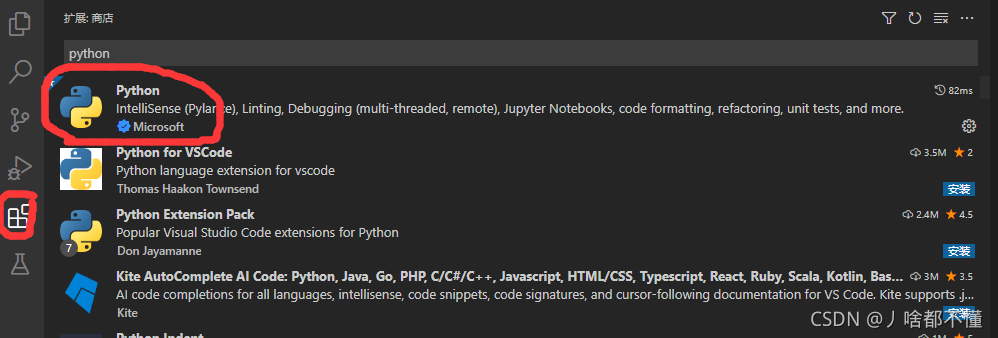
一、安装插件

vscode提供的python 官方插件,提供了python代码的调试,自动补全,代码格式化等功能。
二、配置launch.json文件
1.确定在Vscode中打开或者新建了一个文件夹
2.配置launch.json文件
(a)创建launch.json文件

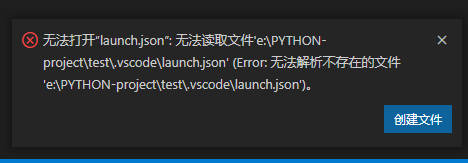
这里没有python选项,随便点一下空白区域

右下角会出出现这种弹窗,点击创建文件


(b)输入下面的配置
{
    "version": "0.2.0",
    "configurations": [
        {
            "name": "Python3",
            "type": "python",
            "request": "launch",
            "stopOnEntry": false,
            "python": "D:\\ProgramData\\Anaconda3\\envs\\pytorch17\\python",
            "program": "${file}",
            "cwd": "${workspaceFolder}",
            "env": {},
            "envFile": "${workspaceFolder}/.env",
            "debugOptions": [
                "RedirectOutput"
            ]
        }
    ]
}
关于配置的具体参数意义,可以到这里查看:参数
三、运行
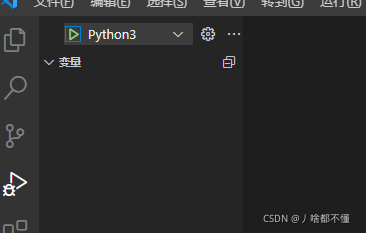
点击调试和运行,可以看到如下界面:

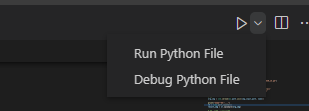
选择需要运行的python文件,点击右上角的Run Python File,就运行成功了。

