定义测试类
定义一个测试类,声明一个native方法,然后加载DLL文件(自定义名称),声明main调用这个方法
package JavaNativeIntf;

public class JNITest {
    public native void hello();

    public static void main(String[] args) {
        System.loadLibrary("JNITest");
        new JNITest().hello();
    }
}
生成头文件
编写DLL需要引用这个头文件,在Java项目的src目录下运行:
javah -classpath . -jni JavaNativeIntf.JNITest
这是Java1.8的写法,指定完整的类名;对于Java11高版本已被弃用此命令
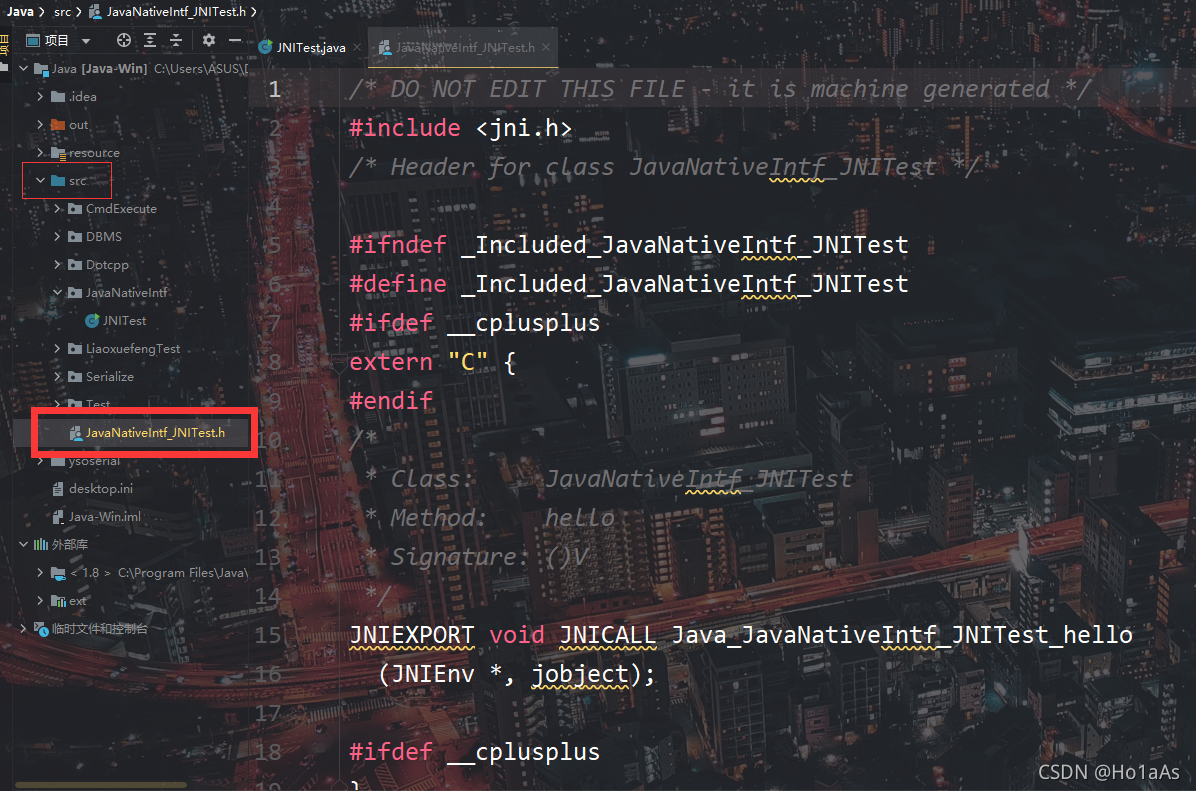
运行完毕生成头文件JavaNativeIntf_JNITest.h

可以看出头文件具有严格的格式:
- 文件为完整类名,以下划线分割
- 接口命名为以Java_为前缀、中间是完整类名、最后加上_方法名
vs2019编写DLL
接下来就是写DLL给JNI调用,这里用到了vs2019
新建vs项目
先新建一个DLL项目

最后生成的DLL名称就是项目名称

新建好的DLL是这样的,不要动里面的无关文件,放着就行

导入头文件
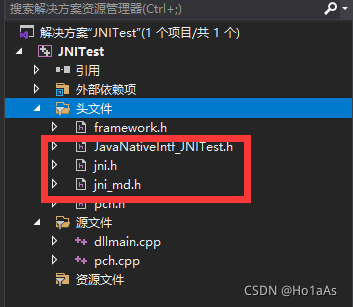
为了方便把头文件也放到vs项目下面,需要以下三个头文件
- JavaNativeIntf_JNITest.h
- %JAVA_HOME%/include/jni.h
- %JAVA_HOME%/include/Win32/jni_md.h
右键添加到源文件

然后要把生成的JNI头文件引用jni.h修改成双引号包围,否则找不到

编写DLL
在pch.cpp文件中直接编写、实现接口
#include "pch.h"
#include "JavaNativeIntf_JNITest.h"
#include <stdio.h>

JNIEXPORT void JNICALL Java_JavaNativeIntf_JNITest_hello(JNIEnv*, jobject) {
	printf("Hello from DLL!");

}

生成DLL
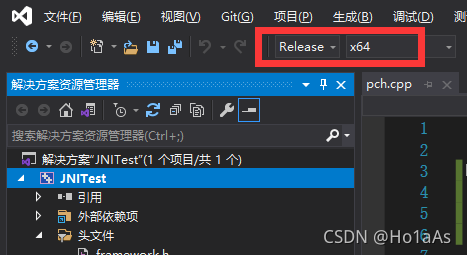
改成Release x64

右键项目名称-生成

生成完毕

JNI调用DLL
回到IDEA,在项目结构中把该DLL加入到引用

运行即可调用

完
欢迎在评论区留言,欢迎关注我的CSDN @Ho1aAs