VS code配置Python+PYQT5
一、自行安装Python3 (安装包如下)
链接:
https://pan.baidu.com/s/1fMYMmwXIPy0rGS_B5V6Iqg
提取码:3333
二、安装PyQt5以及PyQt5-tools(这里面含有designer了)
pip install PyQt5
pip install PyQt5-tools
三、VSCode配置PyQt5和designer
1.安装pyqt integration扩展

2.配置pyqt integration
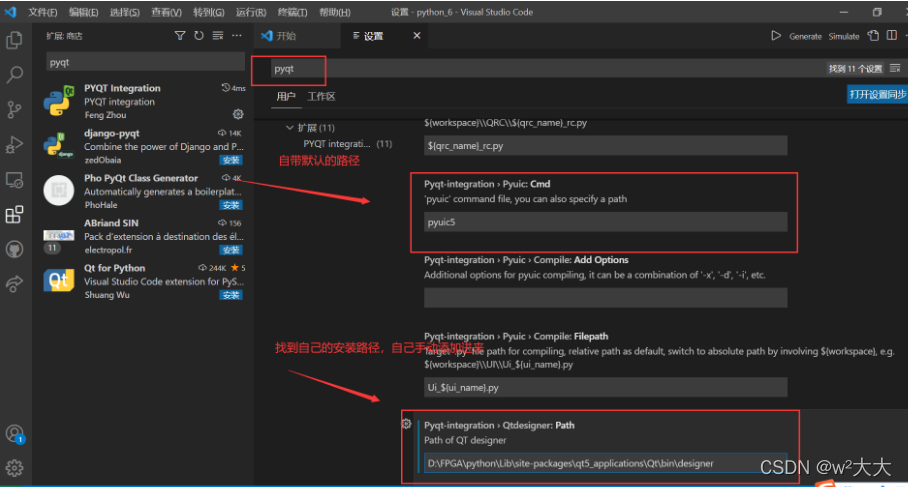
1)选择文件->首选项->设置,搜索pyqt,对pyuic5的路径以及QT designer的路径进行设置。(因为pyuic5是默认的没有改,designer为空,所以对designer路径进行配置)
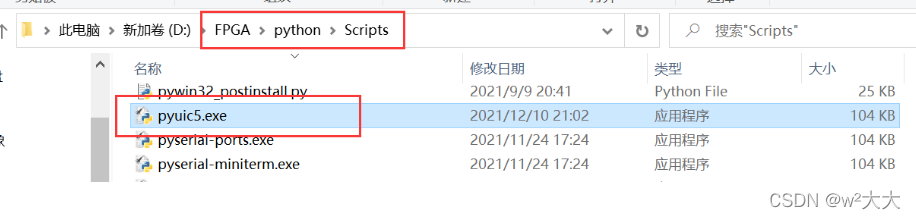
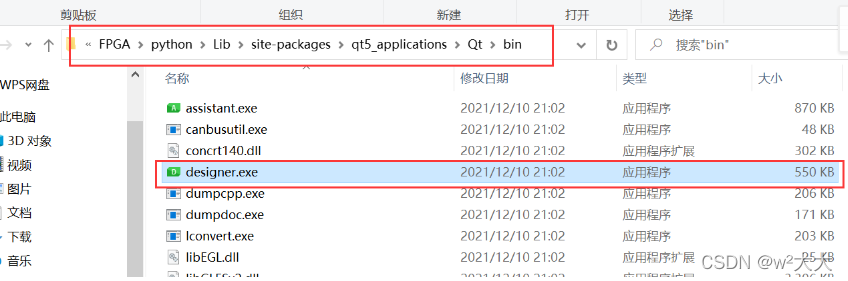
两个文件在python安装路径下,搜索pyuic5和designer就可以找到位置
pyuic5路径是:D:\FPGA\python\Scripts\pyuic5
designer路径是:D:\FPGA\python\Lib\site-packages\qt5_applications\Qt\bin\designer
2)在资源管理器VS-Code-Python下面那片区域右键,选择PYQT:New Form的话,就会打开qt designer 界面编辑器。


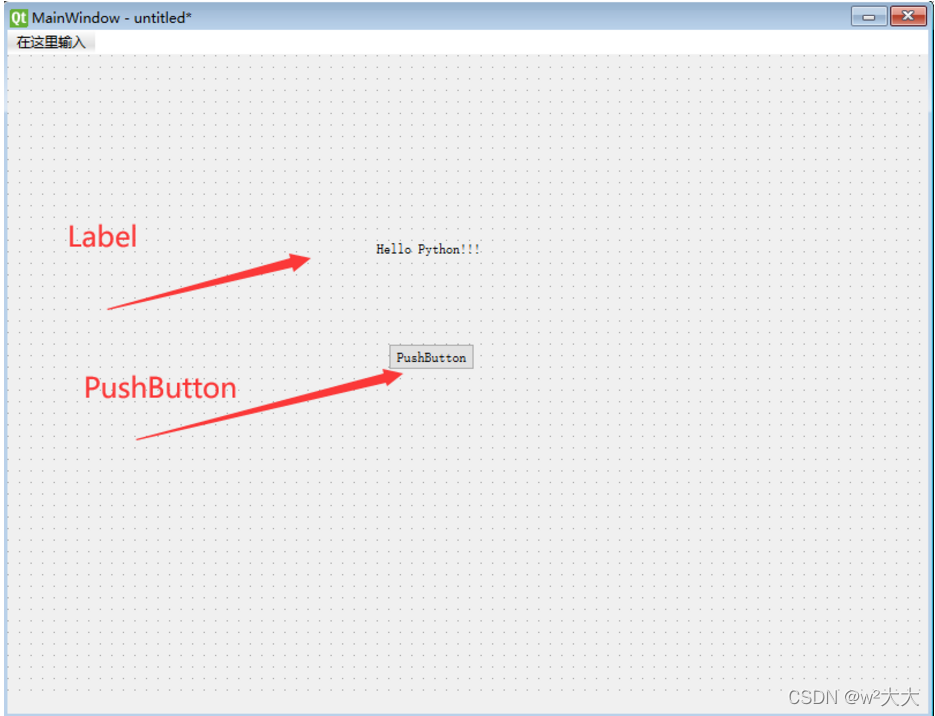
3)初次启动会弹出这个“New Form”窗口,选择“Main Window”然后点击“Create”。

在画布上任意拖动几个控件。
4)使用快捷键Ctrl+R预览当前编写的GUI(或者从菜单栏的Form > Preview / Preview in进入)

5)画好界面后ctrl+s 保存,就会生成相应的.ui文件。

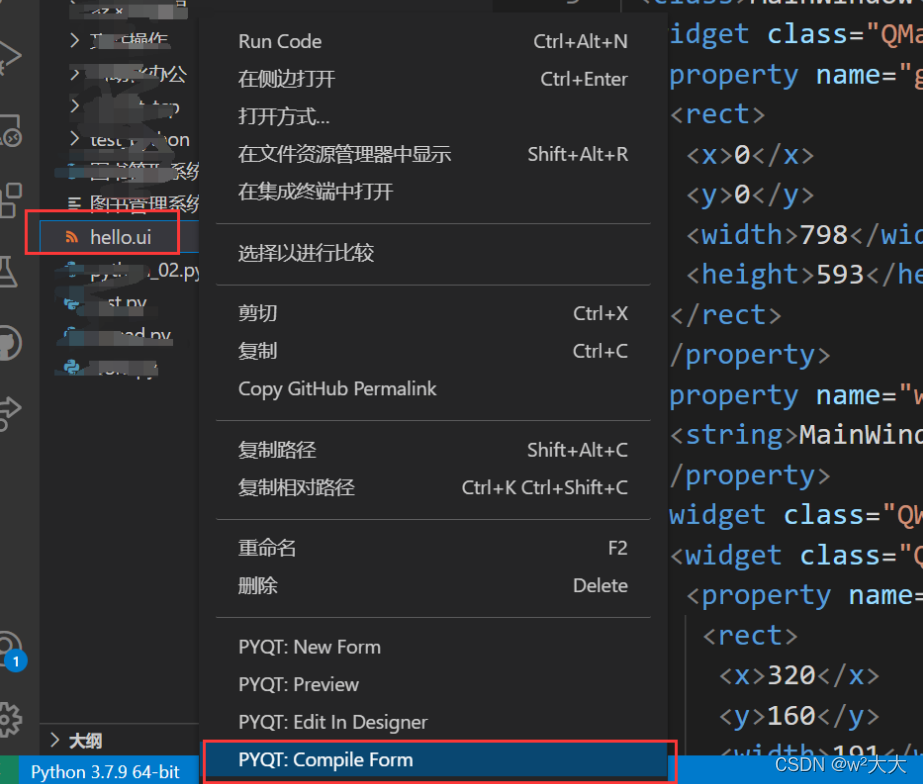
6)右键.ui文件,选择PYQT:compile from。
可以对hello.ui文件进行编译,自动生成对应的py文件Ui_untitled.py


7)尝试运行刚刚生成的“Ui_hello.py”是没用的,因为生成的文件并没有程序入口。因此我们在同一个目录下另外创建一个程序叫做“main.py”,并输入如下内容,将Ui_hello替换为你生成.py文件名。
import sys
from PyQt5 import QtWidgets
from PyQt5.QtWidgets import QApplication, QMainWindow

import Ui_hello

if __name__ == '__main__':
    # 每一个pyqt程序中都需要有一个QApplication对象,sys.argv是一个命令行参数列表
    app = QApplication(sys.argv) #实例化QApplication类,作为GUI主程序入口
    #app = QtWidgets.QApplication(sys.argv)
    MainWindow = QMainWindow() #创建MainWindow
    #MainWindow = QtWidgets.QMainWindow()
    ui = Ui_hello.Ui_MainWindow() #实例UI类
    ui.setupUi(MainWindow)    #设置窗体UI
    MainWindow.show()  #窗口显示
    sys.exit(app.exec_()) #进入程序的主循环,遇到退出情况,终止程序
