使用VScode搭建ESP8266开发环境
使用VScode搭建ESP8266的开发环境
本次目标是搭建ESP8266NodeMCU的开发环境
但是同样也是适用于其他各种开发版的使用
VScode的这个插件支持几百个板子
一般来说是够用了的
-
使用VScode编程的优点
- 不需要每次烧录之前都进行编译
- 并且写代码的时候会有提示词条
-
第一步VScode下载拓展插件
按下快捷键Ctrl+Shift+X
打开VScode在搜索栏搜索PlatFormIO,点击下载
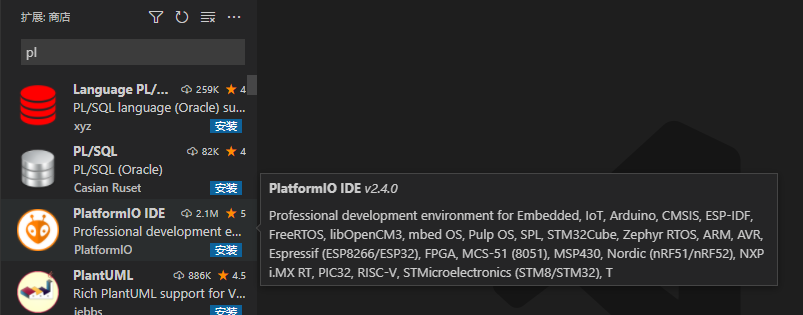
界面左下角显示下面的内容说明正在下载

显示一下字样代表下载成功,然后需要重启VScode

-
第二步新建项目
? 首先打开刚刚下载的插件,点击侧边栏最下面的图标
?

? 点击新建项目
?
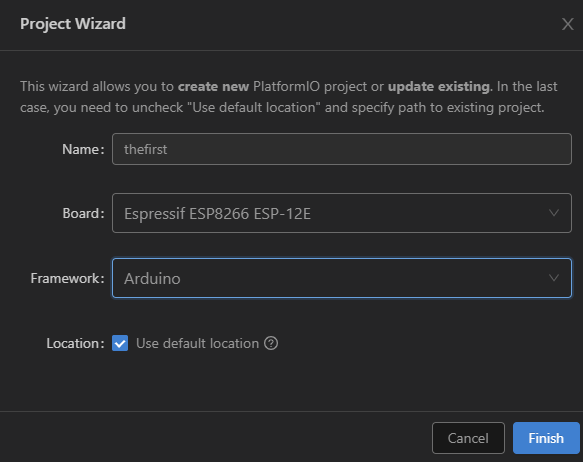
? 第一栏输入项目名称,不能使用中文
? 第二栏选择使用的开发版,这里有很多开发版让我们选择
? 这里选择的是ESP8266NodeMCU开发版
? 第三个框架就先默认Arduino
-
接着使用开发版接入到电脑上,查看查串口
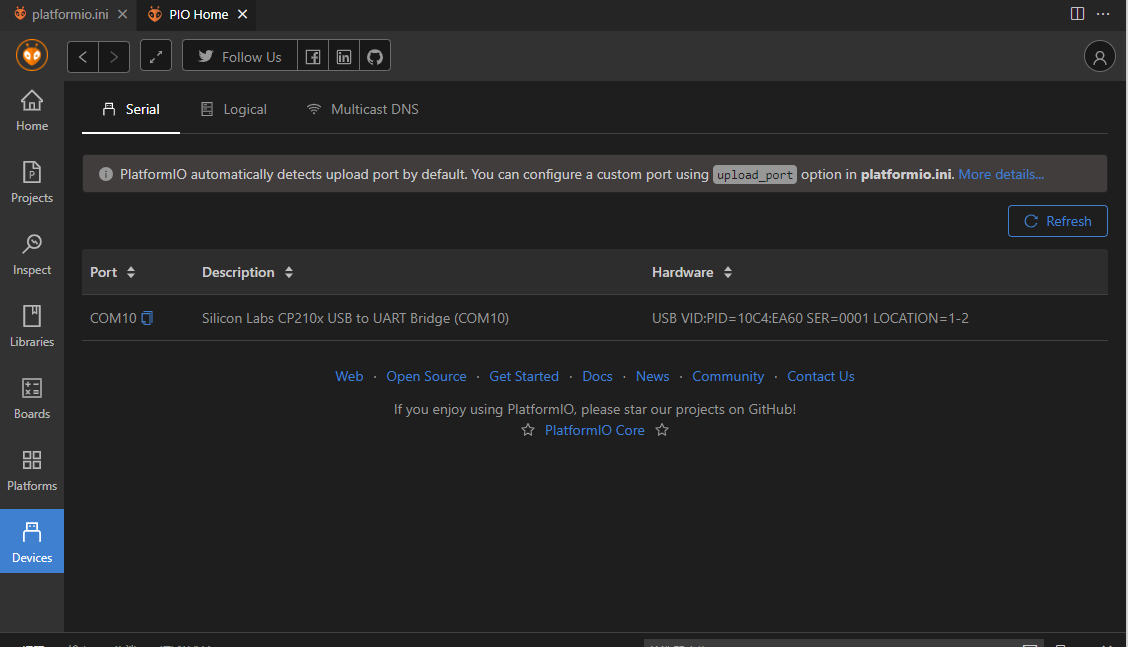
回到主界面大Devices查看自己开发版的串口
这里的串口就是COM10,暂时先记住,后面需要使用到
-
打开初始化文件进行初始化
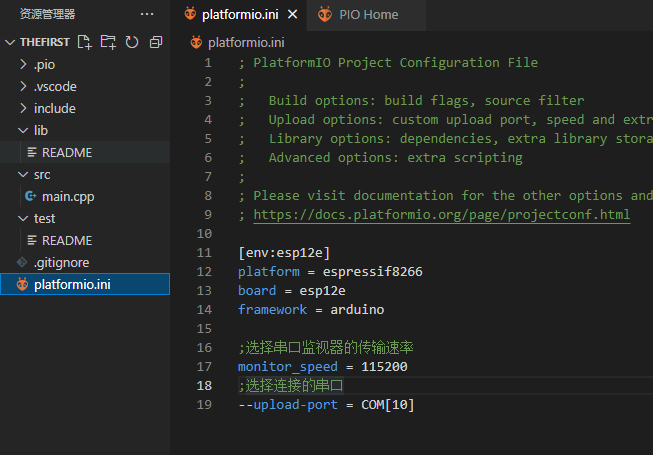
这两段代码分别是
monitor_speed = 115200--upload-port = COM[10]把上图中多出来的内容输入就算配置成功了,但是要注意的一个就是这串口后面的数字就是自己的串口的数字
-
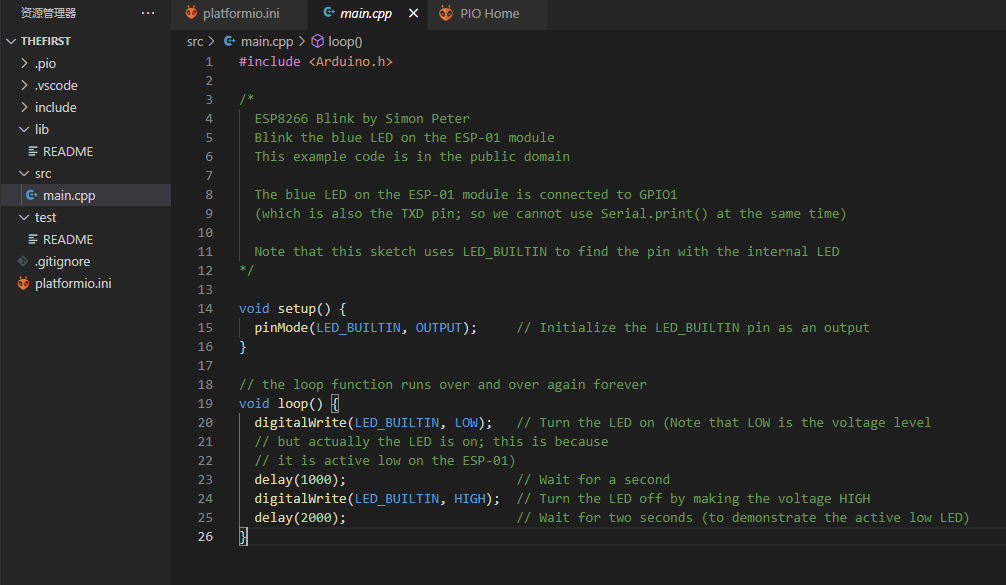
然后打开src文件夹 下面的main.cpp文件输入一段下面的例程
#include <Arduino.h>
/*
ESP8266 Blink by Simon Peter
Blink the blue LED on the ESP-01 module
This example code is in the public domainThe blue LED on the ESP-01 module is connected to GPIO1
(which is also the TXD pin; so we cannot use Serial.print() at the same time)Note that this sketch uses LED_BUILTIN to find the pin with the internal LED
*/void setup() {
pinMode(LED_BUILTIN, OUTPUT); // Initialize the LED_BUILTIN pin as an output
}// the loop function runs over and over again forever
void loop() {
digitalWrite(LED_BUILTIN, LOW); // Turn the LED on (Note that LOW is the voltage level
// but actually the LED is on; this is because
// it is active low on the ESP-01)
delay(1000); // Wait for a second
digitalWrite(LED_BUILTIN, HIGH); // Turn the LED off by making the voltage HIGH
delay(2000); // Wait for two seconds (to demonstrate the active low LED)
}
然后点击烧录

然后在终端显示

[外链图片转存中…(img-JeI9qjsG-1643014653585)]
然后在终端显示
[外链图片转存中…(img-Y0sYyyag-1643014653586)]
代表烧录成功,同时开发版的LED灯也会一闪一闪的
-