简介:这篇文主要介绍 在 windows上 如何安装 visual studio (用于 c++ 开发),以及一些简单功能的使用(新建项目、编译调试、生成类图(包含新增插件)、引用其他项目)。
1. vs版本
vs的版本有系统要求,所以选择正确的版本很重要。
值得一提的是,运用 官方提供的 文档 很重要: https://docs.microsoft.com/zh-cn/
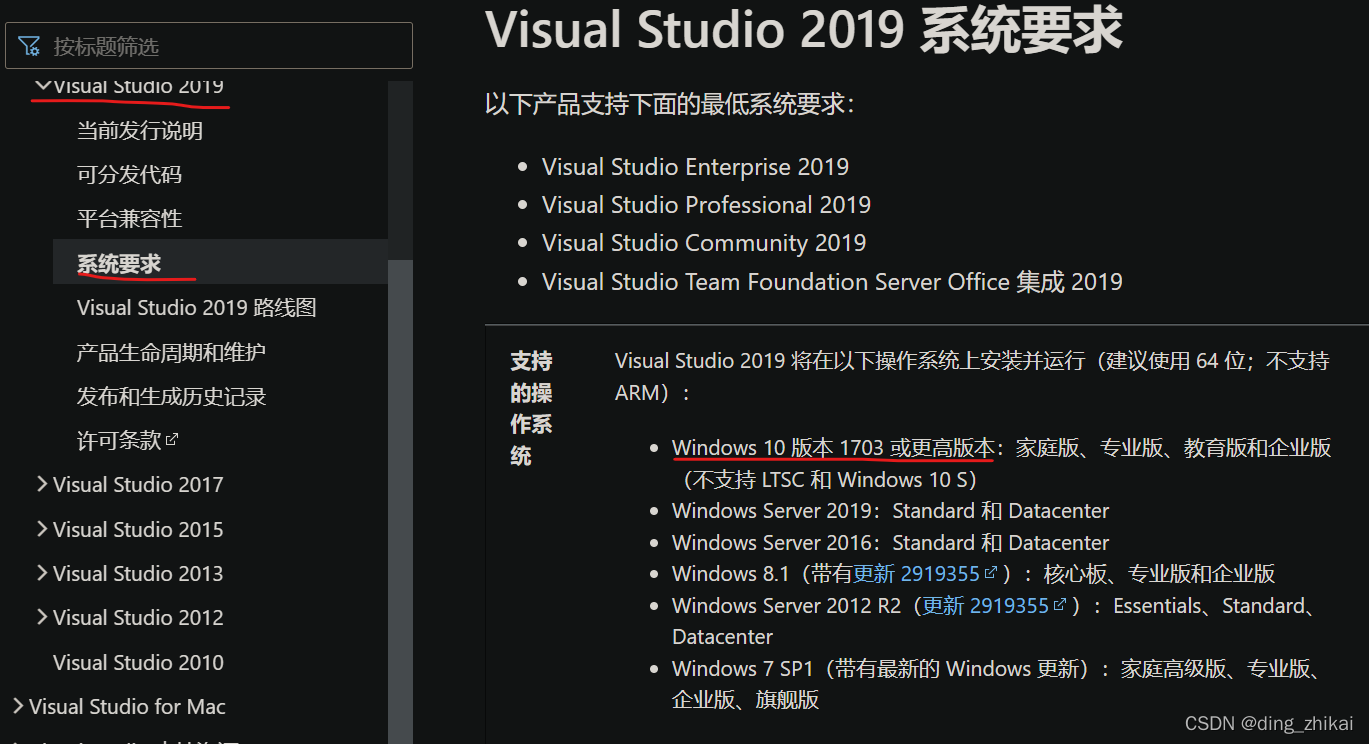
1.1 如何查看vs版本对应的系统
查看地址
https://docs.microsoft.com/zh-cn/visualstudio/releases/2019/system-requirements
在文档相应版本的系统要求里面。

1.2 如何查看本机的系统信息
通过查看电脑属性可以看到


好像是达不到vs2022的要求的因此选择了vs2019版本。当然也可以尝试vs2022,看看是否兼容。
1.3 如何找到并下载正确的vs版本
下载地址:
https://docs.microsoft.com/zh-cn/visualstudio/releases/2019/release-notes
显然还是在文档里面可以找到。
我们下载community。其他两个一个是个人版,一个是公司版,都是免费体验后续付费,community是完全免费的。

下载完成后,我们可以在属性里面看到版本号,用以进一步确认是目标版本。

1.4 其他下载方式
- 官网主页
这里一般只能下载最新版本的vs,可能有系统不支持的情况。 - 其他网站
可以百度 “历史版本”,自行筛选有用的网站 如:
http://wiki.digitser.cn/zh-CN/msvs/history.html
2. vs安装
官方的安装教程(还是在文档里面,安装过程还是很详细的):https://docs.microsoft.com/zh-cn/visualstudio/install/install-visual-studio?view=vs-2019
注意选择相应的版本。

2.1 双击下载好的exe开始安装

2.2 选择需要的组件、语言包等

2.3 修改或查看 安装等 位置
这里就用默认位置,不过还是要点进去记录一下,以免以后想找文件位置找不到。


2.4 然后点击安装

2.5 小结
对比版本很重要
组件选择很重要,但是新手采用默认的即可
要了解如何更新、卸载(官方文档就有,这一点很赞)
总的来说,vs安装是傻瓜式的,还有官方文档,省去了开发者很多功夫(如 编译环境的安装、环境变量的配置 等)。但福兮祸所依,这也使得开发者不能很好的理解整个程序从代码开发到最终编译的流程。
3. 开始使用vs
3.1 打开vs2019
这里有4个很明确的选项。

3.2 新建项目
3.2.1 新建项目


可以将鼠标移到 i 上查看关于 解决方案 的简要解释。
3.2.2 项目的 资源管理器
初次使用 窗口里什么都没有,我们可以先添加 资源管理器栏。在搜索框里搜索,并选择解决方案资源管理器。


在资源管理器里面可以看到刚才新建的 解决方案 和其中的 项目。
3.2.3 项目的依赖
右击项目(也就是 ++ 图标所在的 test_vs 那一行),点击最下面的 属性,配置 VC++目录 的 包含目录、库目录,链接器的 附加库目录:

3.3 文件(cpp h 等)
3.3.1 创建文件
右击项目(也就是 ++ 图标所在的 test_vs 那一行),添加→新建项:


选择想要创建的文件类型,这里先创建了一个用于测试的cpp文件。
3.3.2 文件的依赖
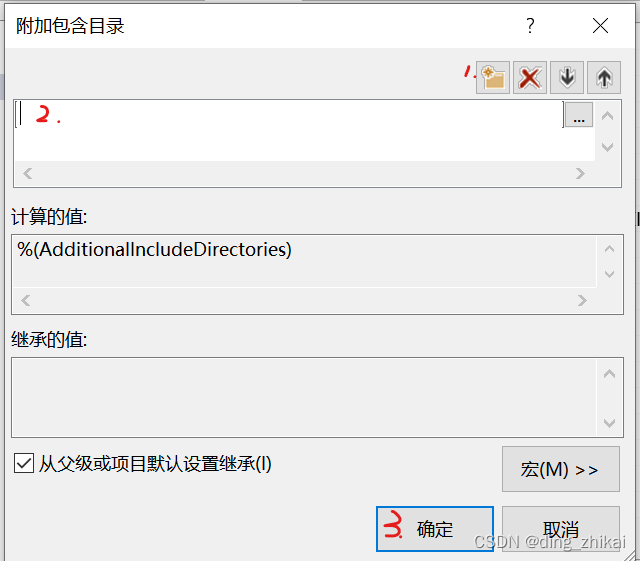
接下来查看该文件的依赖。右键→属性→找到 附加包含目录:


点击编辑之后跳出窗口,点击新建行,输入依赖路径,确定:

这里没有添加额外的依赖。
3.4 代码:开发 编译 调试
3.4.1 代码开发 & 编译
然后是 固定节目 Hello world:

补充:ctrl+滚轮 可以缩放文本显示,这种缩放方式可以说是约定俗成的,一般cp端的图示程序都应该支持。
运行:

同时在下方会有:

在项目文件夹可以看到:

Debug文件夹里面包含:

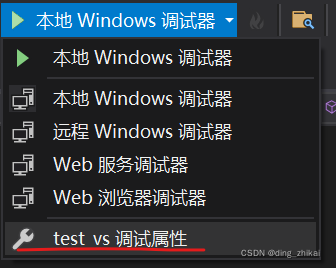
Debug文件夹的生成是由 调试器属性 决定的:


3.4.2 代码调试
加断点 并 开始调试:

会有黄色箭头停到断点处,此时 A B C D E 五个区域一目了然。

鼠标移到想查看值的变量上会显示值:

单步调试:

注:鼠标移到图标上就可以看到说明
单步执行两步后 msg 的值被改为 “Hello world!”:

也可以手动添加变量 监视其值的变化。具体来说就是 选中变量→右键→添加监视

然后在下方就可以看到了:

3.5 试验 项目结构
3.5.1 文件结构
项目添加文件夹:

3.5.2 简单代码 & 测试
具体细节不展示了,主要是在文件夹中写了一个基类、两个子类:

在主函数处引用子类:

编译运行结果:

3.6 生成类图
3.6.1 安装新插件
之前在安装时没有安装插件,需要先安装插件:
(1)启动 visual studio installer

(2)添加组件


3.6.2 查看类图
安装完成后启动项目,在资源管理器的项目行上 右键→查看→类图

3.7 引用其他项目
3.7.1 在解决方案中添加新项目


3.7.2 引用其他项目
test_vs 依赖 test_relay 项目为例
(1)给项目添加引用


点击确定。
(2)代码中 引用头文件 & 调用

运行:

3.7.3 关于批量注释

取消注释 在该按钮旁边。
4.小结
主要介绍了:
vs 的安装
创建项目
编译、调试
类图生成 (包含插件安装)
引用其他项目