文章目录
1. 下载地址
https://sourceforge.net/projects/boost/

我们下载 为mscv编译器准备的 64位的 1_78_0 版本,其他版本可以 SeeAll
补充:其他下载地址
官网:https://www.boost.org/users/download/
2. 安装
(1)双击下载好的exe 运行

安装路径可以自行配置,或者默认路径 C:\local\boost_1_78_0。记录一下以免以后找不到。
(2)运行 bootstrap.bat
直接双击即可。会生成 b2.exe。
其他方法:
https://blog.csdn.net/s_lisheng/article/details/72871218
https://blog.csdn.net/bxbjk/article/details/100760154
(3)运行 b2.exe
双击运行,输入命令 bjam --toolset=msvc --build-type=complete stage,会在 C:\local\boost_1_78_0 中生成 stage 文件夹。
补充:还会生成 bin.v2 文件夹 ,中间文件,b2.exe运行完成后可以删除。
3. vs2019 项目 使用boost库
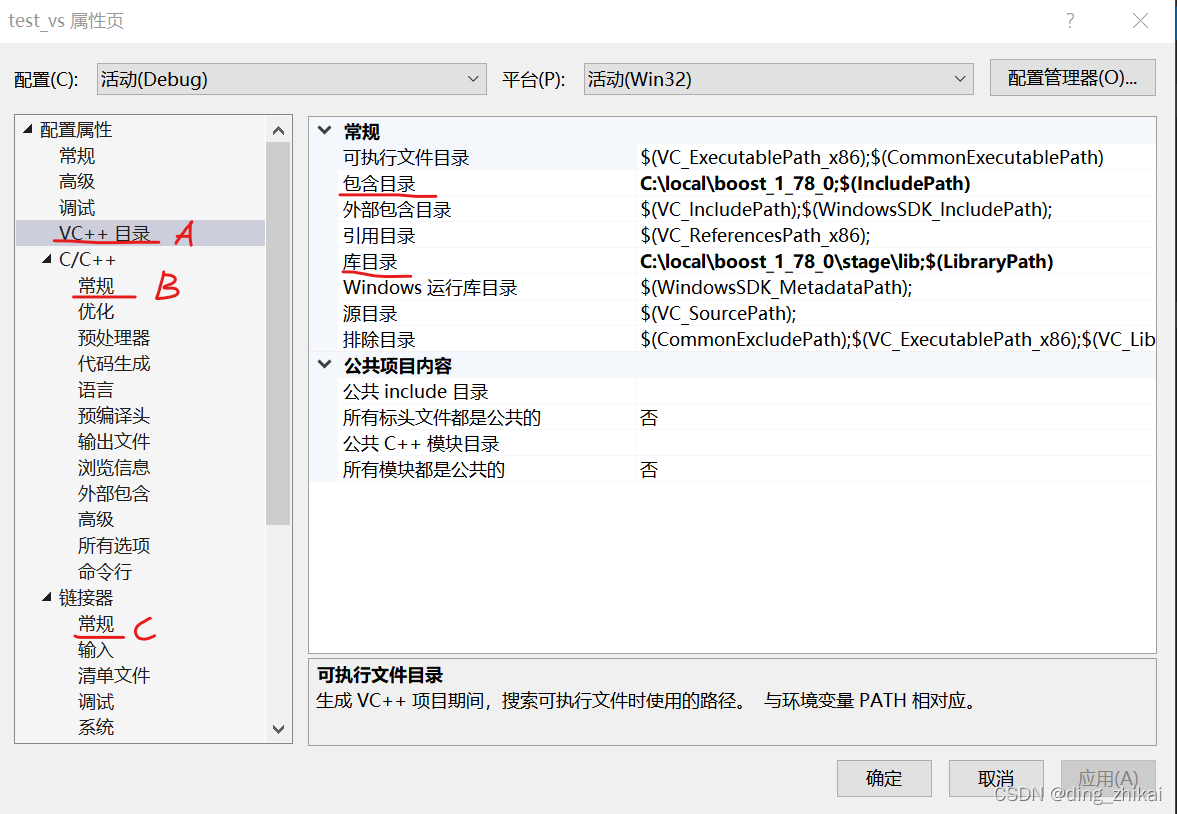
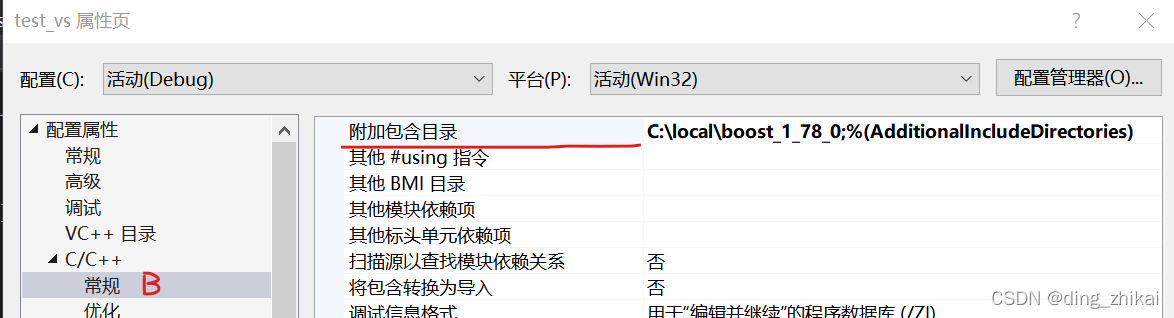
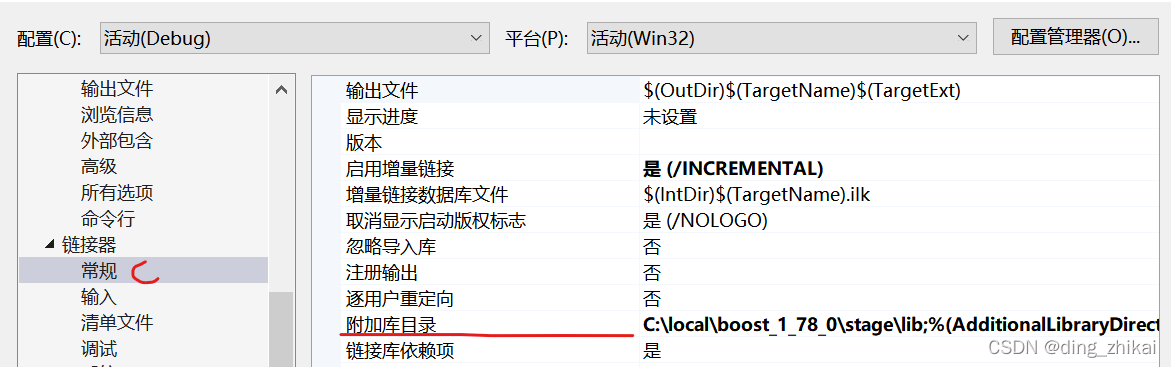
3.1 项目配置
对项目 右键→属性
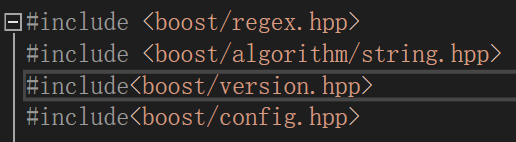
3.2 代码头文件
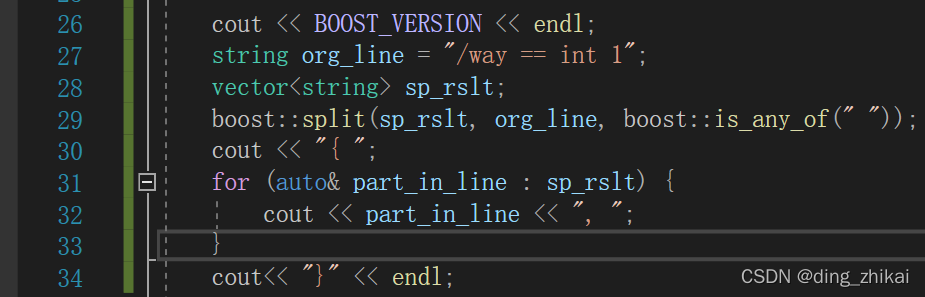
举例:测试 字串分割
3.3 库文档
https://www.boost.org/doc
https://www.cnblogs.com/lidabo/p/9294874.html
http://zh.highscore.de/cpp/boost/