1、git init 初始化仓库
场景:创建新仓库
git init #初始化一个git的本地仓库 此时这个仓库是空的
#添加版本库
#将本地库与远程库建立连接  origin是我们为远程仓库起的别名
#它的全名/地址为git@gitee.com:snail-kk/fistOrigin.git
git remote add origin git@gitee.com:snail-kk/fistOrigin.git
#firstOrigin是一个已建好的远程仓库

#然后拉取或推送代码了
#一个本地仓库可以与多个远程仓库建立连接

#查看远程仓库信息
git remote -v

git remote rm name #删除与远程仓库之间的连接
#这个name是我们为远程仓库起的那个别名
2、将本地仓库的内容分别推送到两个远程仓库
远程仓库1的地址(SSH)为:git@gitee.com:snail-kk/git.git
远程仓库2的地址(SSH)为:git@gitee.com:snail-kk/note-picture.git
在F盘下创建一个localstore文件夹用做仓库

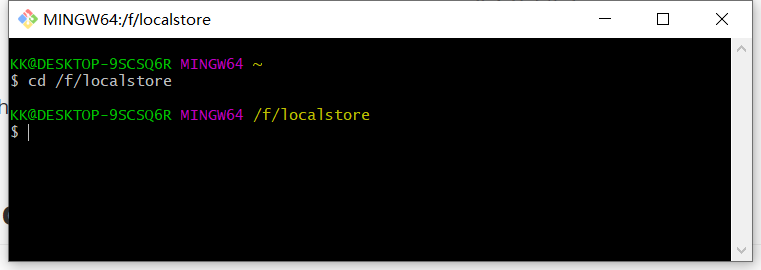
打开Git Bash cd到此路径下
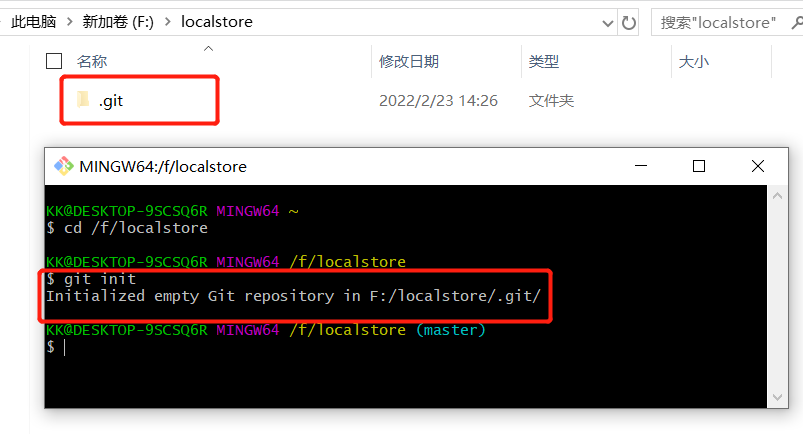
**初始化仓库。**初始化仓库后,localstore里会有一个.git文件夹。表示localstore是一个git仓库,.git文件夹里有仓库的相关信息。
分别与远程仓库1和远程仓库2建立连接。别名分别为origin1和origin2

查看本地仓库所连接的远程仓库的信息

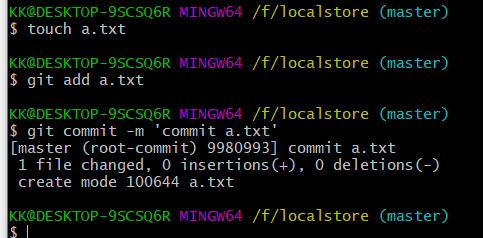
创建a.txt文件并提交
将a.txt分别推送到两个远程仓库。
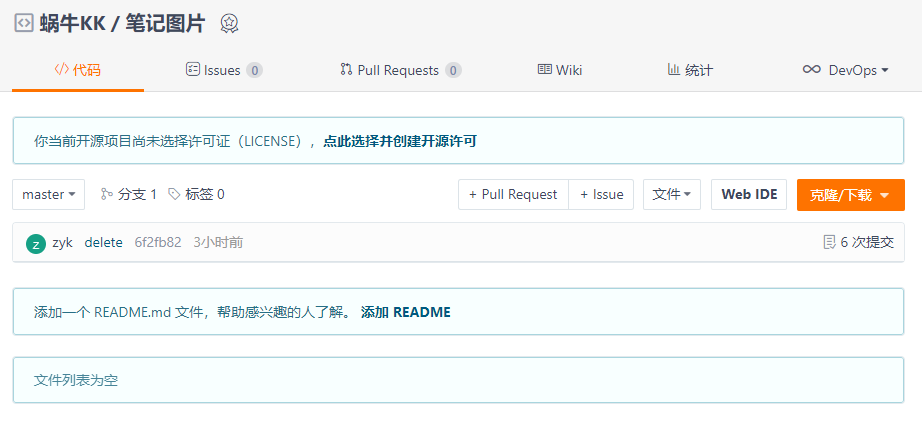
推送前两个远程仓库都为空
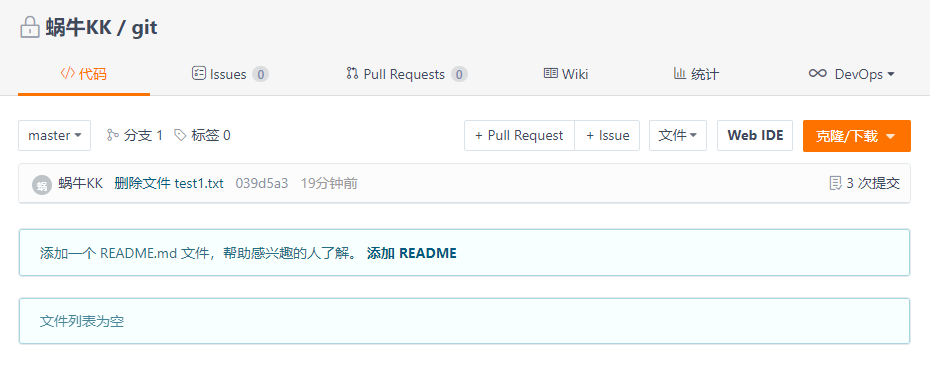
推送
(如果这一步报错,请看后面的注意)
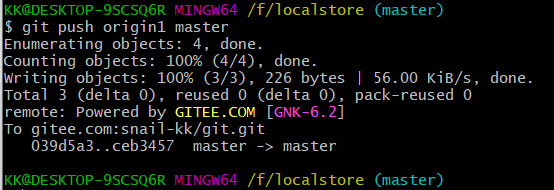
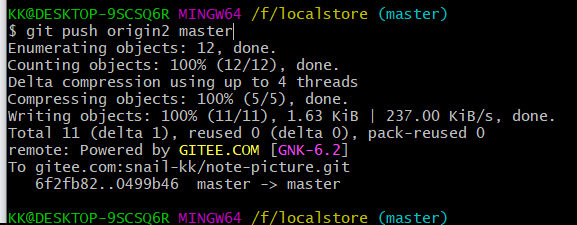
推送后
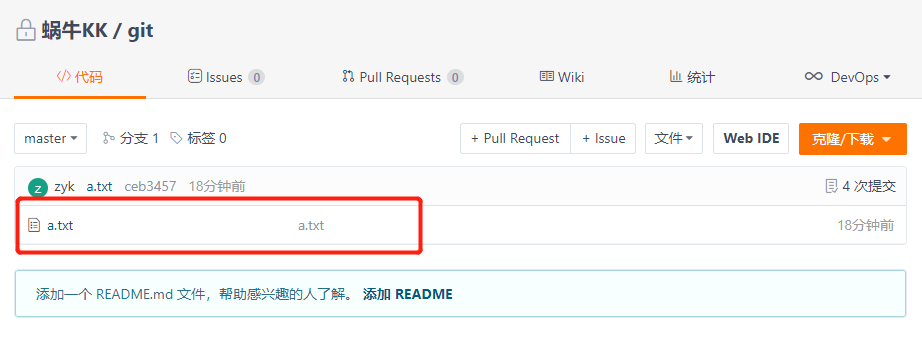
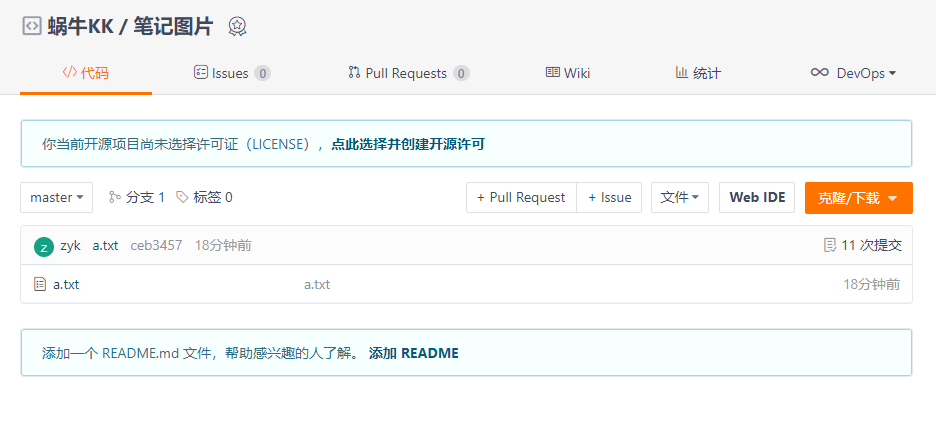
注意:如果远程仓库不是新建立的,先做拉取操作
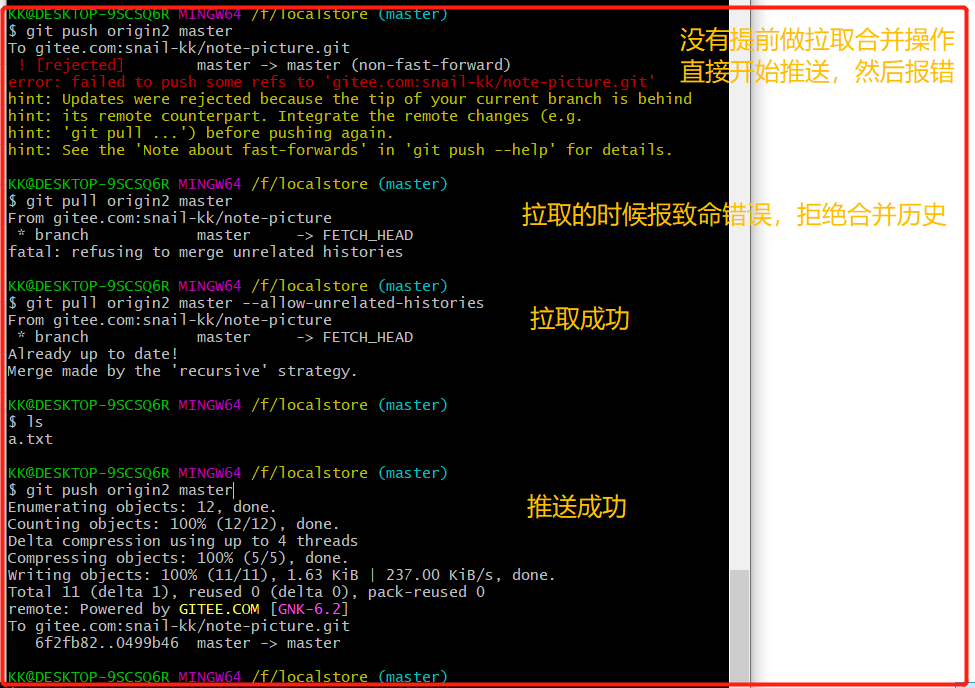
git pull origin1 master   #拉取远程仓库的master分支
#如果拉取的过程中报错 fatal: refusing to merge unrelated histories  致命:拒绝合并历史
#则使用一下语句拉取
git pull origin1 master --allow-unrelated-histories
我在对origin2做操作的时候就遇到了问题
3、git clone 克隆仓库
相比git init操作,git clone会直接将远程仓库内容拉取到本地,相当复制了一份远程仓库。
在F盘下创建localstore2,在此目录下,操作如下:
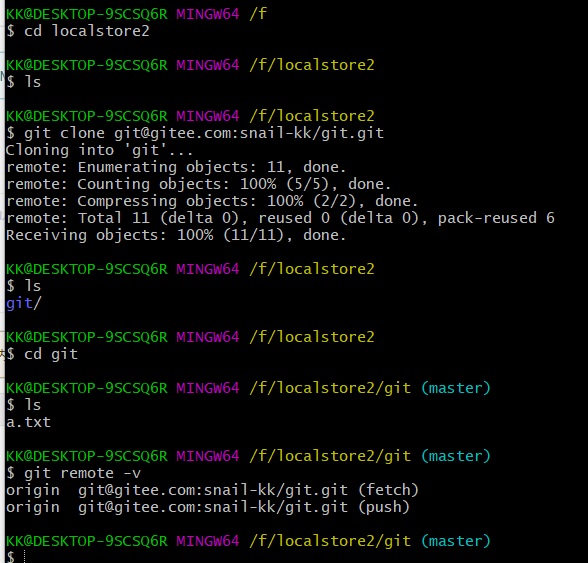
默认别名为origin
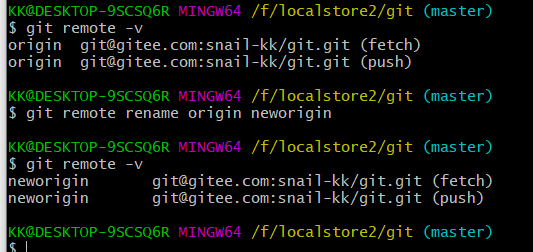
更改仓库名
git remote rename old_name new_name # 修改仓库名
4、git add
| 命令 | 含义 |
|---|---|
| git add 文件名 | add单个文件 |
| git add . | 提交被修改的和新建的文件,但不包括被删除的文件 |
| git add -u --update | 更新所有改变的文件,即提交所有变化的文件 |
| git add -A --all | 提交已被修改和已被删除文件,但是不包括新的文件 |
5、git commit
| 命令 | 含义 |
|---|---|
| git commit -m ‘提交信息’ | 提交 |
| git commit -a -m ‘提交信息’ | 可以把还没有执行add命令的修改一起提交 |
6、SSH配置 (公钥秘钥)
? 基于Git的开发,可采用HTTP或SSH两种方式进行代码的下载和上传。当选择SSH方式时,需要本地配置SSH公钥密钥对。将私钥保存值本地,公钥保存至Gitlab中,以下为配置过程:
? 1.双击Git Bash图标,进入Git Bash命令窗口
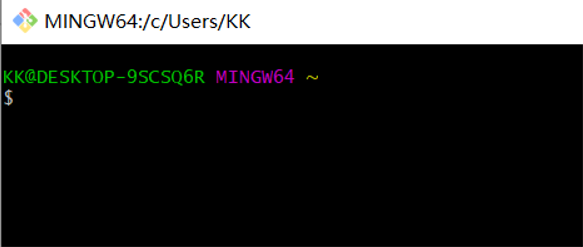
? 2.生成SSH公钥密钥对,参考命令如下:
ssh-keygen -t rsa -b 2048 -c "username@cfit.cn"

? 3.查看SSH公钥并复制到gitlab服务器。默认公钥保存路径~/.ssh/id_rsa.pub,可用入刑命令查看公钥内容(或可直接用文本文件方式打开id_rsa.pub):
cat ~/.ssh/id_rsa.pub
? 
? 复制并粘贴公钥内容到GitLab账户中的SSH public key栏内,详见文档《gitlab使用手册》。至此,本地配置SSH已成功。
2.2设置用户名邮箱
? 1.设置用户名密码
git config -global user.name "username"

git config -global user.email "username@cfit.cn"

? 2.查看git设置是否生效
git config -l
7、解决冲突
<<<<<<< HEAD
本地代码
=======
拉取的代码
>>>>>>> 04eedo87sodkfj987w423ks9
等号上半部分为我们本地代码
等号下半部分为拉取的代码
保留正确需要的,将不需要的代码删掉,同时,冲突标签也删掉,将解决好冲突的文件add、commit后即可。