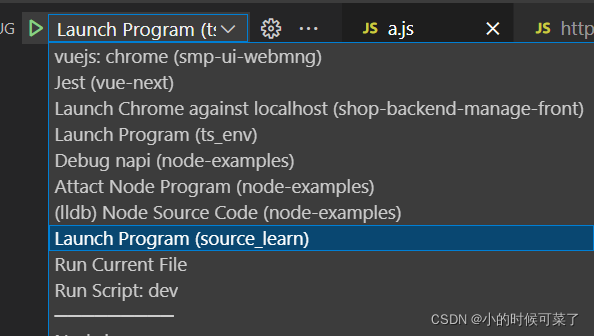
Launch Program 后面是自己的项目目录

然后点击右边的小齿轮, 进入 launch.json, 配置如下
{
  // Use IntelliSense to learn about possible attributes.
  // Hover to view descriptions of existing attributes.
  // For more information, visit: https://go.microsoft.com/fwlink/?linkid=830387
  "version": "0.2.0",
  "configurations": [
    {
      "name": "Launch Program",
      "program": "${file}/",
      "request": "launch",
      "skipFiles": [
        // "<node_internals>/**"
      ],
      "type": "node",
    }
  ]
}
?? 在 skipFiles 中注释 <node_internals>/**
参数 Debugging in Visual Studio Code 官方文档有解释
program- executable or file to run when launching the debugger

-
${workspaceFolder}gives the root path of a workspace folder -
${file}the file open in the active editor
${file} 打开当前编辑器, 也就是执行当前编辑器打开的文件
代码测试
a.js
require('./b.js')

console.log(require)


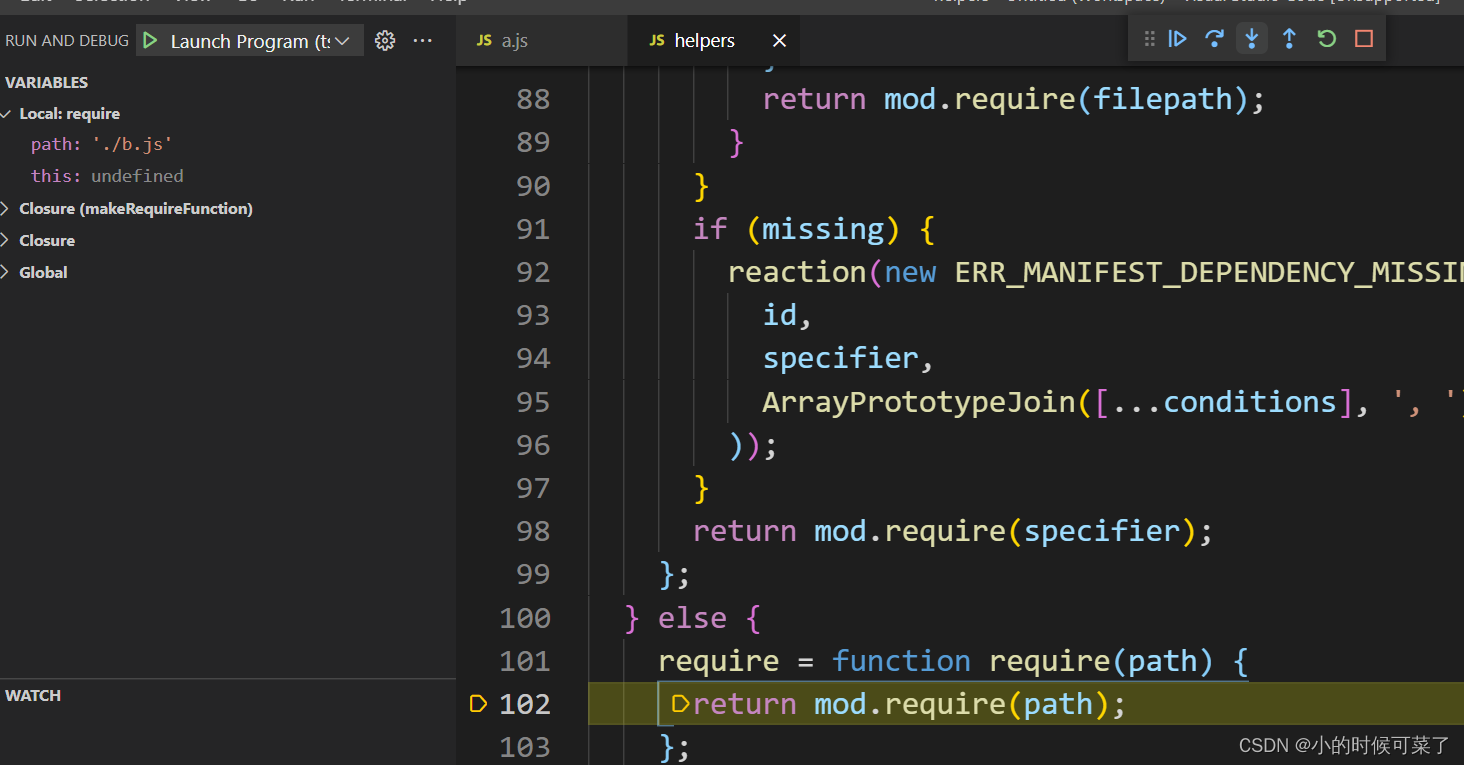
该四个作用依次如下
- Resume: 执行到下一个断点
- Step Over: 执行下一语句
- Step Into: 执行下一语句,如遇到函数,则进入函数执行
- Step Out: 跳出当前函数

这时, 我们看到, 已经进入到 require 函数内部了