1 准备工作
VS-2019社区版本
下载好代码
https://github.com/InteractiveComputerGraphics/SPlisHSPlasH
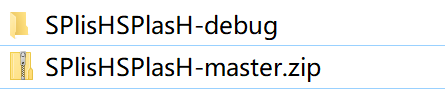
解压并新建一个文件夹
在该文件夹下新建一个build文件夹

下载好cmake gui版本
https://cmake.org/
官方doc
https://splishsplash.readthedocs.io/en/latest/build_from_source.html#installation-instructions-windows
2 用cmake构建项目
打开cmake gui
输入源代码地址和build文件夹地址
如图勾选需要勾选的编译选项

红色是正常的,代表你还没有把该选项添加到修改。
点config之后
红色就消失了
再次点击config(总共点两次)
然后点gengerate
然后在build文件夹就会生成一堆VS的工程文件
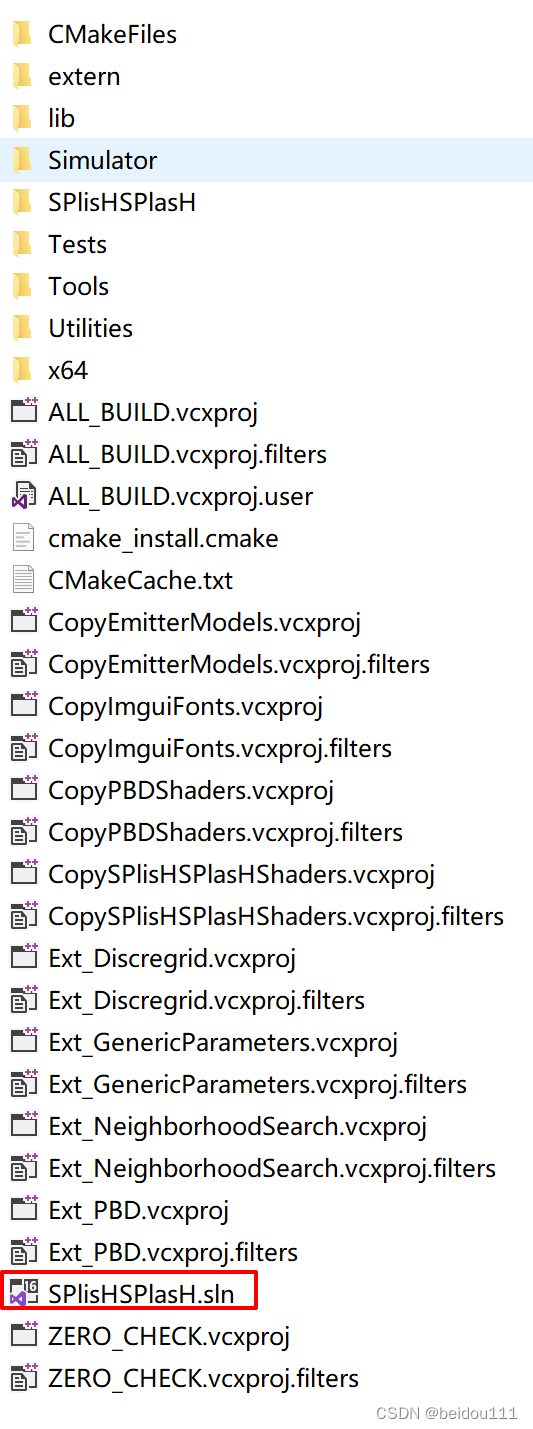
打开.sln文件
3 在VS中以debug模式编译
选择debug模式

然后点击本地Windows调试器(绿色箭头)
然后是漫长的等待

右下会显示进度条
弹出下面的报错是正常的,不用管。

4 使用VS调试实例
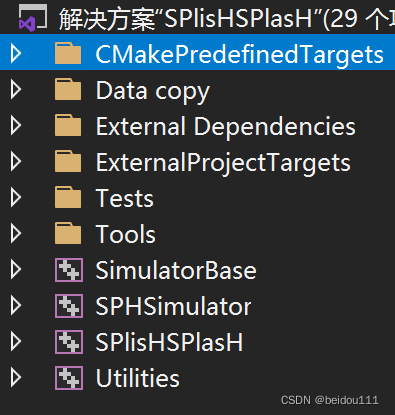
你可以看到右侧的解决方案栏如下
有各种文件夹,还有C++类(四个类:SimulatorBase, SPHSimulator, SPlisHSPlasH和Utilities)
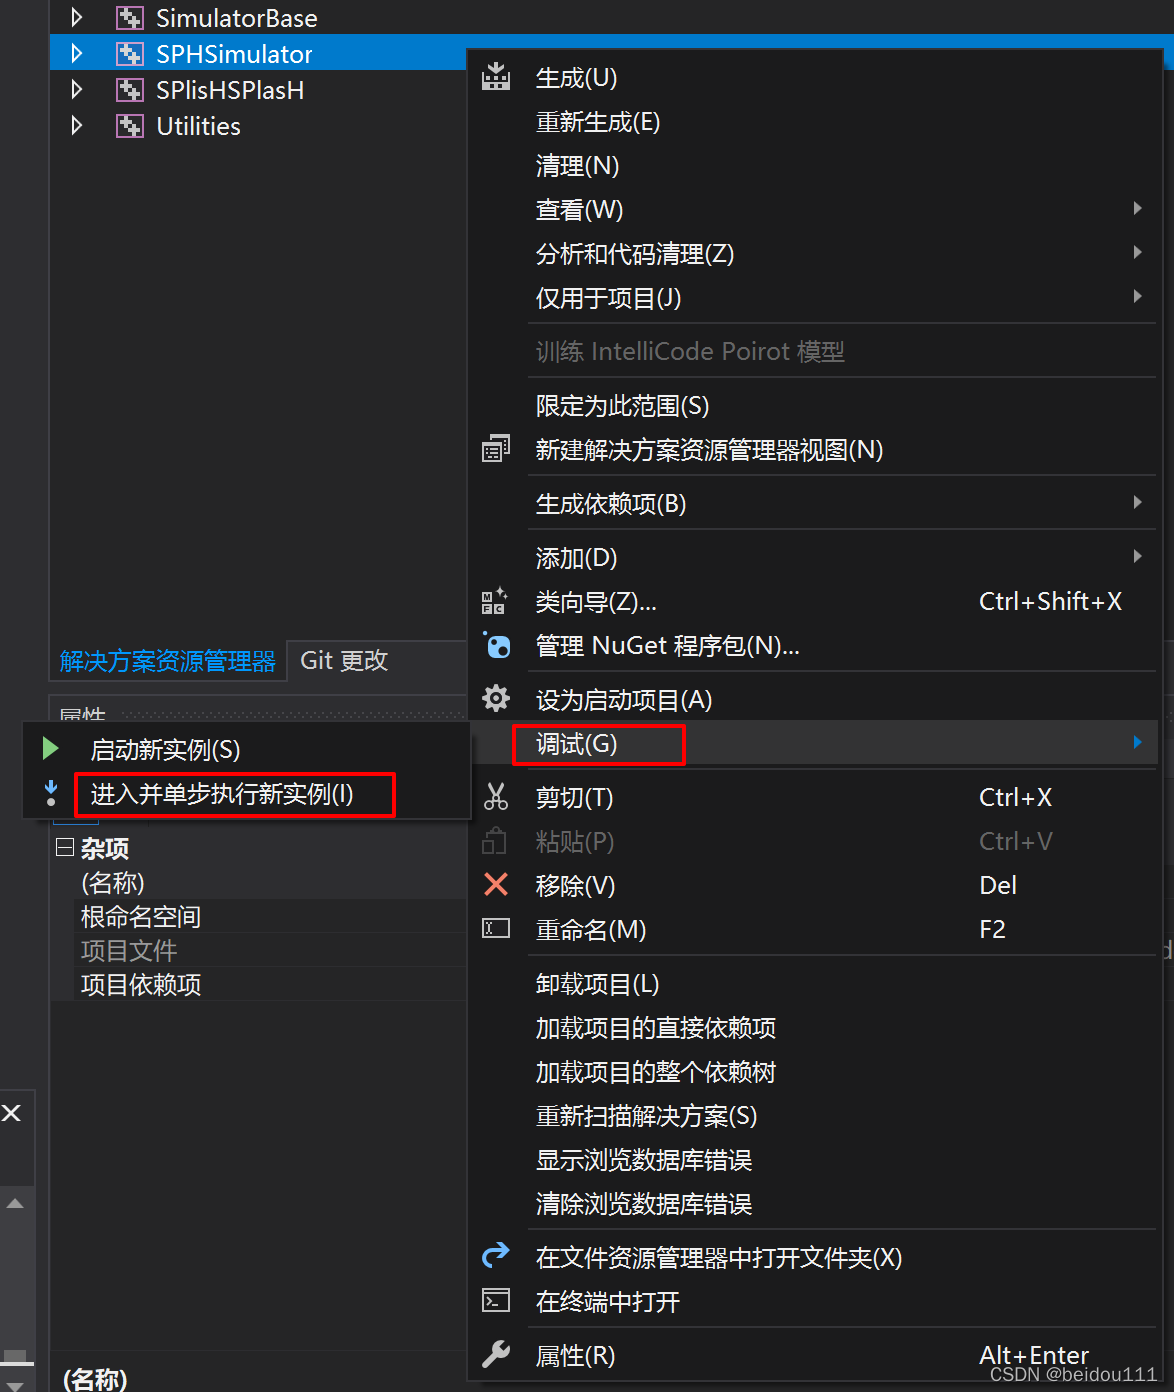
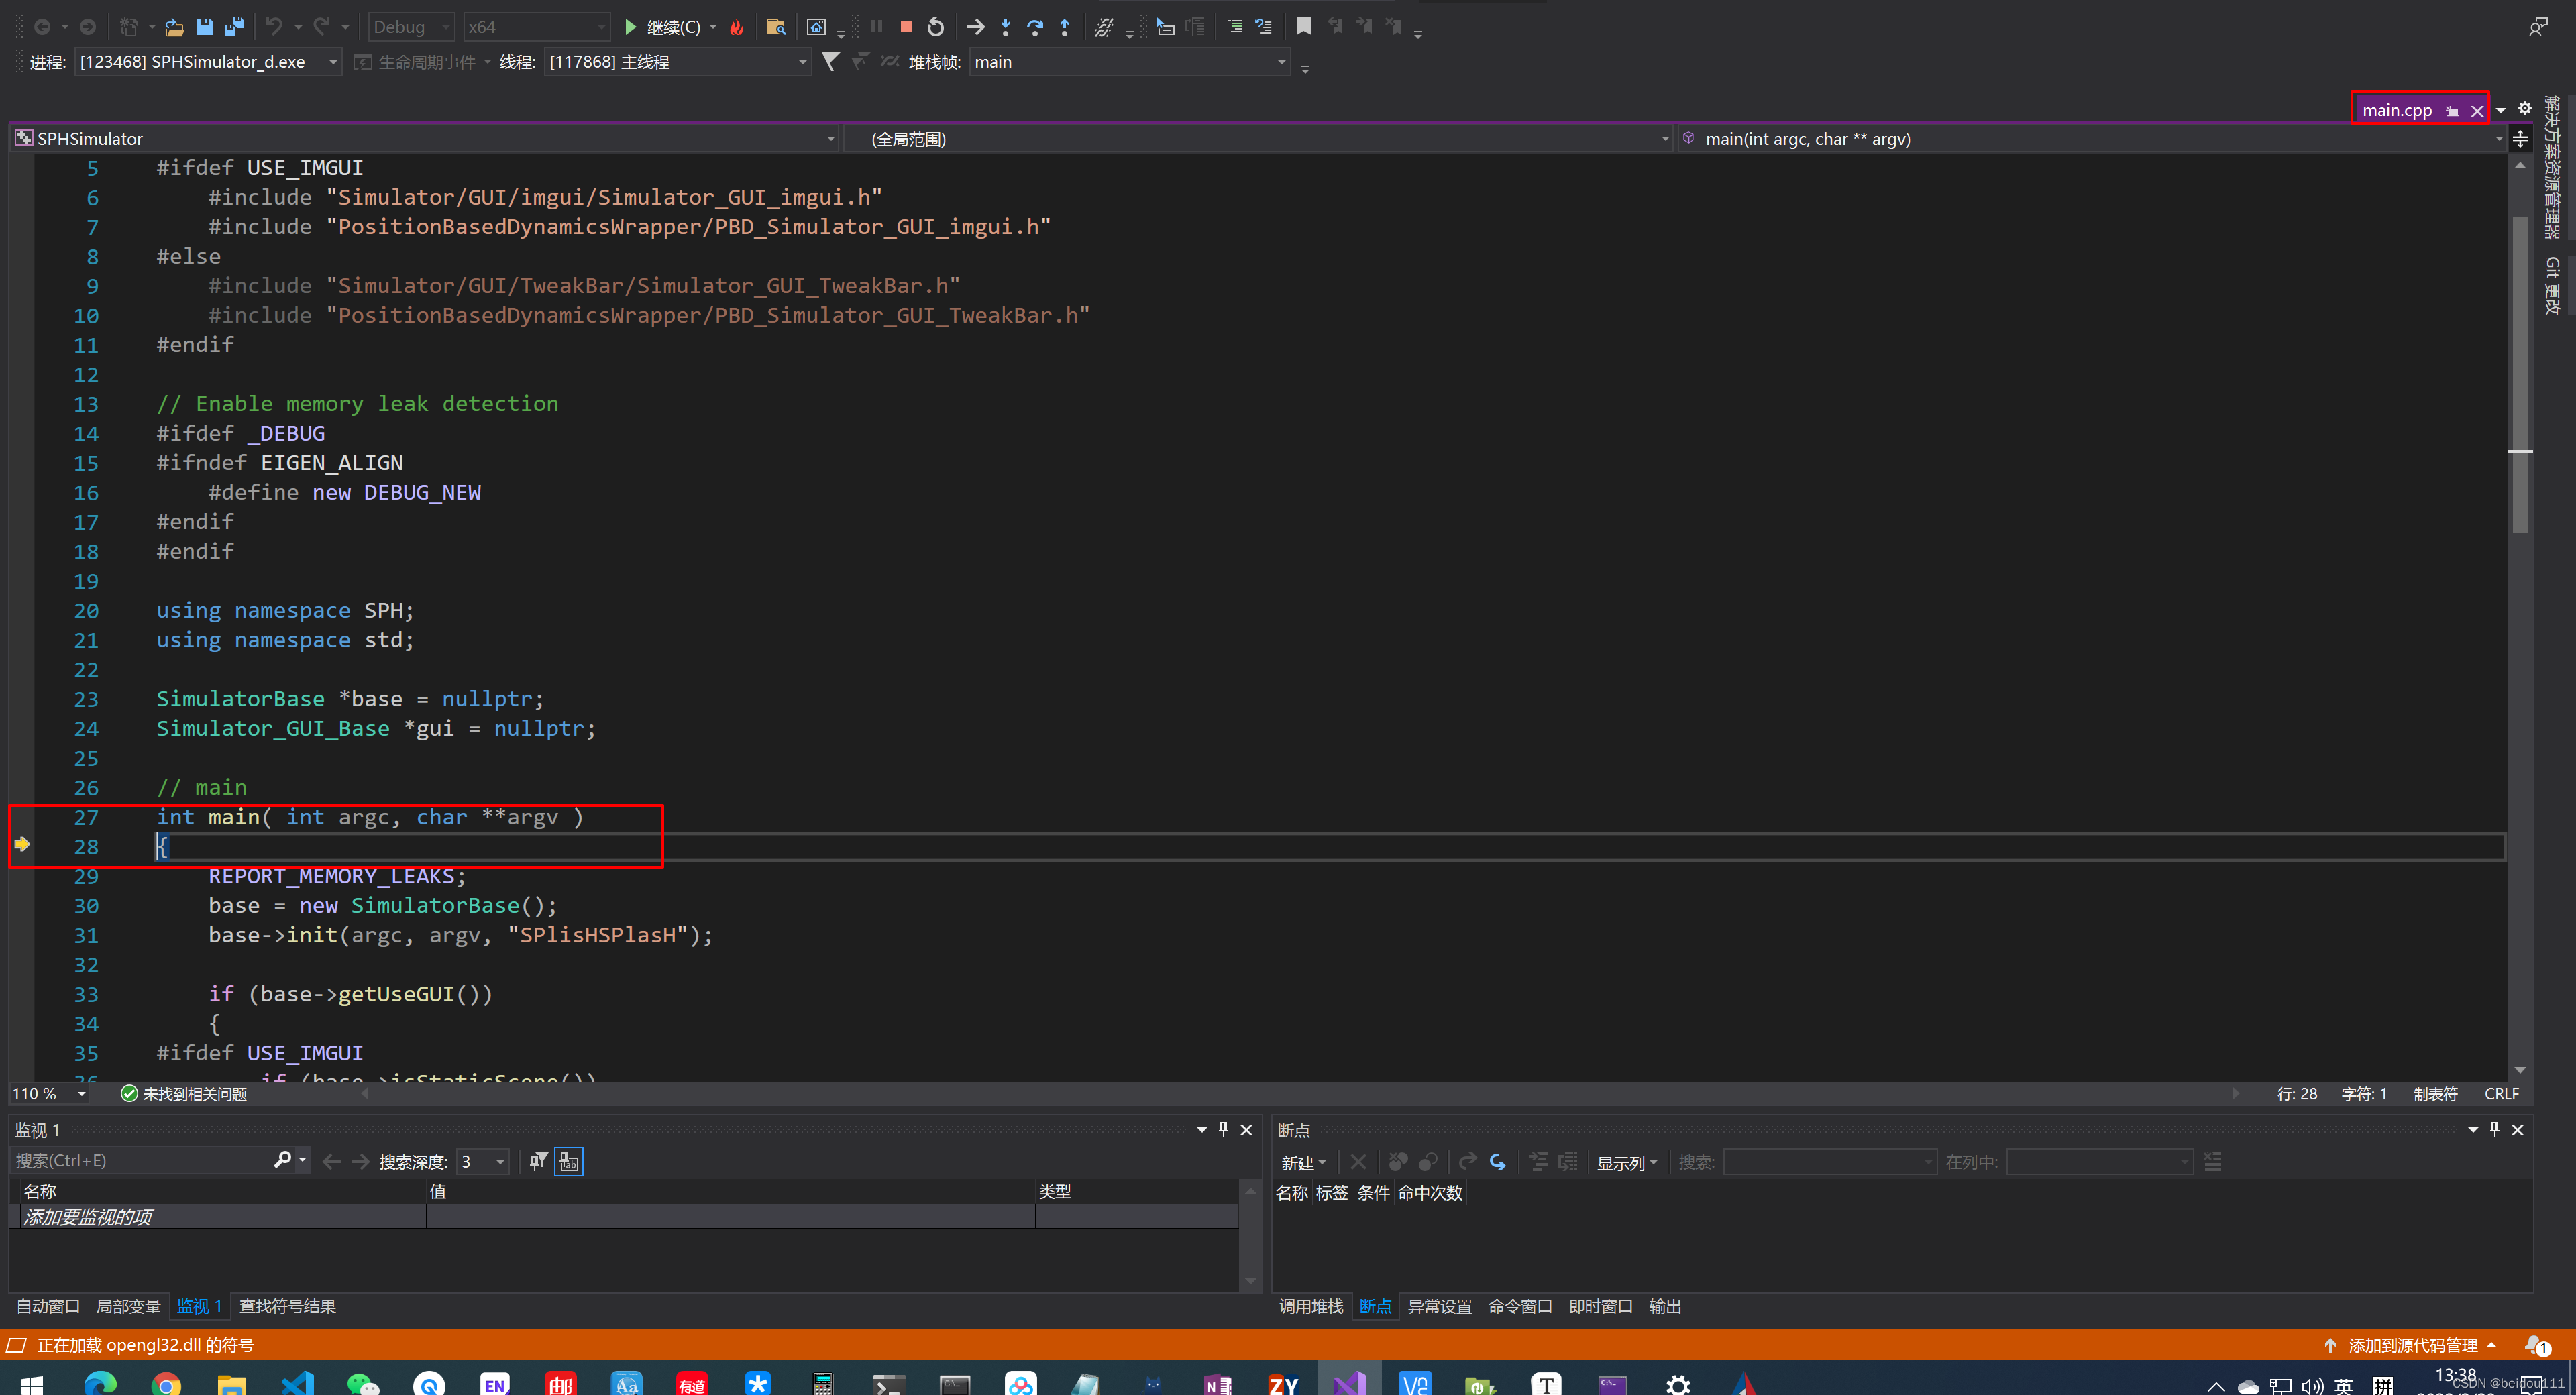
其中是SPHSimulator程序的入口
在SPHSimulator 右键-》调试-》进入并单步执行新实例
现在你找到了程序的入口,并且开始调试了。程序的入口在main.cpp。
按F10就可以单步继续调试了。
完毕。