这里介绍VSCode go 入门小结,不同的版本可能有所不同:
本章的版本如下:
| 项目 | Value |
|---|---|
| go | v1.1.6.11 |
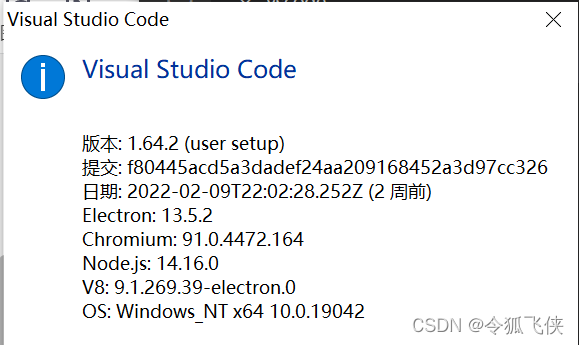
| VSCode | v1.64.2 |
1 go安装配置
下载地址:https://golang.google.cn/dl/
确认安装成功:

设置环境变量:
$GOROOT:
表示Go的安装目录。也就是上面我们解压出来的文件夹里面的go文件夹。
$GOPATH:
表示我们的工作空间。用来存放我们的工程目录的地方。
2 Visual Studio Code安装配置
2.1 下载安装
下载地址:https://code.visualstudio.com/Download
安装go插件:

2.2 下载go相关的package
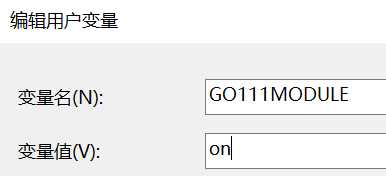
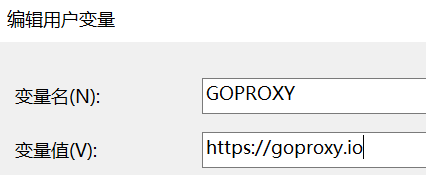
建立环境变量,
1 确认go mod打开;
2 设置go国内代理;
GOPATH新建hello文件夹,下面新建hello.go文件,代码如下:
package main

import "fmt"

func main() {
	fmt.Println("hello world!")

}
打开Visual Studio Code,会提示安装相关插件:

点击“Install All”,会下载到GOPATH pkg\mod目录下。
3 入门helo world
注意:关闭go mod模式,GOPATH 运行hello项目。
3.1 编辑hello world项目
当前工程hello:增加launch.json 和 settings.json配置文件。
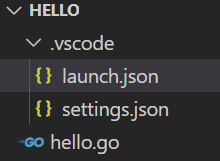
launch.json的配置内容:
{
    "version": "0.2.0",
    "configurations": [
    {
        "name": "Launch",
        "type": "go",
        "request": "launch",
        "mode": "debug",
        "program": "hello.go"
    }
    ]
}
主要是program对应的go文件名。
settings.json配置内容:
{
    "workbench.colorTheme": "Visual Studio Dark",
    "files.autoSave": "onFocusChange",
    "go.buildOnSave": "off",
    "go.lintOnSave" :"off",
    "go.vetOnSave":"off",
    "go.buildTags": "",
    "go.buildFlags": [],
    "go.lintFlags": [],
    "go.vetFlags": [],
    "go.coverOnSave": false,
    "go.useCodeSnippetsOnFunctionSuggest":true,
    "go.formatTool": "goimports",
    "go.goroot": "D:\\Program Files\\Go",
    "go.gopath": "D:\\workspace_vscode",
    "go.gocodeAutoBuild": false
}
主要是go.goroot go.gopath对应的路径。
3.2 调试hello world项目
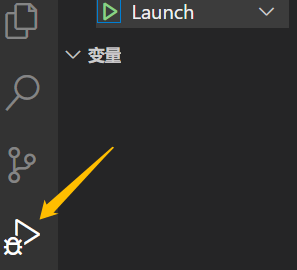
调试程序:点击左侧的“运行和调试”按钮:
调试控制台输出:

3.3 运行hello world项目
在下方终端栏操作:

进入hello文件夹,执行go build命令:

会发现多了hello.exe文件,然后输入./hello.exe命令:
