文章目录
一、创建Vue3项目
1、使用vue create命令创建项目
1、# 创建项目
vue create <project name>

2、选择手动创建

3、选择需要的,这主要讲一下怎么配置Linter/Formatter
4、选择3.x

5、使用类样式组件语法 选择N

6、我们使用Babel处理 选择Y

7、这里我使用less处理

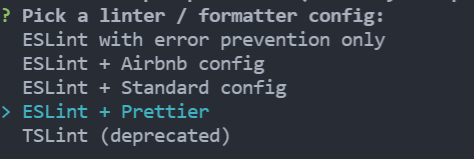
8、使用ESLint + Prettier

9、我们在保存代码时使用Lint

10、单独放置配置文件里

11、不保存预设

12、项目创建中
二、 代码规范
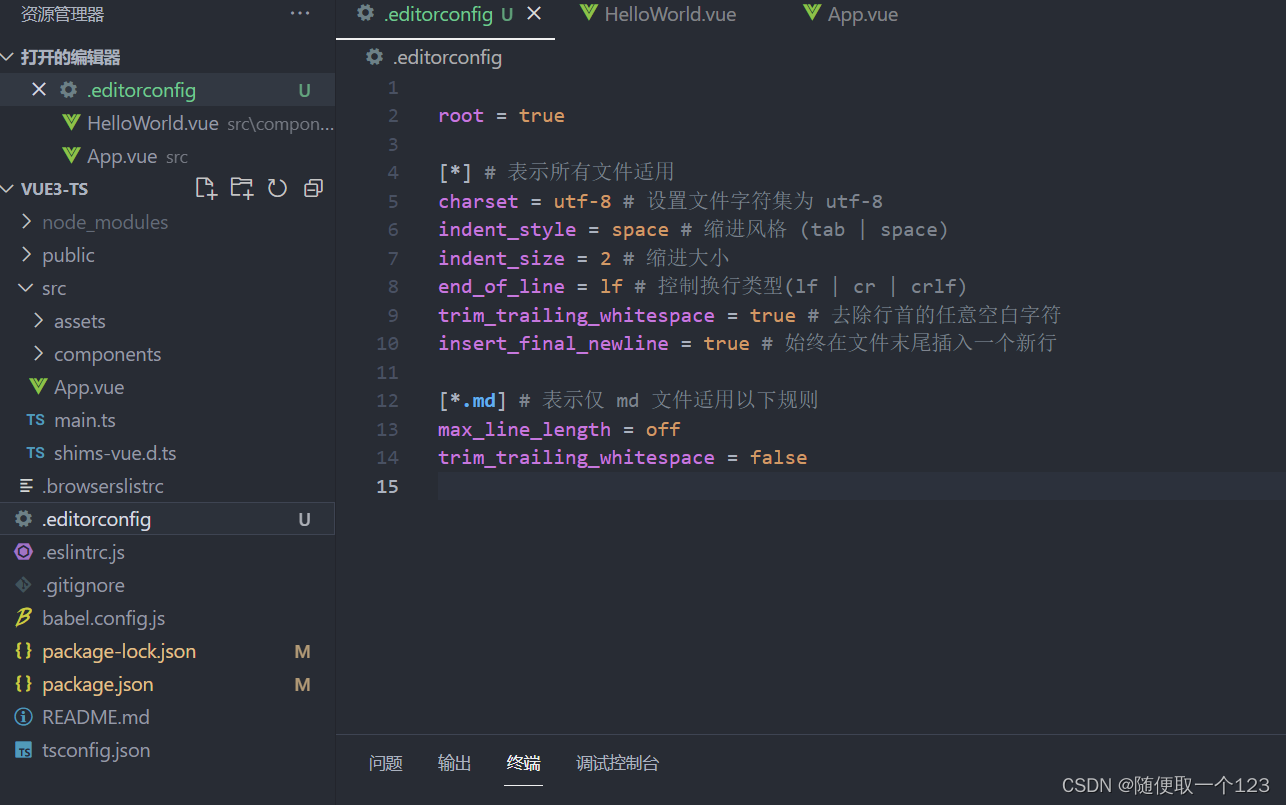
2.1 集成editorcongfig配置
EditorConfig 文件中的设置使你可以在基本代码中保持一致的编码风格和设置,例如缩进样式、选项卡宽度、行尾字符、编码等,而不考虑使用的编辑器或 IDE。 例如,使用 C# 编码时,如果基本代码约定为始终缩进五个空格字符、文档使用 UTF-8 编码,且每一行始终以 CR/LF 结束,则可以配置 .editorconfig 文件达到此效果。
root = true

[*] # 表示所有文件适用
charset = utf-8 # 设置文件字符集为 utf-8
indent_style = space # 缩进风格 (tab | space)
indent_size = 2 # 缩进大小
end_of_line = lf # 控制换行类型(lf | cr | crlf)
trim_trailing_whitespace = true # 去除行首的任意空白字符
insert_final_newline = true # 始终在文件末尾插入一个新行

[*.md] # 表示仅 md 文件适用以下规则
max_line_length = off
trim_trailing_whitespace = false

注:VSCode 需要安装:EditorConfig for VS Code

2.2 使用prettier工具
Prettier 是一个的代码格式化程序
1、 安装
npm install prettier -D
2、配置.prettierrc
- useTabs:使用Tab缩进还是空格缩进
- tabWidth:空格缩进是,缩进几个空格
- printWidth:当前行字符串可以使用的长度(有人喜欢100或120)
- singleQuote:使用单引号或者双引号
- trailingComma:多行输入是否加尾逗号
- semi:语句末尾是否加分号
{
  "useTabs": false,
  "tabWidth": 2,
  "printWidth": 80,
  "singleQuote": true,
  "trailingComma": "none",
  "semi": false
}
注:VSCode 需要安装:prettier

3、使用.prettierignore来忽略文件
/dist/*
.local
.output.js
/node_modules/**

**/*.svg
**/*.sh

/public/*
4、配置全部格式化
在package.json中添加
"prettier": "prettier --write ."
然后运行
npm run prettier
就可以全部格式化

5、此时可以正常格式化代码,但还有警告下面会讲(eslint和prettier冲突)
2.3使用ESLint检测
注:VSCode 需要安装:ESLint

1、解决eslint和prettier冲突问题
安装插件:(vue在创建项目时,如果选择prettier,那么这两个插件会自动安装)
npm install eslint-plugin-prettier eslint-config-prettier -D
2、在.eslintrc.js中插入
'plugin:prettier/recommended'

3、最后关闭窗口重新打开就不会报错了。
2.4 git Husky和eslint
虽然我们已经使用了eslint,但是不能保证组员提交代码之前都将eslint中的问题解决掉。组员执行git commit 命令时要进行校验,如果不符合规范自动校验;
husky是一个git hook工具,可以帮助我们出发git提交的各个阶段:pre-commit、commit-msg、pre-push
1、我们使用自动配置命令(window下)
npx husky-init;npm install
2、在package.json中就会出现prepare的包

3、如图在新建好的包中执行
npm run lint

4、现在组员每次git commit -m ‘xxx’ 都会进行格式化修复
2.5 代码提交风格(Commitizen)
通常我们的git commit会按照统一的风格来提交,这样可以快速定位每次提交的内容,方便之后版本进行控制。
Commitizen 是一个帮助我们编写规范commit message工具
1、安装Commitizen
npm install commitizen -D
2、安装cz-conventional-changelog,并且初始化cz-conventional-changelog
npx commitizen init cz-conventional-changelog --save-dev --save-exact

3、执行
npx cz

- 第一步是选择type,本次更新的类型
| Type | 作用 |
|---|---|
| feat | 新增特性(new feature) |
| fix | 修复 (Bugbug fix) |
| docs | 修改文档(documentation) |
| style | 代码格式修改(white-space, formatting, missing semi-colons, etc) |
| refactor | 代码重构 () |
| perf | 改善性能() |
| test | 测试() |
| build | 变更项目构建外部依赖() |
| ci | |
| chore | |
| revert |