学习视频:https://www.bilibili.com/video/BV1vy4y1s7k6?p=1
一、常用命令
- 设置用户签名
git config --global user.name 用户名 - 设置用户签名
git config --global user.email 邮箱 - 初始化本地库
git init - 查看本地库状态
git status
- 添加到暂存区
git add 文件名
从暂存区删除
git rm --cached hello.txt
- 提交到本地库
git commit -c "日志信息" 文件名
//  报错 fatal: could not lookup commit + 日记信息
解决:提交时先输入 git commit  ,之后会跳转到vim打开的一个文件里,然后在最后一行上面输入要写的日志信息就行了。
- 查看历史纪录
git reflog
- 版本窜梭
git reset --hard + 版本号
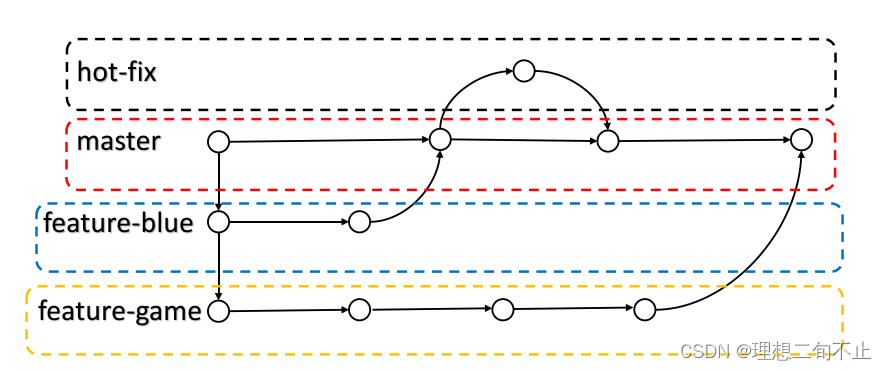
二、git分支操作
什么是分支?
在版本控制过程中,同时推进多个任务,为每个任务,我们就可以创建每个任务的单独分支。使用分支意味着程序员可以把自己的工作从开发主线上分离开来,开发自己分支的时 候,不会影响主线分支的运行。对于初学者而言,分支可以简单理解为副本,一个分支就是 一个单独的副本。(分支底层其实也是指针的引用)
1.创建分支
git branch 分支名

2.查看分支
git branch -v

3.切换分支
git checkout 分支名

4.把指定的分支合并到当前分支上
git merge 分支名
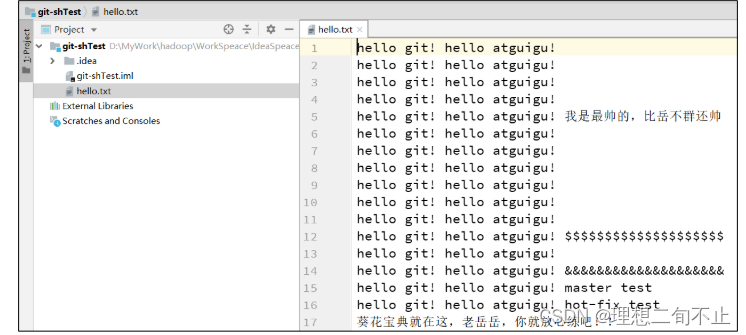
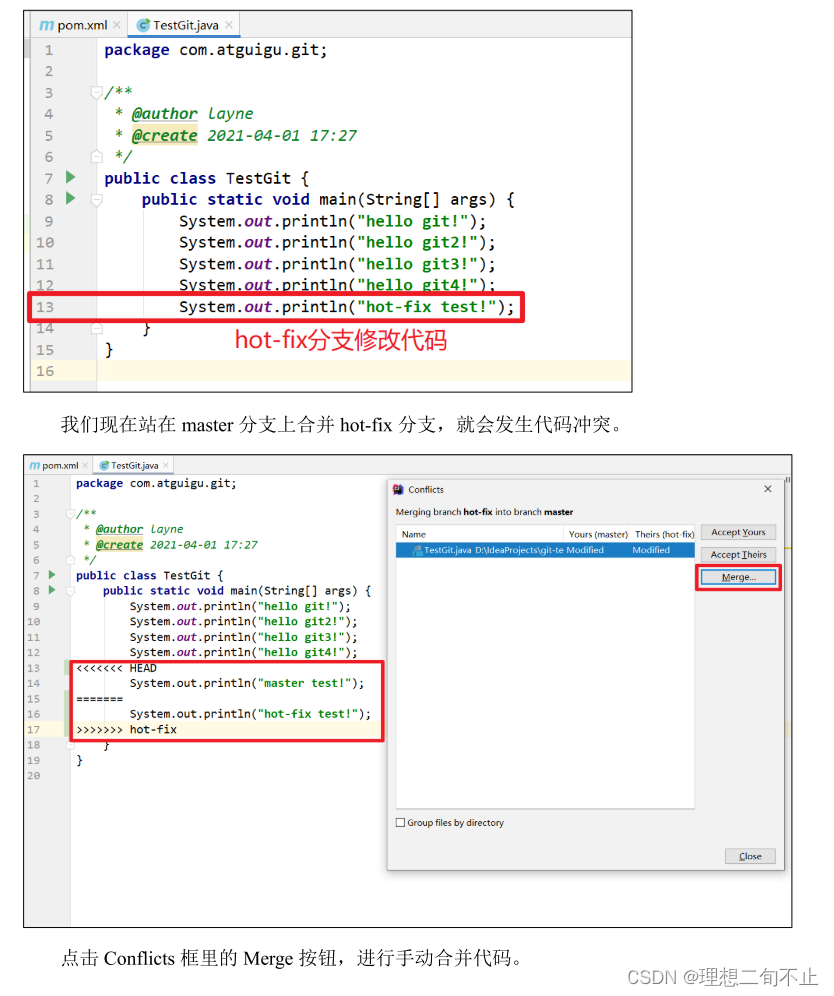
**注意:**在合并操作时会经常出现代码冲突。合并分支是,两个分支在同一个文件的同一个位置有两套完全不同的修改。Git无法替我们决定使用哪一个。必须认为决定新代码的内容。
- 编辑有冲突的文件,删除特殊符号,决定要使用的内容
特殊符号:<<<<<<< HEAD 当前分支的代码 ======= 合并过来的代码>>>>>>> hot-fix - 添加到暂存区 (这步不要少,不然提交时会报错 error: Committing is not possible because you have unmerged files.
hint: Fix them up in the work tree, and then use 'git add/rm ’
hint: as appropriate to mark resolution and make a commit.
fatal: Exiting because of an unresolved conflict.
) - 执行提交
三、git团队协作
分为两种 : 团队内协作和跨团队协作
1.团队内协作
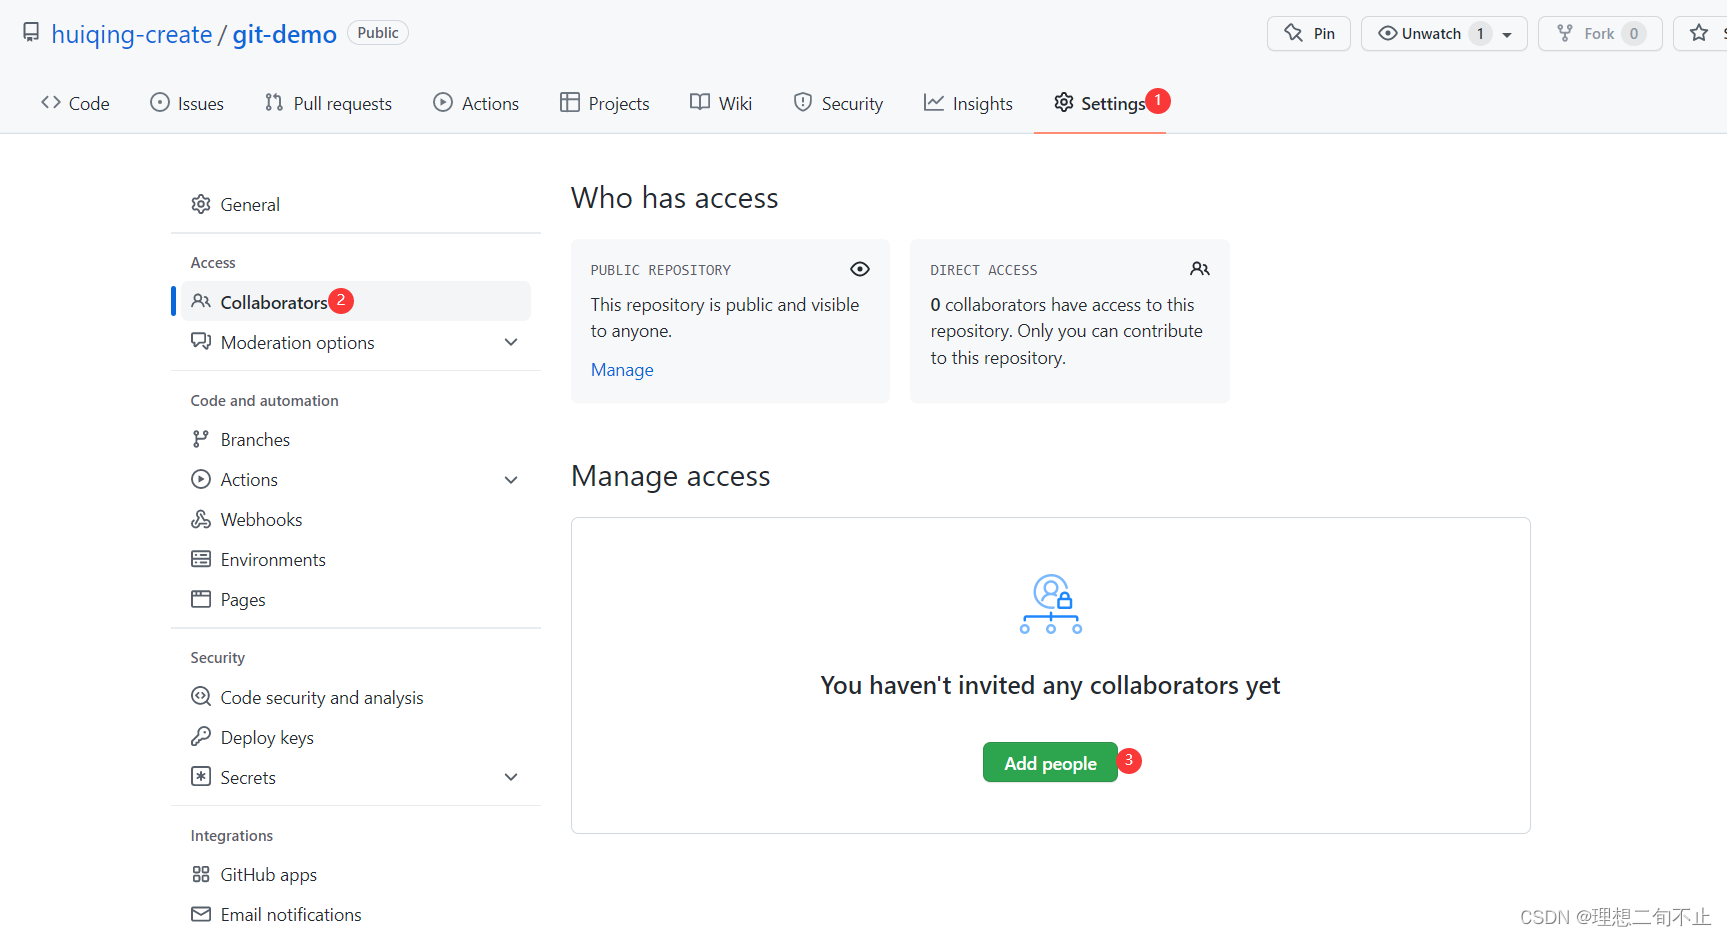
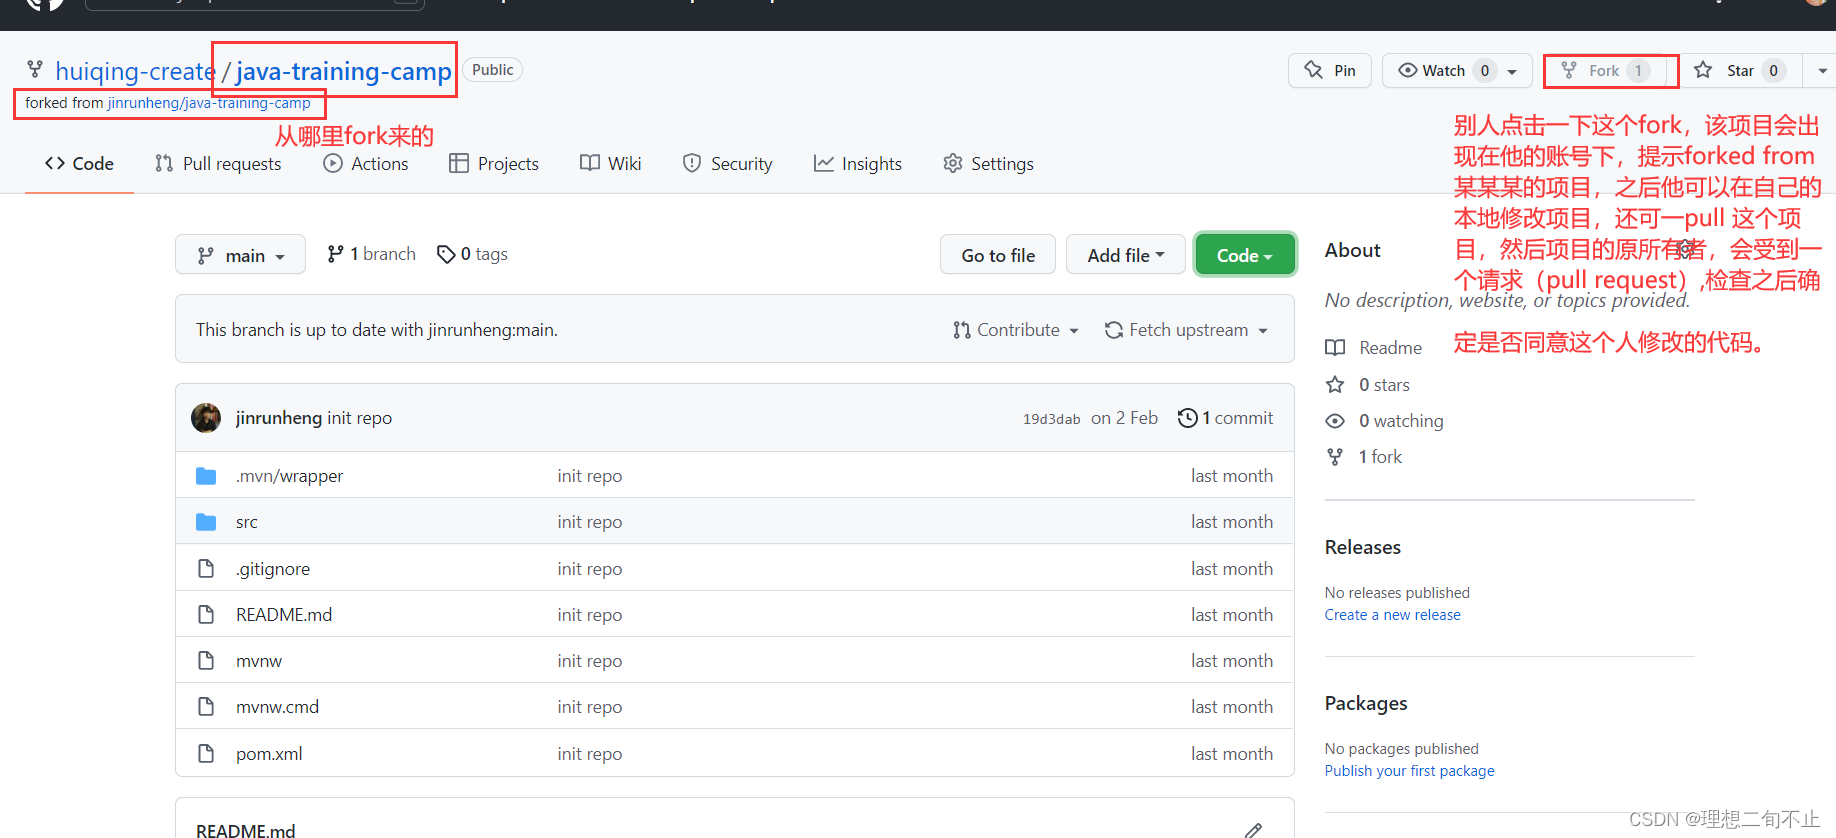
2.团队外协作
五、github操作
1.创建仓库
2.远程仓库操作
1.查看当前所有远程仓库
git remote -v

2.起别名
git remote add 别名 远程地址

3.推送本地分支上的内容到远程仓库
git push 别名  分支

4.将远程仓库的内容克隆到本地
git clone 远程地址

5.将远程仓库对于分支最新内容拉下来后与当前本地分支直接合并
git pull 远程库地址别名  远程分支别名
六、免密登录
https://blog.csdn.net/com542948180/article/details/105845044
看这位大佬的文章
七、idea中使用git
1. 配置git忽略文件
问题 1:为什么要忽略他们?
答:与项目的实际功能无关,不参与服务器上部署运行。把它们忽略掉能够屏蔽 IDE 工具之 间的差异。
问题 2:怎么忽略?
1)创建忽略规则文件 xxxx.ignore(前缀名随便起,建议是 git.ignore) 这个文件的存放位置原则上在哪里都可以,为了便于让~/.gitconfig 文件引用,建议也放在用 户家目录下
git.ignore 文件模版内容如下:
# Compiled class file
*.class
# Log file
*.log
# BlueJ files
*.ctxt
# Mobile Tools for Java (J2ME)

.mtj.tmp/
# Package Files #
*.jar
*.war
*.nar
*.ear
*.zip
*.tar.gz
*.rar
# virtual machine crash logs, see http://www.java.com/en/download/help/error_hotspot.xml
hs_err_pid*
.classpath
.project
.settings
target
.idea
*.iml
2)在.gitconfig 文件中引用忽略配置文件(此文件在Windows 的家目录中) [user]
name = Layne email = xxxx@xxxxx.com
[core]
excludesfile = C:/Users/asus/git.ignore
注意:这里要使用“正斜线(/)”,不要使用“反斜线(\)”
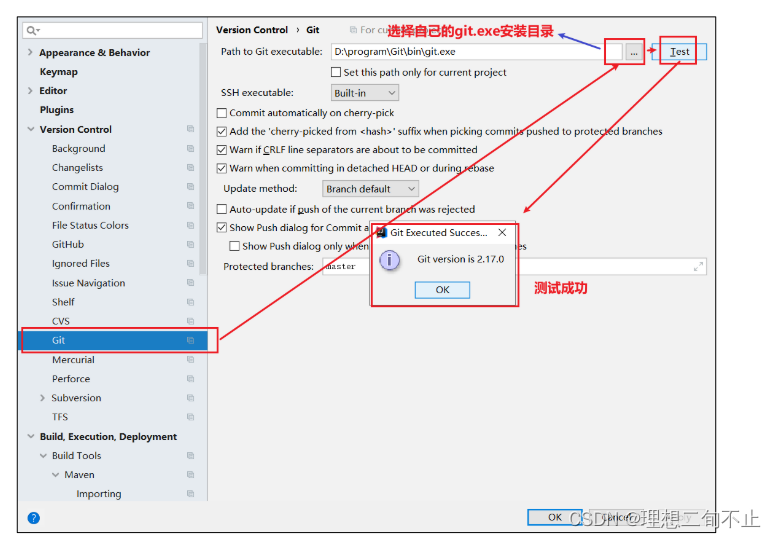
2.定位Git程序
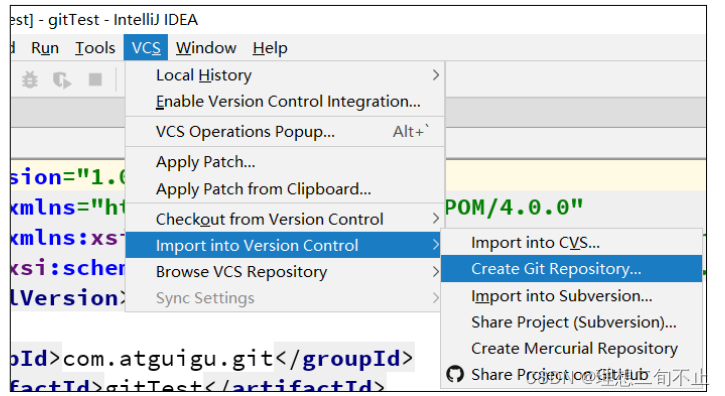
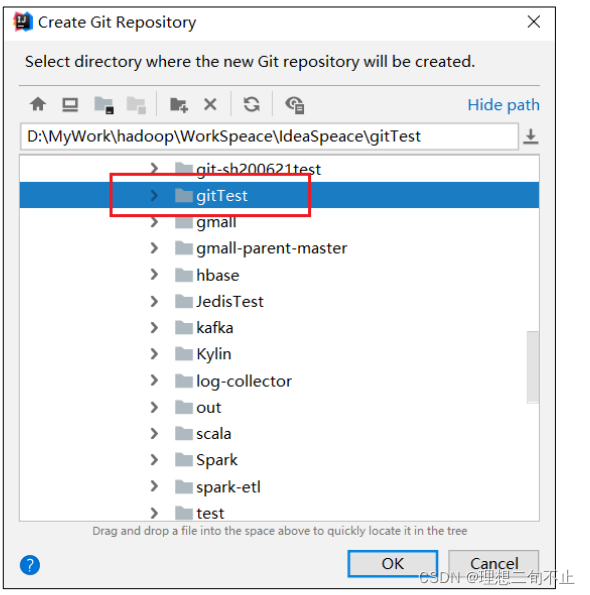
3.初始化本地库
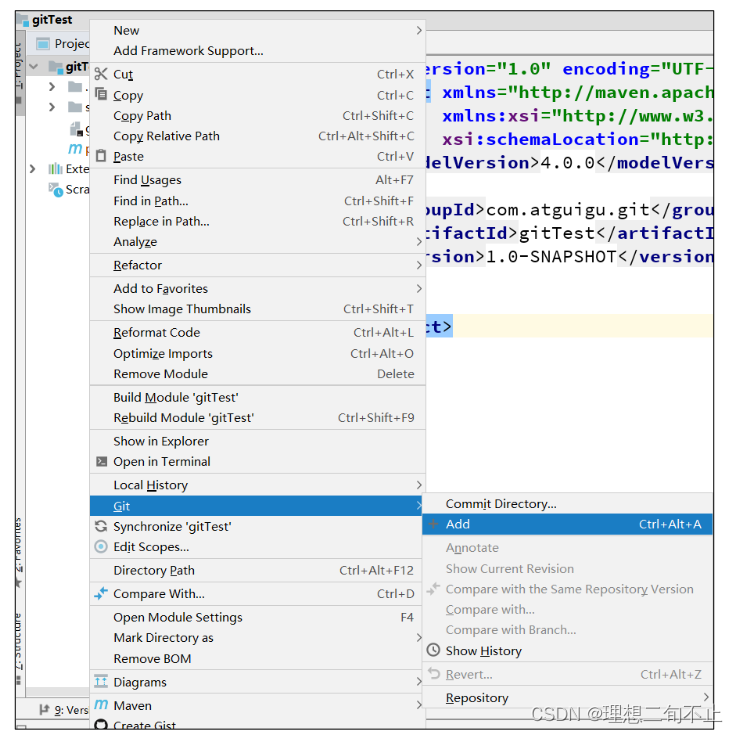
4.添加到暂存区
右键点击项目选择Git -> Add 将项目添加到暂存区
5.提交到本地库
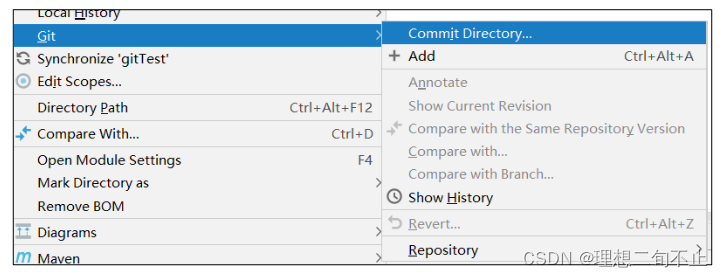

6.切换版本
在 IDEA的左下角,点击Version Control,然后点击 Log 查看版本
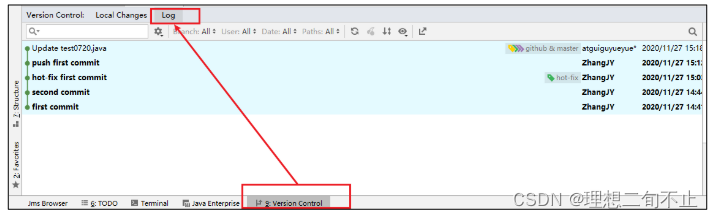
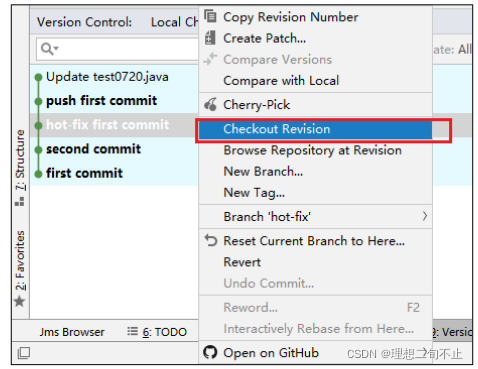
右键选择要切换的版本,然后在菜单里点击Checkout Revision。
7.创建分支
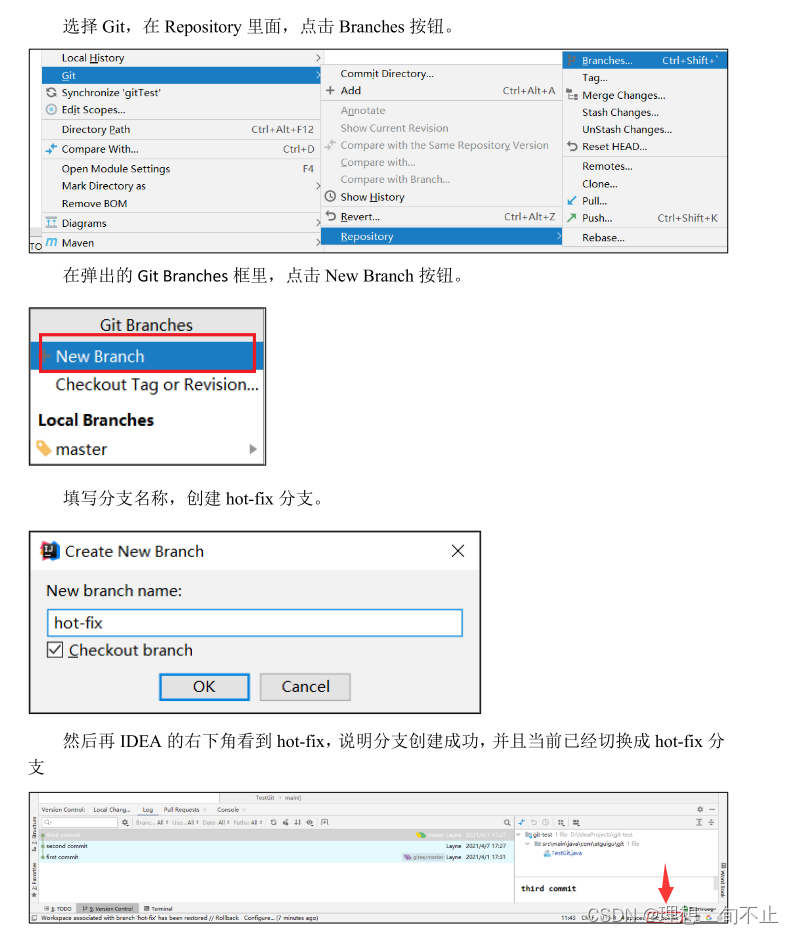
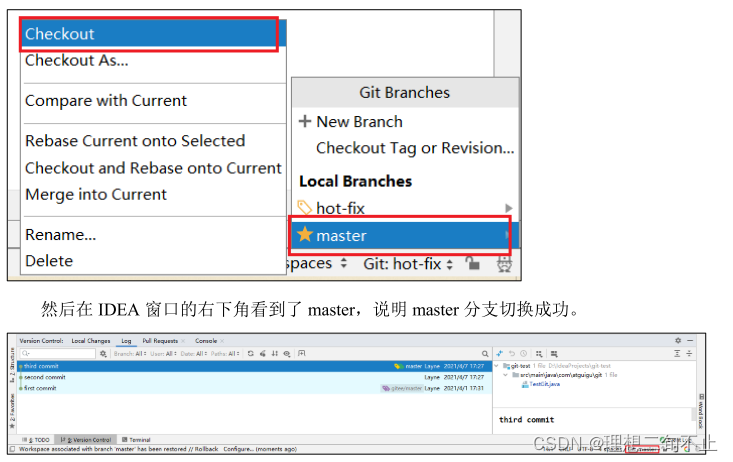
8.切换分支
在 IDEA窗口的右下角,切换到master 分支。
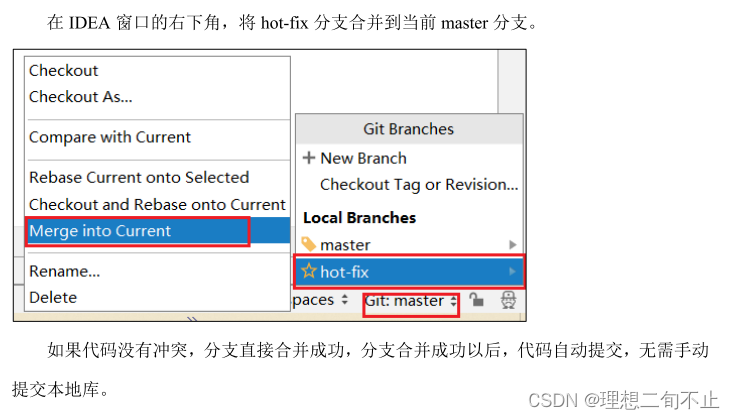
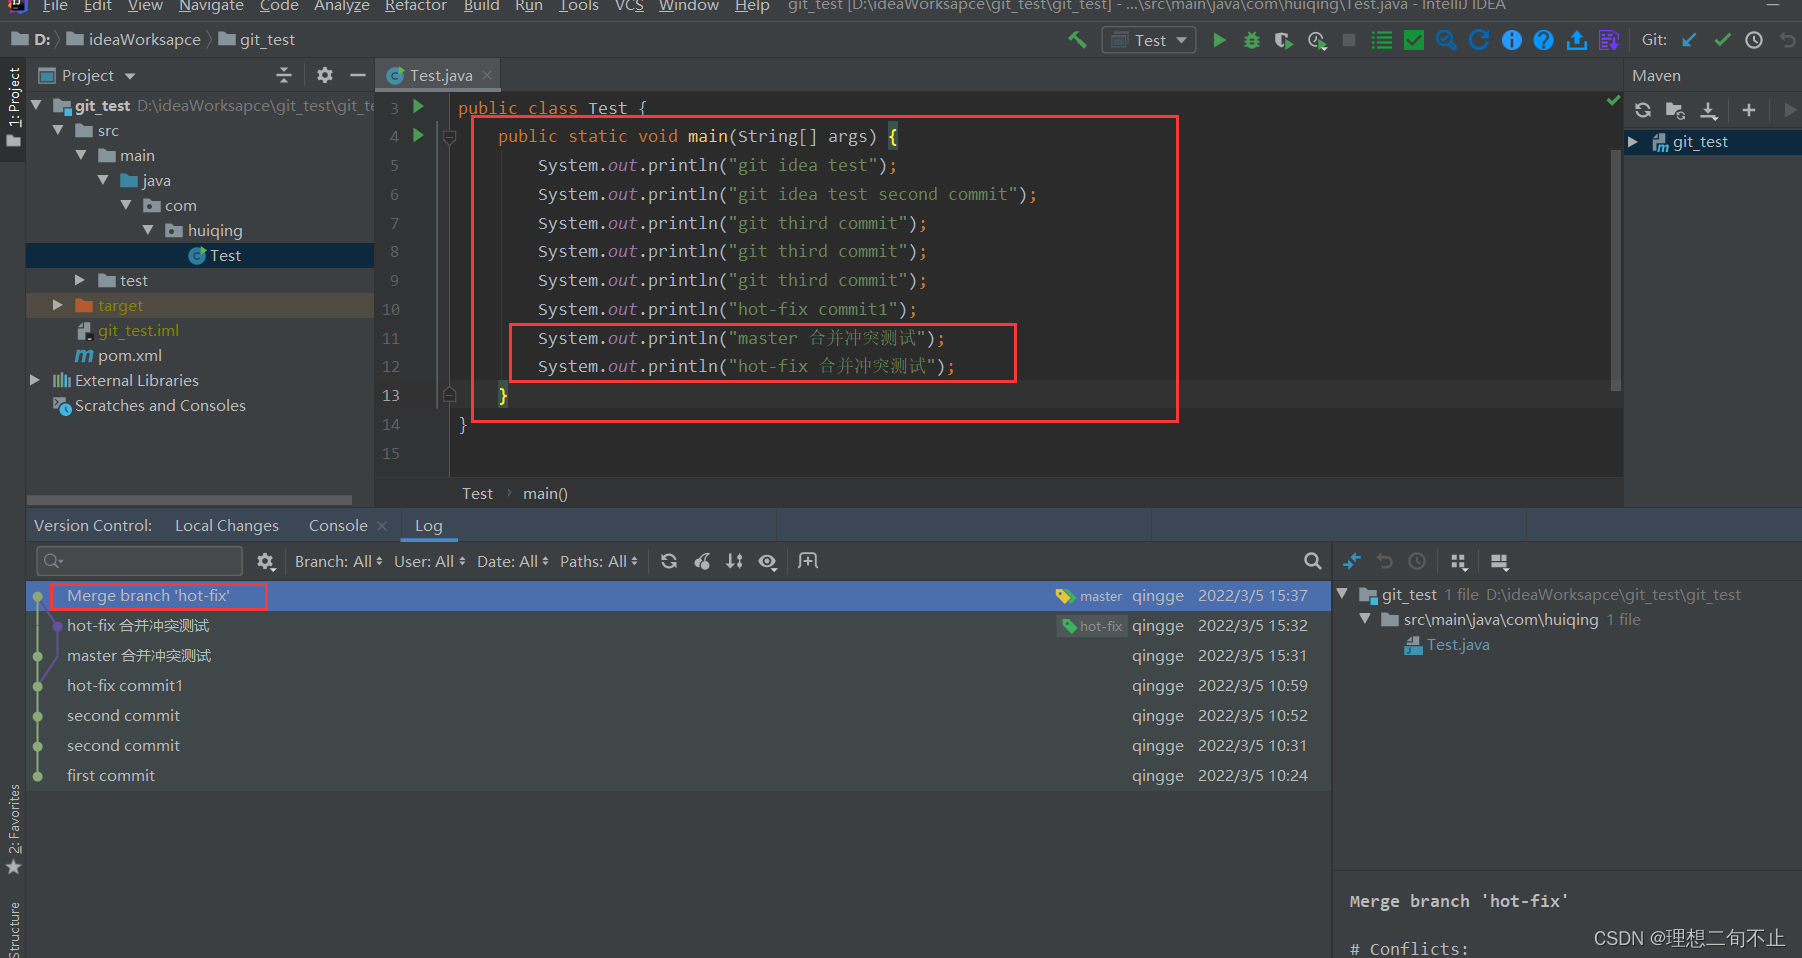
9.合并分支

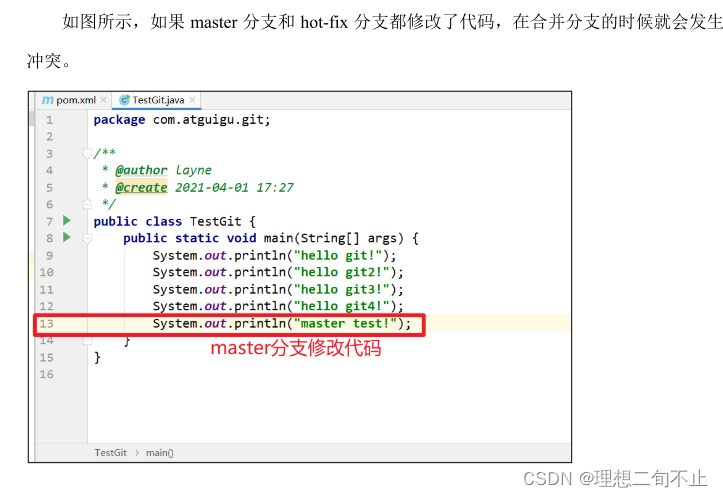
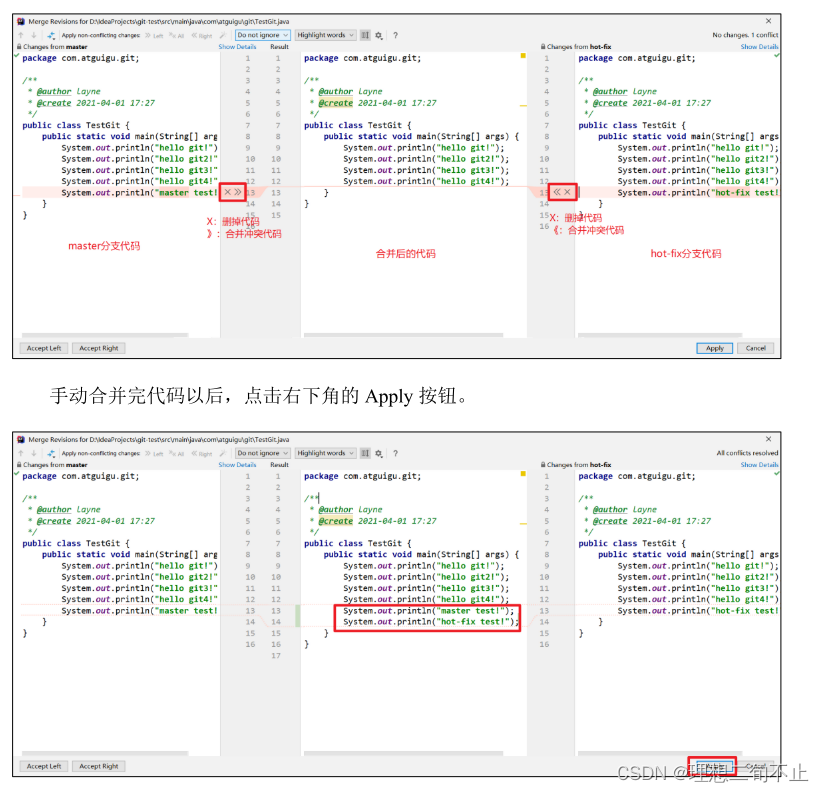
10.解决合并冲突
代码冲突解决,自动提交本地库。
下面这张图片是自己的
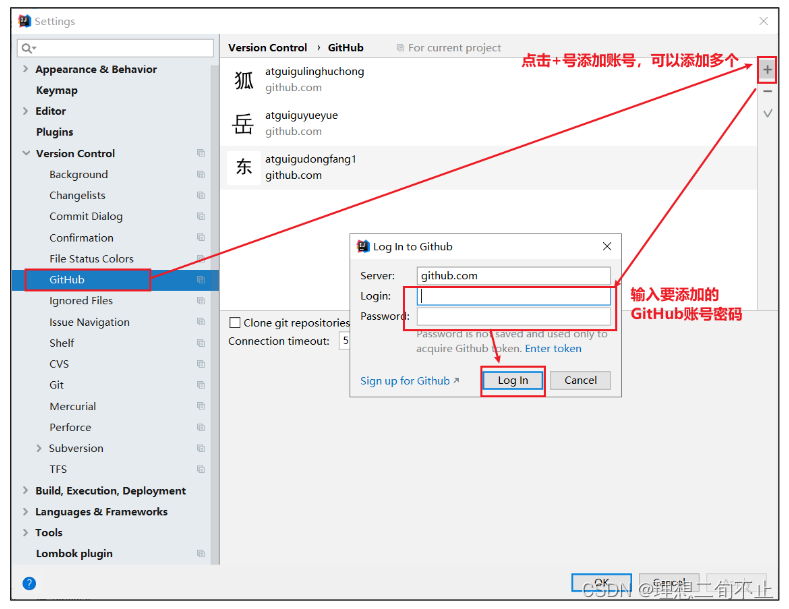
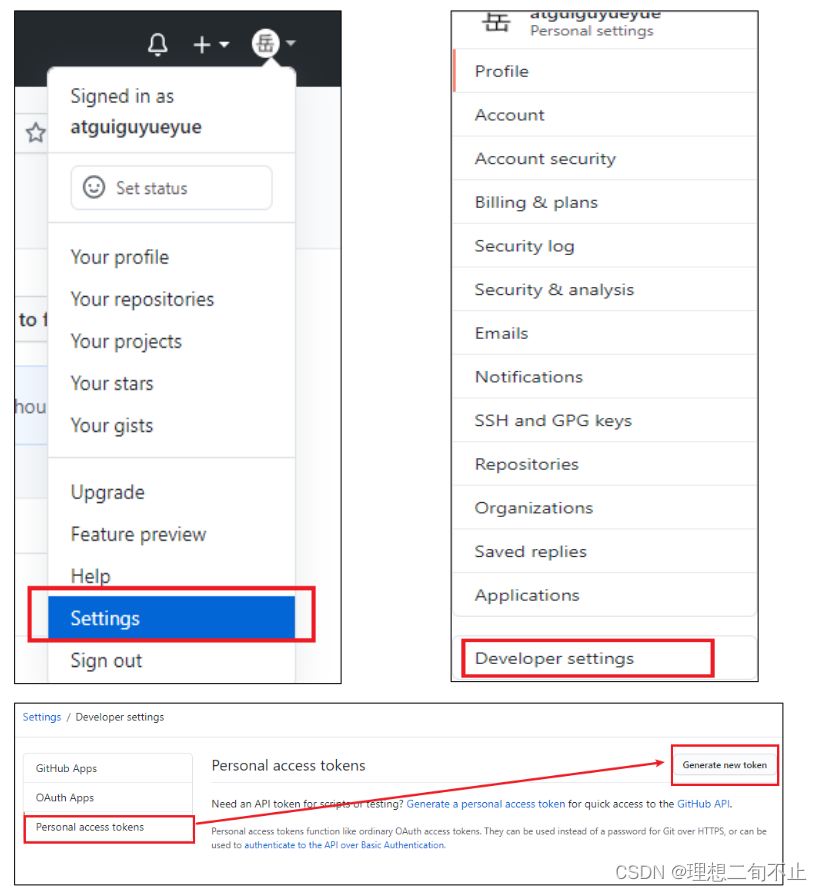
第八章IDEA集成github
idea和github的链接本质上还是git和github的链接,免密登录啥的都是在git上做好的。在idea上定位了git.exe程序(自己设置[看七.2])
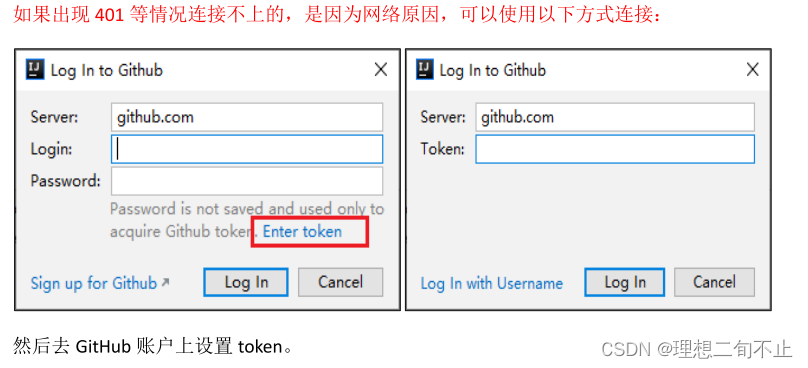
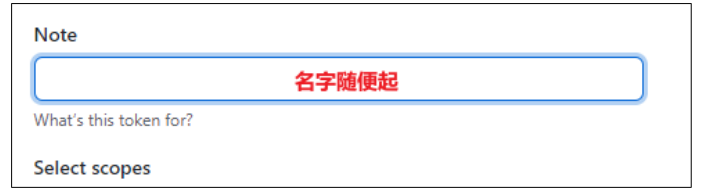
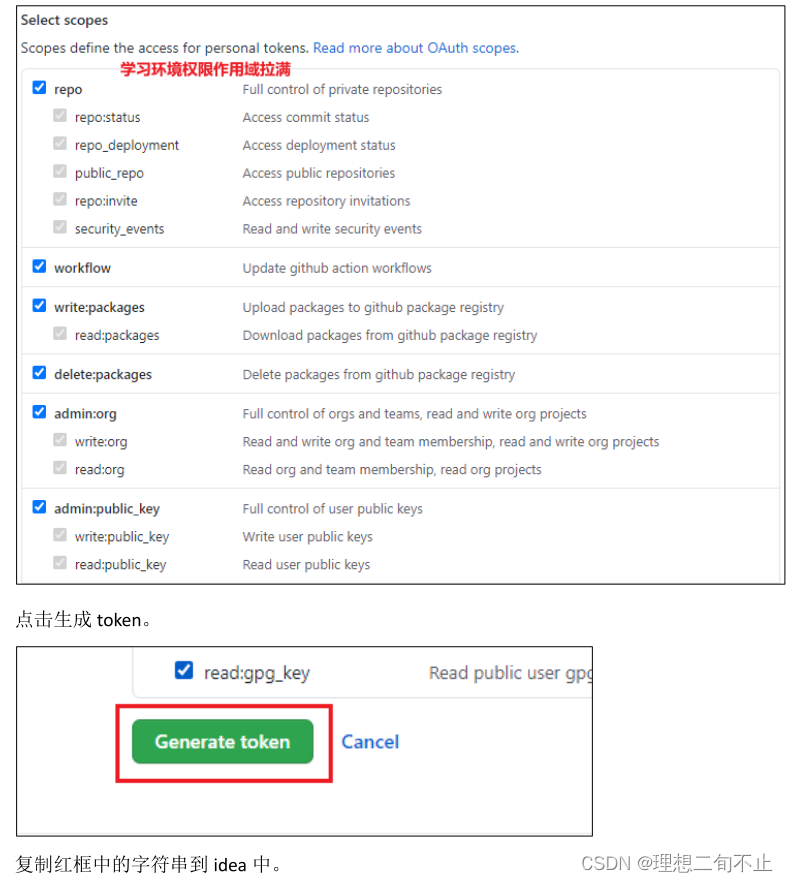
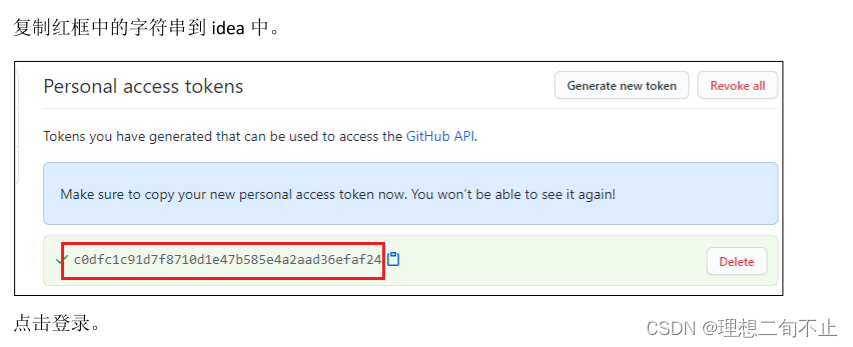
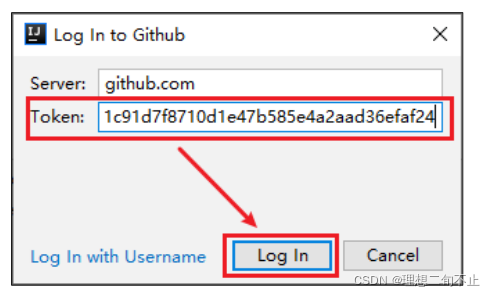
1.设置GitHub账号
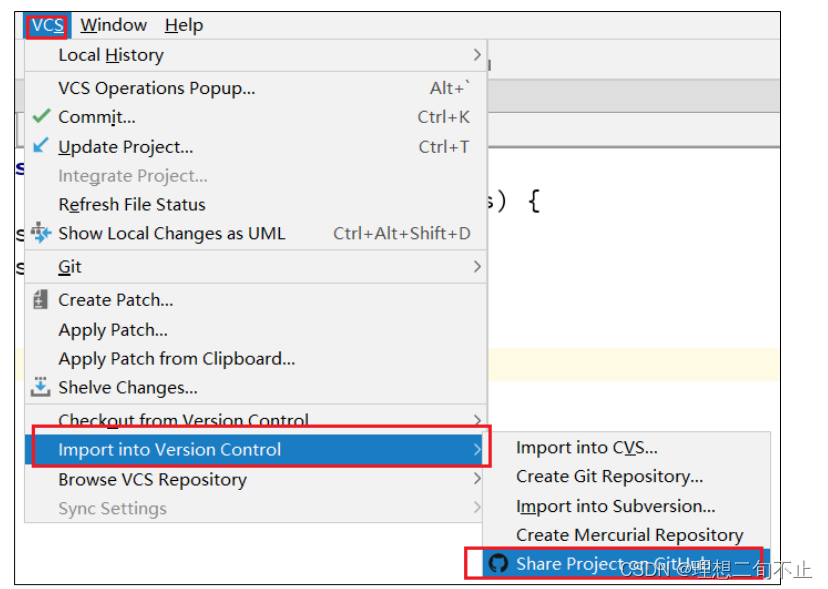
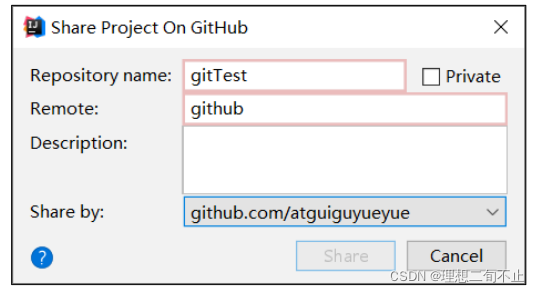
2.分享工程到github

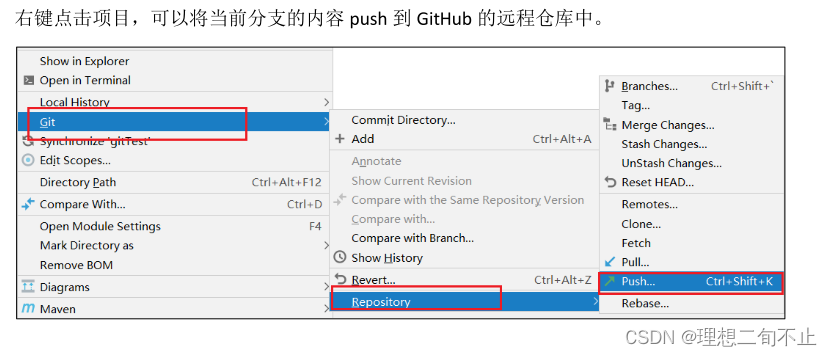
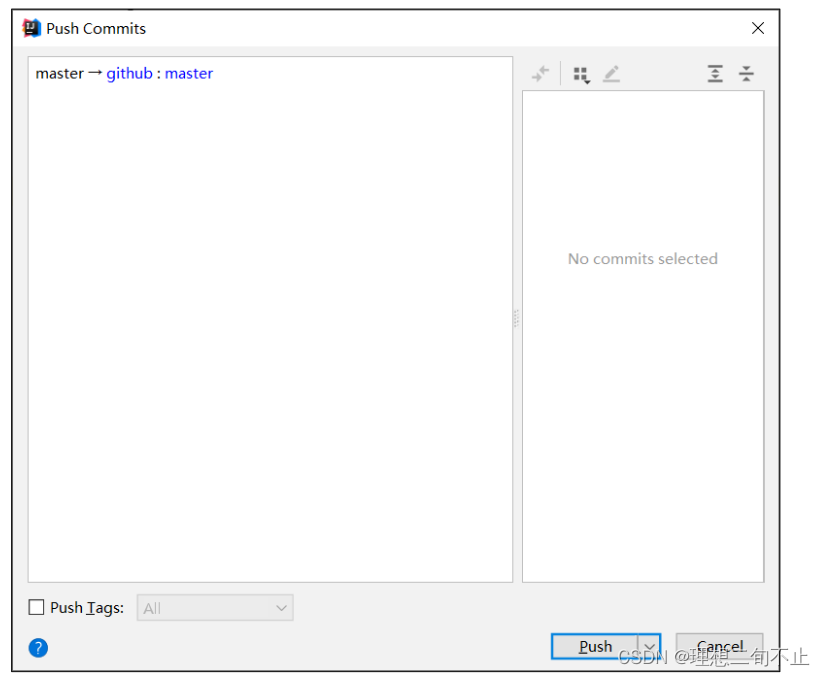
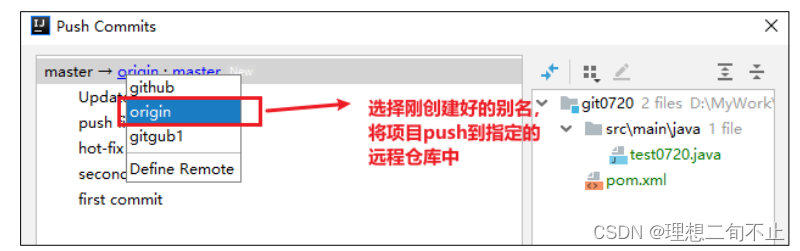
3.push推送本地库到远程库
push前不要忘了先把自己改过的代码提交到本地库
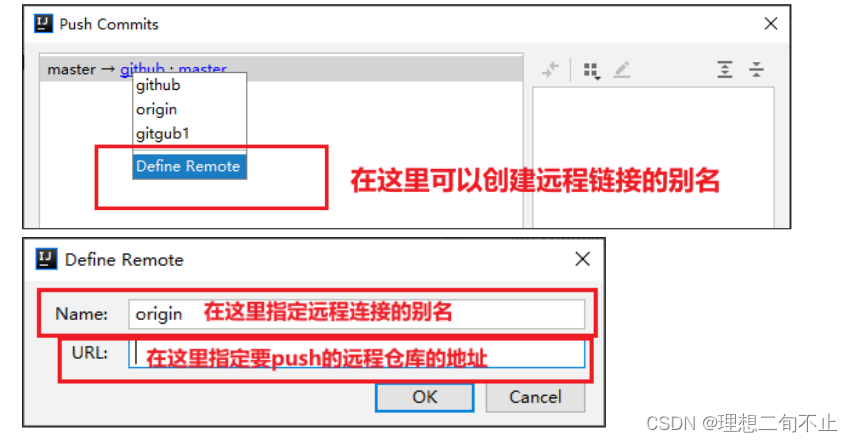
注意:push 是将本地库代码推送到远程库,如果本地库代码跟远程库代码版本不一致,
push 的操作是会被拒绝的。也就是说,要想 push 成功,一定要保证本地库的版本要比远程 库的版本高!因此一个成熟的程序员在动手改本地代码之前,一定会先检查下远程库跟本地 代码的区别!如果本地的代码版本已经落后,切记要先 pull 拉取一下远程库的代码,将本地 代码更新到最新以后,然后再修改,提交,推送!
4.pull拉取远程库到本地库
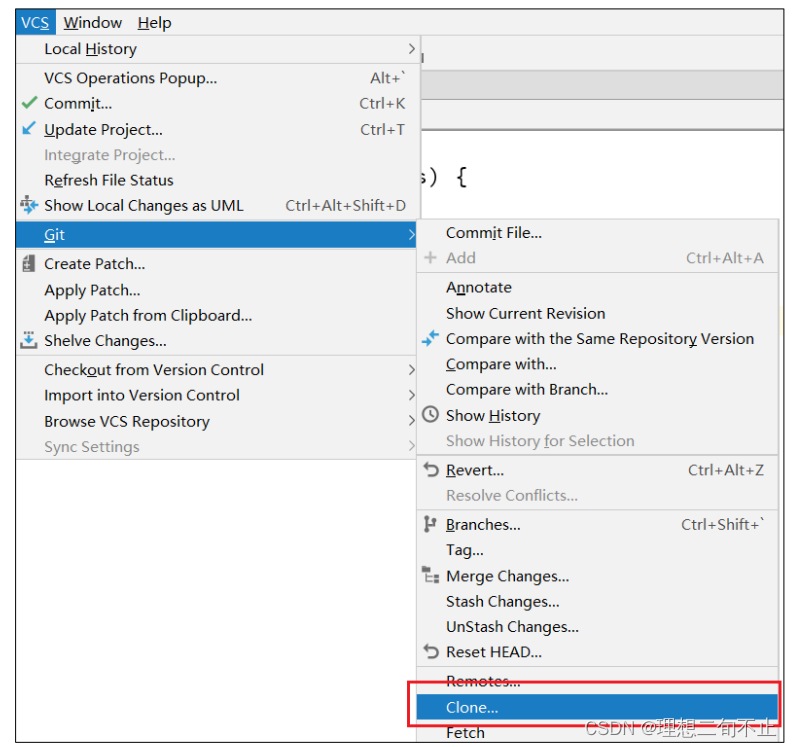
右键点击项目,可以将远程仓库的内容 pull 到本地仓库(有两种方式,另一种实在VCS中找git)
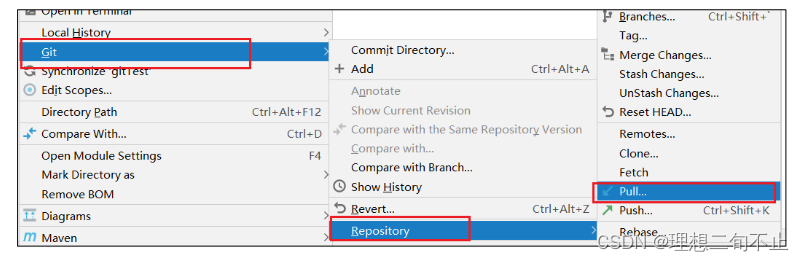
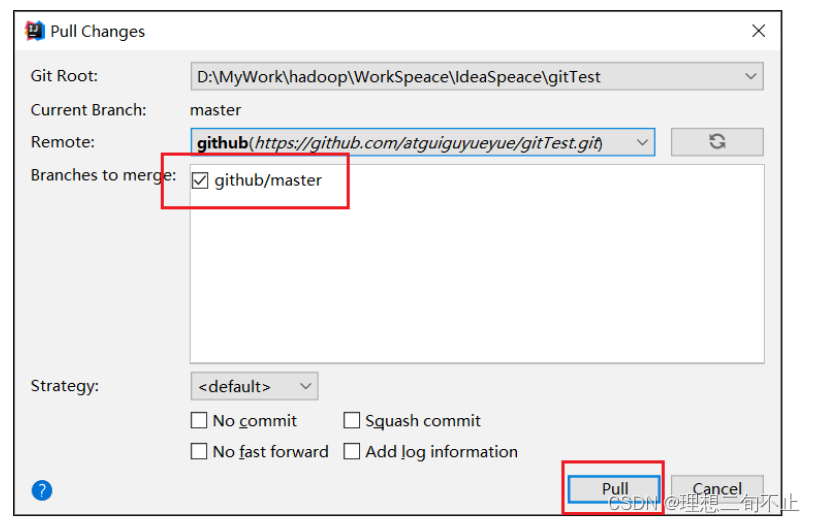
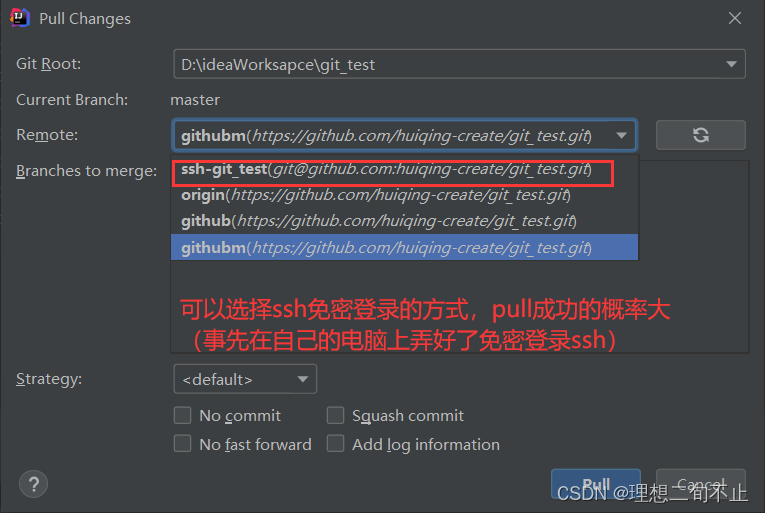
注意:pull 是拉取远端仓库代码到本地,如果远程库代码和本地库代码不一致,会自动 合并,如果自动合并失败,还会涉及到手动解决冲突的问题
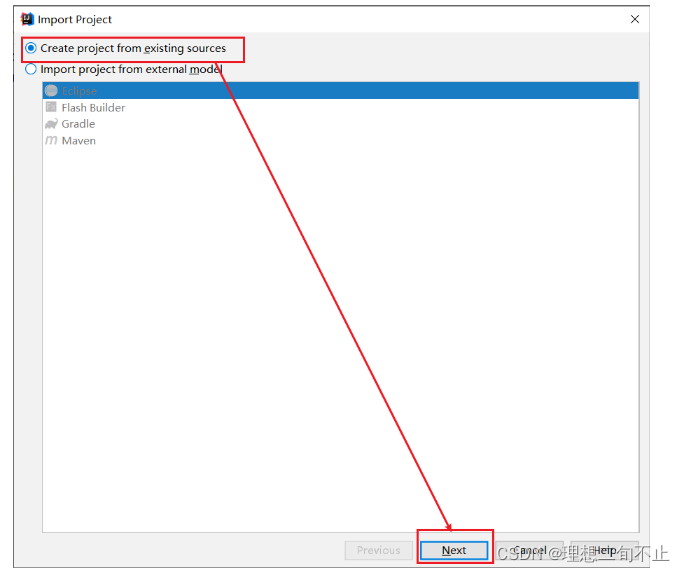
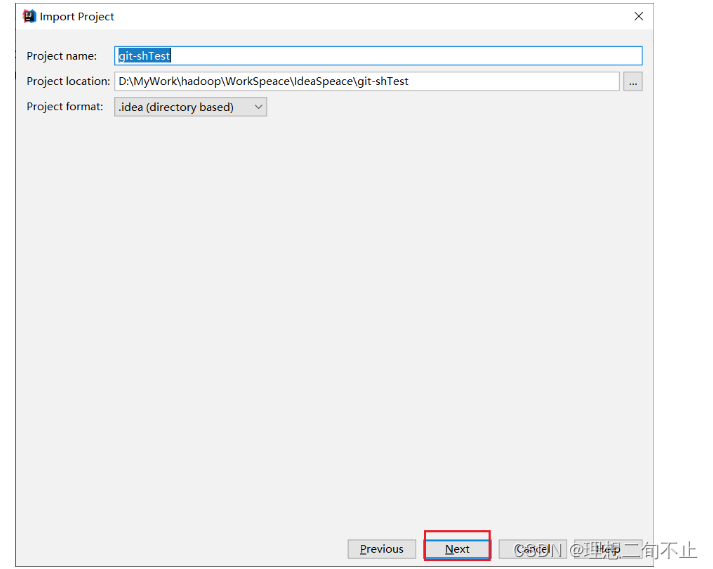
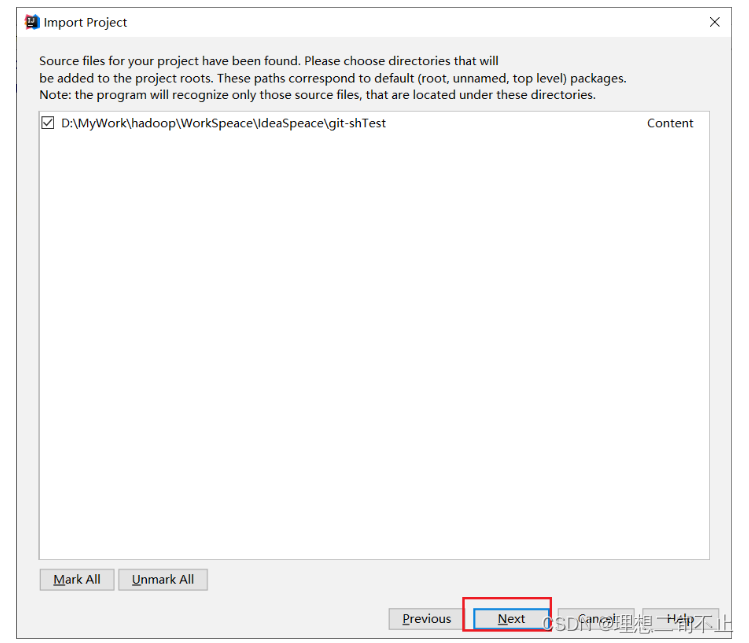
5.clone克隆远程库到本地