提示:文章写完后,目录可以自动生成,如何生成可参考右边的帮助文档
@[TOC](如何使用 PyCharm 将代码上传到GitHub上(遇到的坑))
前言
使用PyCharm将自己的项目上传到github上。
一、先安装git
(1)先去git官网上下载安装git,根据自己的电脑版本选择安装32位还是64位版本。
傻瓜式一键默认安装就行。
(2)检验git是否安装好,并查看版本。打开git bash输入git --version查看安装git版本号

二、GitHub设置添加SSH Key
git是分布式的代码管理工具,远程的代码管理是基于ssh的,所以得先配好SSH key.
1.创建一个SSH key
在git bash输入ssh-keygen -t rsa -C “email”
email输入自己的邮箱
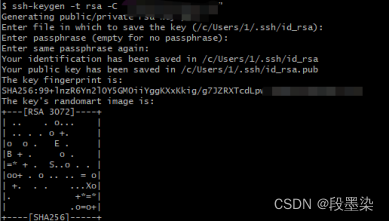
中间会提示设置密码,可以设置密码也可以不设置,完了之后去路径下会生成相应的两个文件,如下图所示:

可以用记事本打开其中的id_ras.pub 文件(这里是用的notepad打开的)

将这一长串复制到github网站。进入github中setting
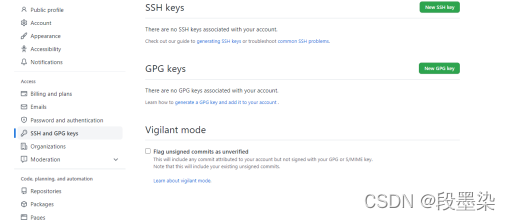
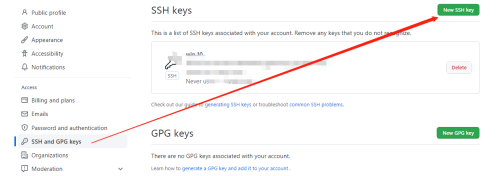
Title随便取,key粘贴刚刚复制的SSH。
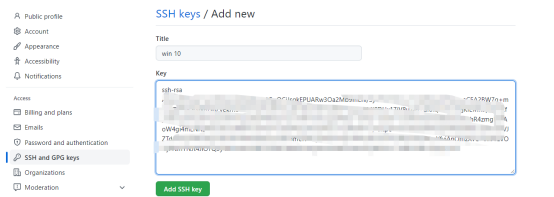
2.验证是否成功
在git bash输入ssh -T git@github.com

本来应该显示安装成功,但是在这里却出现了以上问题。
3.解决端口号22报错
(1)在git bash输入 cd ~/.ssh进入ssh路径
(2)输入vim config在此添加
Host github.com
User YourEmail@xx.com
Hostname ssh.github.com
PreferredAuthentications publickey
IdentityFile ~/.ssh/id_rsa
Port 443
YourEmail@xx.com 改为自己的邮箱。然后:wq保存退出
输入命令ssh -T git@github.com显示安装成功。
值得注意的是在配置git那里设置密码的,同样在这里也要输入之前的密码

在PyCharm中配置
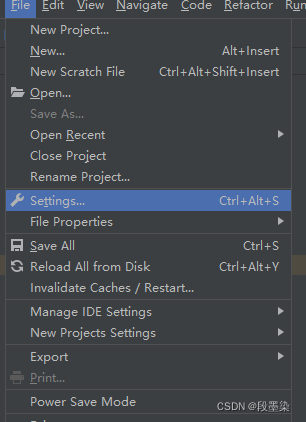


然后就建立远程仓库并提交代码了,点击顶部菜单栏的VCS选项。

选择要上传的文件,然后就可以了。
配置好上传代码遇到的坑
Successfully created project ‘’ on GitHub, but initial push failed: Could not read from remote。安装Git-64bit,然后在PyCharm中Settring -> VersionControl ->GitHub ,设置自己的github账号和密码,点击Test测试Success成功提示了 ,然后把项目发布到GitHub中:VCS -> Import into Version Control -> Share Project on Github。
出现如下错误信息:
Can’t finish GitHub sharing process

Successfully created project ‘mysite’ on GitHub, but initial push failed:

Could not read from remote repository.
有可能有如下解决方法:
(1):取消SSH的勾

这种方法我尝试过但是还是不能解决问题。还是会出现如下问题:
git config --global user.email "you@example.com"
git config --global user.name "Your Name"
to set your account's default identity.
Omit --global to set the identity only in this repository.
(2)打开git bash配置github的账号名和邮箱,


然后根据之上提到创建仓库上传项目的步骤,就成功了。

总结
配置中还是遇到不少的坑,特此记录下