1、安装报错总结
1.1、源代码版本问题
1.1.1、问题描述
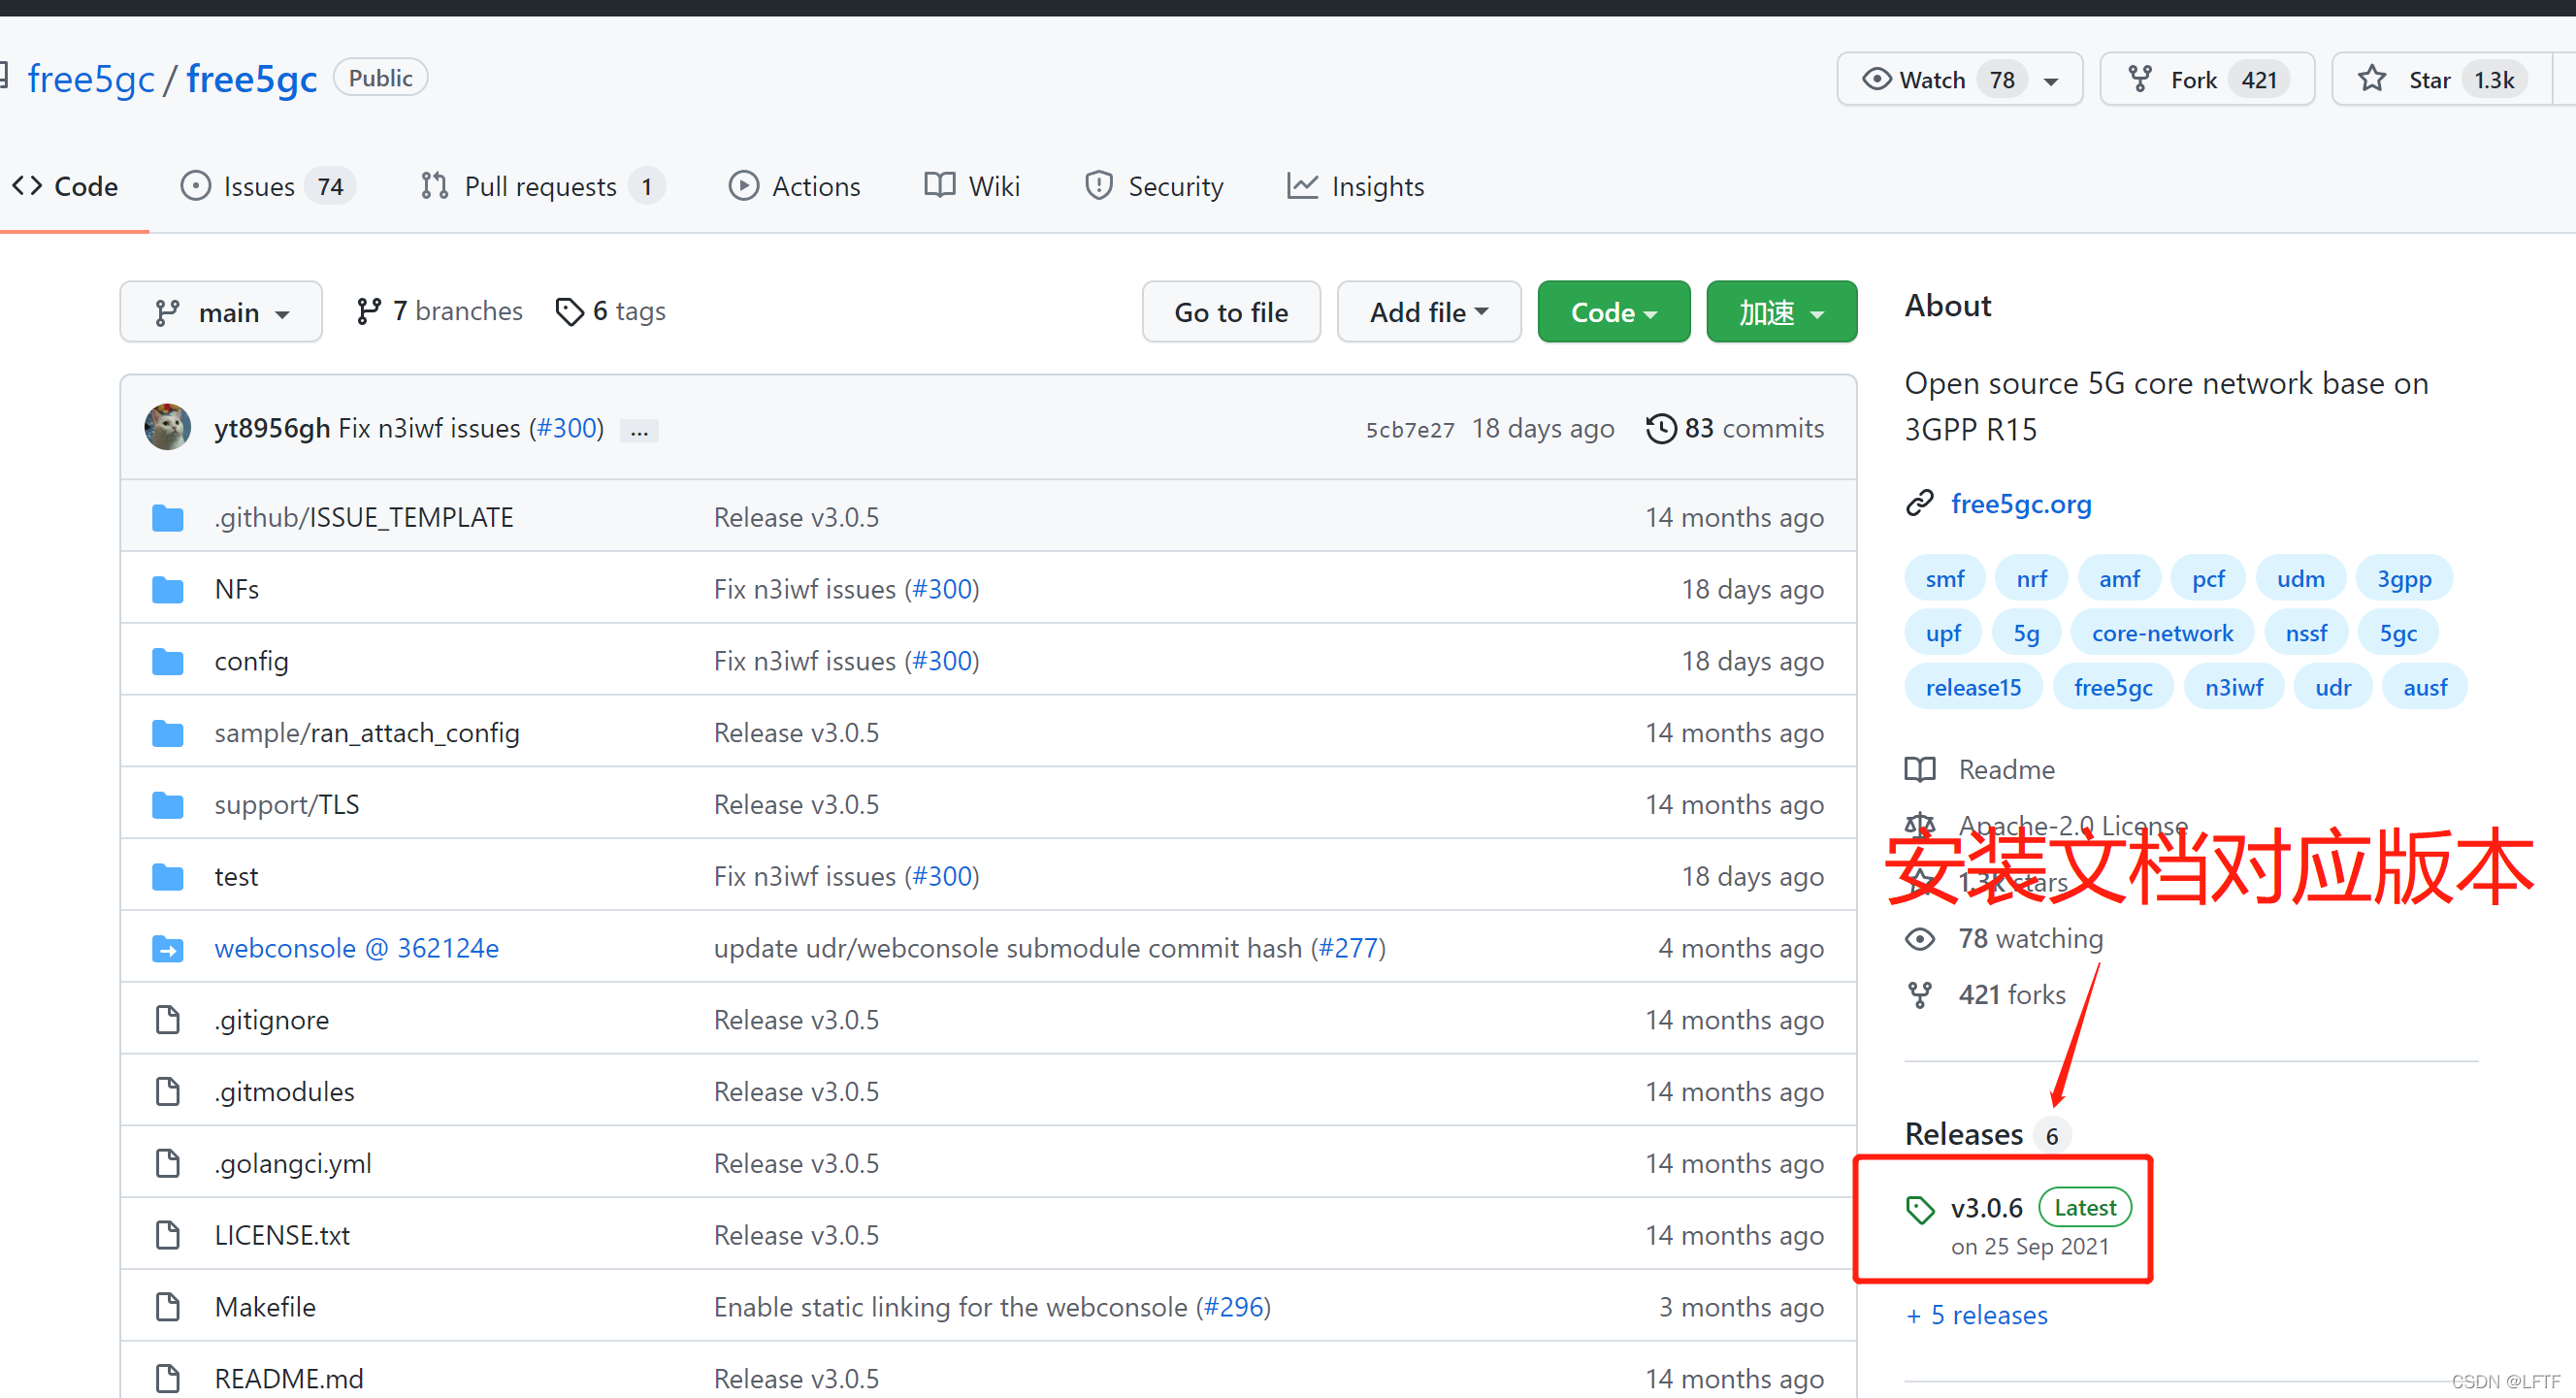
目前编写的free5gc安装步骤对应的版本为github上的V3.0.6版本,使用如下命令获取到的是对应V3.0.6版本的.

使用如下命令获取源代码:
git clone --recursive -b v3.0.6 -j `nproc` https://github.com/free5gc/free5gc.git
git下来之后会发现NFs目录网元文件都为空!原因不明
使用如下命令获取到NFs目录下源代码
# 删除空文件夹
rm -rf ~/free5gc/NFs/*
# 切换到NFs目录下
cd ~/free5gc/NFs
# 重新手动git
git clone git://github.com/free5gc/amf.git/
git clone git://github.com/free5gc/ausf.git/
git clone git://github.com/free5gc/n3iwf.git/
git clone git://github.com/free5gc/nrf.git/
git clone git://github.com/free5gc/nssf.git/
git clone git://github.com/free5gc/pcf.git/
git clone git://github.com/free5gc/smf.git/
git clone git://github.com/free5gc/udm.git/
git clone git://github.com/free5gc/udr.git/
git clone git://github.com/free5gc/upf.git/

cd ~/free5gc
rm -rf ~/free5gc/NFs/webconsole  # webconsole 文件夹也为空,和处理一样,重新手动git webconsole文件
git clone git://github.com/free5gc/webconsole.git
这里就出现了问题!!!!
以AMF网元为例,使用git clone git://github.com/free5gc/amf.git/获取到的网元代码未添加版本号,导致把最新更新的网元代码给下载下来了,就导致了free5gc文件版本和各个网元对应的代码版本不一致。

所以出现了后面一系列问题(当时在写安装文档的时候可能debug版本和release版本一样,所以没出现问题)
1.1.2、解决方案
一句话,版本对其!!!
方法1、使用发布版本(release)
步骤1:
添加对应版本号
git clone --recursive -b v3.0.6 -j `nproc` https://github.com/free5gc/free5gc.git
步骤2:
cd free5gc/NFs
ls *
发现amf ausf n3iwf nrf nssf pcf smf udm udr文件为空(加上对应的版本号后下载)
# 删除空文件夹

# 切换到NFs目录下

# 重新手动git
git clone --recursive -b v1.0.1 -j `nproc` https://github.com/free5gc/amf.git/
git clone --recursive -b v1.0.1 -j `nproc` https://github.com/free5gc/ausf.git/
git clone --recursive -b v1.0.1 -j `nproc` https://github.com/free5gc/n3iwf.git/
git clone --recursive -b v1.0.1 -j `nproc` https://github.com/free5gc/nrf.git/
git clone --recursive -b v1.0.1 -j `nproc` https://github.com/free5gc/nssf.git/
git clone --recursive -b v1.0.1 -j `nproc` https://github.com/free5gc/pcf.git/
git clone --recursive -b v1.0.1 -j `nproc` https://github.com/free5gc/smf.git/
git clone --recursive -b v1.0.1 -j `nproc` https://github.com/free5gc/udm.git/
git clone --recursive -b v1.0.1 -j `nproc` https://github.com/free5gc/udr.git/
git clone --recursive -b v1.0.1 -j `nproc` https://github.com/free5gc/upf.git/
下载完毕之后编译–执行
编译截图(部分)

./test.sh TestRegistration执行截图(失败:缺少gtp)

CTRL+C退出之后,下载编译安装gtp驱动
# 下载
git clone https://github.com/free5gc/gtp5g.git
cd gtp5g
# 编译
make clean; make
# 安装 make uninstall卸载
make install
# 查看
lsmod | grep gtp

./test.sh TestRegistration执行截图(成功:部分截图)

方法2、使用最新提交版本(debug)
步骤1:
不添加版本号~
git clone https://github.com/free5gc/free5gc.git
步骤2:
cd free5gc/NFs
ls *
发现amf ausf n3iwf nrf nssf pcf smf udm udr文件为空(不添加版本号)
# 切换到NFs目录下
cd NFs
# 重新手动git
git clone https://github.com/free5gc/amf.git/
git clone https://github.com/free5gc/ausf.git/
git clone https://github.com/free5gc/n3iwf.git/
git clone https://github.com/free5gc/nrf.git/
git clone https://github.com/free5gc/nssf.git/
git clone https://github.com/free5gc/pcf.git/
git clone https://github.com/free5gc/smf.git/
git clone https://github.com/free5gc/udm.git/
git clone https://github.com/free5gc/udr.git/
git clone https://github.com/free5gc/upf.git/
下载完毕之后编译–执行
编译截图(部分)

gtp驱动安装步骤同上所示
./test.sh TestRegistration运行截图(失败:参数错误)

修改test.sh脚本
cd NFs/upf/build && ${EXEC_UPFNS} ./bin/free5gc-upfd -f config/upfcfg.test.yaml &
修改为
cd NFs/upf/build && ${EXEC_UPFNS} ./bin/free5gc-upfd -c config/upfcfg.test.yaml &
如下:

再次执行./test.sh TestRegistration,仍报错:


修改方法:将free5gc/config/amfcfg.yaml配置文件ngapIpList的IP地址修改为127.0.0.1即可,如下:

再次执行./test.sh TestRegistration,成功

1.2、其它问题
未完待续~
截至日期:2022/03/21 13:30