远程提交一个大一点的文件
用git远程提交的一个好处就是,相比较在github或者gitee直接提交文件显得更加活泛。然后的话在提交文件大小的限制上。用git提交的话,可以提交大一点的文件。而你如果直接拖动文件到库里面的话,会有文件大小的限制。如果对一个包进行拆分的话,会比较麻烦。
用git提交大的文件。(或者说是远程提交)
一种提交方式。其实命令还是比较多的。提交方式比较多,但是我感觉这样还是比较简单的。
git工具的人下载不必说了。我只是想记住一下这个远程操作。有些远程提交的话,如果你设置的话,还需要验证邮箱。
目前自己的这种提交方式,感觉这样的几句提交命令还是十分的简单。
如下,我想把这样的一个rar包提交到github。我在github上创建了一个仓库。


如果你要用常规的方式提交的话,当然对于一个学编程的人说,这种提交方式显得不太专业。
这样提交。
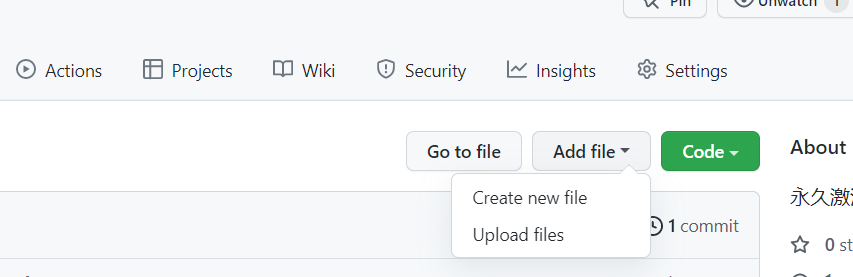
点击Upload这边,然后在这里你可以直接将文件拖到这里。


我托了,但是这里说这个文件太大了。要求必须比25mb小。我的文件的大小

还记得存储容量吗?这个是说存储容量上面的。
1kB=1024B,1MB=1024KB,1GB=1024MB,1TB=1024GB。
25*1024 = 25600 也就是25MB = 25600kB。但是我的rar文件大小是65820KB。比这个还要大好多。所以传不上去。那么如何传上去呢?采用远程提交(git)。
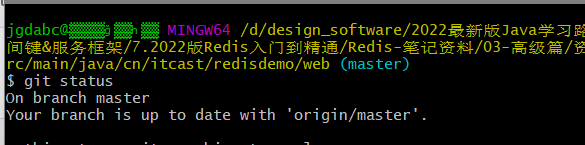
第一步最好在自己的要上传文件的当前目录。不然你还得cd。

打开bash。这里也会显示出你的当前路径。

git init

初始化仓库,然后你会发现在你的当前文件路径下面会出现这样一个文件夹。

然后安装这个工具。这个是用来操作大文件上传的Large File Storage
git lfs install

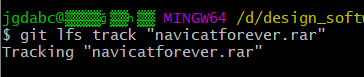
安装好后,然后你可以进行先跟踪一下你要上传的文件
git lfs track "navicatforever.rar"
这边我们可以去添加要上传的文件(和参考博文有区别,我是这样做的,成功了。)
git add navicatforever.rar

然后提交(注意这个只是提交到本地)我们需要先这样做。forever是我写的注释。这个可以随便来。
git commit -m "forever"

然后关联远端仓库。需要找到你创建仓库的地址。如果你刚刚创建的话,会马上看见。如果不是的话,可以在这里看一下,复制一下这个地址。
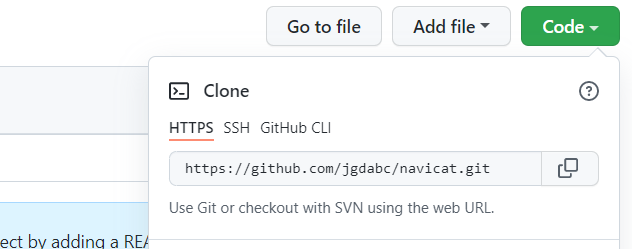
进行关联
git remote add origin https://github.com/jgdabc/navicat.git

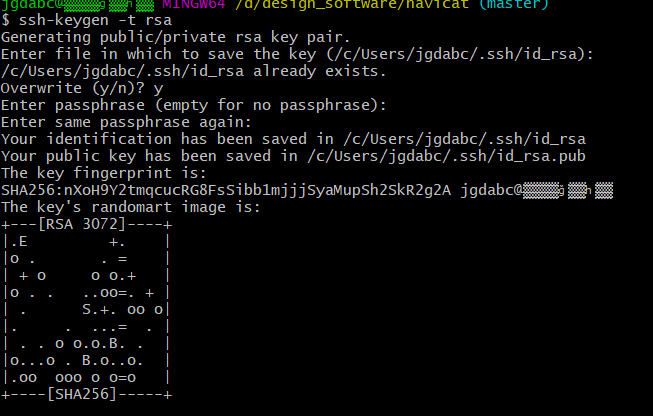
另外如果你之前设置过ssh秘钥的话,就不用操作了。如果没有还需要操作一波。
ssh-keygen -t rsa
然后输入这个命令后,下面的确认回车就完事。然后你需要找到这个秘钥。可以看提示。在c盘用户下面的那个路径。
打开第二个文件,然后复制一下那段字符。上面的文件不用管。

然后打开github

点下面的ssh那边
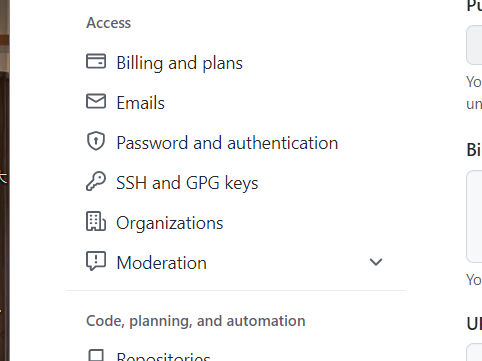
点击那个new

然后将你复制的字符串粘贴到key下面。上面的title自己随便起个名字就好了。

这样做好后,就可以远程提交了。
git push origin master
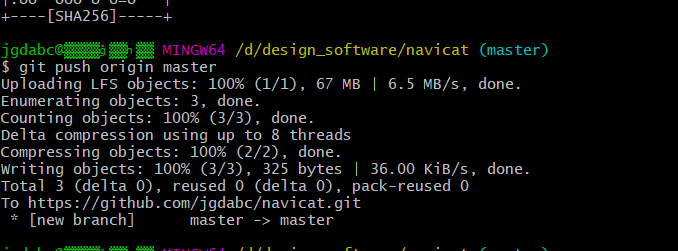
就ok了。
解决提交冲突(拉取本地合并提交)
查看github。需要注意的是,据说如果源库有分支的话,还需要进行合并分支的操作,不然可能会出错。
第一次创建仓库的话,如果想要远程简单提交一次文件的话,就最好创建一个空的库。这样提交的话,操作会比较简单。
如果是多人开发的话,最好先将远程分支拉取下来,然后进行提交。

首先可以自己查看自己目前本地以及远程仓库的分支
git branch  --查看本地分支
git branch -r -- 查看远程分支

本地的和远程的显示的这个分支都是显示在基于固定的远程关联的远程仓库的地址上进行显示的。
比如我关联的是我的practice的一个仓库,那么显示的分支会在这个基础上显示。远程的分支我显示在这个仓库上的分支。

这样的两个分支里面的文件是一样的。因为我在原有仓库(本来只有一个master)的基础上,又在本地创建了一个分支并提交了上去,没有更改的话,那么它的内容会和master一样。当前你可以进行更改,在一个分支上更改,不会影响另一个分支。
如何给你的远程仓库创建一个分支呢?当前也可以直接在远程仓库手动创建。现在我们要用git工具进行操作。
如下,可以现在本地创建一个,然后给他推到远程仓库就完事。
 git checkout -b dev
 git push origin dev
我们说完这些,就是要说说如何进行一个分支合并以及分支冲突的处理。存在的问题是如果你的远程仓库的当前分支下存在文件的话,如果你直接提交的话,会提交不成功。
来测试一下,现在我的dev仓库里面存在文件。现在我要用git往这个仓库里面提交内容。
现在重写开一个bash。

按照常规的步骤
git init

跟踪上传文件
git lfs track "PDF.rar"

添加要上传的文件
git add "PDF.rar"
先提交本地
git commit -m "nsaksnam"

远程关联
git remote add origin https://github.com/jgdabc/pratice.git

进行提交
git push origin dev
但是这样会出现问题

其实是不允许进行覆盖
一个暴力的办法就是暴力覆盖
git push -f origin dev

所以这下我的dev分支就被覆盖掉了。

如果我不想覆盖原有的文件怎么办?
这是现在我的dev分支下面的文件

我现在要提交另外一些文件,但是我不想覆盖掉原有的文件
我要提交一个java文件

git init -- 初始化一个仓库
git remote add origin https://github.com/jgdabc/pratice.git -- 关联远程仓库
git checkout -b dev -- 创建一个dev分支,然后转到dev分支
git pull origin dev -- 从远程分支拉取代码,进行同步

同步成功
添加一个新的文件
git commit -m "pratice"
给远程提交
git push -u origin dev

实现目的。这样做,源文件不会被覆盖。

是一个版本控制非常方便的工具。多用用,就明白了。
分支合并
如果希望分支进行合并的话,也是可以的。
现在我的远程仓库下面有两个分支,现在有两个分支。并且有一个重复得文件,现在要进行分支合并。


我现在要合并到主分支。那么我就需要先切换到主分支。
如果你关闭刚刚重新打开一个bash的话,会默认在master的。
那就合并
$ git merge dev
但是这里我报了一个错

简单翻译就是拒绝合并并不相关的历史。意思就是本地和远程的两个库的两个分支是不一样的版本。
但是我们不管这些,强制合并就完事。
git merge dev --allow-unrelated-histories
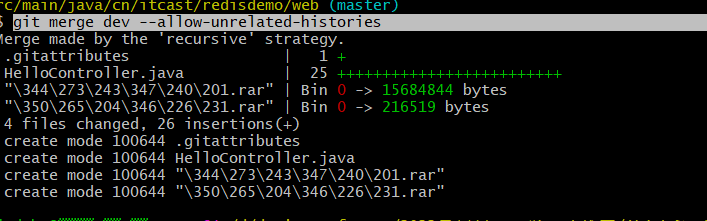
合并完就push
$ git push origin master

100%完事,然后再哪个分支上操作,切换就行了。
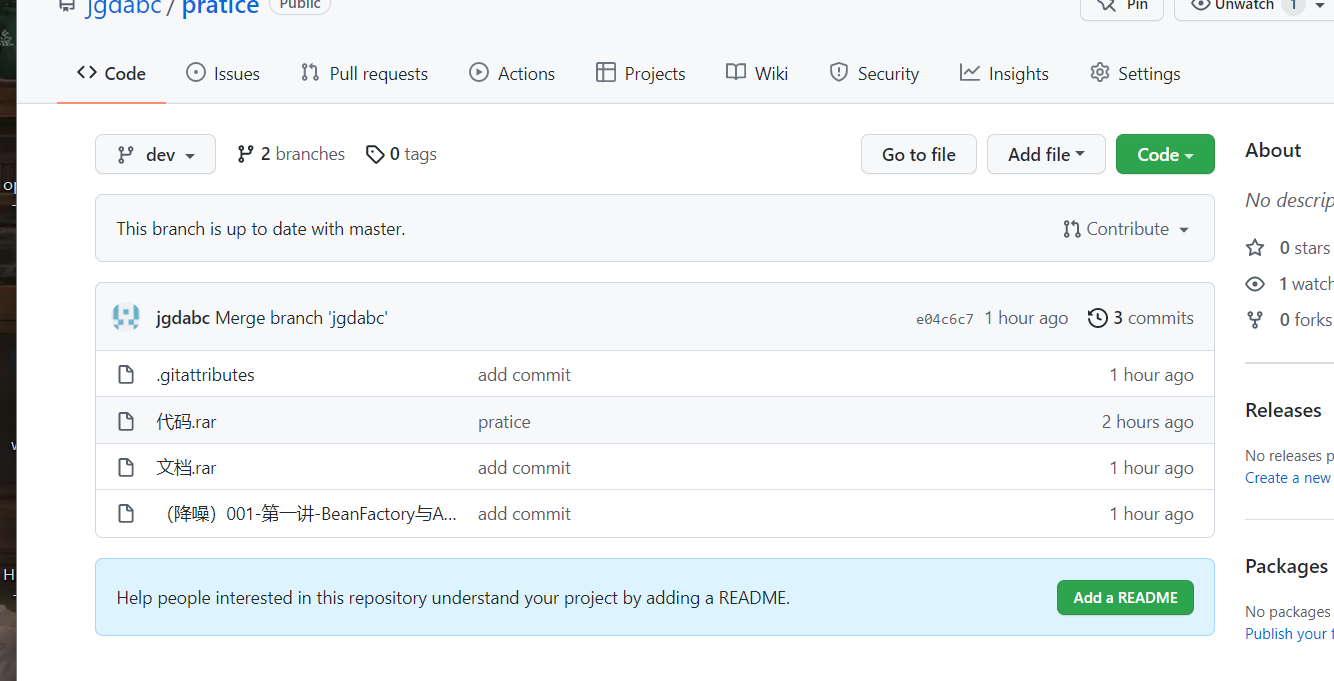
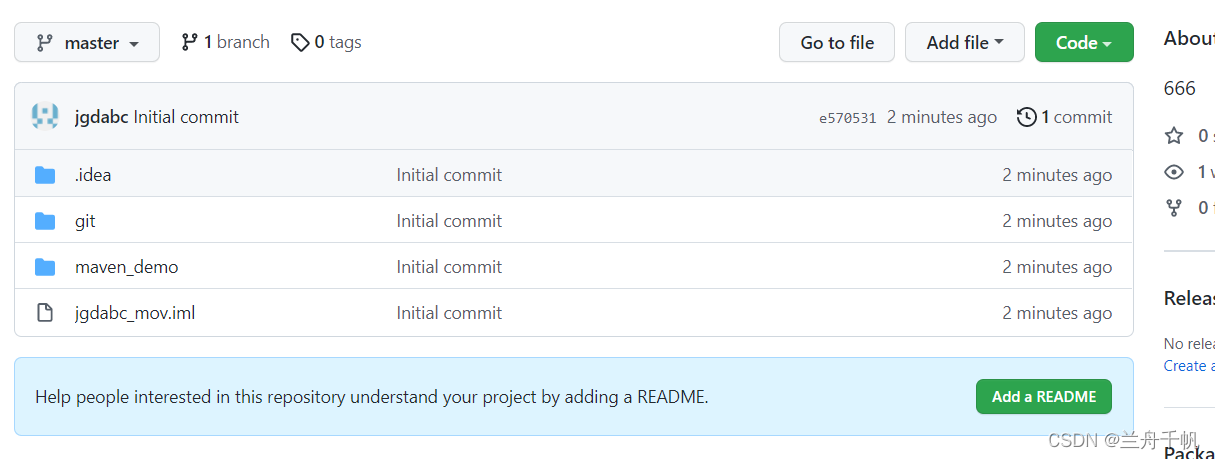
去远程库看看

可以看到提交成功。没有重复的文件。
保险的建议就是=如果有文件的话,最好先pull下来,然后合并自己的。然后再提交。
idea配置操作git和github
打开idea,在这边搜索去找
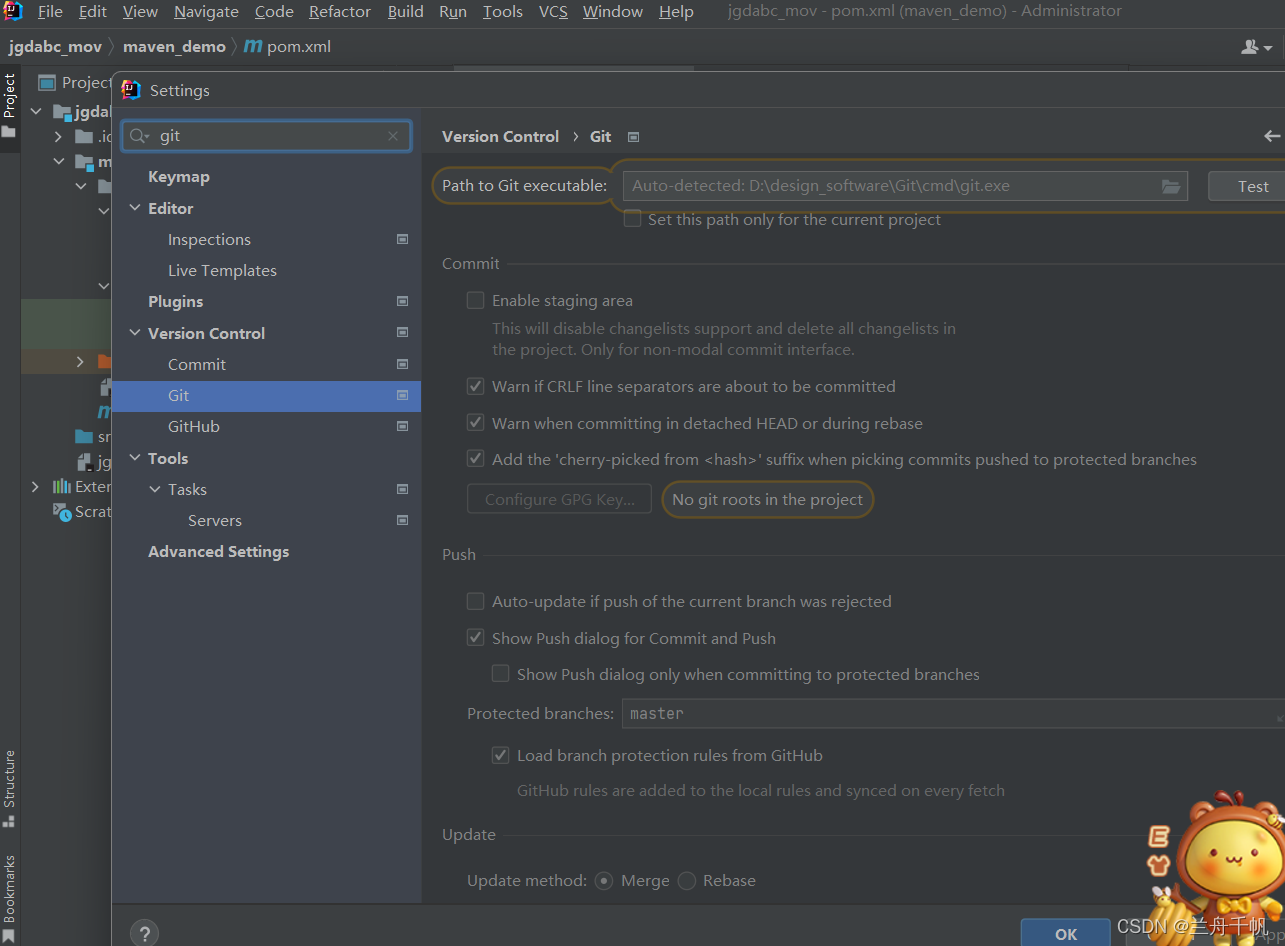
将idea右边配置好就可以。不同idea版本这边的面板是不一样的,基本的功能配置还是一样的。
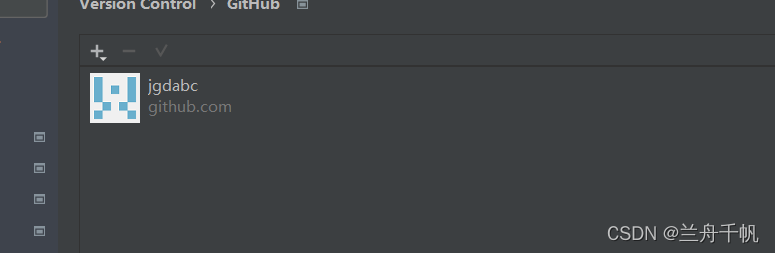
配置一下github,我选的第一个选项,授权登录。
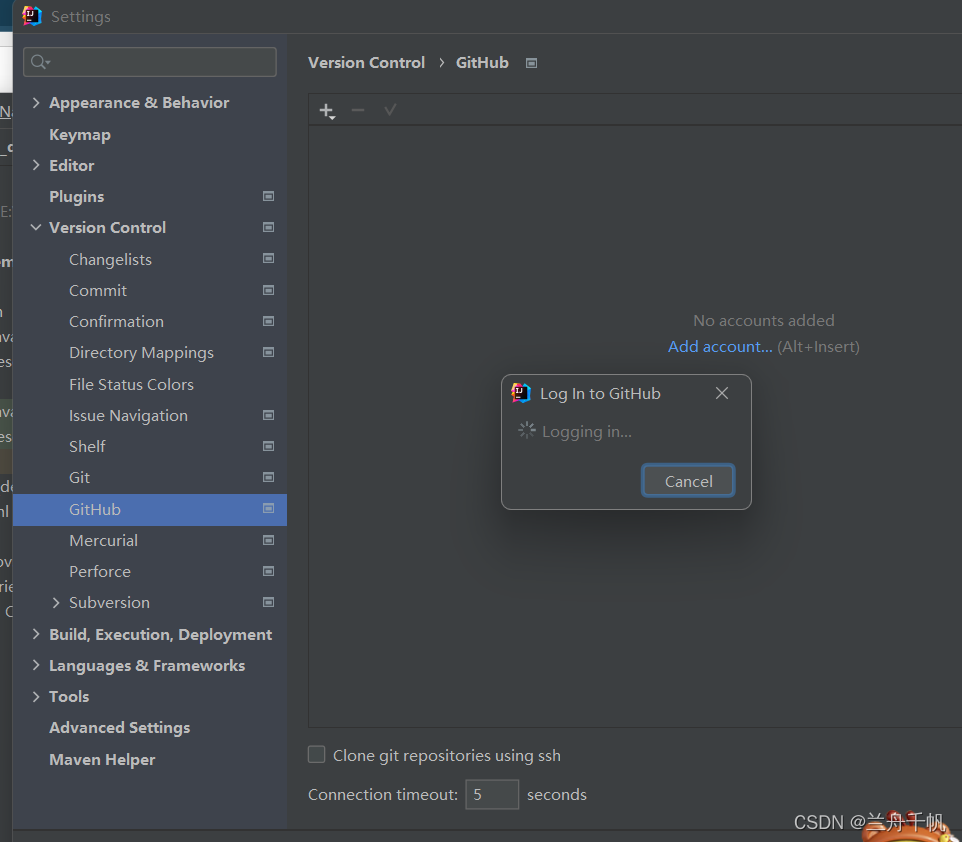
进入网站你授权点击就好,然后这边会要求你填入密码。
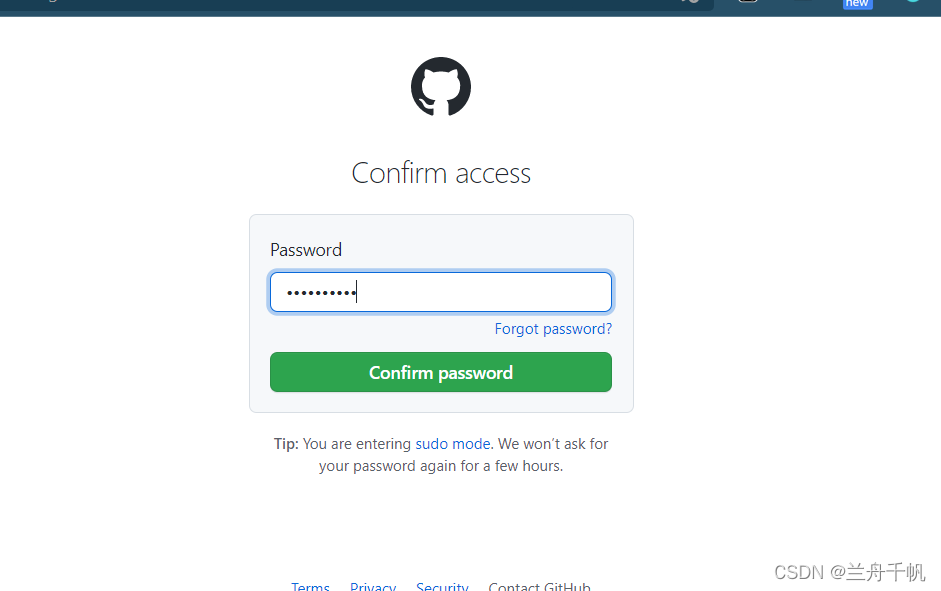
登录

这个idea会检测安全,我之前破解过,今天等不上去了,所以又去吧那个host文件修改了一波。离谱的是这个idea刚刚还弹出提示,说我使用了fastgithub。这也可以检车出来,你是真nb啊!
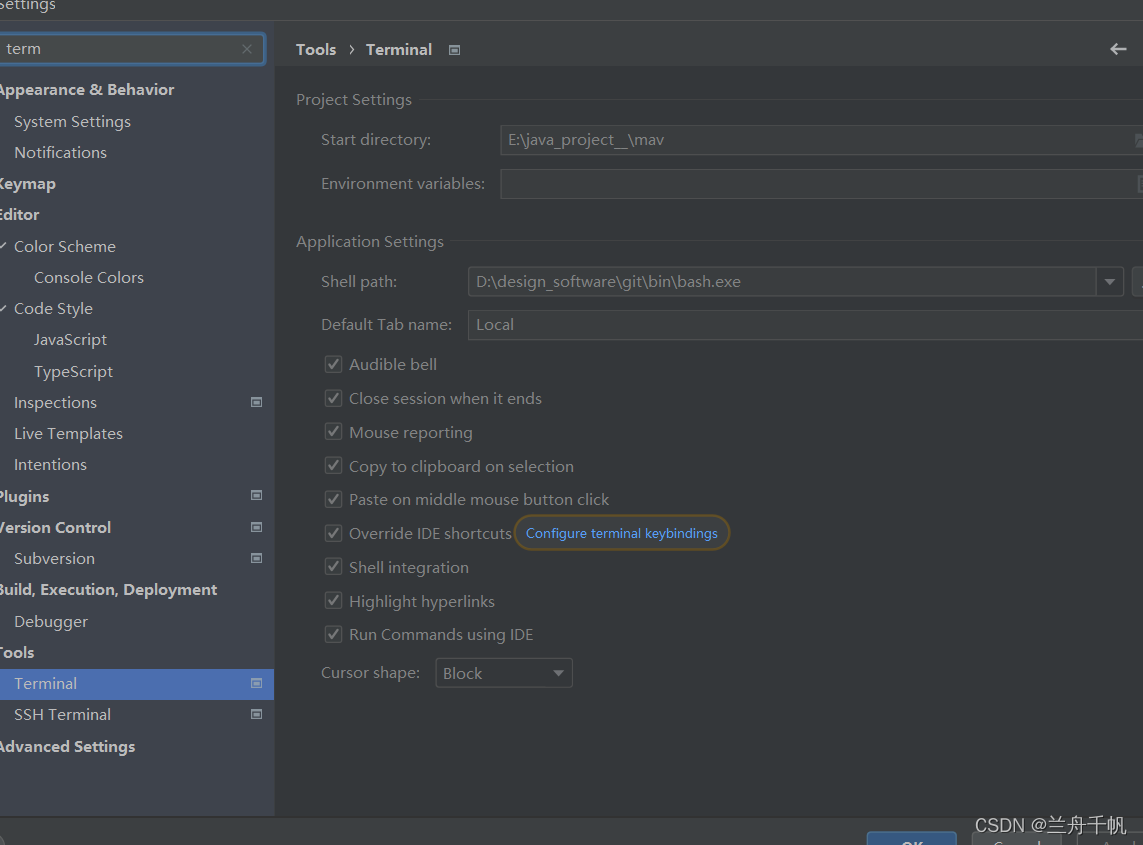
顺便把终端安排一下,改为bash
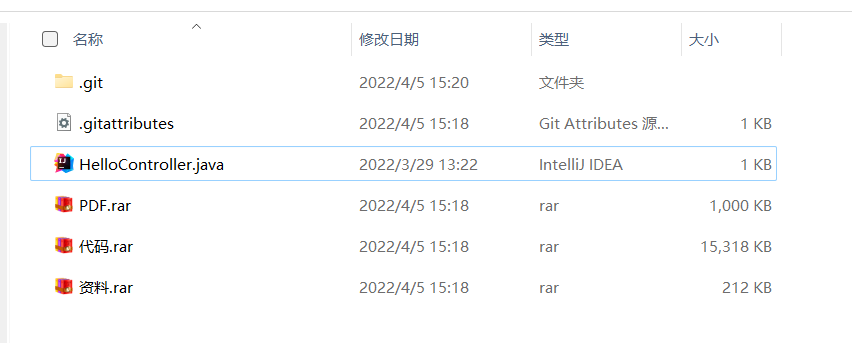
然后在idea里面来看一下
初始化仓库后,项目会变红。
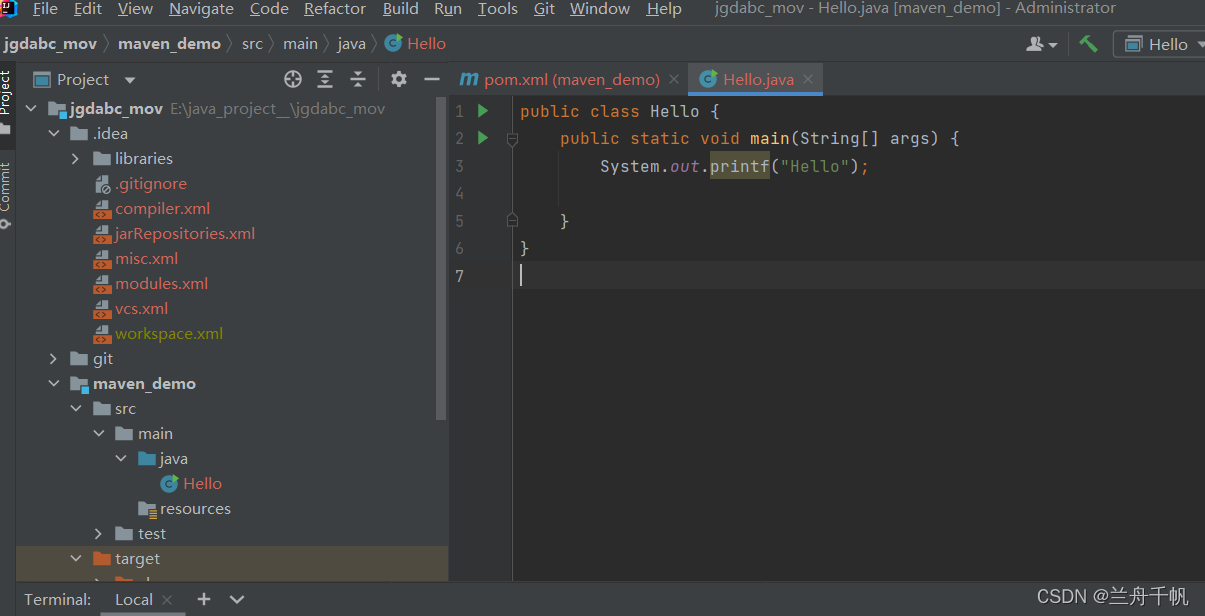
配置好后这边也会出现git相关的按钮


建库
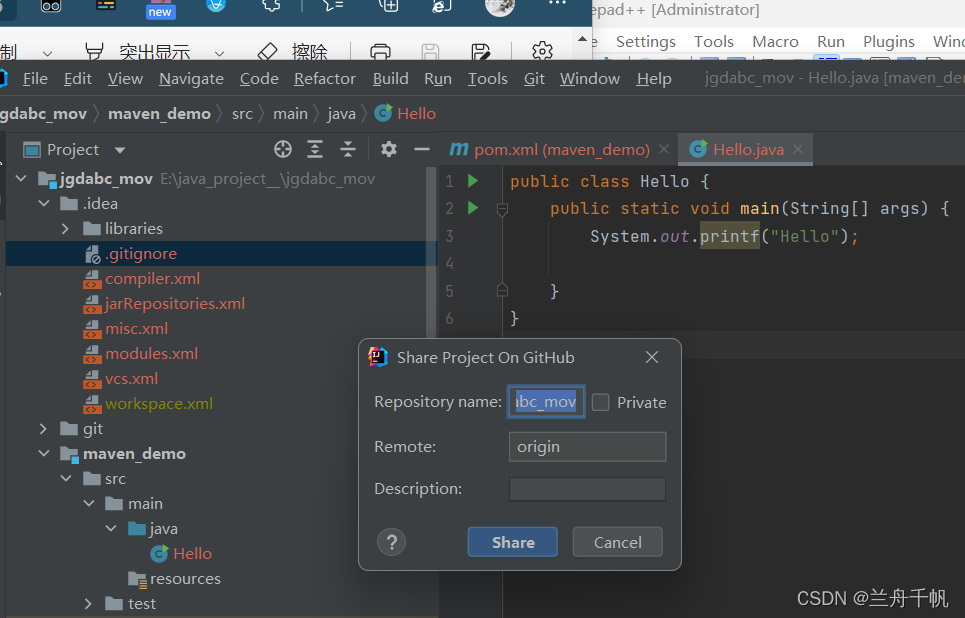
推送


可以说非常方便。
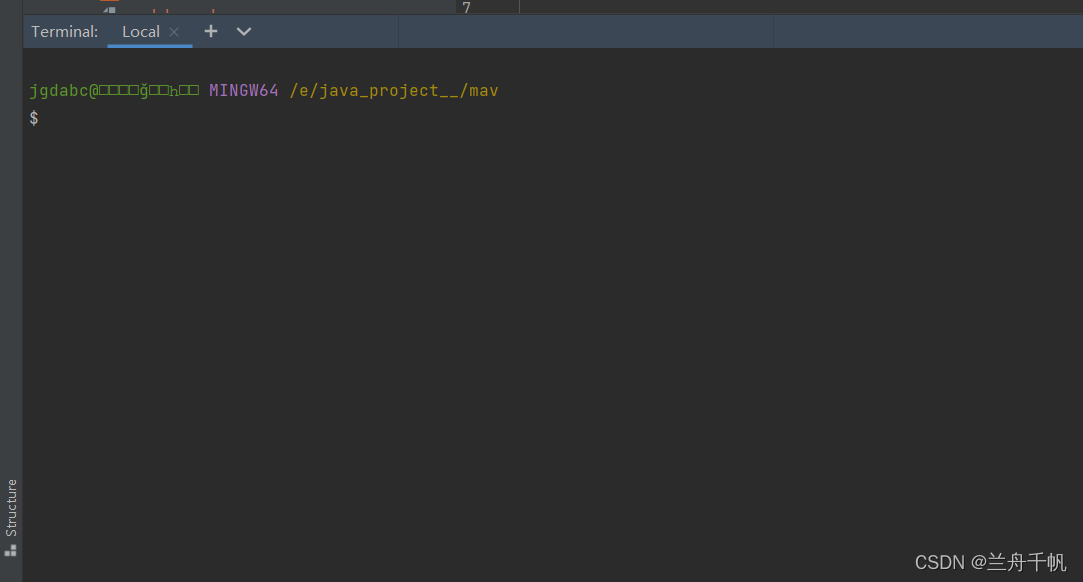
自己比较习惯使用命令的话,也可以在terminal下面像之前一样进行操作。