1. 安装VS Code
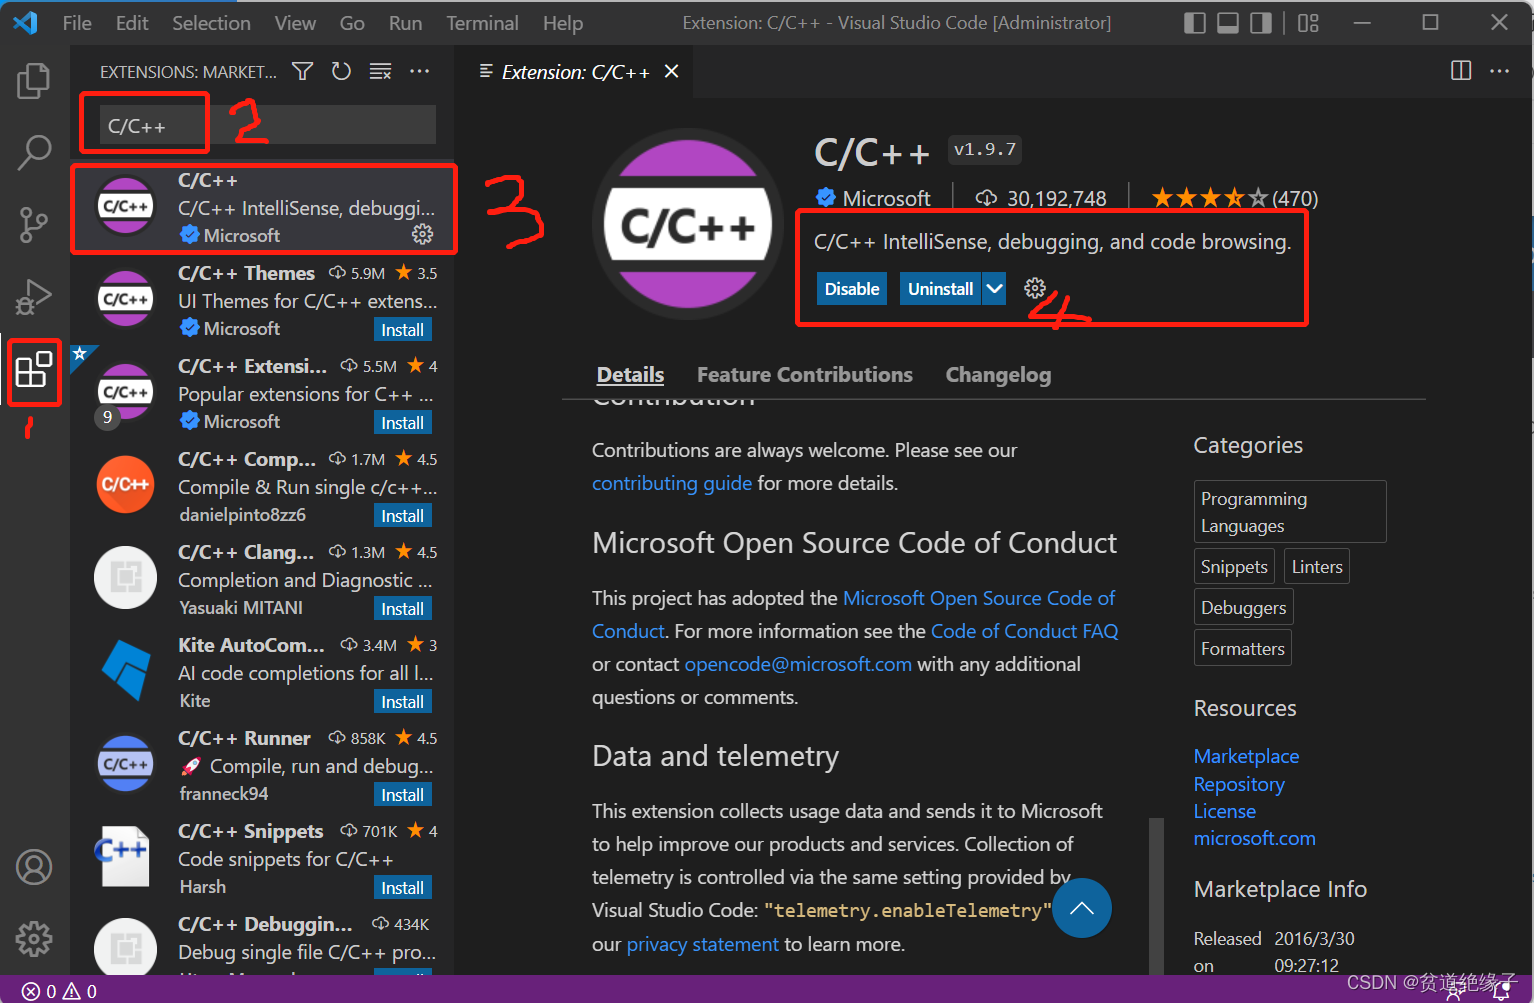
下载VS Code,直接安装(可以自定义路径)。
Documentation for Visual Studio CodeFind out how to set-up and get the most from Visual Studio Code. Optimized for building and debugging modern web and cloud applications. Visual Studio Code is free and available on your favorite platform - Linux, macOS, and Windows. https://code.visualstudio.com/docs/?dv=win打开VS Code, install官方C/C++扩展插件。 https://code.visualstudio.com/docs/?dv=win打开VS Code, install官方C/C++扩展插件。

2. 安装MinGW-W64
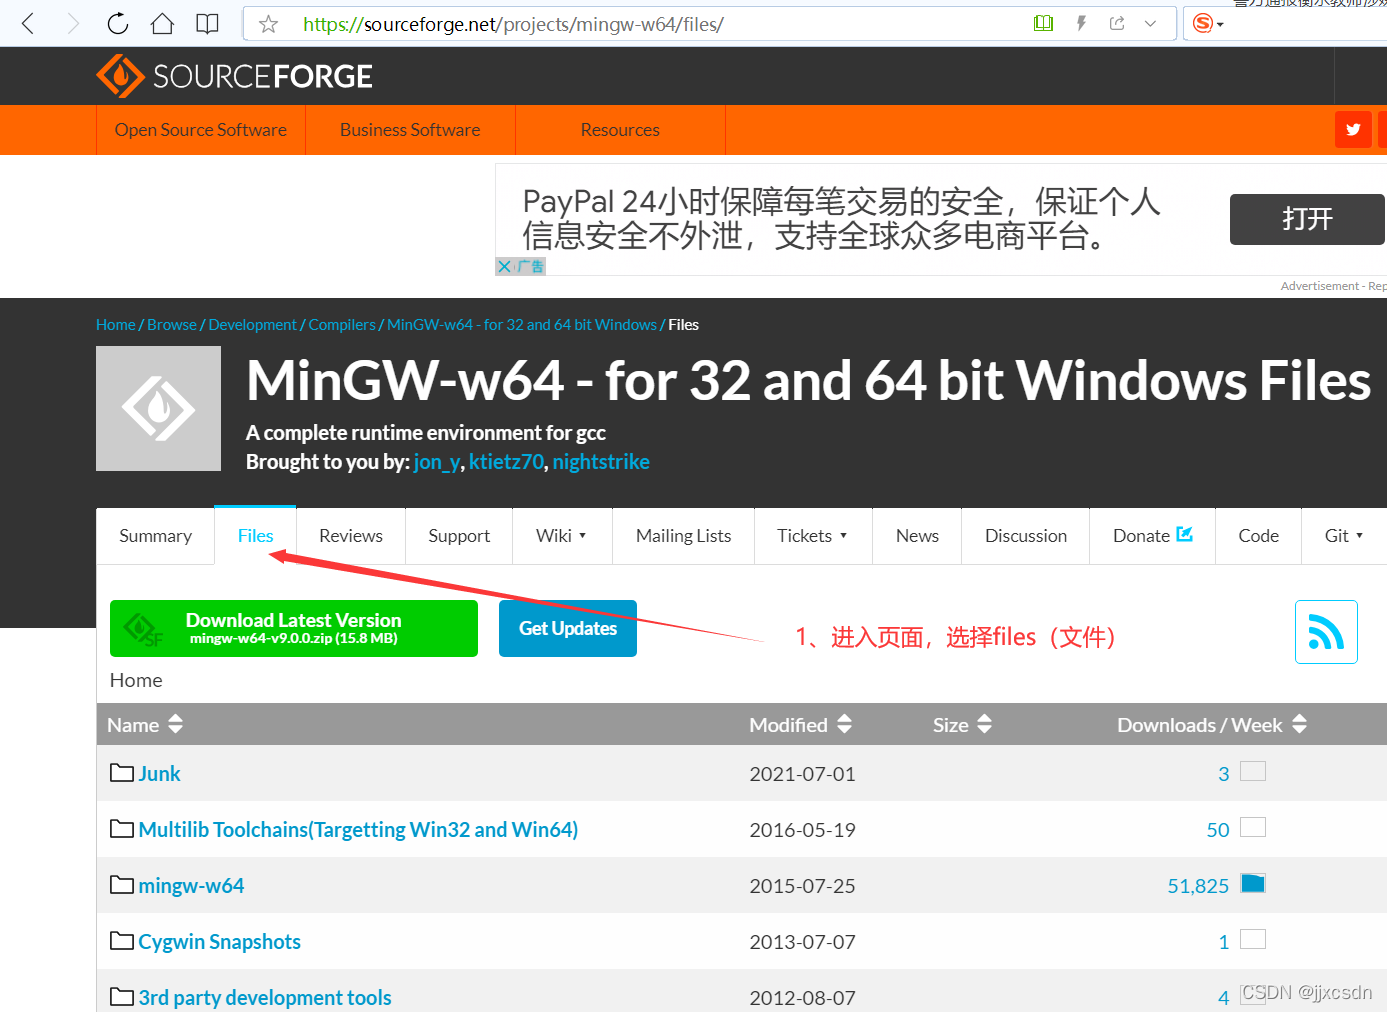
?下载MinGW-W64。
MinGW-w64 - for 32 and 64 bit Windows download | SourceForge.netDownload MinGW-w64 - for 32 and 64 bit Windows for free. A complete runtime environment for gcc. The mingw-w64 project is a complete runtime environment for gcc to support binaries native to Windows 64-bit and 32-bit operating systems. https://sourceforge.net/projects/mingw-w64/ https://sourceforge.net/projects/mingw-w64/
??页面向下拉,找到最新版本。直接下载压缩包。


 ? ?
?


??
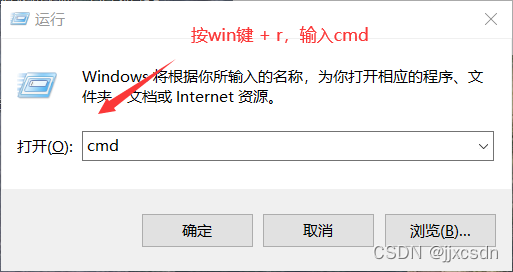
验证配置成功?


3. 使用调试
配置好MinGW后,一定要重新打开VS Code。
新建一个文件夹,用VSCode打开此文件夹,然后创建一个简单的 C 文件(CPP 也可以)。
#include <stdio.h>
int main() {
    printf("hello world!");
    return 0;
}
VSCode可以一键生成基础配置文件:
- 新建一个
.vscode文件夹。如果不先创建此文件夹,将无法完美生成配置文件,这可能是插件的一个逻辑错误。我相信很多人都知道配置引导这件事,但是很多时候自动生成的配置文件无法正常工作,原因就在这里。 - 打开你创建的 C 文件,
F5运行。不出意外的话会弹出配置引导面板,在弹出面板中依次选择:a.?C++ (GDB/LLDB);?b.gcc.exe - 生成和调试活动文件
稍等片刻,会自动在.vscode文件夹下生成launch.json和tasks.json。这样生成的两个配置文件是相互匹配好的,可以直接用于基本的运行和调试。
如果是 C++文件,选择g++.exe编译器即可。
参考文献
【1】下载安装MinGW-w64详细步骤
【2】一键搞定 VSCode 下的 C/C++基本开发环境配置 - 知乎
| 


 ?
?


 https://sourceforge.net/projects/mingw-w64/
