目标:
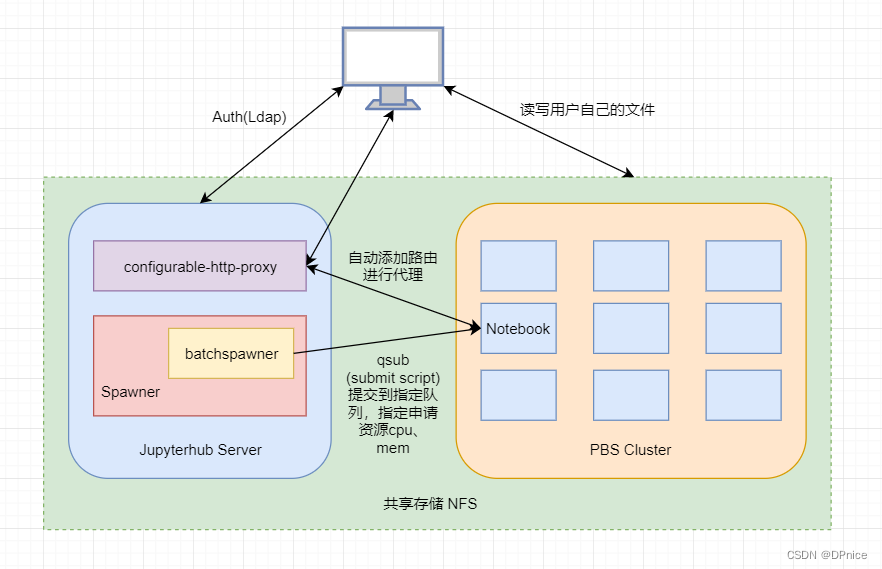
利用 jupyterhub 自定义 spawner batchspawner 在PBS批量集群上运行Notebook。
架构图
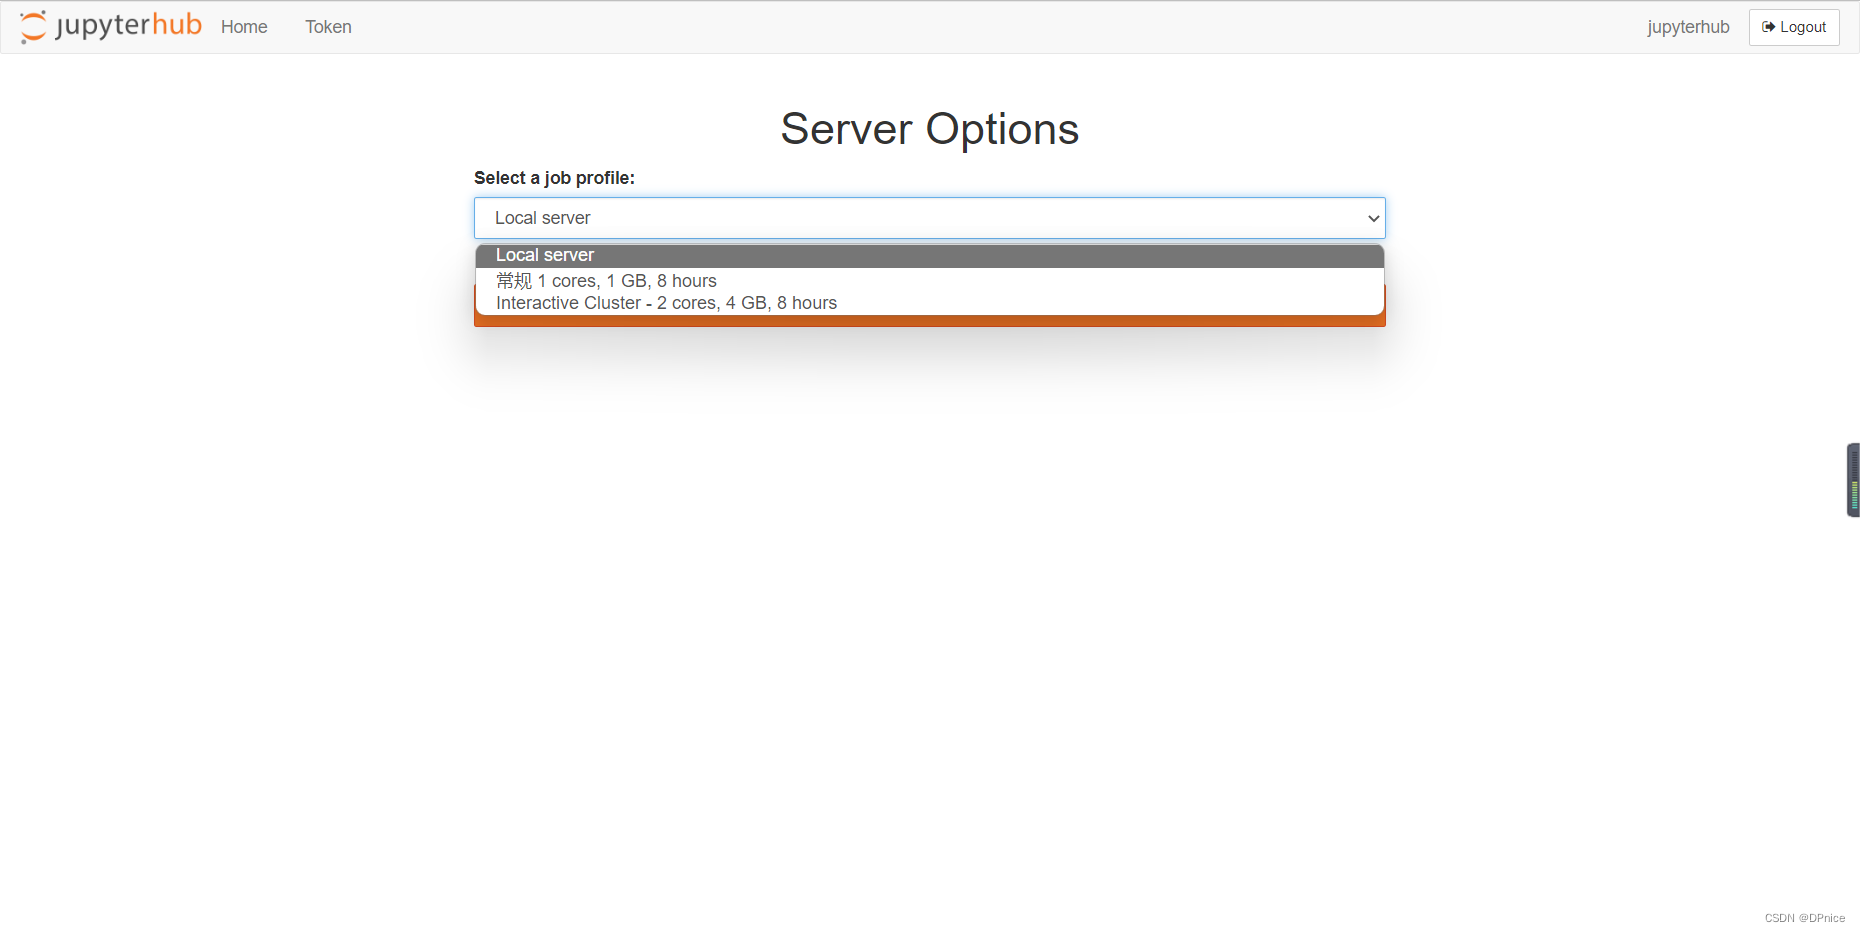
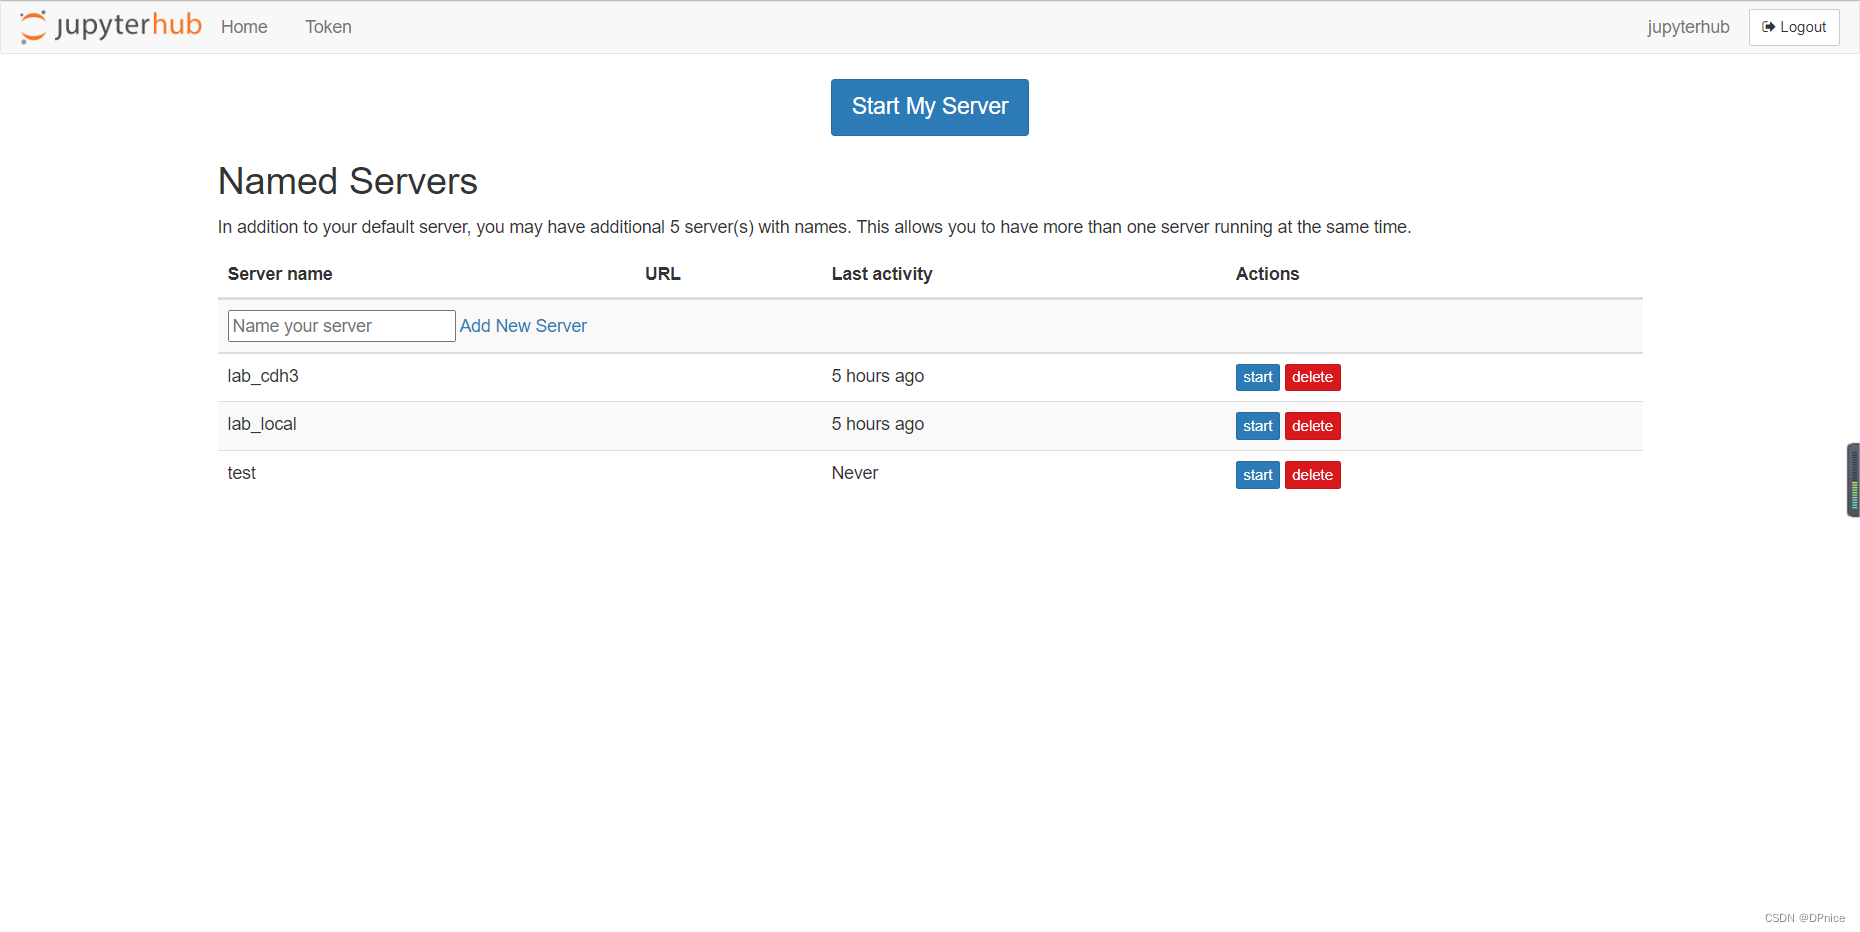
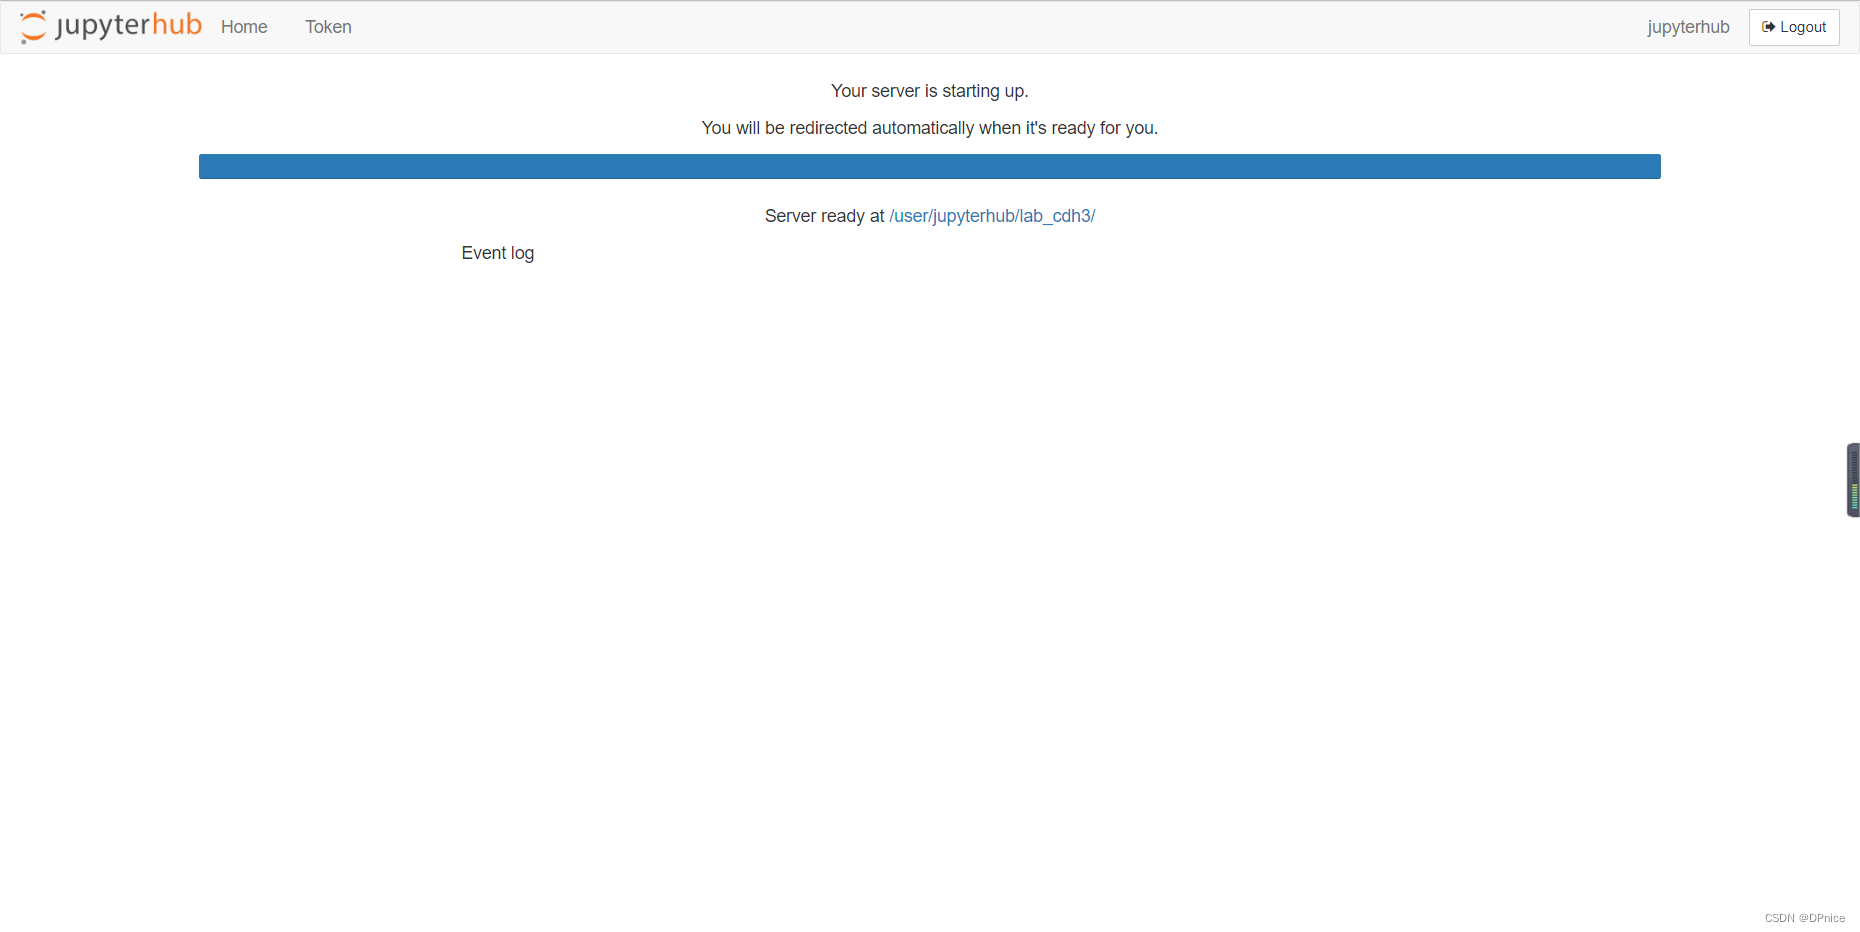
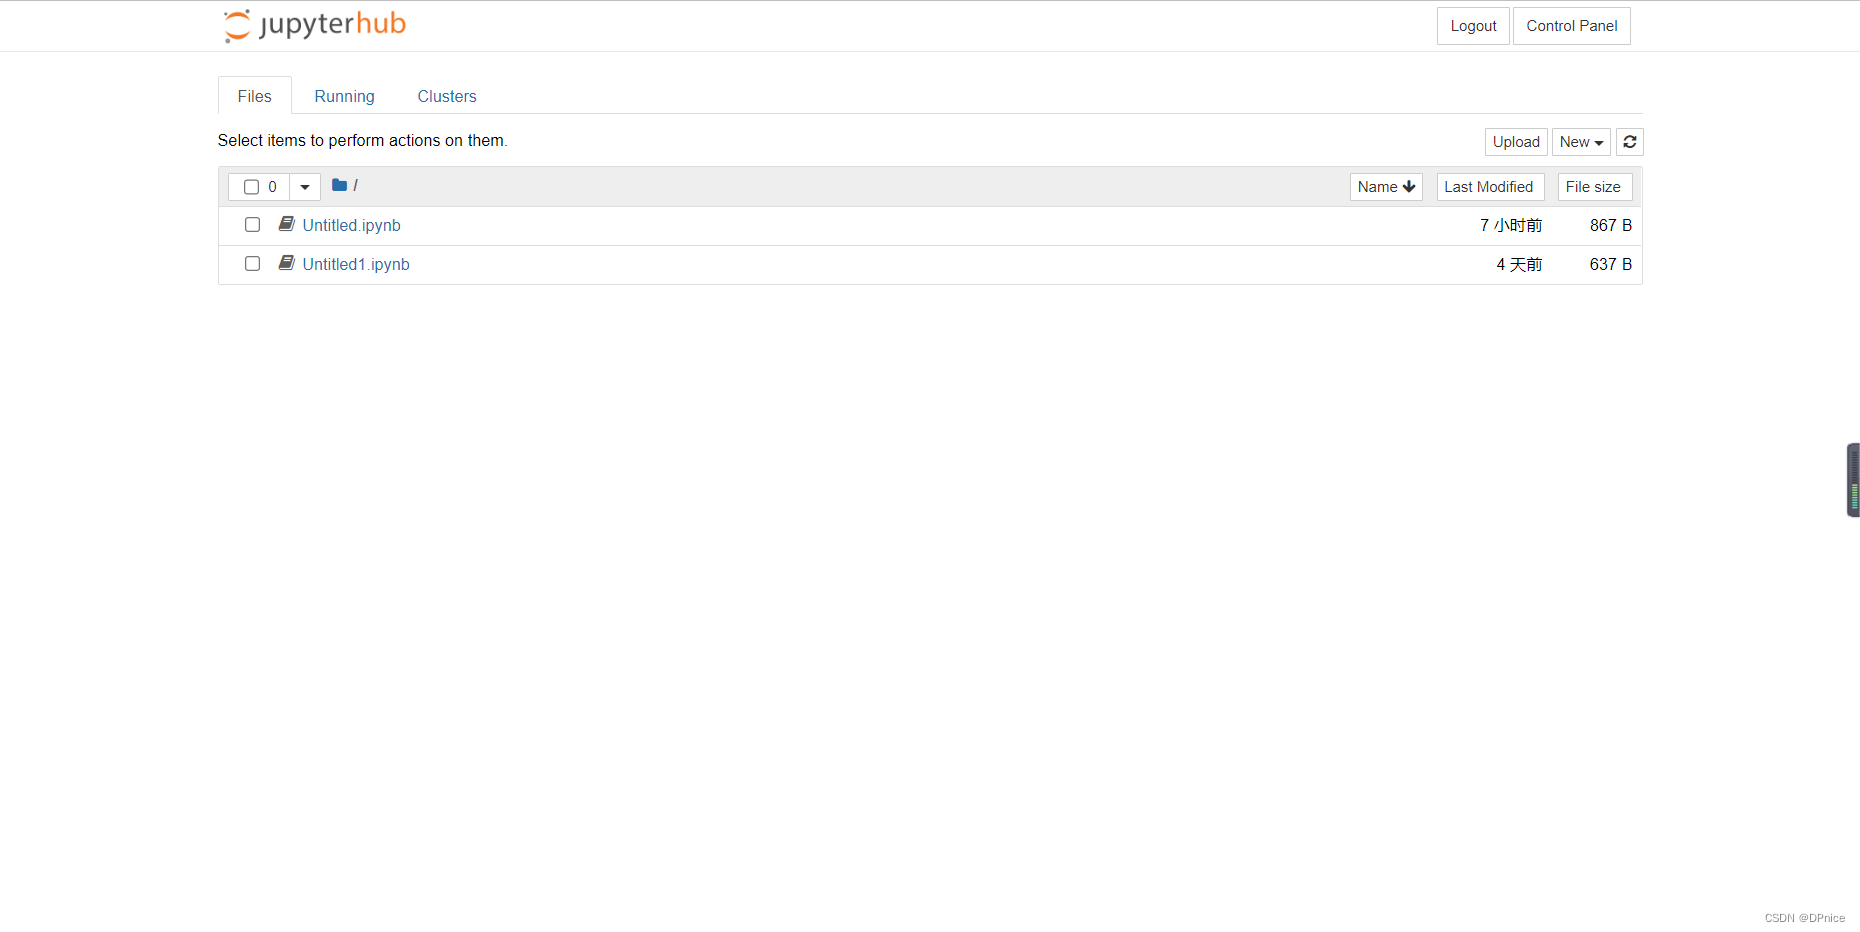
运行截图

软件版本
| 软件 | 版本 | 下载地址 |
|---|---|---|
| pbs | pbspro_19.1.3.centos_7 | https://github.com/openpbs/openpbs/releases/ |
| jupyterhub | 1.2.2 | pip install jupyterhub==1.2.2 |
| batchspawner | 1.1.0 | pip install batchspawner==1.1.0 |
| Miniconda3 | conda 4.9.2 | |
| Python | 3.8.13 | miniconda创建生成:conda create -n jupyterhub_env python=3.8.13 |
batchspawner 1.1.0版本 只支持 jupyterhub的版本 在 0.9 - 1.2.2 之间,其余版本会报各种 404,503的错误。
安装PBS
前置
hostname、hosts、firewalld都需要进行设置
下载解压安装
unzip pbspro_19.1.3.centos_7.zip
server 服务器主节点需安装: pbspro-server-19.1.3-0.x86_64.rpm
execution 计算节点需安装:pbspro-execution-19.1.3-0.x86_64.rpm
最小化安装只需安装 配置 server和execution即可。
server 执行:
yum install pbspro-server-19.1.3-0.x86_64.rpm
yum自动安装依赖
execution 执行:
设置一个环境变量,PBS_SERVER,即在安装之前需要指明我们使用哪个节点作为pbs 的server node,
这里运行如下命令进行设置:export PBS_SERVER=cdh2
或者可以跳过设置环境变量先安装,之间修改计算节点的配置文件也可。配置文件路径:/var/spool/pbs/mom_priv/config
yum install pbspro-execution-19.1.3-0.x86_64.rpm
配置
可选项
vim /etc/pbs.conf
PBS_EXEC=/opt/pbs
PBS_SERVER=cdh2
PBS_START_SERVER=1
PBS_START_SCHED=1
PBS_START_COMM=1
# server端也可以运行MOM(执行任务的模块)
PBS_START_MOM=1
PBS_HOME=/var/spool/pbs
PBS_CORE_LIMIT=unlimited
PBS_SCP=/bin/scp
启动:
systemctl start pbs
状态:
/etc/init.d/pbs status
返回信息:
pbs_server is pid 21415
pbs_mom is pid 21121
pbs_sched is pid 21133
pbs_comm is 21100
常见问题
Q:qsub: Bad UID for job execution
A:
qmgr -c "set server flatuid=true"
qmgr -c "set server scheduling=true"
qmgr -c "s s job_history_enable=1"
qmgr -c "set server acl_roots+=root@*"
qmgr -c "set server operators+=root@*"


Q:sudo: qsub: command not found
A:ln -s /opt/pbs/bin/qsub /usr/bin/qsub

Q:sudo: qstat: command not found
A:ln -s /opt/pbs/bin/qstat /usr/bin/qstat

Q:sudo: qdel: command not found
A:ln -s /opt/pbs/bin/qdel /usr/bin/qdel
常用命令
https://segmentfault.com/a/1190000040054812
节点详情:
# qmgr -c "list server"

# pbsnodes -aSj
添加计算节点:
qmgr -c "create node cdh3"
删除节点:
qmgr -c "delete node cdh3"
用于提交作业脚本 命令行格式
echo "sleep 60" | qsub
即提交一个 sleep 60的任务,如果一切正常的话,
使用 qstat -a 检查所有任务状态:
(jupyterhub_env) [root@cdh2 ~]# qstat -a
cdh2:
                                                            Req'd  Req'd   Elap
Job ID          Username Queue    Jobname    SessID NDS TSK Memory Time  S Time
--------------- -------- -------- ---------- ------ --- --- ------ ----- - -----
6.cdh2          root     workq    STDIN        4085   1   1    --    --  R 00:00
任务详细信息:
qstat -f 55

主要会包括以下几个方面信息:
Job ID 任务ID号
Name 任务脚本名称
User 用户名
Time Use 任务运行时间
S State 任务状态
* B 只用于任务向量,表示任务向量已经开始执行
* E 任务在运行后退出
* H 任务被服务器或用户或者管理员阻塞
* Q 任务正在排队中,等待被调度运行
* R 任务正在运行
* S 任务被服务器挂起,由于一个更高优先级的任务需要当前任务的资源
* T 任务被转移到其它执行节点了
* U 由于服务器繁忙,任务被挂起
* W 任务在等待它所请求的执行时间的到来(qsub -a)
* X 只用于子任务,表示子任务完成
* C 表示程序正在被关闭,一般是程序运行错误,报错
安装Miniconda3
执行安装脚本即可,需要安装到NFS上,本示例没给出部署NFS过程
# sh Miniconda3-latest-Linux-x86_64.sh
安装配置 Jupyterhub、batchspawner
安装nodejs、configurable-http-proxy
nodejs 略
npm install -g configurable-http-proxy
安装
#生成py环境
conda create -n jupyterhub_env python=3.8.13
#切换到py环境
source /opt/miniconda3/bin/activate jupyterhub_env
#安装jupyterhub
pip install jupyterhub==1.2.2
pip install batchspawner==1.1.0
# 可选(建议安装)
pip install jupyterlab notebook
Jupyterhub配置(重要)
c.JupyterHub.allow_named_servers = True
c.JupyterHub.named_server_limit_per_user = 5

# Same initial setup as the previous example
import batchspawner
c.JupyterHub.spawner_class = 'wrapspawner.ProfilesSpawner'
c.Spawner.http_timeout = 120
#------------------------------------------------------------------------------
# BatchSpawnerBase configuration
#   Providing default values that we may omit in the profiles
#------------------------------------------------------------------------------
c.BatchSpawnerBase.req_host = 'cdh2'
c.BatchSpawnerBase.req_runtime = '12:00:00'

c.TorqueSpawner.batch_query_cmd = 'qstat -fx {job_id}'
c.TorqueSpawner.state_pending_re = r'job_state = [QH]'
c.TorqueSpawner.state_running_re = r'job_state = R'
c.TorqueSpawner.state_exechost_re = r'exec_host = ([\w_-]+)/'

c.TorqueSpawner.batch_script = '''#!/bin/sh
#PBS -q {queue}@{host}
#PBS -l walltime={runtime}
#PBS -l nodes=1:ppn={nprocs}
#PBS -l mem={memory}
#PBS -N jupyterhub-singleuser
#PBS -v {keepvars}
set -eu
source /opt/miniconda3/bin/activate  jupyterhub_env
{cmd}
'''


#------------------------------------------------------------------------------
# ProfilesSpawner configuration
#------------------------------------------------------------------------------
# List of profiles to offer for selection. Signature is:
#   List(Tuple( Unicode, Unicode, Type(Spawner), Dict ))
# corresponding to profile display name, unique key, Spawner class,
# dictionary of spawner config options.
#
# The first three values will be exposed in the input_template as {display},
# {key}, and {type}
#

c.ProfilesSpawner.profiles = [
   ( "Local server", 'local', 'jupyterhub.spawner.LocalProcessSpawner', {'ip':'0.0.0.0'} ),
   ('常规 1 cores, 1 GB, 8 hours', '1c1g8h', 'batchspawner.TorqueSpawner',
      dict(req_nprocs='1', req_queue='workq', req_runtime='8:00:00', req_memory='1gb', req_host='cdh2')),
   ('Interactive Cluster - 2 cores, 4 GB, 8 hours', 'lab', 'batchspawner.TorqueSpawner',
      dict(req_nprocs='2', req_host='cdh2', req_queue='workq',
          req_runtime='8:00:00', req_memory='4gb', state_exechost_exp='exec_host = ([\w_-]+)/')),
   ]

#c.CondorSpawner.exec_prefix = 'sudo -i -u root'
c.ProfilesSpawner.ip = '0.0.0.0'
不懂的配置可以从github检索
参考
https://www.altair.com/pbs-works-documentation/
https://github.com/openpbs/openpbs
http://thisis.yorven.site/blog/index.php/2020/12/06/openpbs-install-instructions/
https://github.com/jupyterhub/batchspawner
https://github.com/jupyterhub
https://jupyterhub.readthedocs.io/en/stable/quickstart.html#prerequisites
