目录
2、Visual Studio Code(VSCODE)中配置php xdebug
?
1、win配置php环境
1.1 配置PHPStudy
1.1.1 下载phpstudy
![]()
链接:https://pan.baidu.com/s/16EhOqcnBIDQYsTejE4cYWg
提取码:tn2z
1.1.2 配置phpstudy
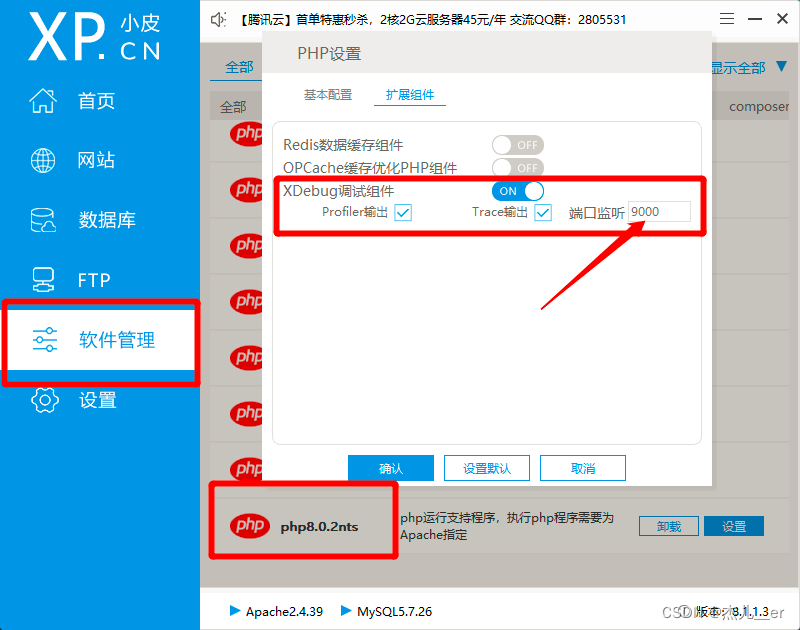
如下图将php扩展组件xdebug打开(我的PHPStudy中是已经自带了这个插件的,不用再自己下载配置),并配置好监听端口,此端口不能被占用。这个端口要记住,下一步在VSCode中会做同样的端口配置,切记PHPStudy和VSCode中配置的端口号必须一致。
(本文内用的php版本是8.0.2)
?然后修改php.ini配置文件,拉到最底部,修改xdebug.remote_enable=On,xdebug.remote_autostart=On,如果没有remote_autostart这个配置就自己加上,如下图:
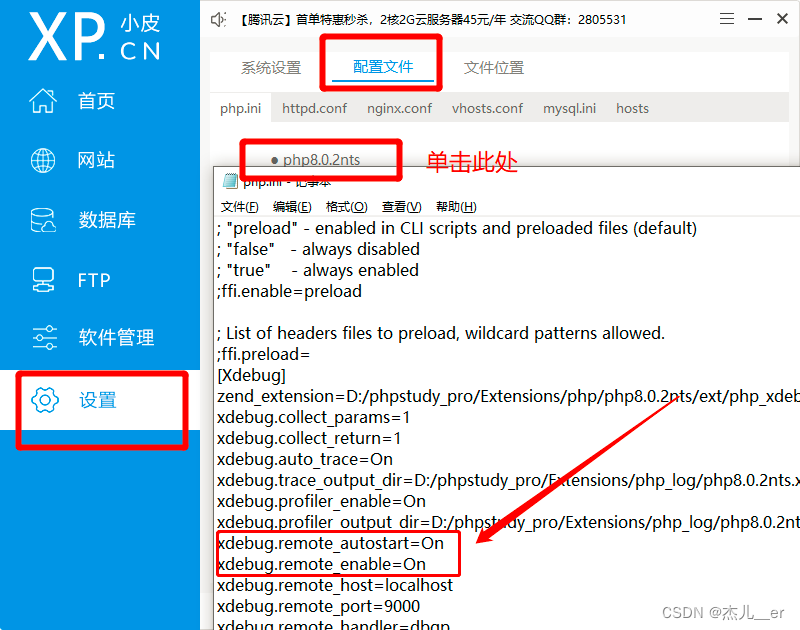
配置好后重启Apache服务器。
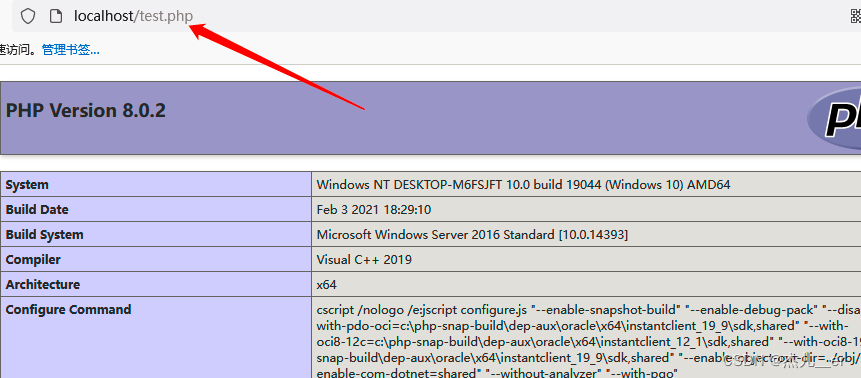
 1.1.3 测试phpstudy是否配置完成
打开浏览器输入,http://localhost/test.php, 会看到 php的版本。
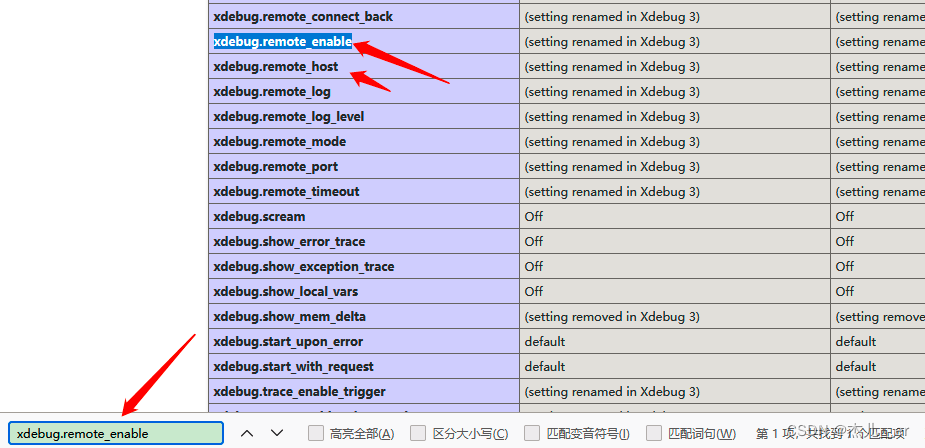
页面内搜索xdebug.remote_enable,查看是否配置成功。
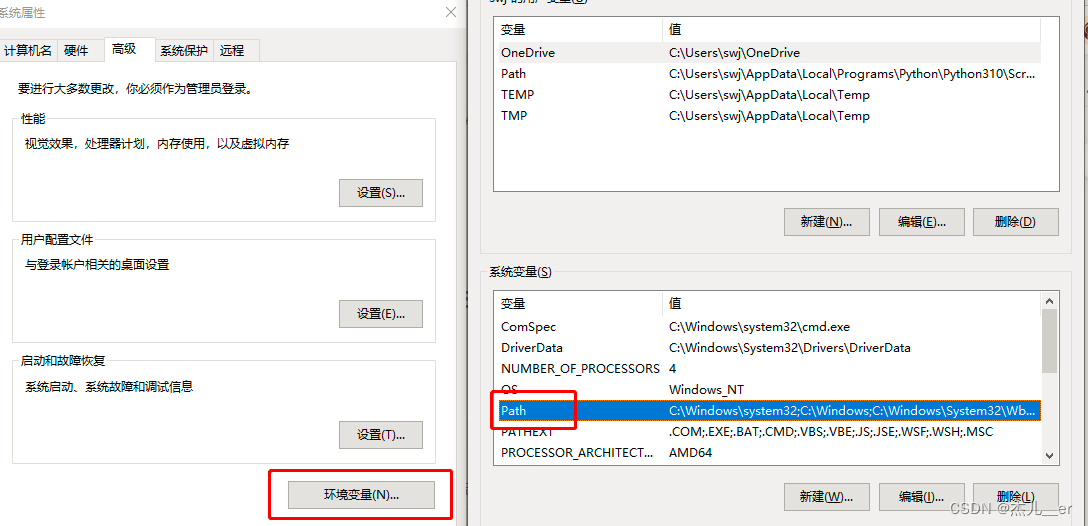
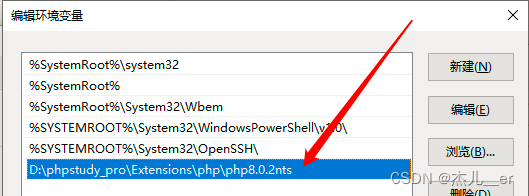
1.2 配置环境变量
1.2.1 打开环境变量,添加配置
在Path内加入php.exe所在的文件夹。
1.2.2 cmd测试php的版本

2、Visual Studio Code(VSCODE)中配置php xdebug
2.1 下载vscode
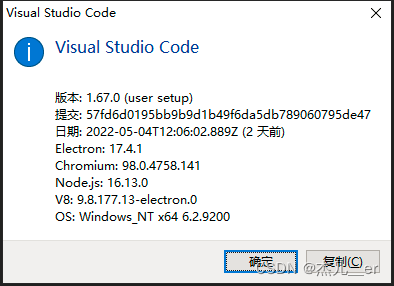
官网下载:
Download Visual Studio Code - Mac, Linux, Windows
网盘下载:
链接:https://pan.baidu.com/s/1NSUbiH2fUweyCWPHkoVCng
提取码:83bk
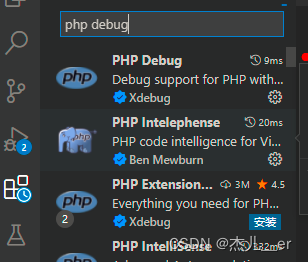
2.2 配置vscode的php debug
首先搜索插件php debug,安装Felix Becker提供的版本。
然后配置php.exe执行路径,点击文件->首选项->设置->用户->扩展->php->在 setting.json 中编辑,如下图:
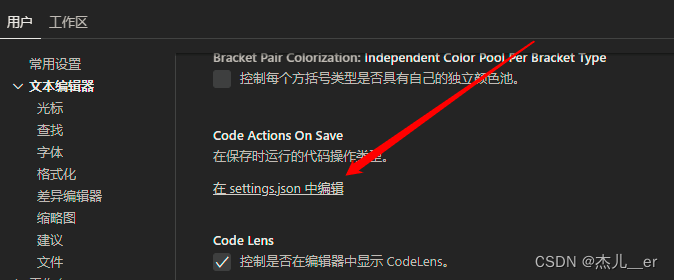
配置"php.validate.executablePath": "你的php.exe的路径",如下图:?

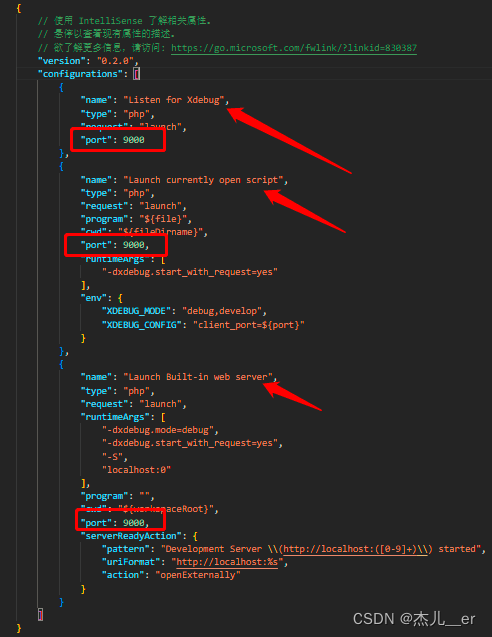
配置xdebug,点击调试,选择Listen for Xdebug,点击后面的“齿轮”打开launch.json,设置port和之前PHPStudy中端口号一致。
3、开始调试
配置好之后就可以给代码打断点,然后按快捷键F5启动调试,在浏览器中访问你的网站要调试的地方就可以愉快的调试了!我目前在学习FastAdmin,所以截图一下调试效果:
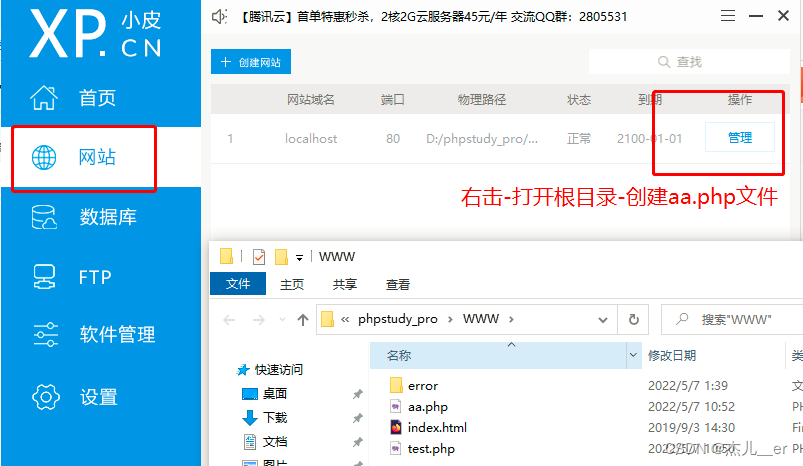
?编写aa.php文件。

<?php
    echo 1;
    $a = $_POST['$a'];
?>
?打开浏览器进行访问
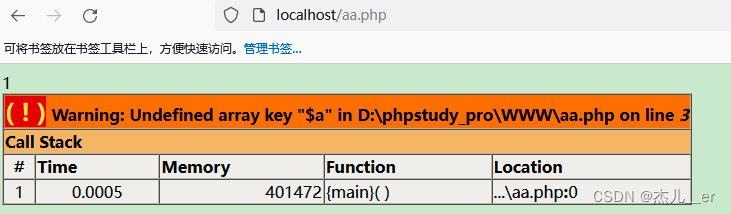
本篇文章到此结束,感谢阅读。?

