GitHub、Gitee、Gitlab环境配置
一、GitHub
01、生成专属SSH密钥文件
01、打开cmd输入如下命令:
ssh-keygen -t rsa -C "邮箱"
02、提示输入存储文件名称,请输入:
id_rsa_github

03、在当前路径下会生成如下两个文件:

二、Gitee
01、生成专属SSH密钥文件
01、打开cmd输入如下命令:
ssh-keygen -t rsa -C "邮箱"
02、提示输入存储文件名称,请输入:
id_rsa_gitee

03、在当前路径下会生成如下两个文件:

三、GitLab
01、生成专属SSH密钥文件
01、打开cmd输入如下命令:
ssh-keygen -t rsa -C "邮箱"
02、提示输入存储文件名称,请输入:
id_rsa_gitlab

03、在当前路径下会生成如下两个文件:

四、Config文件配置
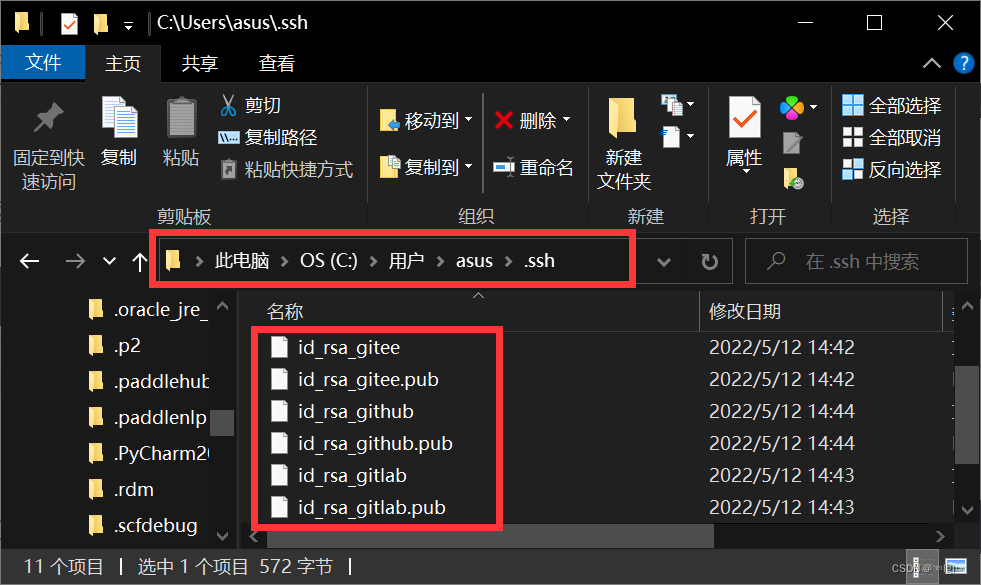
01、将以上生成的六个文件剪切到如下路径中:
C:\Users\asus\.ssh

02、在该文件夹中,新建config文本文件,注意无文件后缀!

03、在该文件中,输入如下配置数据:
# github
    Host github.com
    HostName github.com
    PreferredAuthentications publickey
    IdentityFile ~/.ssh/id_rsa_github
    User git
# gitee
    Host gitee.com
    HostName gitee.com
    PreferredAuthentications publickey
    IdentityFile ~/.ssh/id_rsa_gitee
    User git
# gitlab    注意:git.xxx.cn对应自己所使用的gitlab仓库地址
    Host git.xxx.cn
    HostName git.xxx.cn
    PreferredAuthentications publickey
    IdentityFile ~/.ssh/id_rsa_gitlab
    User git
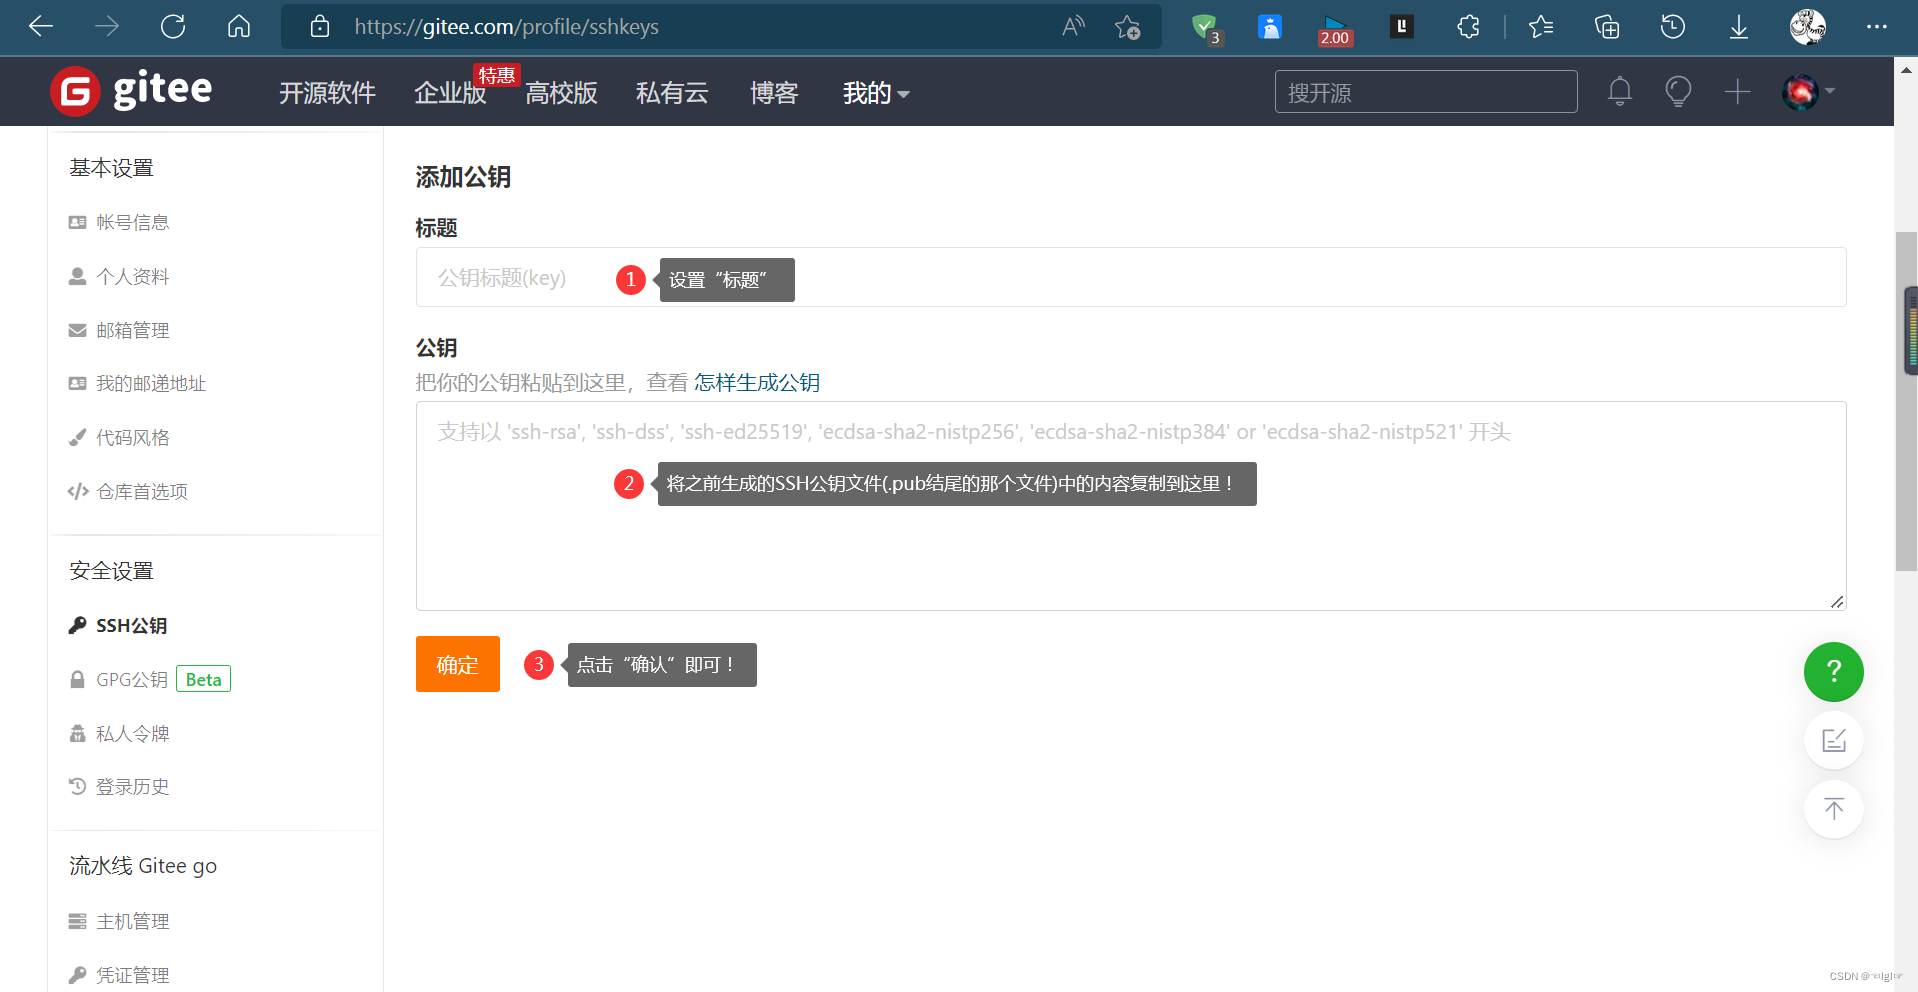
五、配置远程仓库的SSH
如图所示:

