VSCode 中使用 Live Server 进行 Debug
这两天在看 JQuery 酷炫应用实例集锦然后发现有些问题要吃透还是需要一点点的 debug,所以就研究了一下怎么在 VSCode 中结合 Live Server 和 VSCode 自身携带的 debug 模式。
直接在代码间输入 debug 强行断点随后到 chrome dev tool 里面也不是不行,但是还是觉得 VSCode 的 debug 环境舒服一些。
下面是配置步骤:
-
如果你是最新版本你应该不需要下载 debugger for chrome

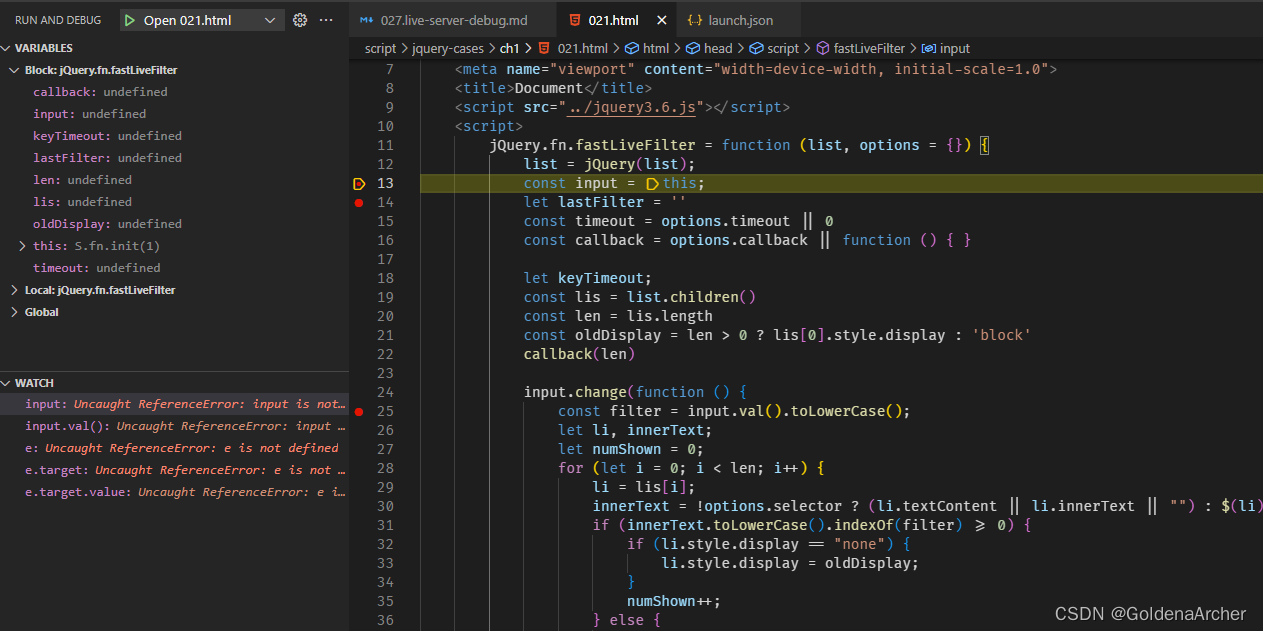
高亮的就是现在内置的 debugger,打开后环境如下:
第一个
VARIABLES会显示目前函数内的变量,WATCH是监视的变量,我这里是之前在看 021.html,也就是 JQuery 酷炫应用实例集锦 - CH1 中 根据输入字符匹配要求的 li 元素 这个案例。 -
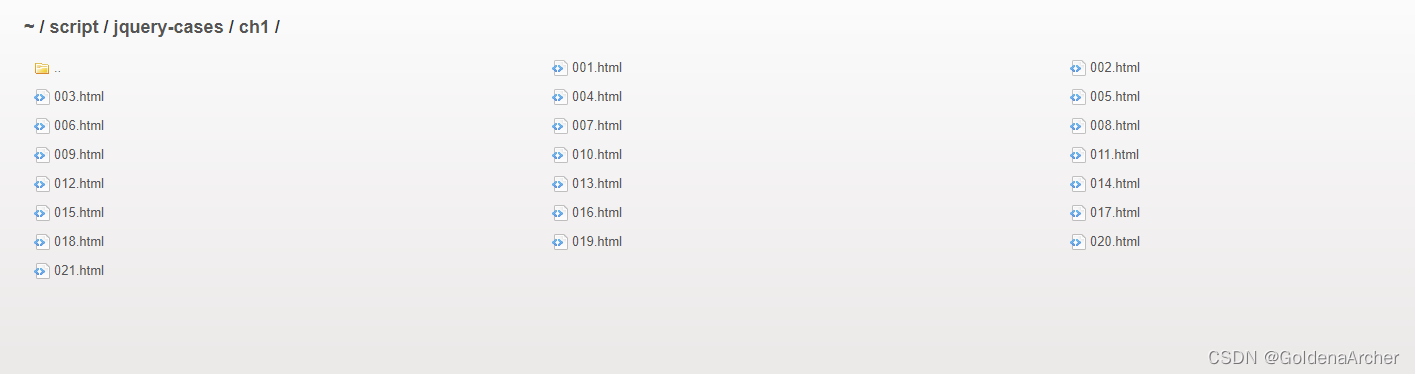
下载 live Server
Live Server 是一个免配置的本机服务器,可以 host VSCode 当前的项目。我现在 host 的就是 JQuery 酷炫应用实例集锦 - CH1 中的案例:
能打开 liver server 就证明下载安装成功,也就可以开始第三步。
-
配置 Debugger
在 debugger 环境下点开展开菜单栏,然后点击
Add Configuration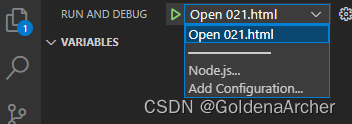
这时候会在根目录下生成
.vscode/launch.json: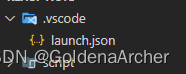
打开后将 url 修改为 Live Server 的路径,默认为
http://localhost:5500,完成之后按f5进入 debug 模式即可。 -
运行 debugger
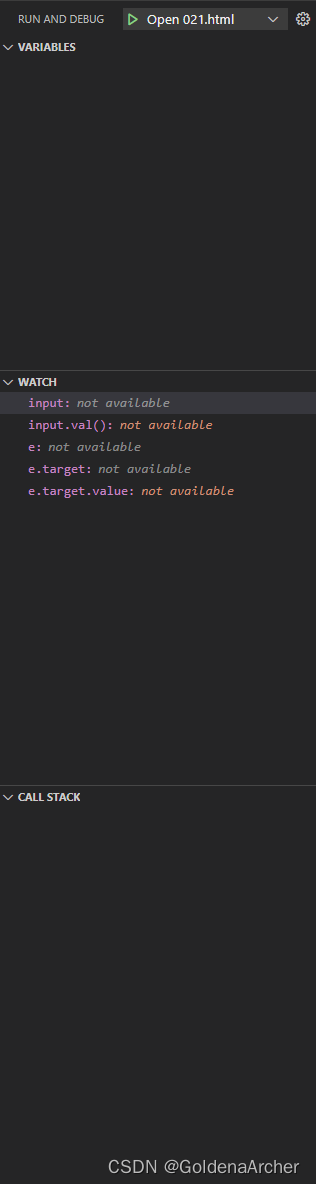
首先
CALL STACK中会显示 debugger 已经运行成功: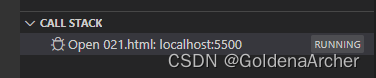
其次最下方的菜单栏也会变成橙色,并且标记 debugger 运行开始:

随后打开对应的 script 就能开始快乐地 debugger 了: