文章目录
试了以下结论还是别用msvc和vscode结合了,,太傻逼了,操作非常僵硬,还是用mingw吧
一、安装VScode与VS2019
具体安装很简单不细说了。
二、具体运行步骤
1、第一种方法(比较笨比)
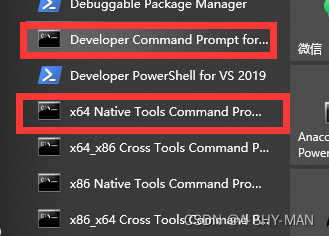
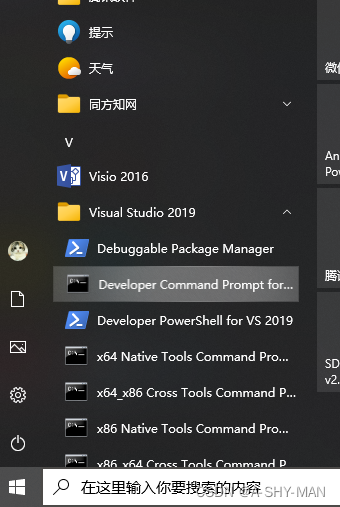
使用Developer Command Prompt for VS2019
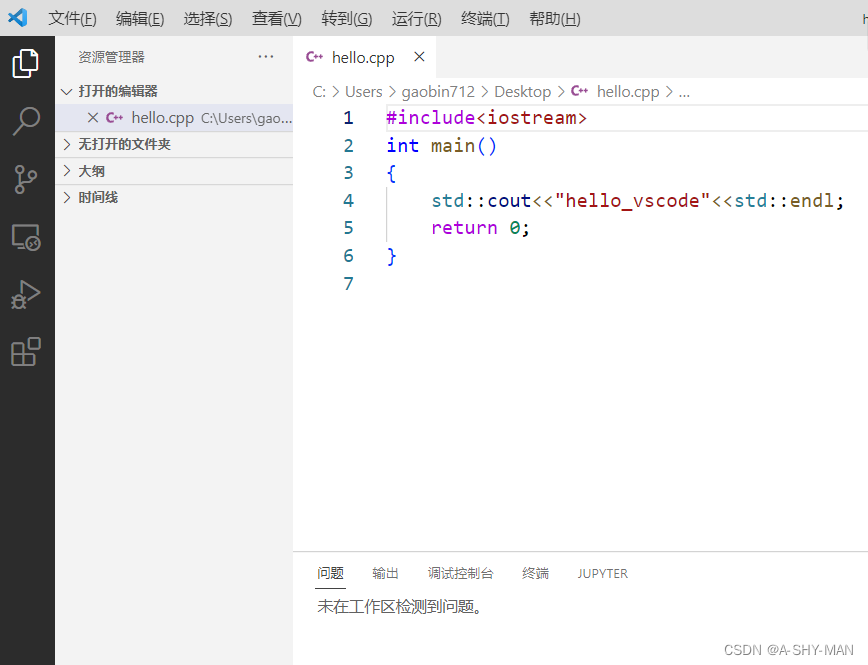
(1)写一个cpp
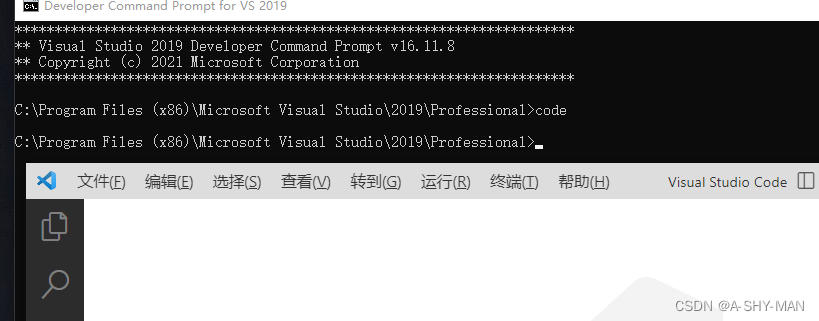
(2)使用Developer Command Prompt for VS2019会直接打开VScode(两种方式)
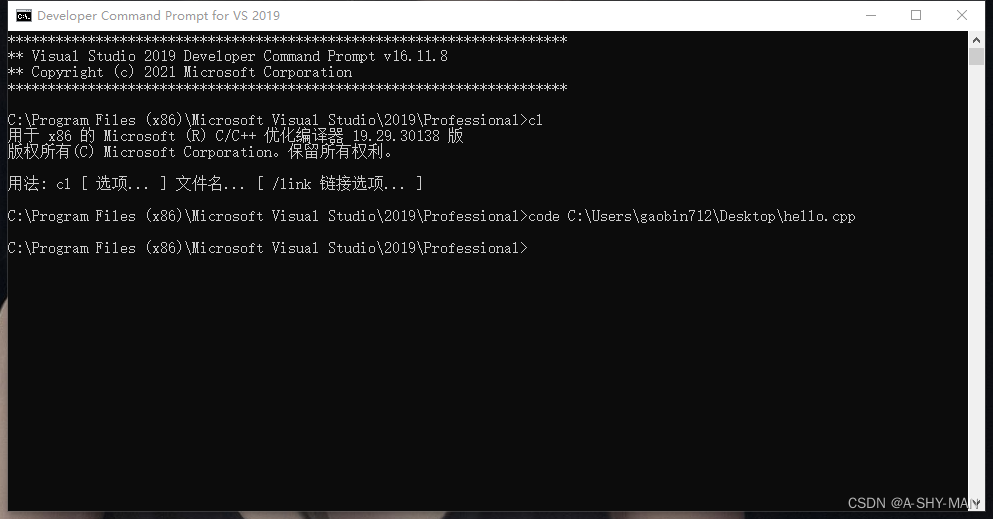
a、按路径打开
首先检查编译器是否正常,然后使用code打开vscode编辑好的cpp
cl
/*******************/
code 文件路径
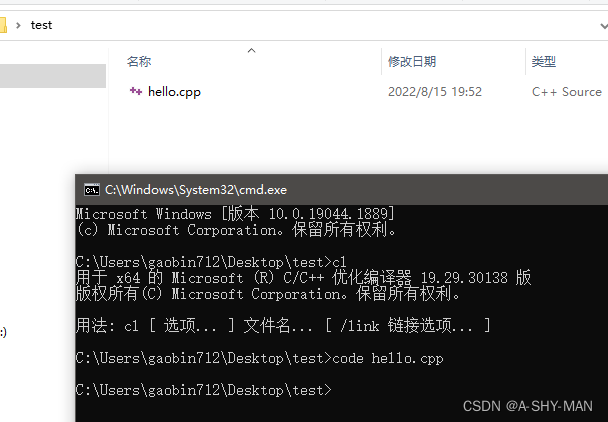
b、使用环境变量,在控制台中直接打开
code 文件名.cpp
自己安装的VS2019中cl.exe的路径


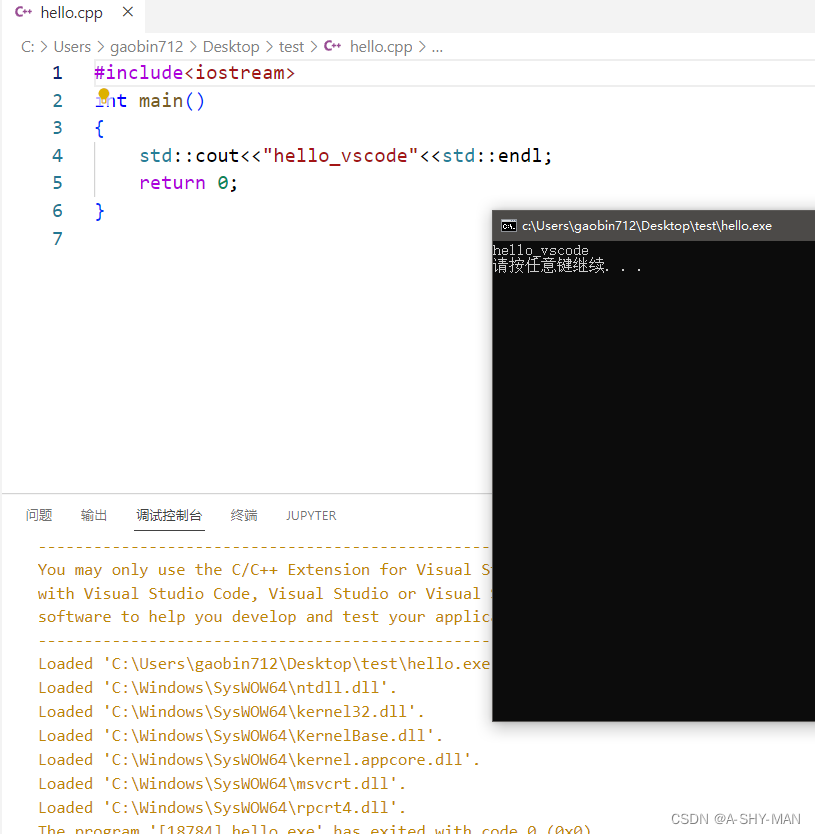
(3)在vscode中直接F5启动调试运行就可以了
F5之后选择下面这两


结果是
2、配置VScode之后运行(更tm泵比,每次修改cpp还得重新启动VScode才行)
备注:
使用了多种方式发现总是报这个错误:
最后摸索下来发现要用,VS的脚本打开vscode,即
配置流程如下(文件夹形式自定,这里我记录自己的)
(1)首先使用X64 Native Tools Command Prompt或者Developer Command Prompt for VS 2019打开vscode
(2)选择文件夹打开,然后F5启动调试,会生成.vscode文件夹和tasks.json文件


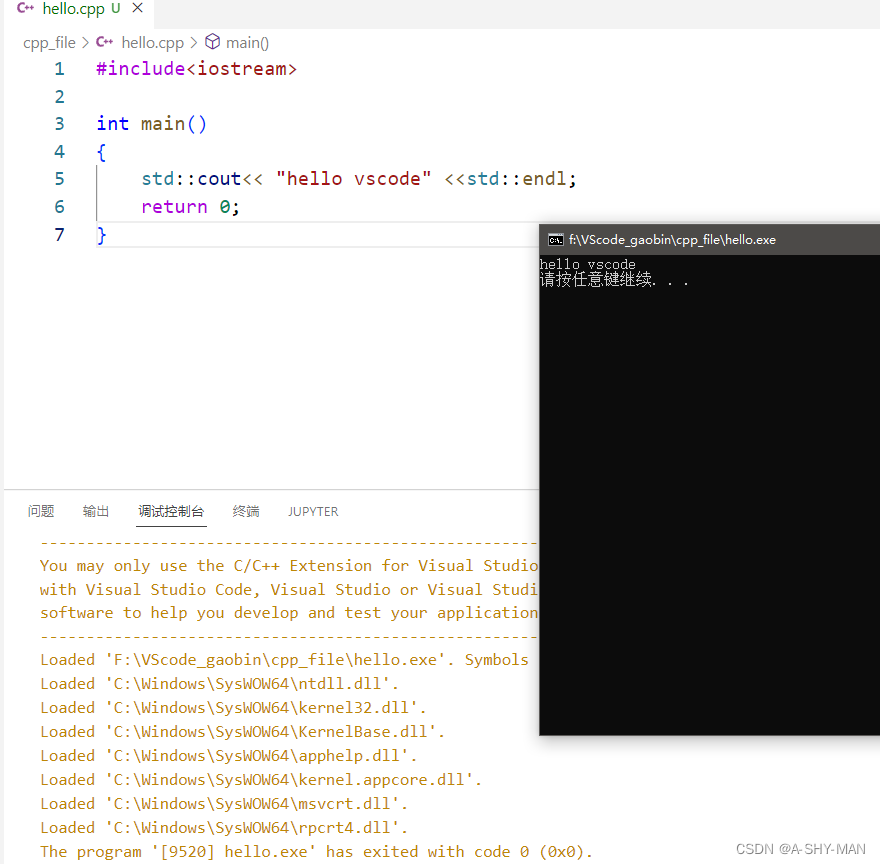
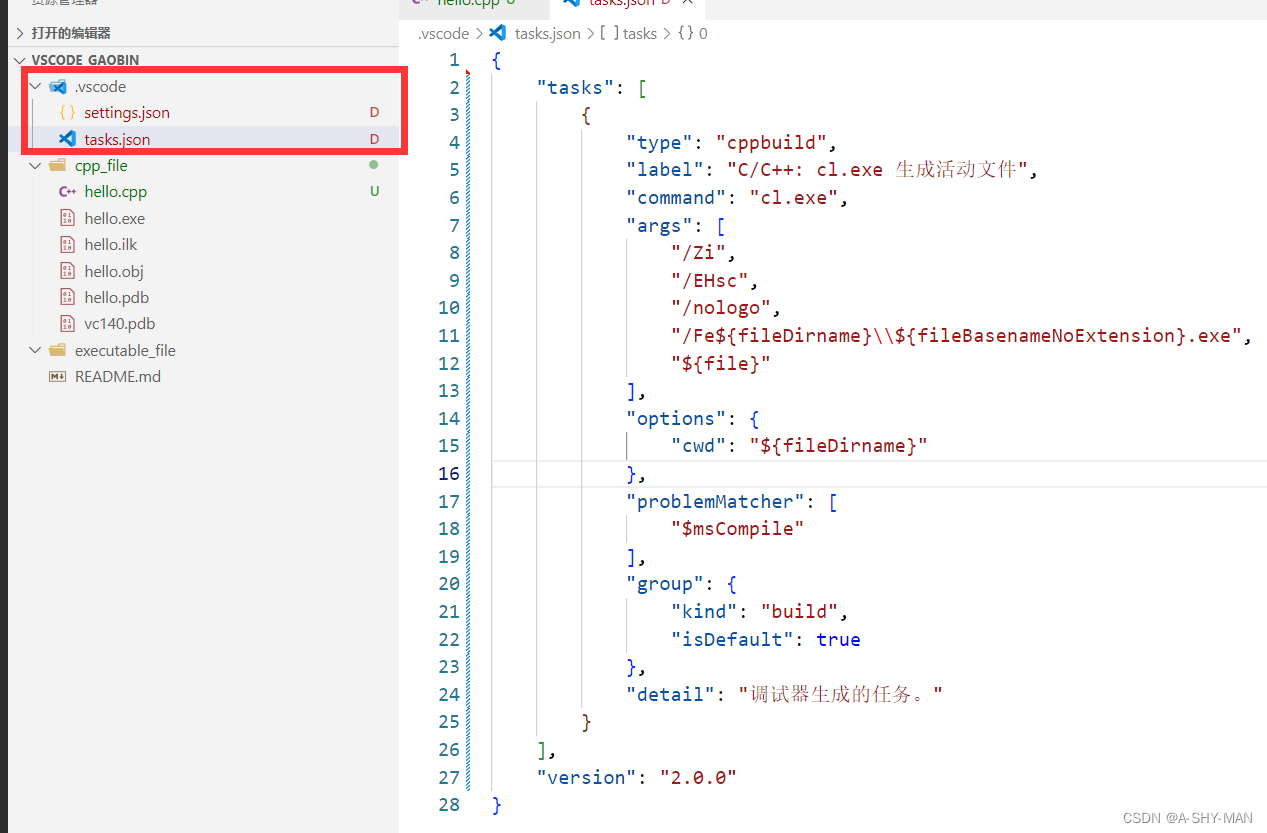
(3)按照自己的文件结构修改tasks.json,然后重新F5一次。
{
    "tasks": [
        {
            "type": "cppbuild",
            "label": "C/C++: cl.exe 生成活动文件",
            "command": "cl.exe",
            "args": [
                "/Zi",
                "/EHsc",
                "/nologo",
                "/Fe${workspaceFolder}\\executable_file\\${fileBasenameNoExtension}.exe",
                "${file}"
            ],
            "options": {
                "cwd": "${fileDirname}"
            },
            "problemMatcher": [
                "$msCompile"
            ],
            "group": {
                "kind": "build",
                "isDefault": true
            },
            "detail": "调试器生成的任务。"
        }
    ],
    "version": "2.0.0"
}
(4)在.vscdoe文件夹下添加launch.json文件,并输入下面内容,就可以进行调试了
{
    // 使用 IntelliSense 了解相关属性。
    // 悬停以查看现有属性的描述。
    // 欲了解更多信息,请访问: https://go.microsoft.com/fwlink/?linkid=830387
    "version": "0.2.0",
    "configurations": [
        {
            "name": "cl.exe - 生成和调试活动文件",
            "type": "cppvsdbg",
            "request": "launch",
            "program": "${workspaceFolder}\\executable_file\\${fileBasenameNoExtension}.exe",
            "args": [],
            "stopAtEntry": false,
            "cwd": "${workspaceFolder}",
            "environment": [],
            "console": "internalConsole",
            "preLaunchTask": "cl.exe build active file"
        }
    ]
}

