1.gitee是什么
gitee(中文名:码云 )是开源中国推出的基于git的代码托管服务。国内访问GitHub速度比较慢,如果想托管自己的代码到云端。说白了就是一个代码存储管理软件,还有很多大佬的开源项目放在上面供我们学习。
2.安装
- 要使用gitee,需要先安装git工具。
- 官网下载 https://git-scm.com/download

官网下载非常慢。笔者有百度网盘链接
链接:https://pan.baidu.com/s/1QF5A6IJkgltXL3weNDBTIw
提取码:qo2j - 安装完成后,在命令终端输入git --version可以查看到git是否安装成功

3.使用
- 创建一个仓库
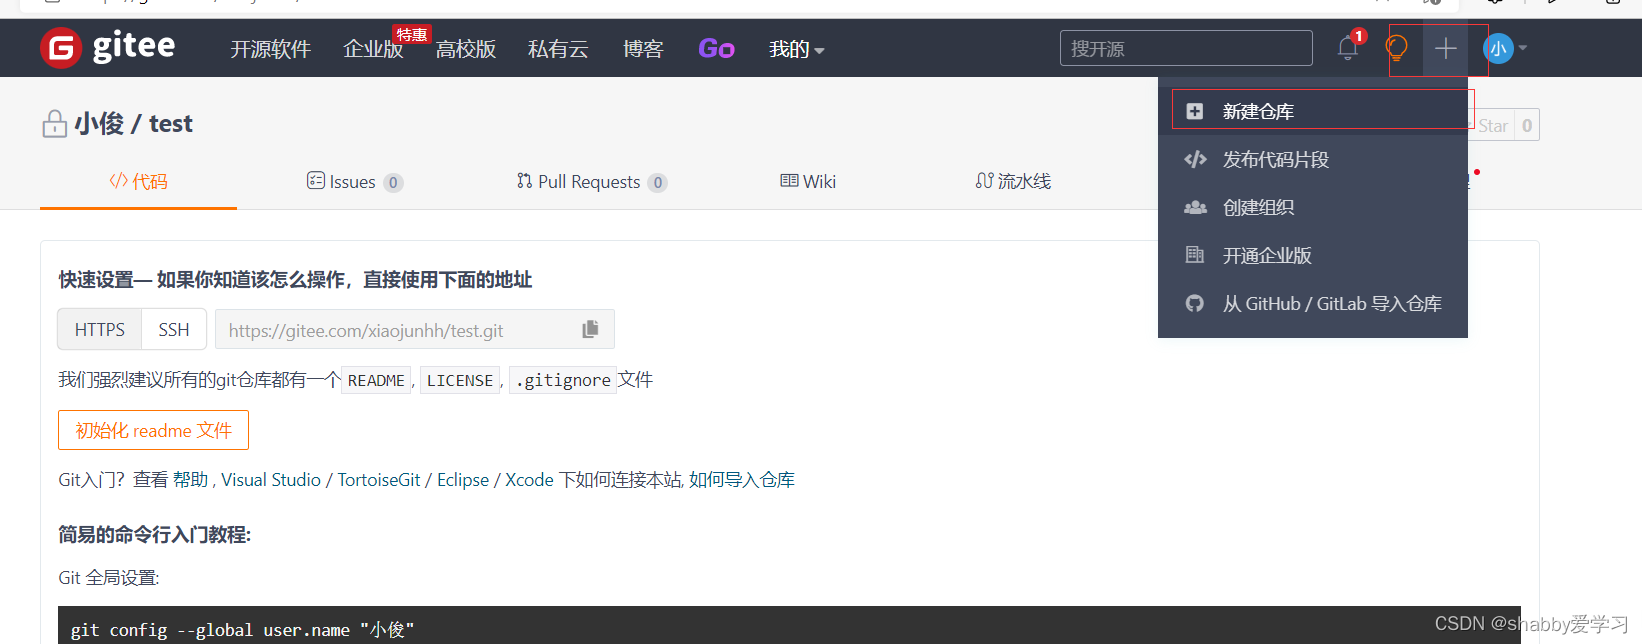
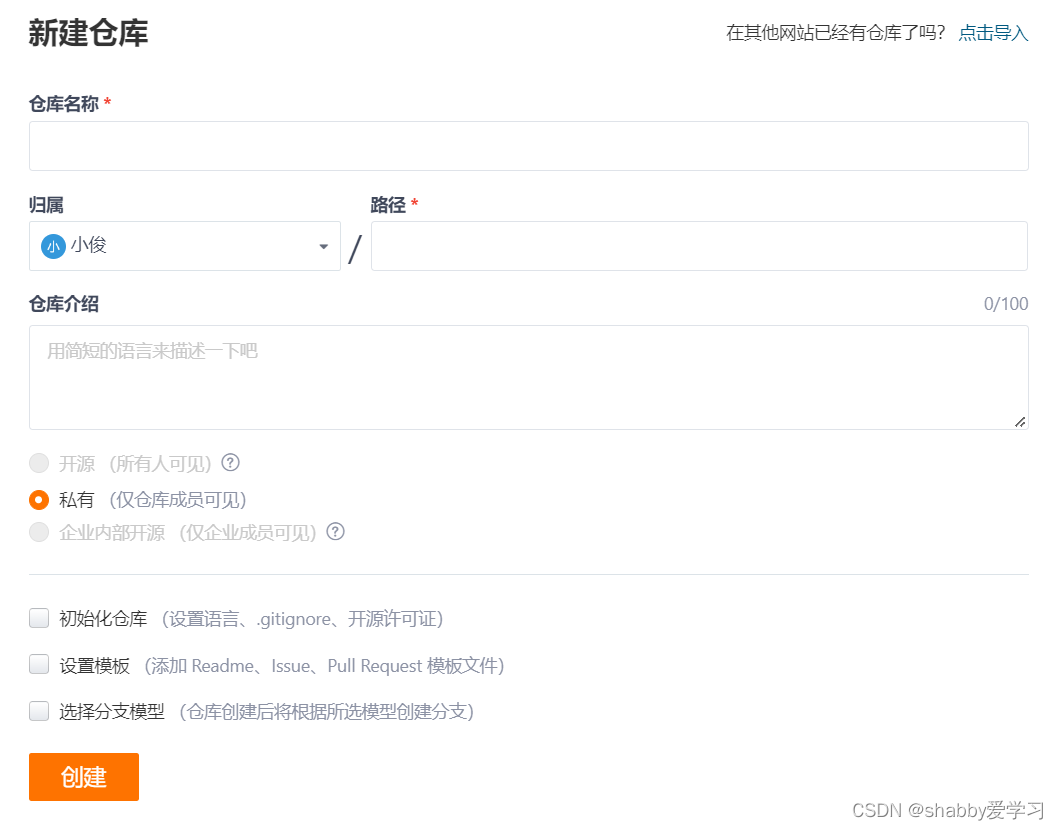
- 本地和网络仓库环境链接
- 输入 ssh-keygen -t rsa -C “自己的邮箱”,然后一直回车即可生成本地公钥。然后在目录C:\Users\你自己的用户.ssh目录中用记事本打开id_rsa.pub复制里面内容到git账户中,即可实现免密登录。

2. 之后会在打开文件夹.pua文件。直接记事本打开,复制里面文本。

3. 复制文本到下面,标题不用管,会自动填补。确认后登录密码即可,配置完成。
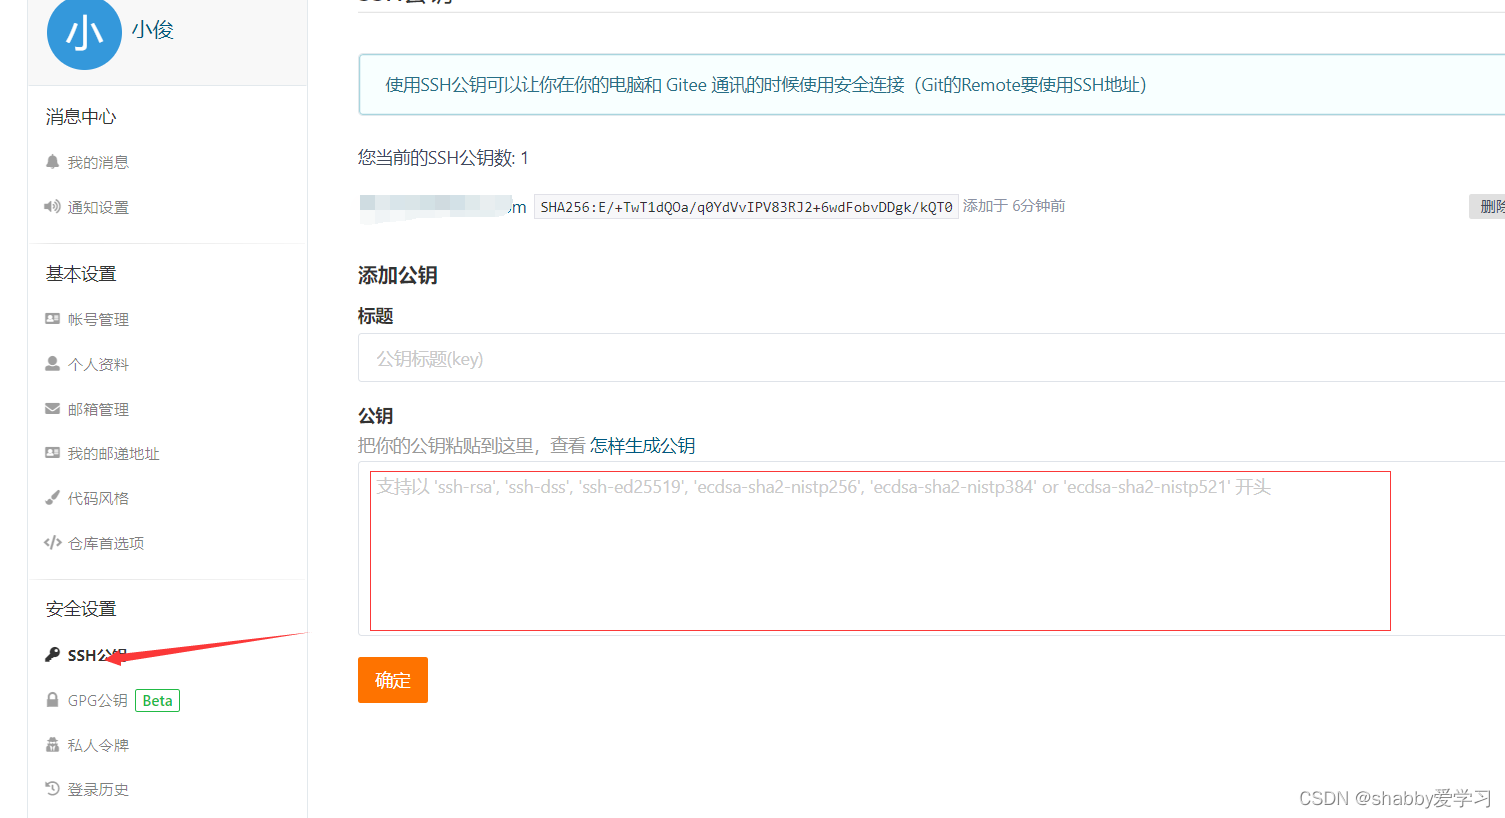
- 输入 ssh-keygen -t rsa -C “自己的邮箱”,然后一直回车即可生成本地公钥。然后在目录C:\Users\你自己的用户.ssh目录中用记事本打开id_rsa.pub复制里面内容到git账户中,即可实现免密登录。
- 连接具体过程
-
在本地文件夹下打开

2. 第一次使用需要配置 配置命令为
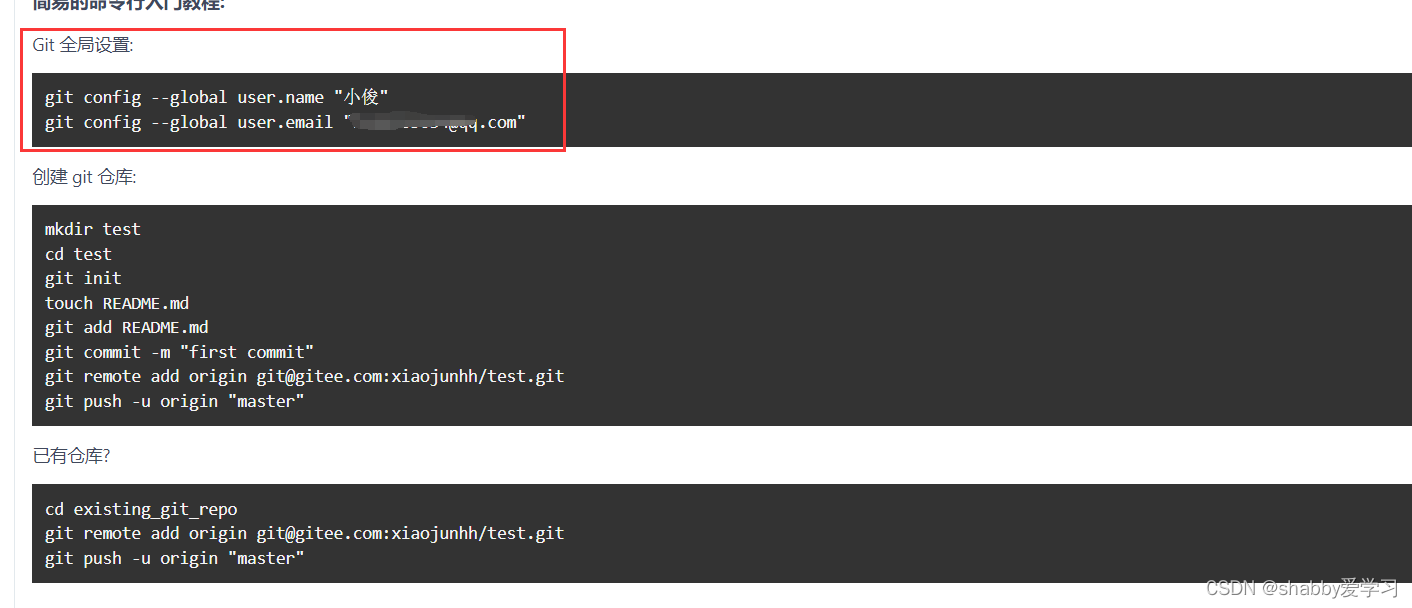
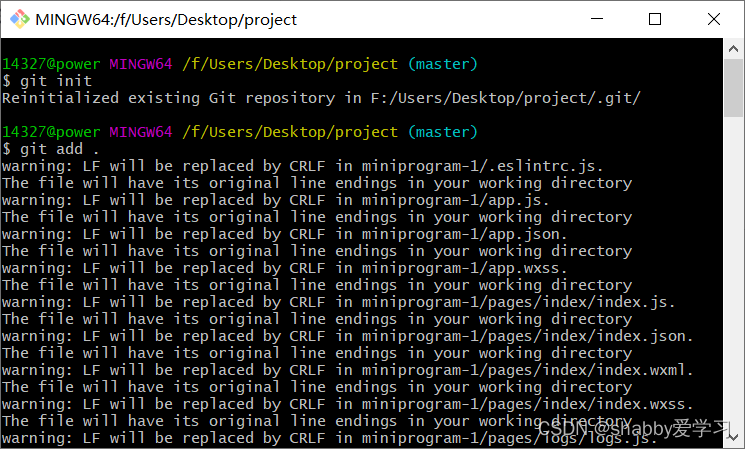
3. 本地初始化 git init

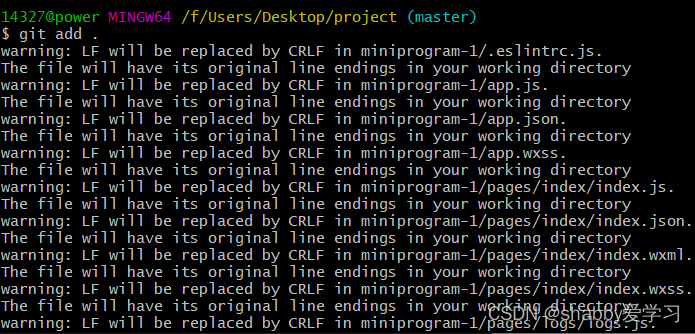
4. 输入git add .,添加该文件夹下的所有文件到本地仓库,注意add和. 之间有空格。".“表示添加所有文件,如果想要添加个别文件可以把”."替换为相应文件名
5. 可以为项目添加注释。输入git commit -m “注释”,git commit -m作用为提交暂存区的文件(也就是上一步添加的文件),后面双引号内可以填写关于提交的注释信息。

这是上传成功之后的情况。
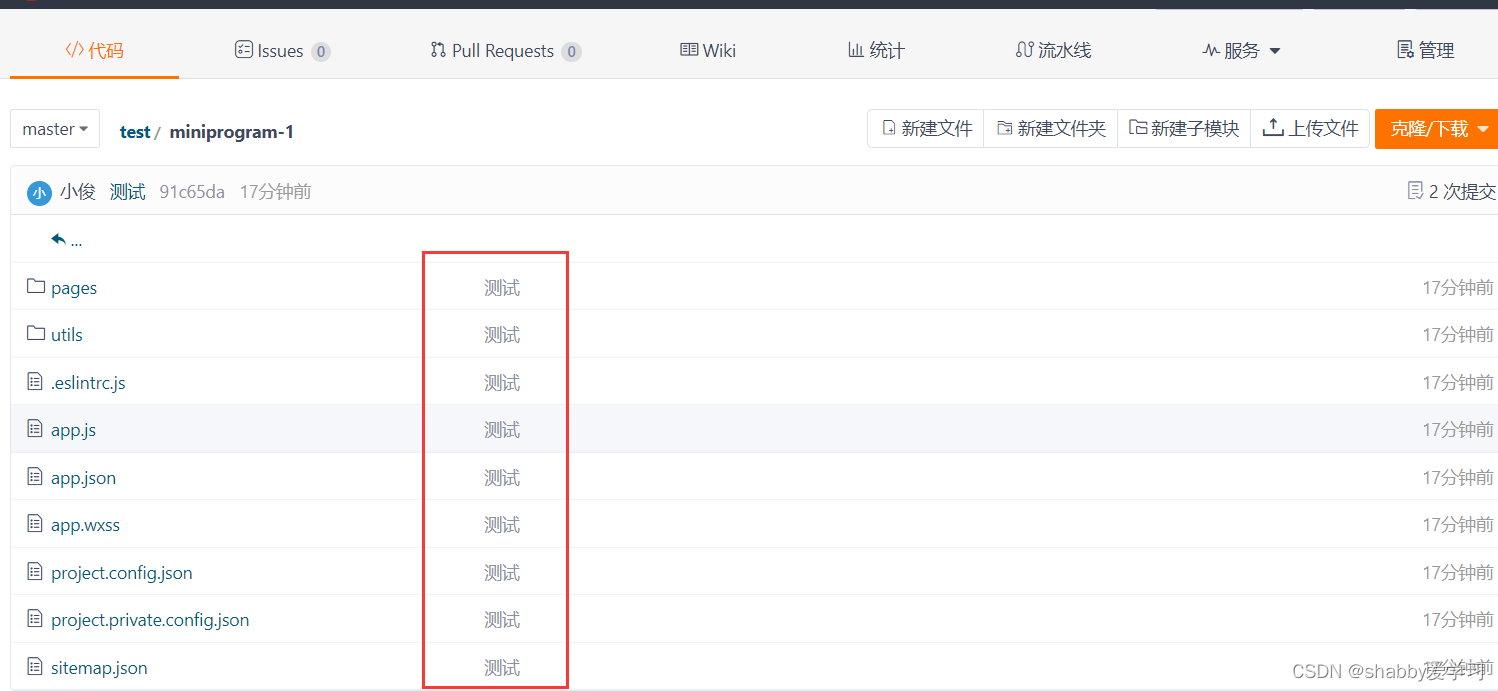
6. 添加远程仓库,git remote add origin ”地址“命令,建立本地仓库与远程仓库的关联,指令后面的地址为仓库的地址。

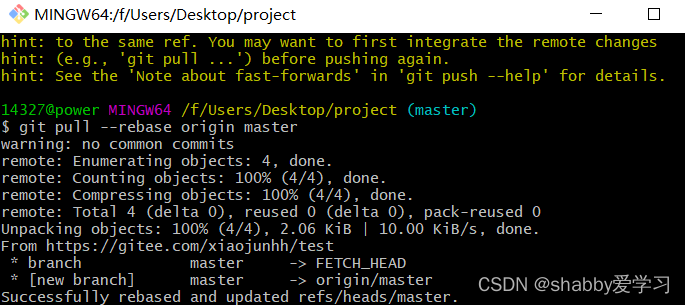
7. 同步仓库内容输入git pull --rebase origin master命令,将远程仓库的内容合并到本地仓库。如果远程仓库为空可以跳过这一步,如果远程仓库不为空,则必须进行这一步,否则会报错。
- 上传文件输入git push -u origin master命令,将本地仓库的文件推送到已经建立关联的远程仓库master分支中。
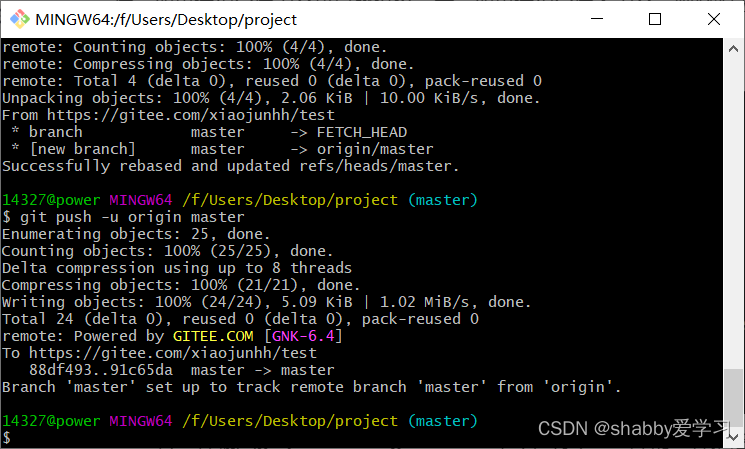
成功界面
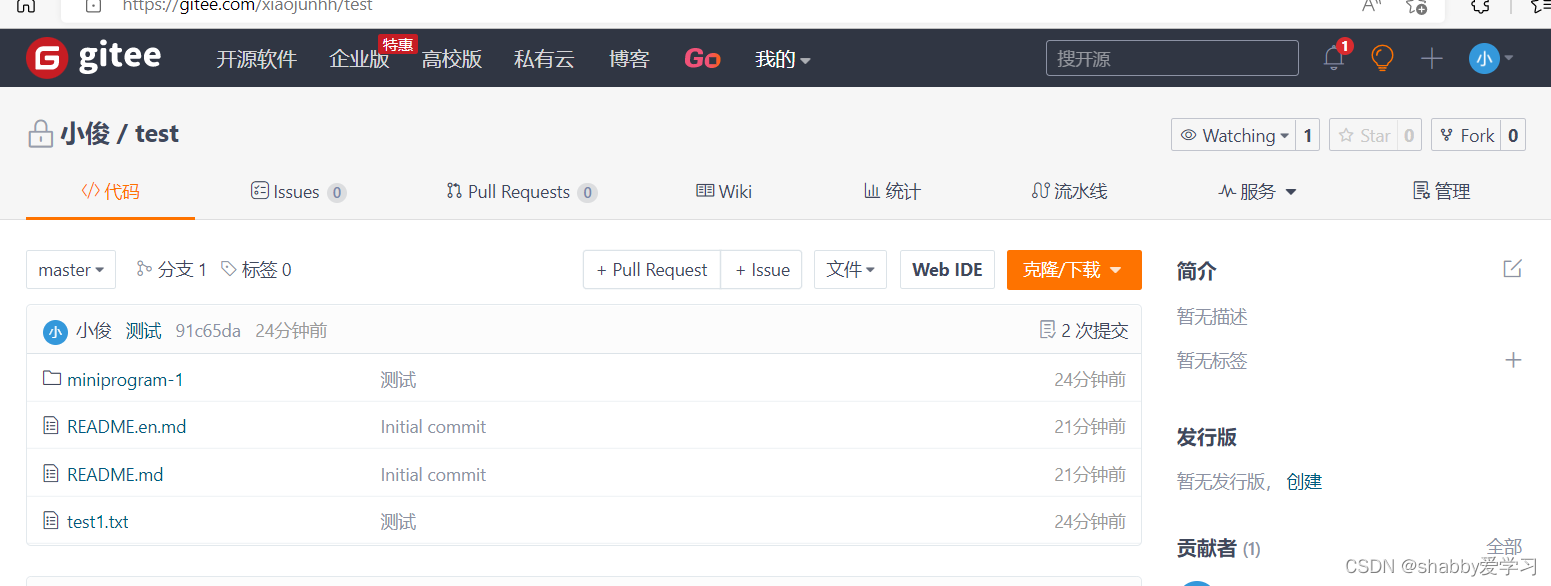

- 上传文件输入git push -u origin master命令,将本地仓库的文件推送到已经建立关联的远程仓库master分支中。
-