03 【远程库操作】
1.推送到远程库
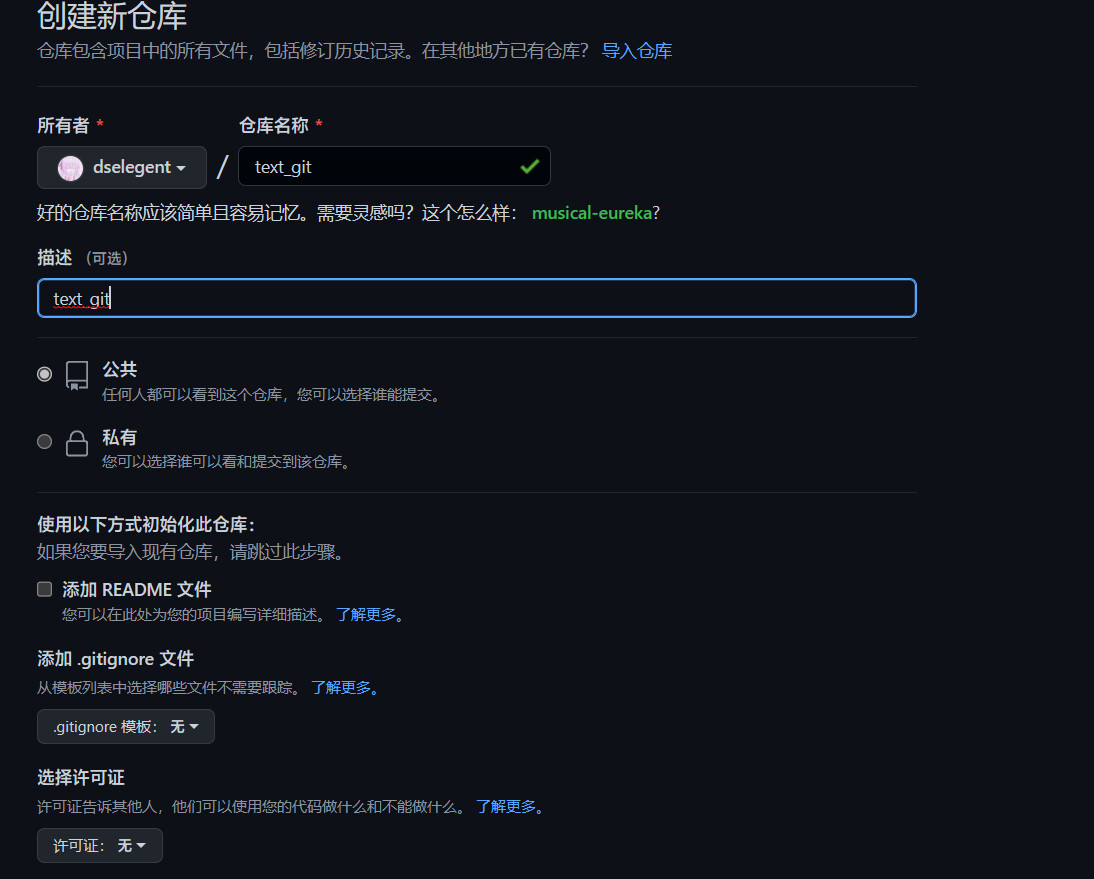
1.1 创建github仓库
1.2 创建远程库地址别名
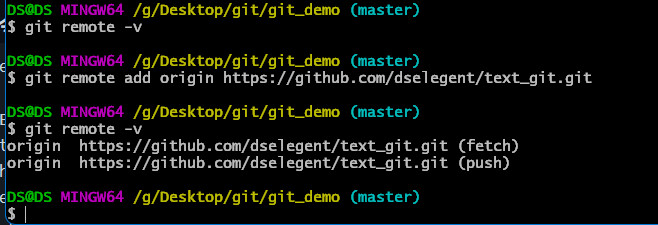
git remote -v 查看当前所有远程地址别名
git remote add [别名] [远程地址]
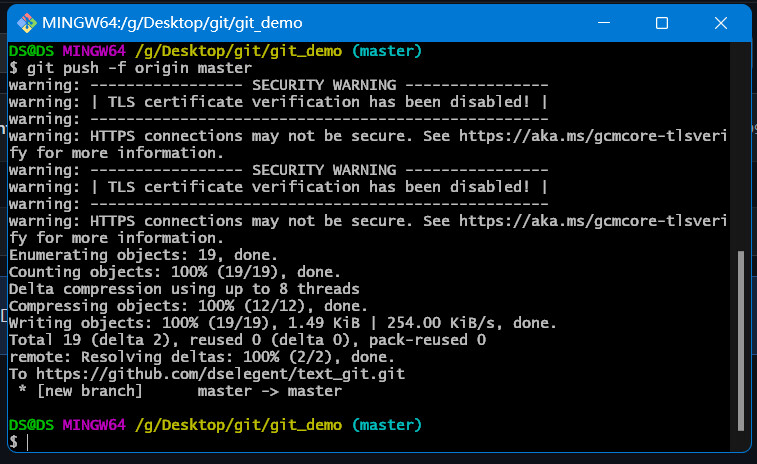
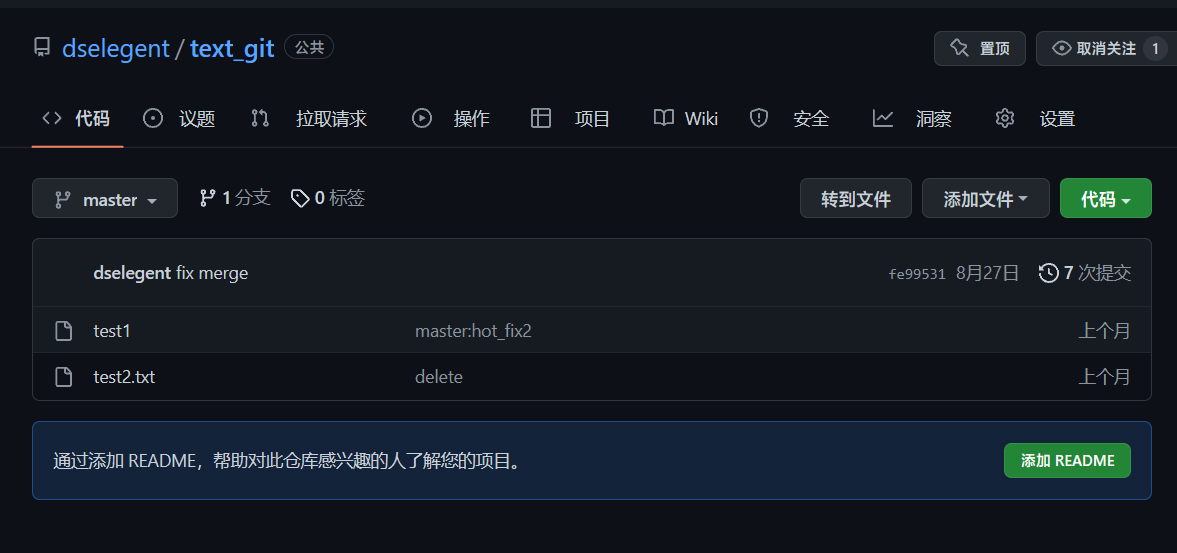
1.3 推送
git push [别名] [分支名]
2.加入团队并推送
2.1 克隆项目到本地
git clone 仓库地址
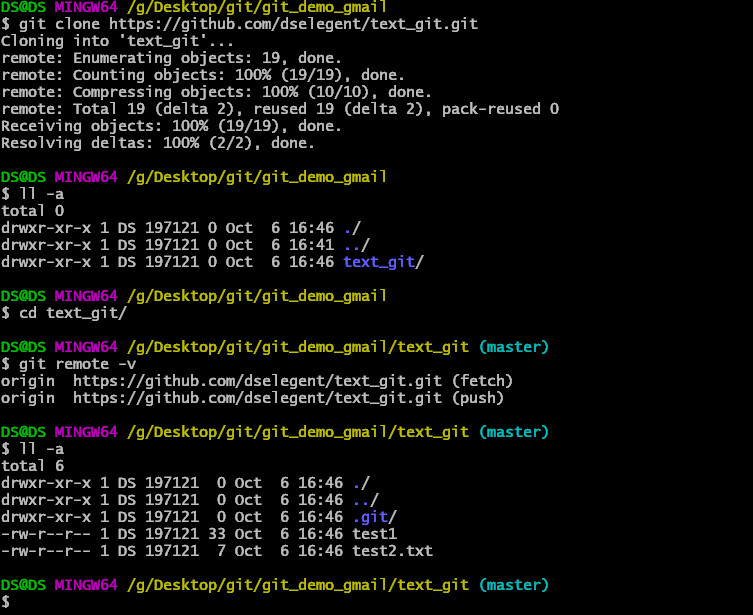
效果
-
完整的把远程库下载到本地
-
创建 origin 远程地址别名
-
初始化本地库
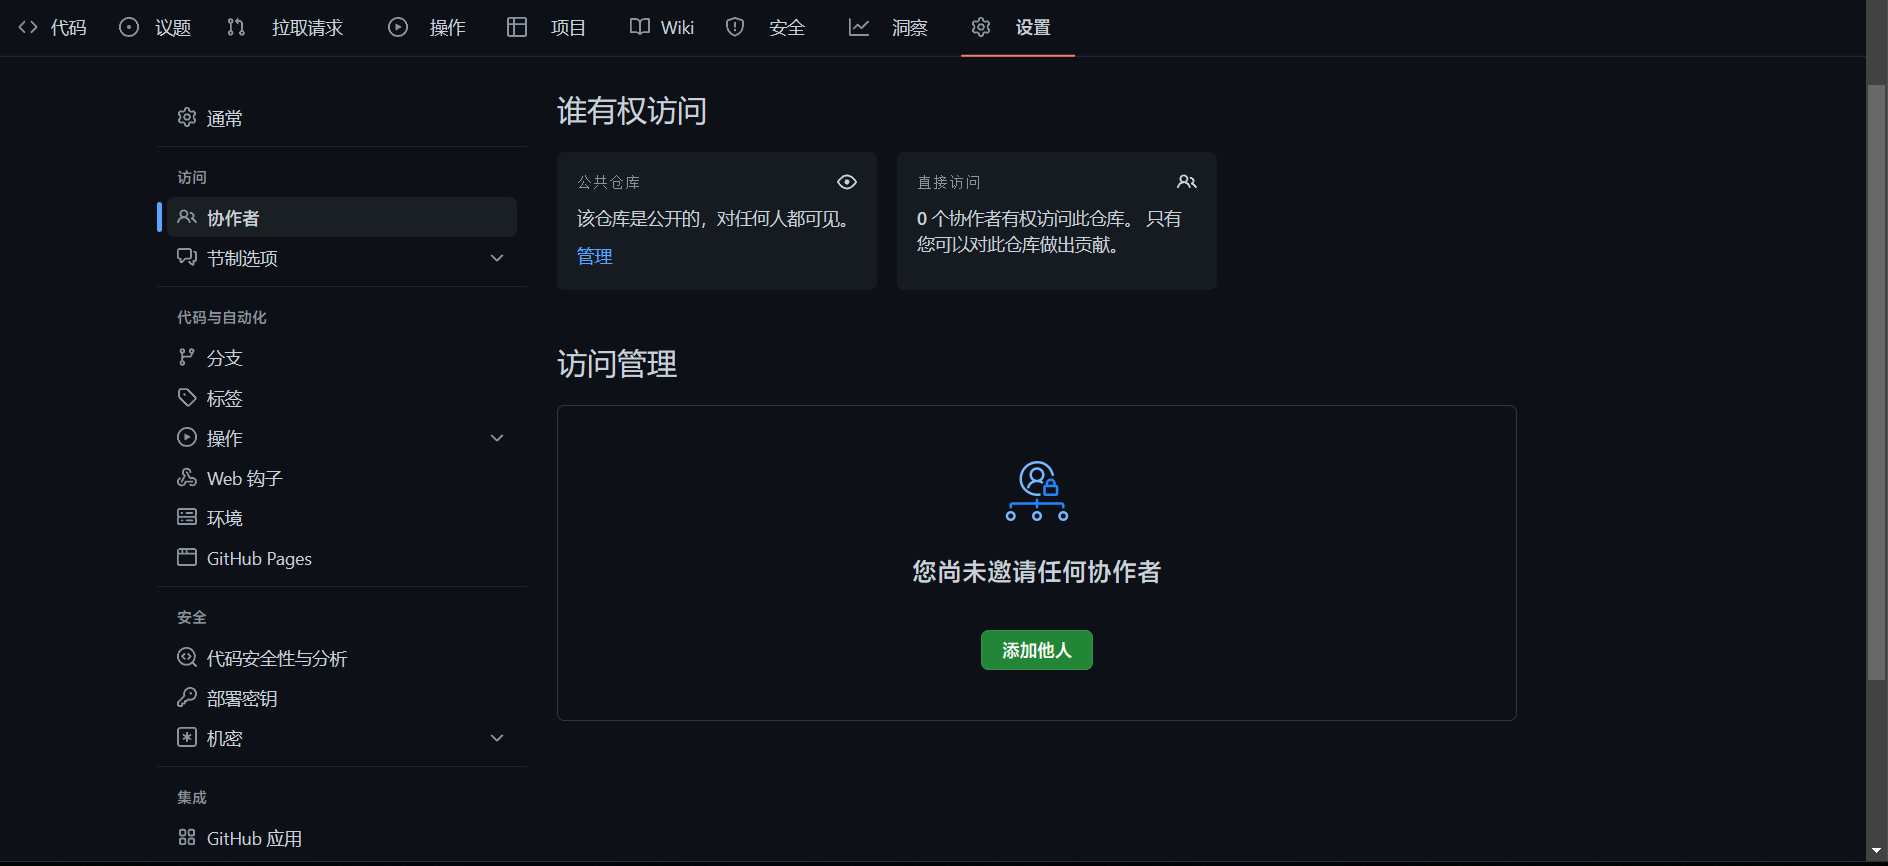
2.2 添加新成员加入团队
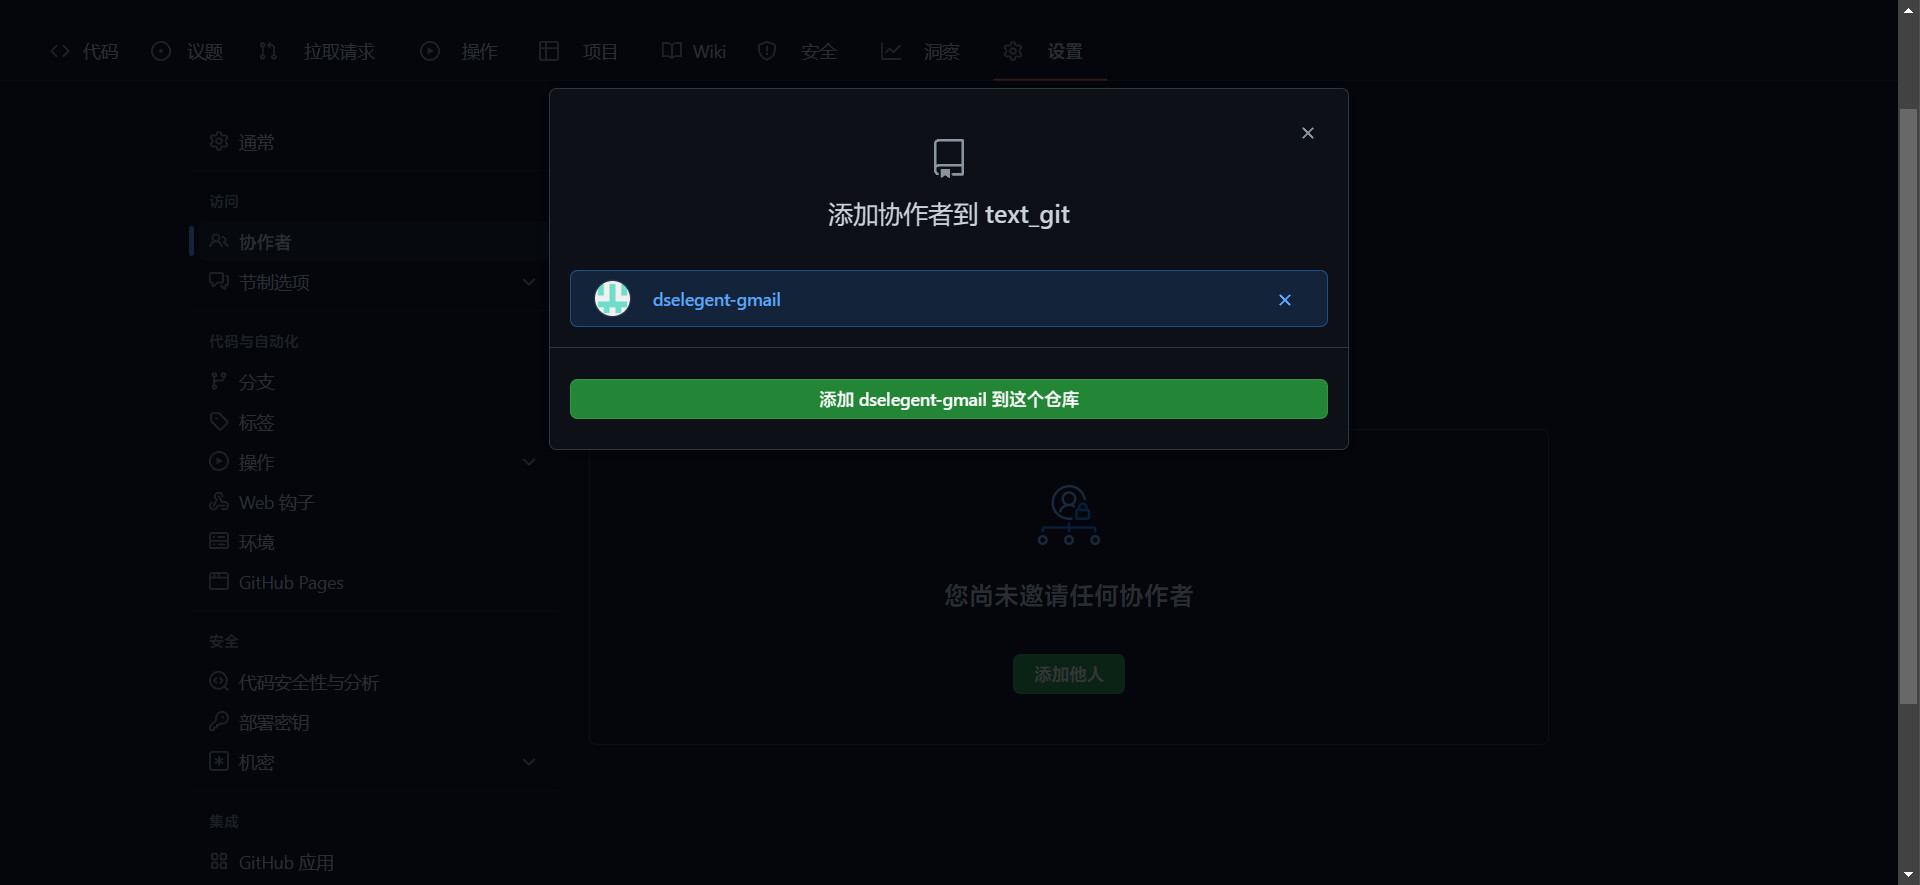
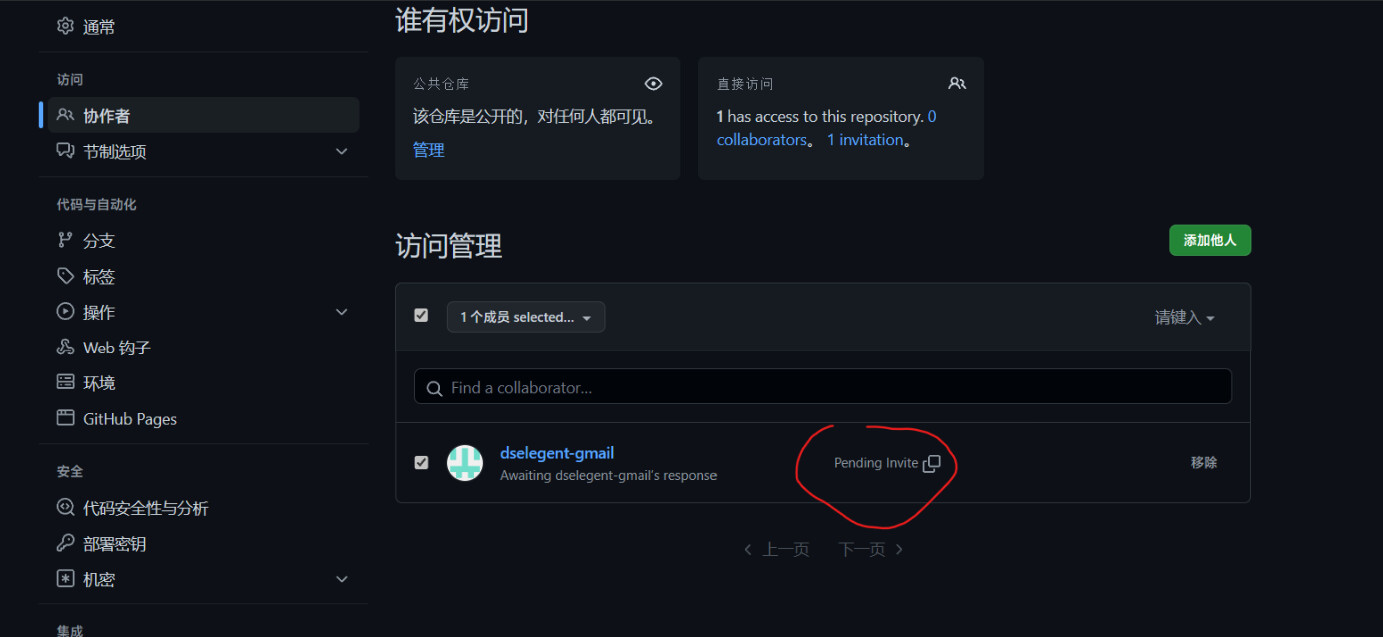
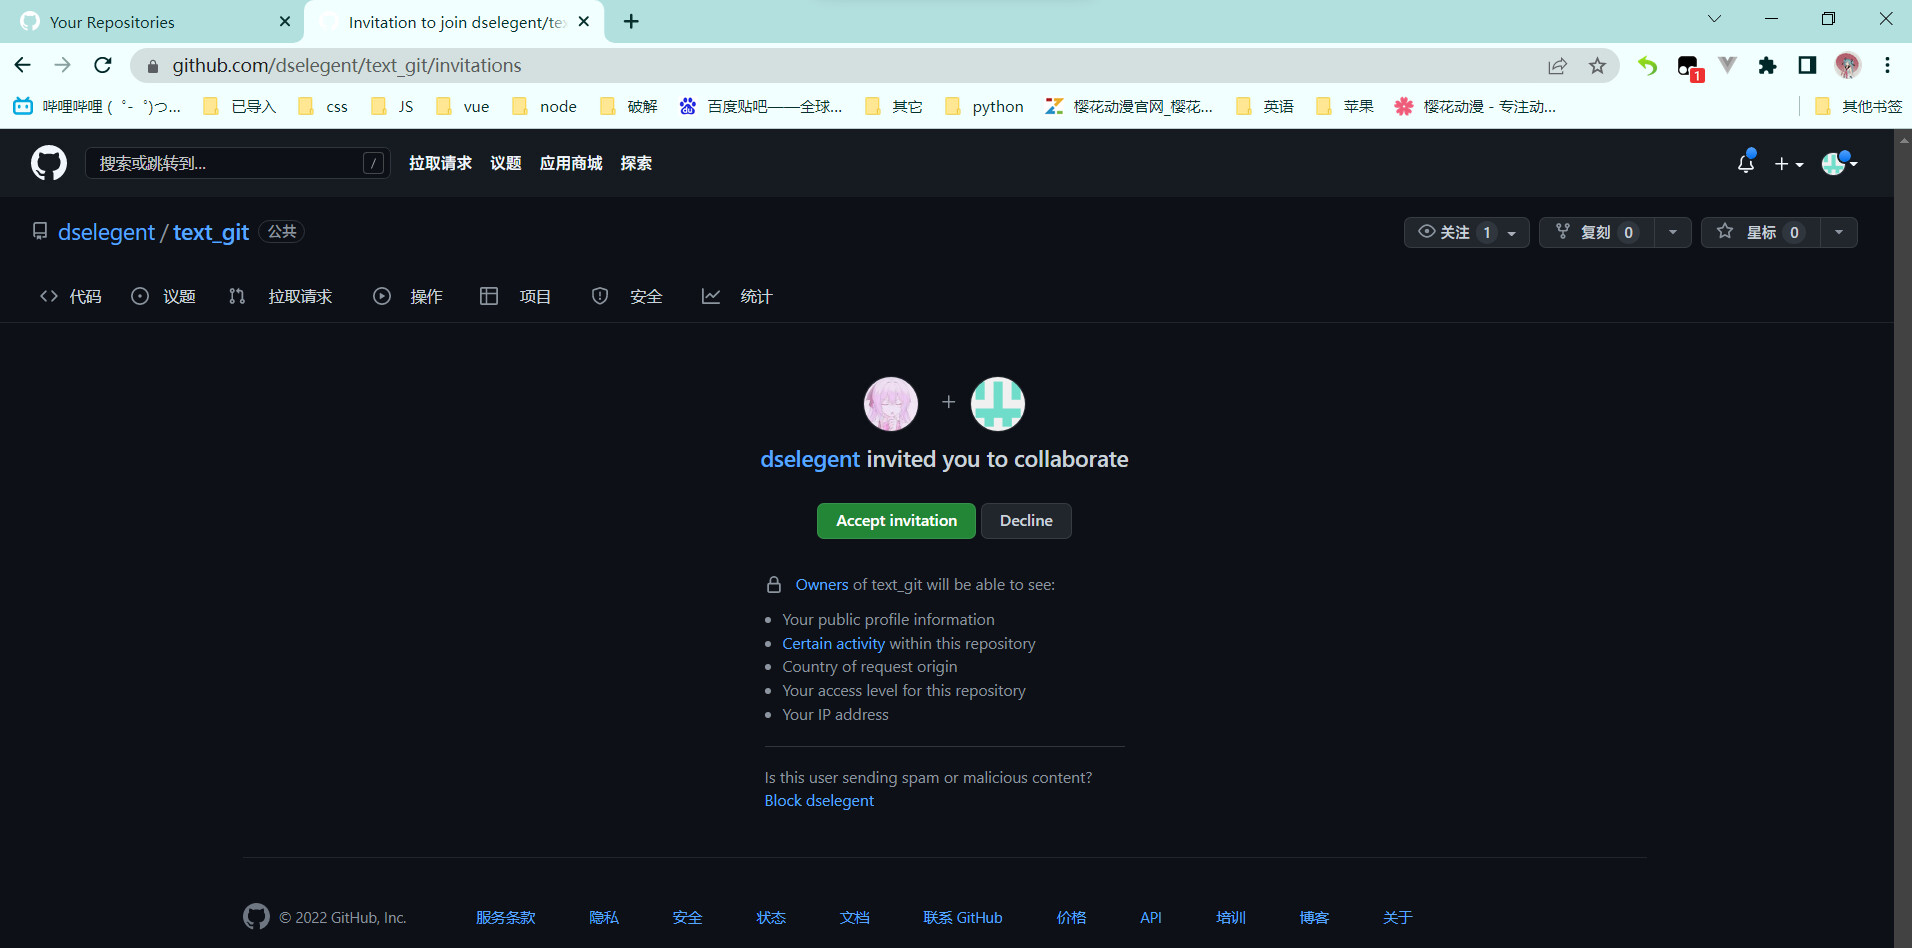
2.3 推送更新到远程库
1.更改用户名
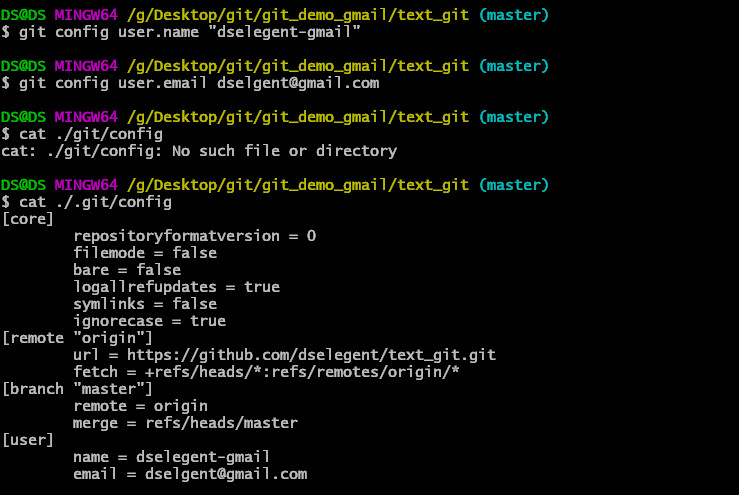
2.修改文件并提交到本地库
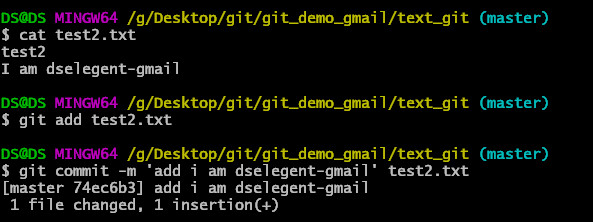
3.推送到远程库


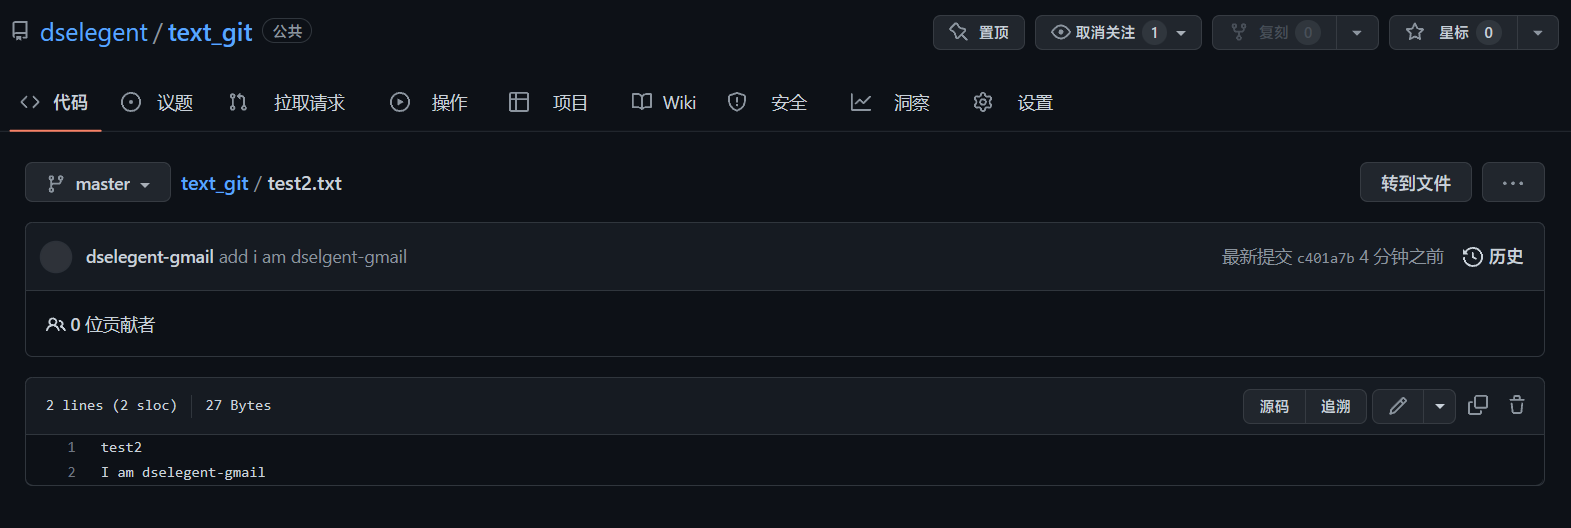
3.远程库的 SSH 登录
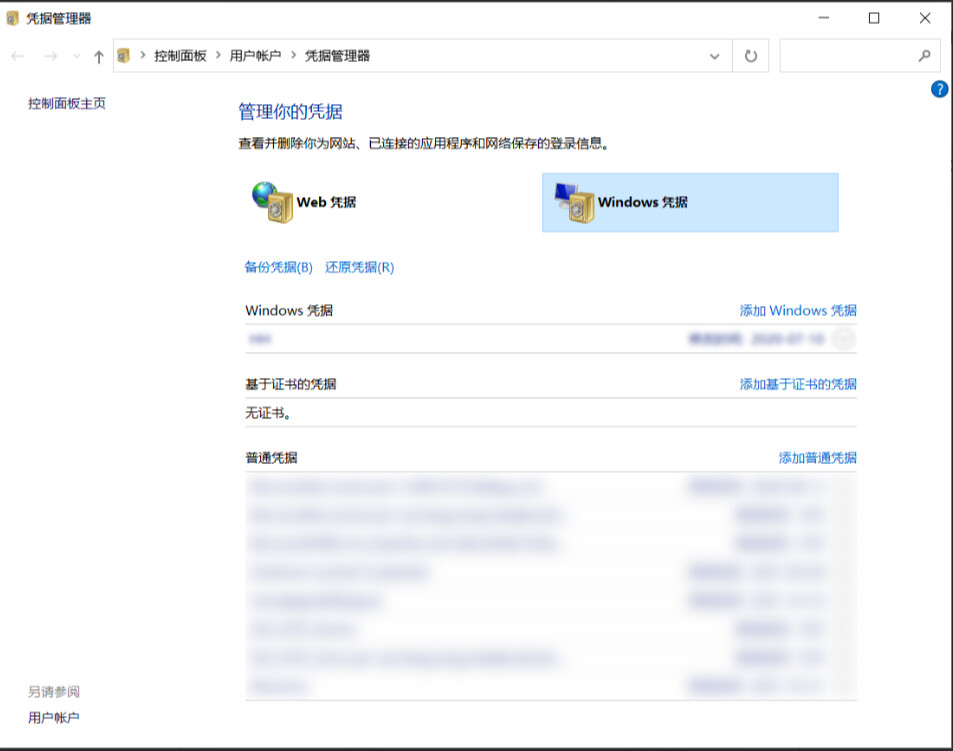
在 Windows 10 系统中,凭据管理器为我们记录了 GitHub 的 Windows 凭据,再次从终端经过 GitHub 写数据时,可自动保持登录状态。但其他 OS 不一定有这样的功能,因此不便于频繁地提交版本。
为此,可以使用 SSH 登录的方式访问远程库。
不同于 SSH 登录,使用 HTTPS 的方式可以在多个 GitHub 帐号间管理仓库。
3.1 在本地 Home 目录生成 GitHub 公/私钥
cd ~进入当前用户的根目录
rm -rvf .ssh 删除.ssh 目录
使用命令ssh-keygen -t <KeyType> -C <Annotation|AccountEmailAddress>在本地 Home 目录生成 GitHub 公/私钥。
ssh-keygen -t rsa -C dselgent@qq.com

3.2 查看 .ssh 目录下的文件
cd .ssh
cat id_rsa.pub

将秘钥全部复制
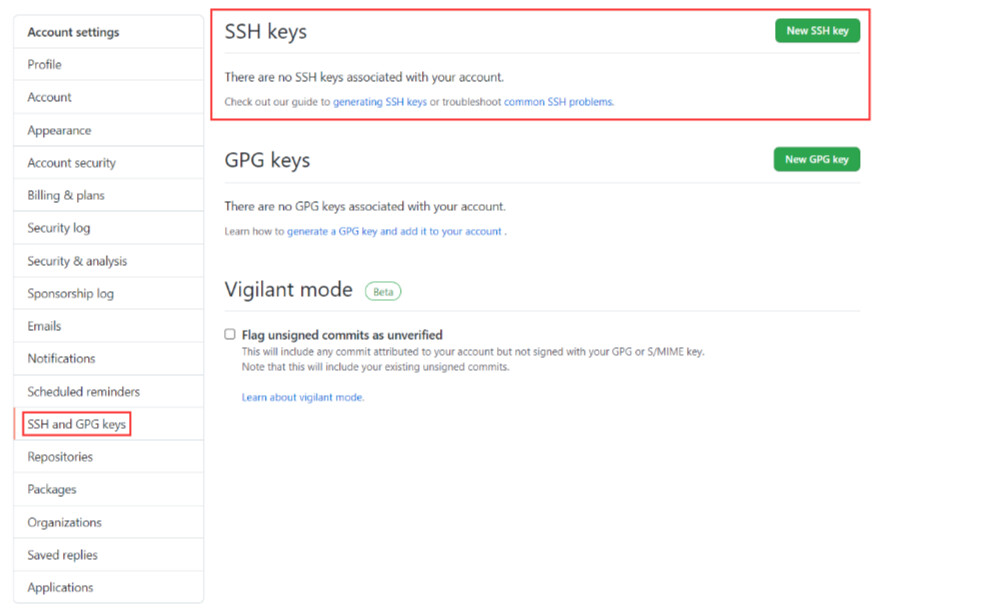
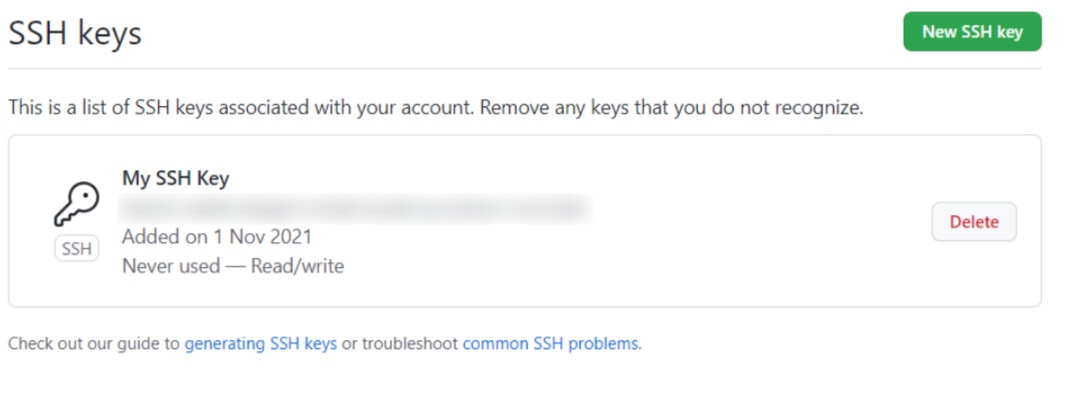
3.3 在 GitHub 配置该 SSH 公钥
登录 GitHub 账户后,进入Settings中的SSH and GPG keys项执行配置:
3.4 更改在本地的远程库地址
使用git remote set-url <Alias4RemoteRepositoryAddress> <RemoteRepositoryAddress>命令,将远程库地址由 HTTPS 方式切换为 SSH 方式:
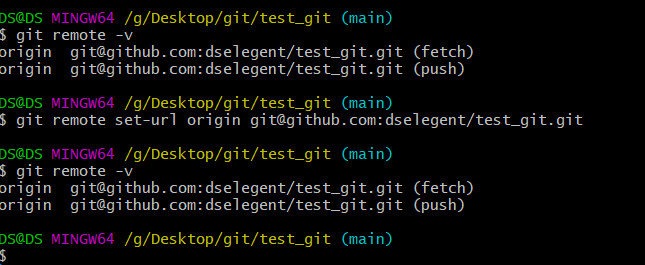
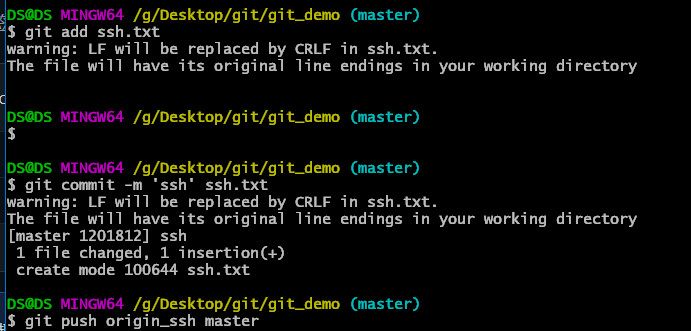
也可以直接添加一个新的别名origin_ssh

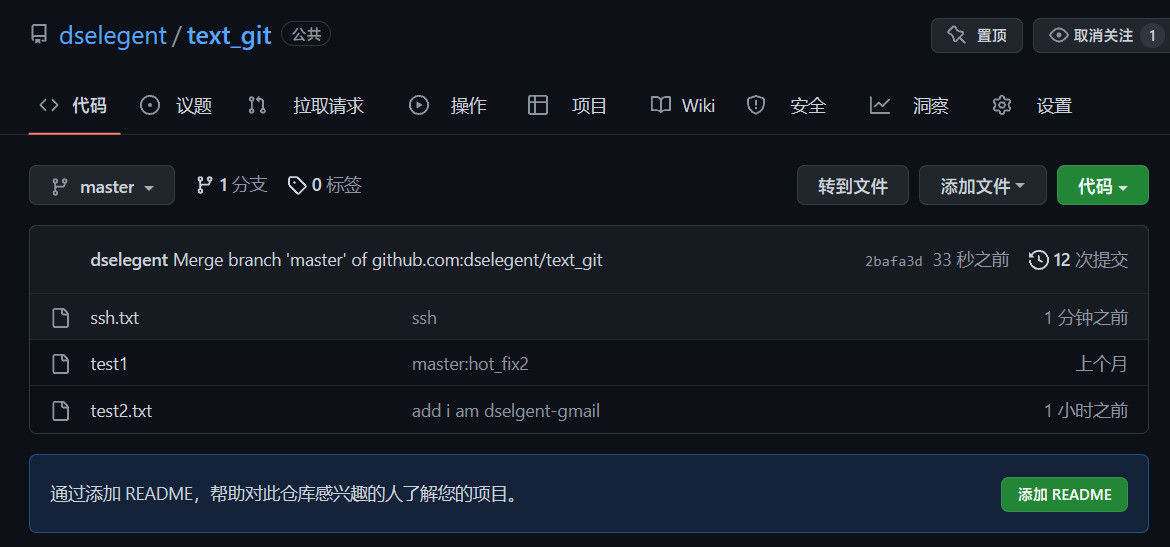
随后,即可使用 SSH 的方式免密读写 GitHub 的内容。
4.解决冲突
4.1 冲突的产生
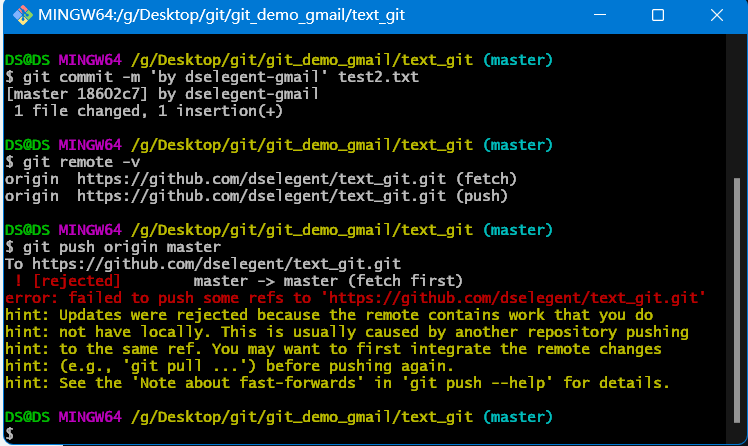
冲突的产生:本地仓库与线上不一致时未git pull就开始编写代码 并且在编写完代码后试图git push

4.2 解决冲突
- 要点
- 如果不是基于 GitHub 远程库的最新版所做的修改,不能推送,必须先拉取。
- 拉取下来后如果进入冲突状态,则按照“分支冲突解决”操作解决即可。
- 首先我要在两个本地库更改
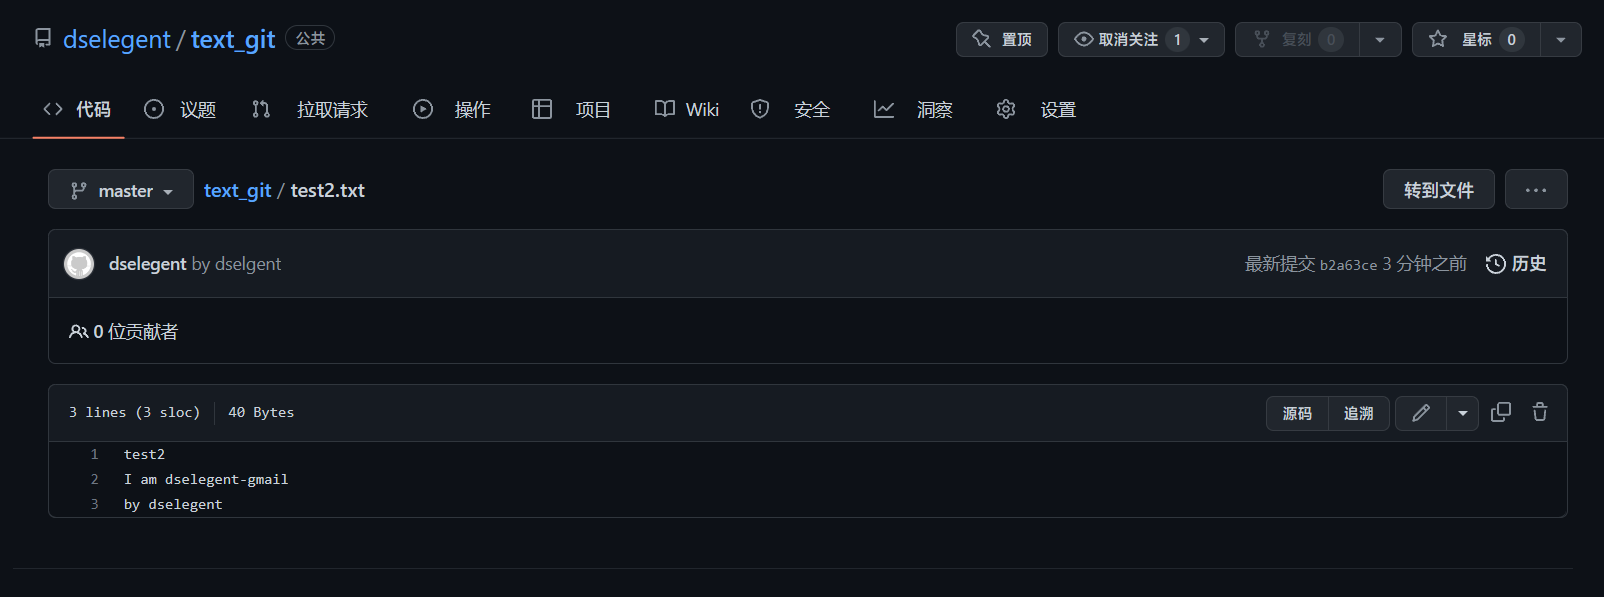
test2.txt中的内容
dselegent
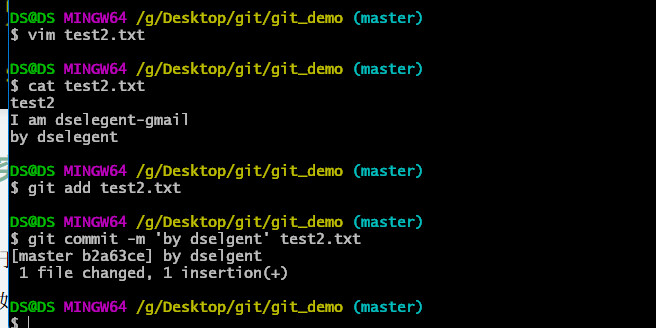
dselegent-gmail
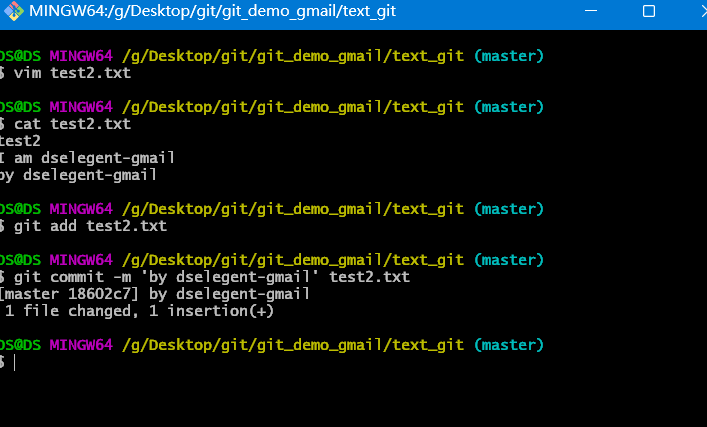
dselegent推送到远程库
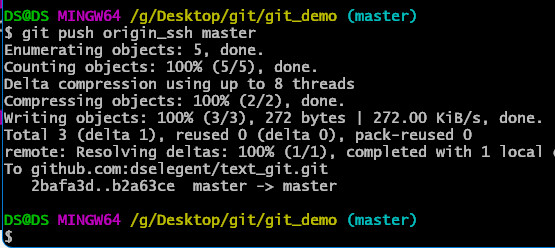
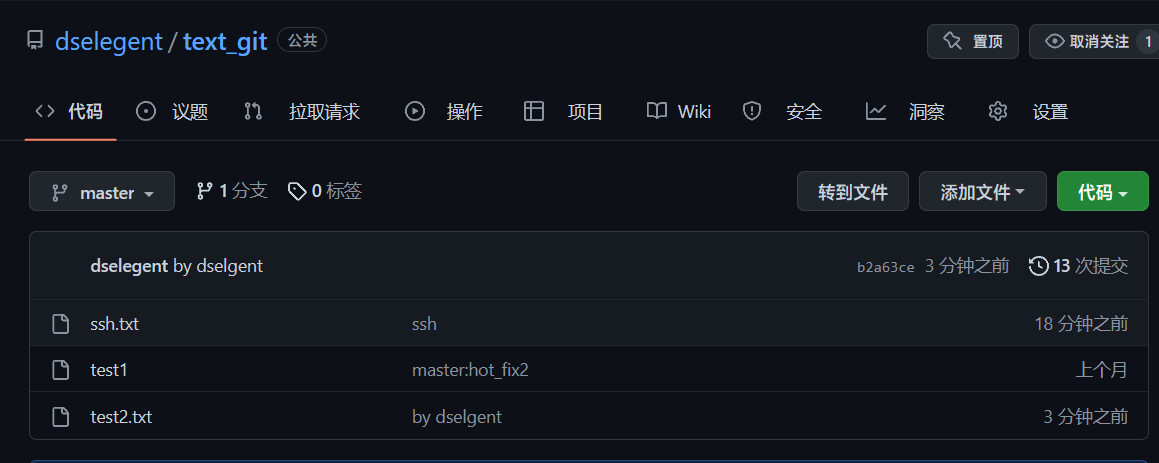
dselegent-gmail推送到远程库
- 在
dselegent-gmail中使用git pull origin master拉取最新的内容
pull=fetch+merge
git fetch [远程库地址别名]
git merge [远程库地址别名/远程分支名】
git pull [远程库地址别名] [远程分支名]
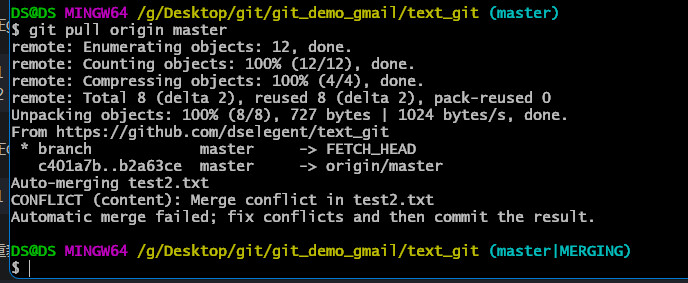
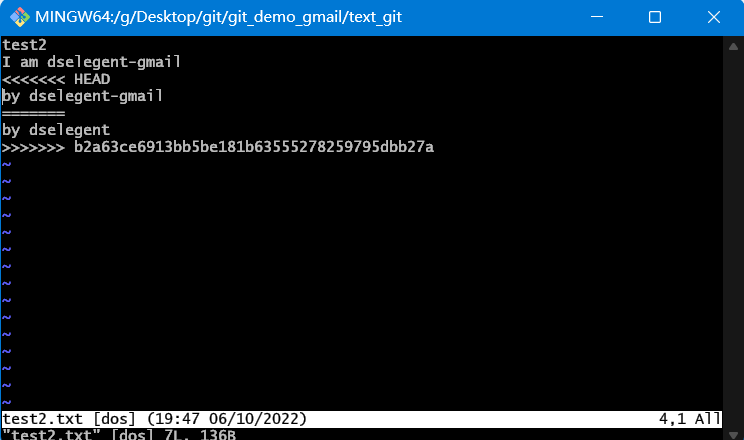
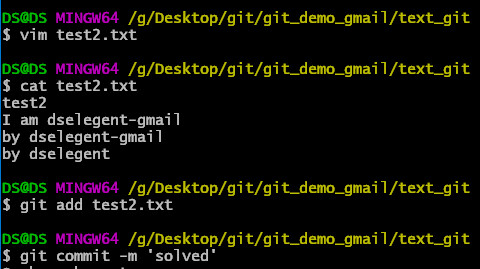
dselegent-gmail推送到远程库

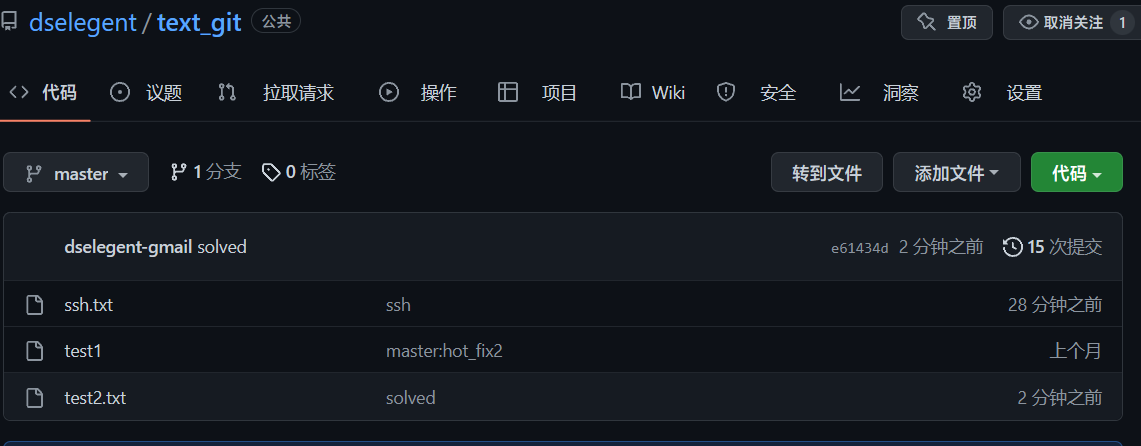
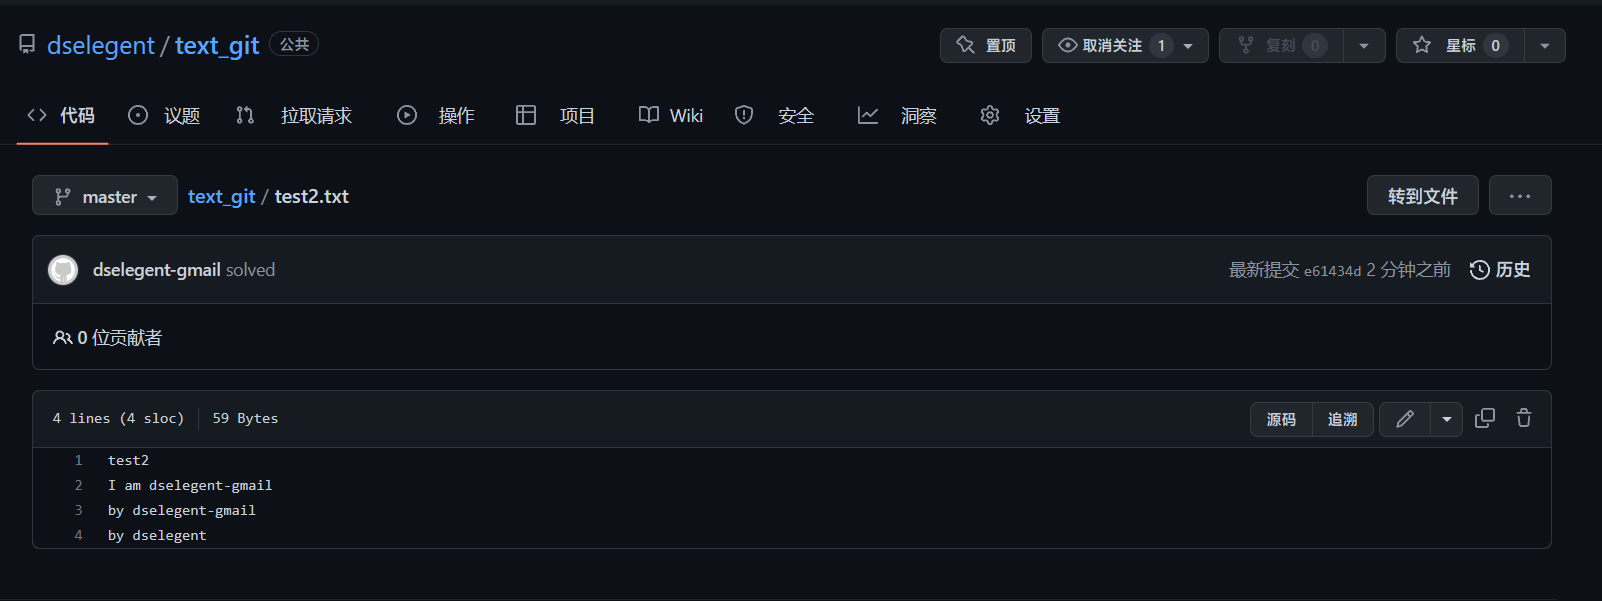
5.跨团队协作
这里先把
dselegent-gmail退出团队用来做示例
- 点击右上角
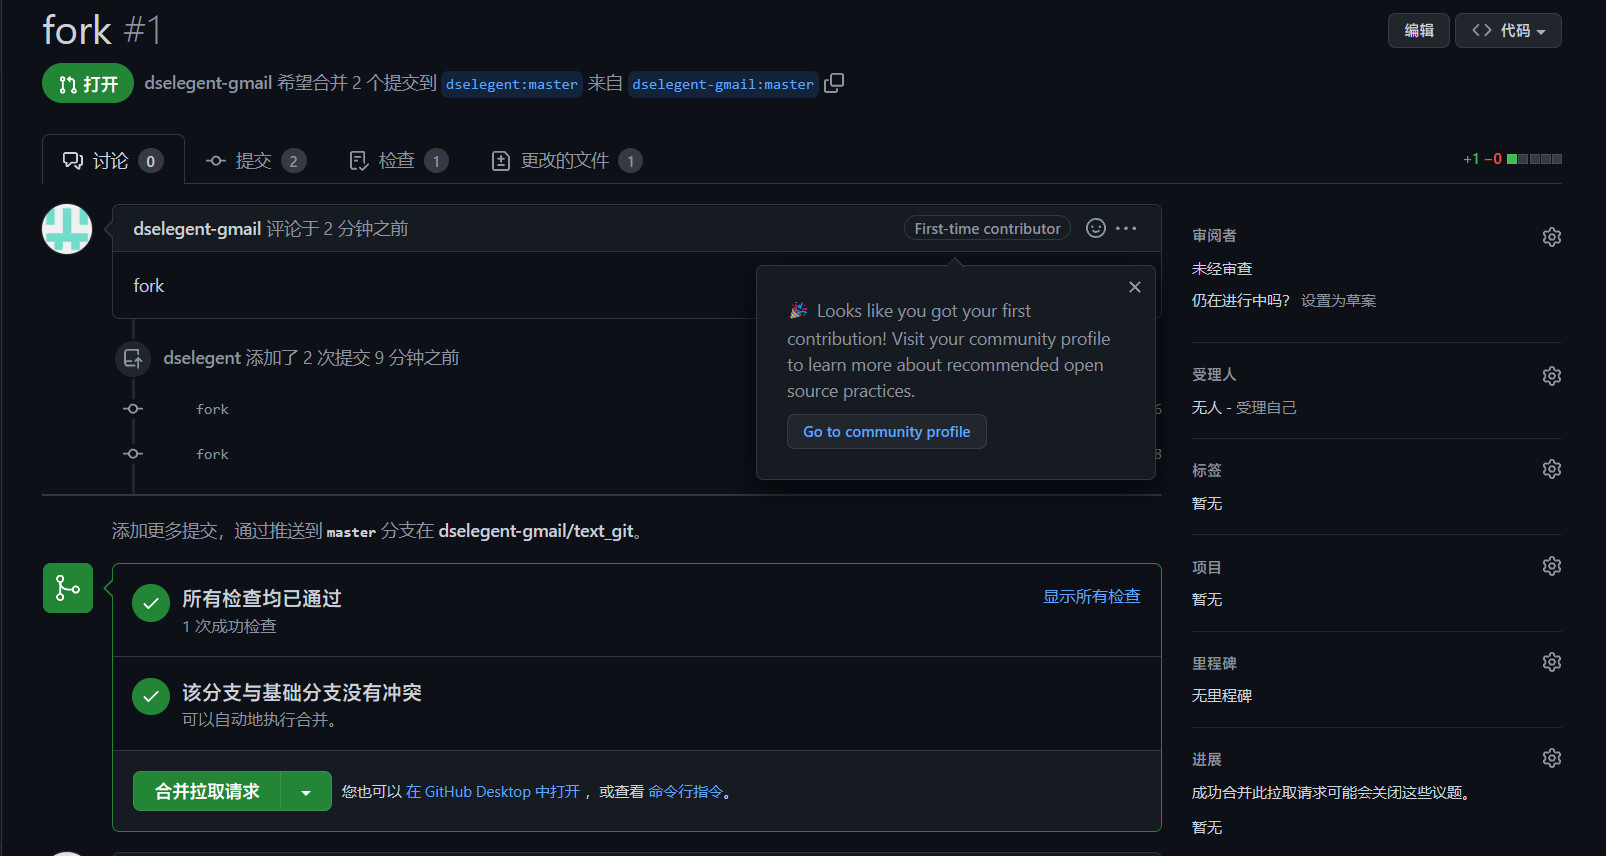
fork
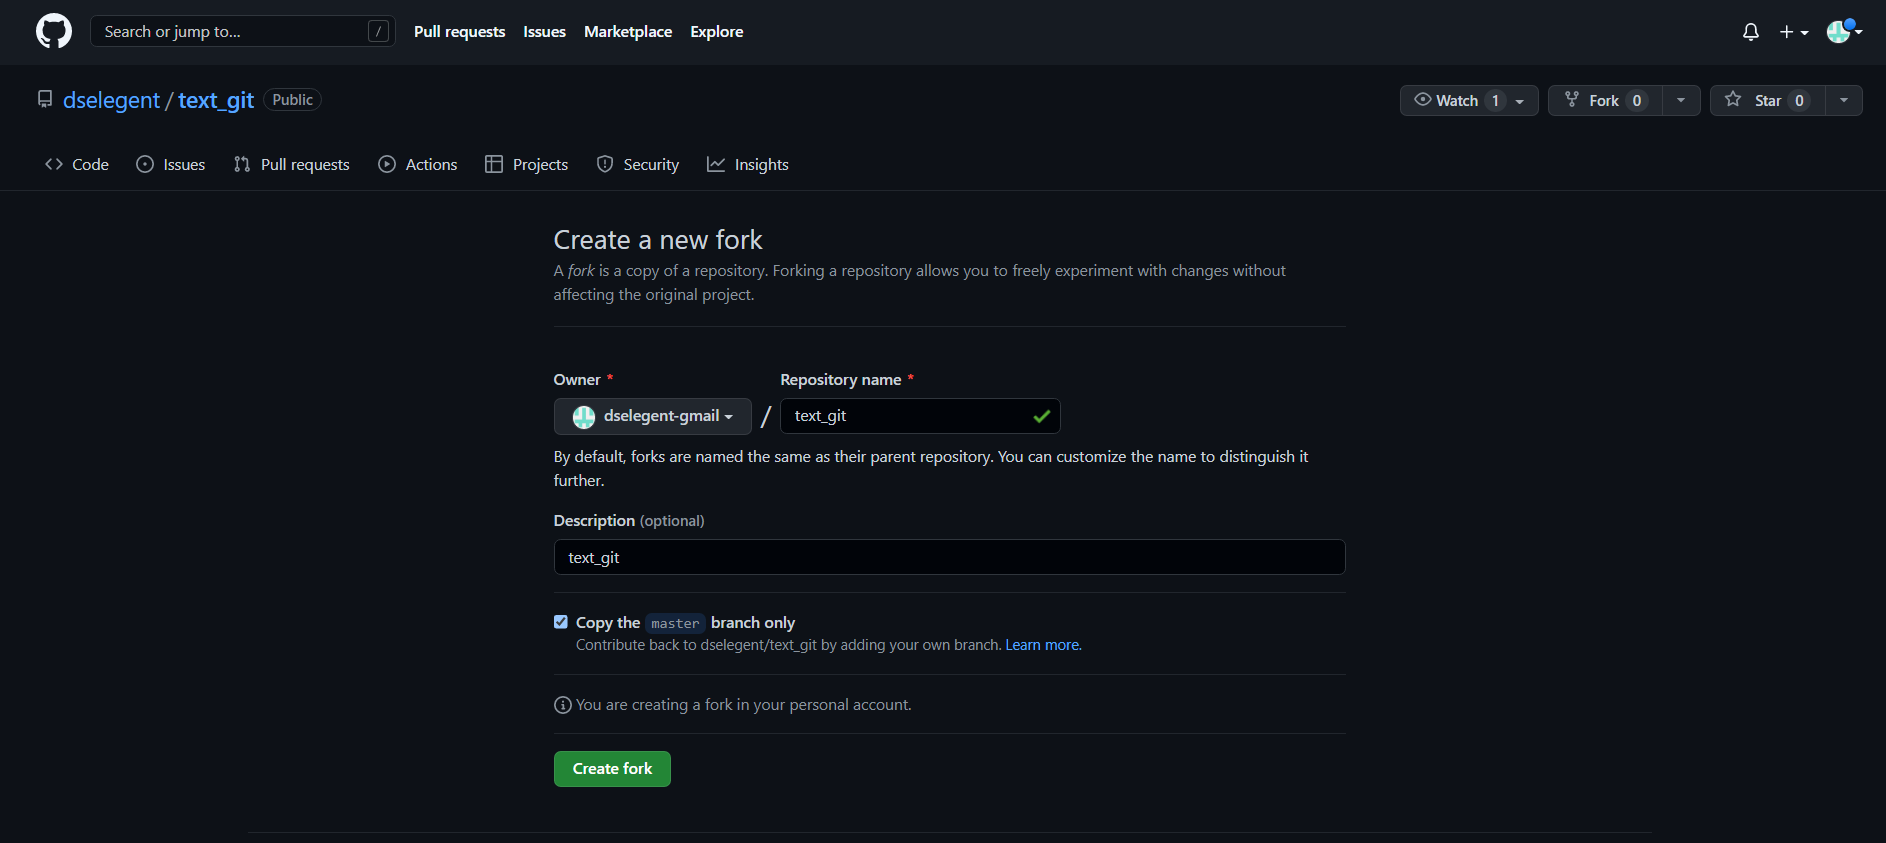
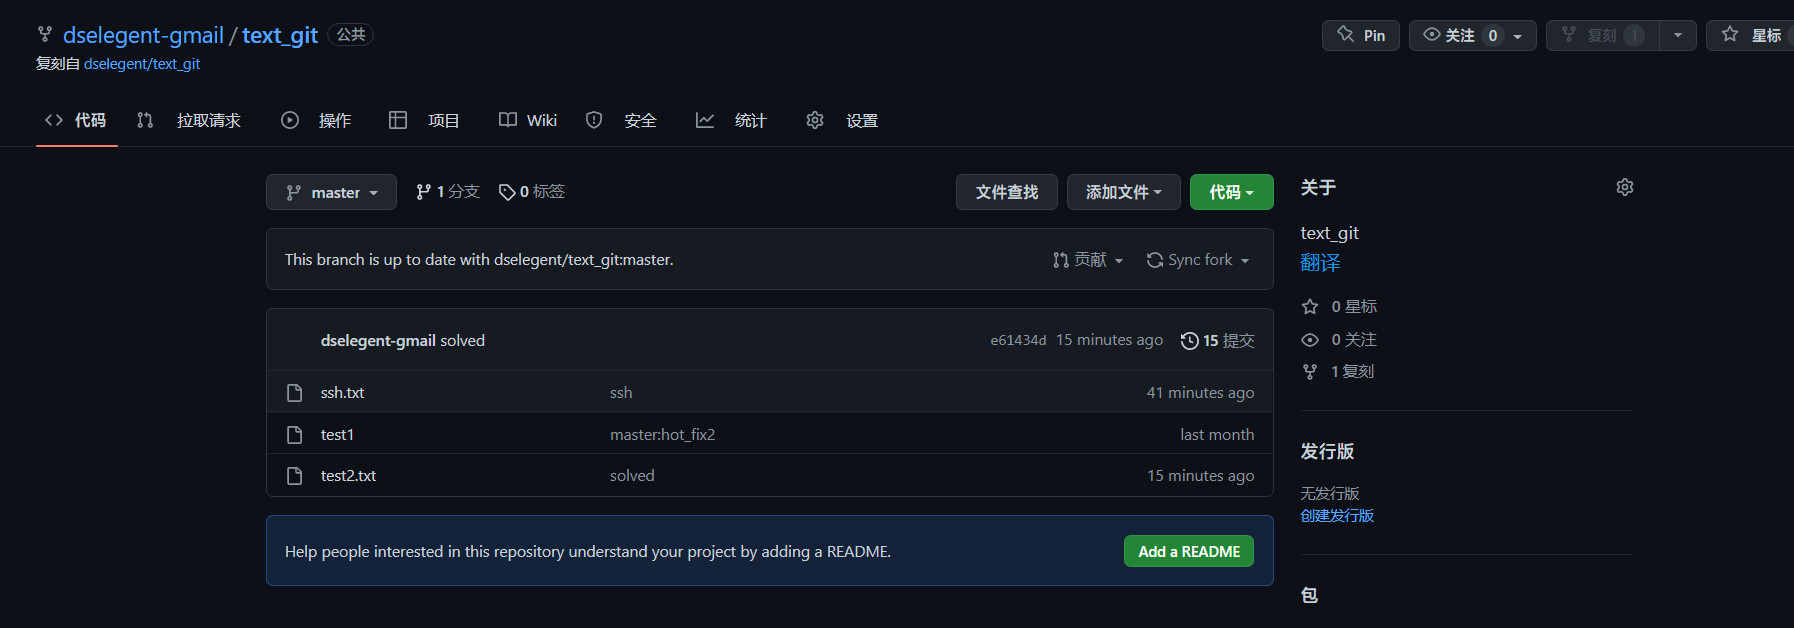
- 克隆到本地
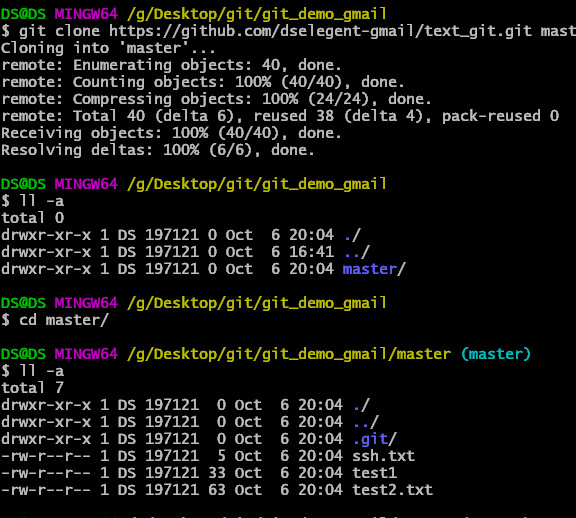
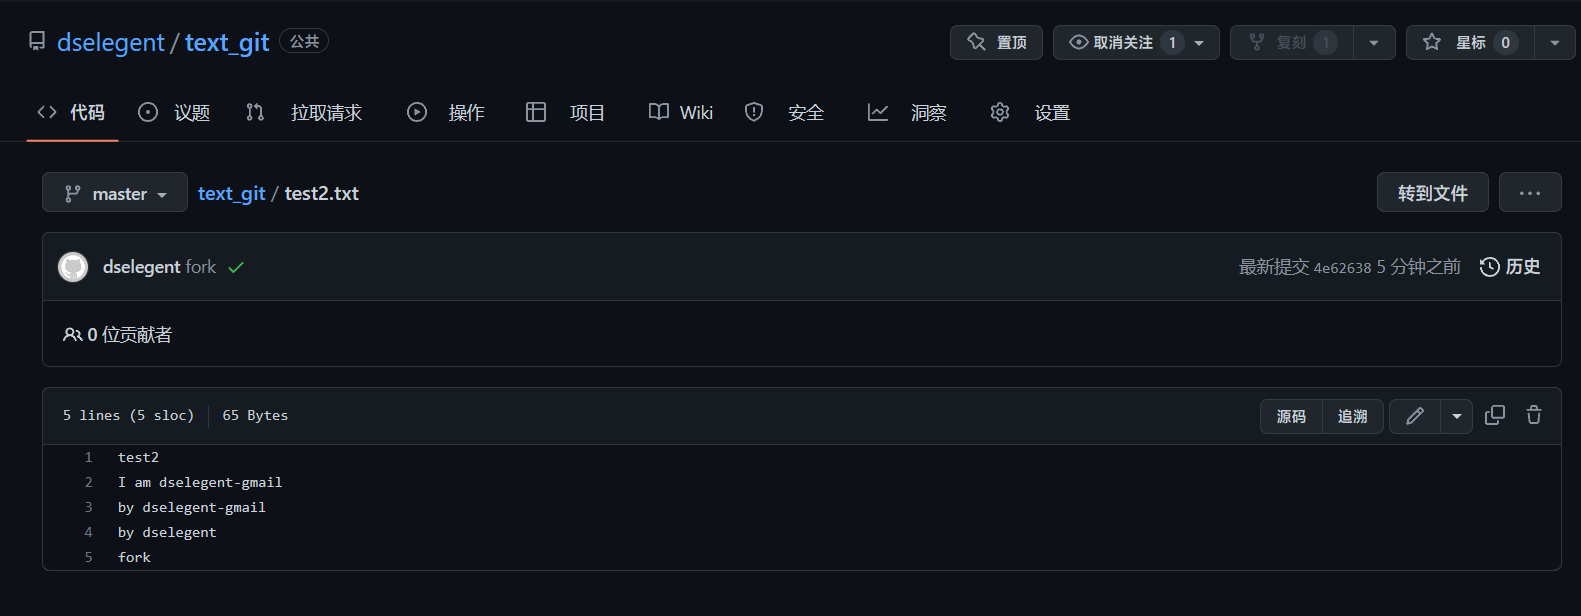
- 修改文件推送到远程库
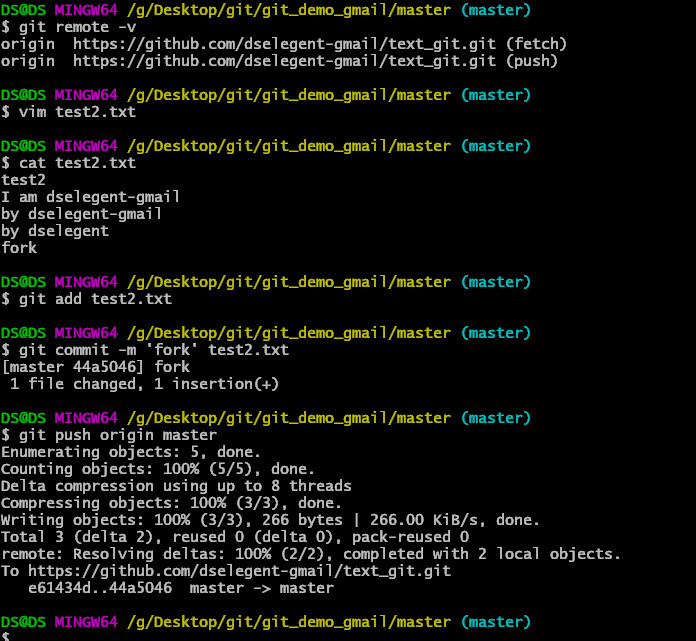
Pull Request

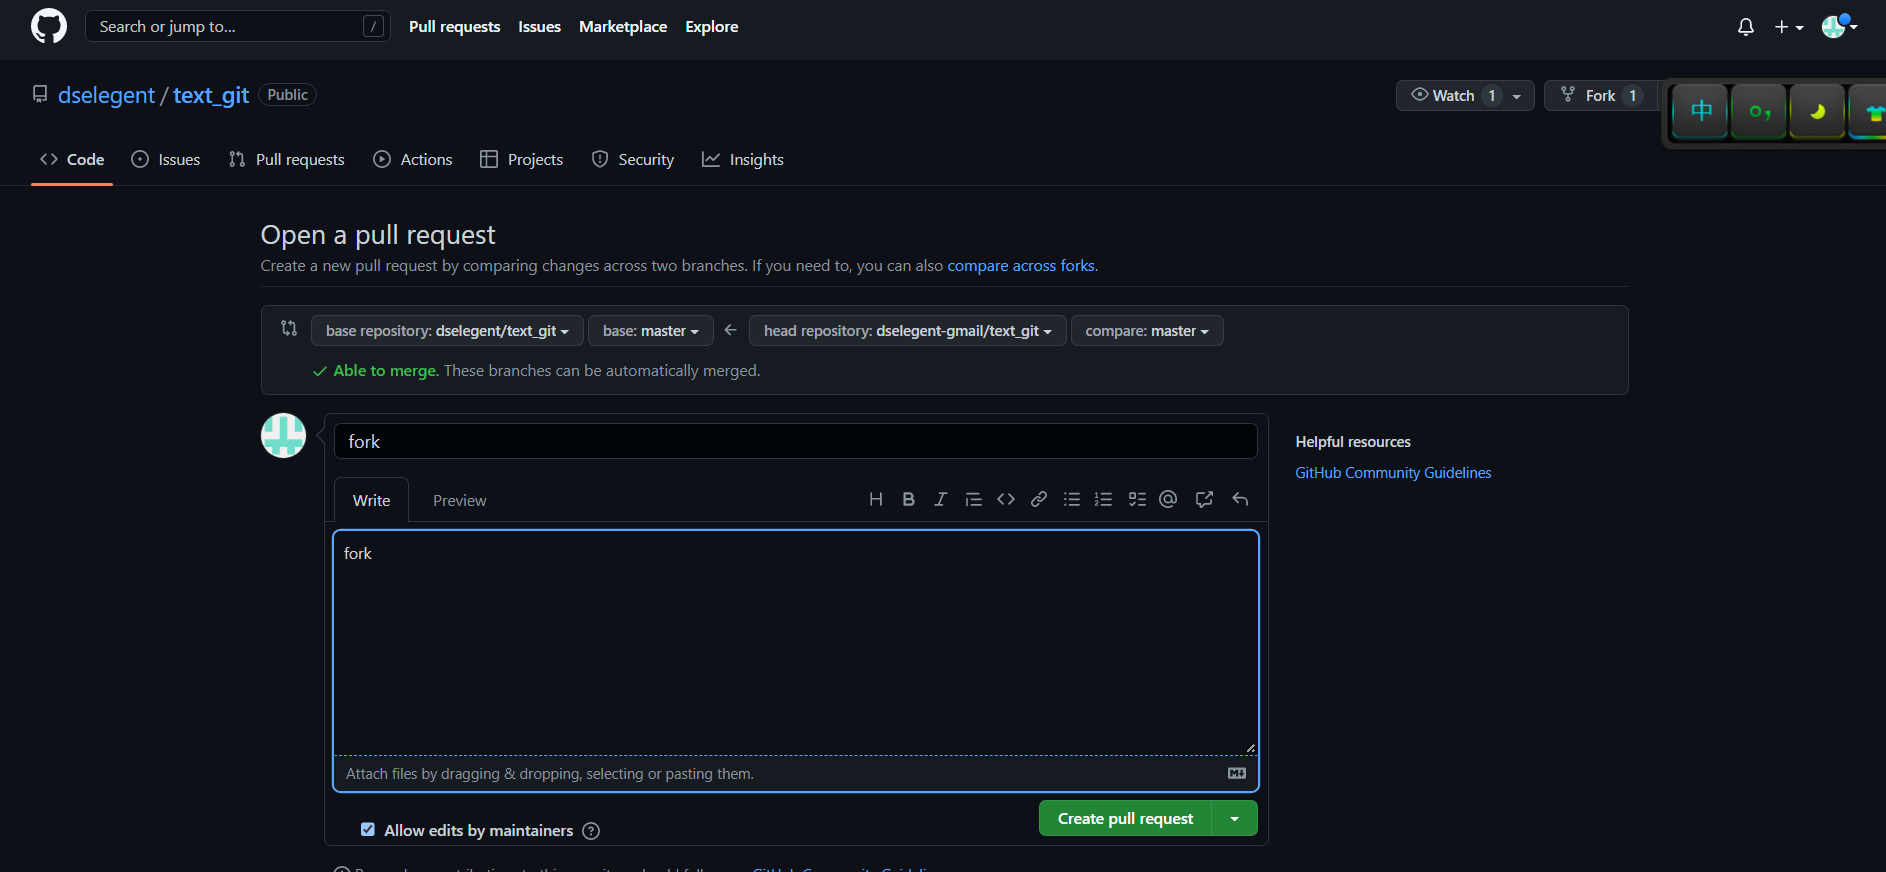
-
在
dselegent中接收
