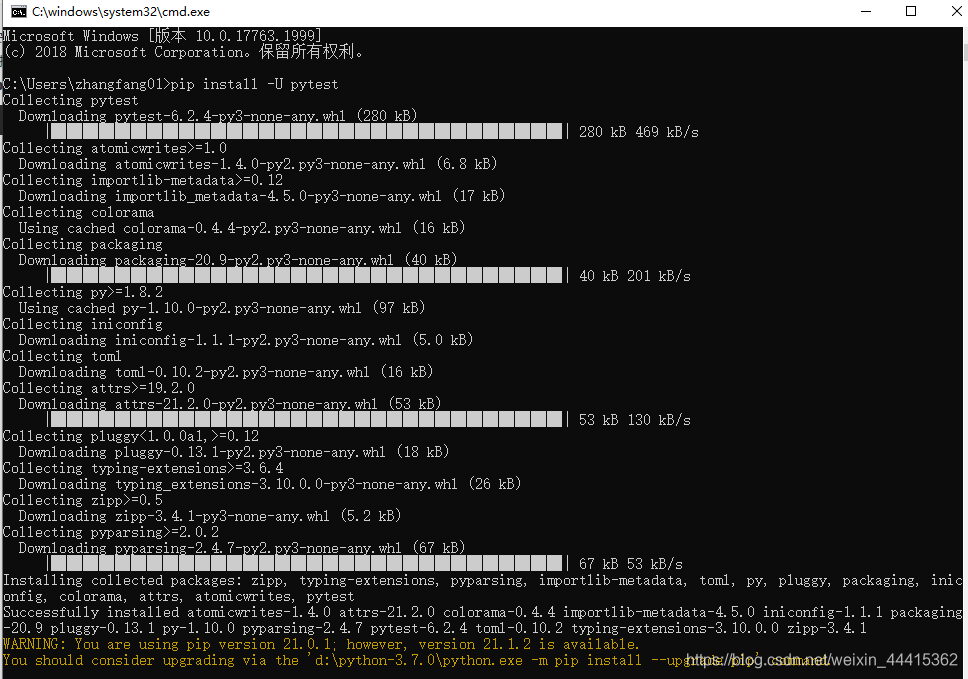
安装pyTest
- cmd打开命令窗口: 输入pip install -U pytest

- 查看pyteat版本: pytest --version

2、测试成功示例
- 新建一个.py文件:test.py,在文件中编写以下内容
def test_passing():
    assert (1, 2, 3) == (1, 2, 3)
- 打开控制台,输入:pytest 文件路径
pytest E:\pyTest\Python\pytest\test.py
- 回车后,会有以下内容

注:上图红框中的 . 标识标识测试成功
- 使用 -v 可以看到测试的详细信息
pytest -v E:\pyTest\Python\pytest\test.py
回车后,会有以下内容

- 使用 -h 可以看到pytest的所有选项
3、测试失败示例
- 在test.py中添加以下内容:
def test_failing():
    assert (1, 2, 3) == (3, 2, 1)
输入 pytest E:\pyTest\Python\pytest\test.py 后回车,会看到以下内容

4、标记函数
默认情况下,pytest只会查找到所有以test开始或者结尾的函数和方法,例如以下三个函数,默认只会执行前两个,例如
def test_passing():
    assert (1, 2, 3) == (1, 2, 3)

def test_failing():
    assert (1, 2, 3) == (3, 2, 1)

def a():
    assert 1 != 1
如果只想执行文件中的某个函数,这个时候有3种方法可以用到
(1)通过 :: 来指定函数名
pytest -v E:\pyTest\Python\pytest\test.py::test_passing
回车后就会发现只执行了test_passing

(2)使用 -k 标识,模糊匹配
pytest -k passing E:\pyTest\Python\pytest\test.py
回车后就会发现只执行了test_passing

注意:第(1)种方法只能指定单个函数,并不能批量执行一些函数,第(2)中可以批量执行,但是执行的函数必须都有相同的部分才可以,也不方便
(3)通过使用 pytest.mark 在函数上进行标记,如下
@pytest.mark.finished
def test_passing():
    assert (1, 2, 3) == (1, 2, 3)


@pytest.mark.unfinished
def test_failing():
    assert (1, 2, 3) == (3, 2, 1)


@pytest.mark.finished
def test_a():
    assert 1 != 1
测试时使用 -m 选择标记的测试函数
pytest -m finished E:\pyTest\Python\pytest\test.py
运行如下:

注:
一个函数可以打多个标记;多个函数也可以打相同的标记。
运行测试时使用 -m 选项可以加上逻辑,如:
 pytest -m "finished and commit"
 pytest -m "finished and not merged"
5、跳过测试
pytest可以使用pytest.mark.skip来跳过某个case,可以通过reason来注明原因
@pytest.mark.skip(reason='未完成')
def test_failing():
    assert (1, 2, 3) == (3, 2, 1)
运行后会跳过这个case

6、参数化
@pytest.mark.parametrize('name',
                         ['123456',
                          'asdfjkl',
                          '5t5t5t5t5t5',
                          'xxxxxx'])
def test_name_length(name):
    assert len(name) <= 8
运行后可以看到,第3个不满足条件

7、运行方式——main函数
除了命令行运行外,还可以直接在.py文件中添加main函数,通过运行main函数来执行case,
如下,运行后,直接执行main函数,
@pytest.mark.parametrize('name',
                         ['123456',
                          'asdfjkl',
                          '5t5t5t5t5t5',
                          'xxxxxx'])
def test_name_length(name):
    assert len(name) <= 8


if __name__ == '__main__':
    pytest.main(["-v", "test.py"])
在控制台就可以看到运行结果

注:
可以设置pytest的执行参数
-v: 丰富信息模式, 输出更详细的用例执行信息
-s: 显示程序中的print/logging输出
–resultlog=./log.txt 生成log
–junitxml=./log.xml 生成xml报告