一、安装allure
1、allure依赖java,请确认本机已经安装java并配置好环境变量JAVA_HOME和JRE_HOME。
2、从allure官网下载windows的压缩包(我下载的版本是allure-2.14.0.zip),解压到本地,将bin目录添加到环境变量path中。
3、cmd窗口,输入allure --version,若显示出版本,则安装完成。
4、cmd窗口,输入pip install allure-pytest,安装allure-pytest
二、准备pytest测试脚本
以下是本次的测试脚本小例子
import pytest

class TestAdd:

    def add(self, a, b, c):
        assert a + b == c

    def test_1(self):
        self.add(1, 2, 3)
    def test_2(self):
        self.add(1, 2, 4)

if __name__ == "__main":
    pytest.main()
三、执行pytest脚本
打开cmd窗口,切换到python测试脚本路径下,输入如下命令执行脚本
pytest --alluredir=20210717report
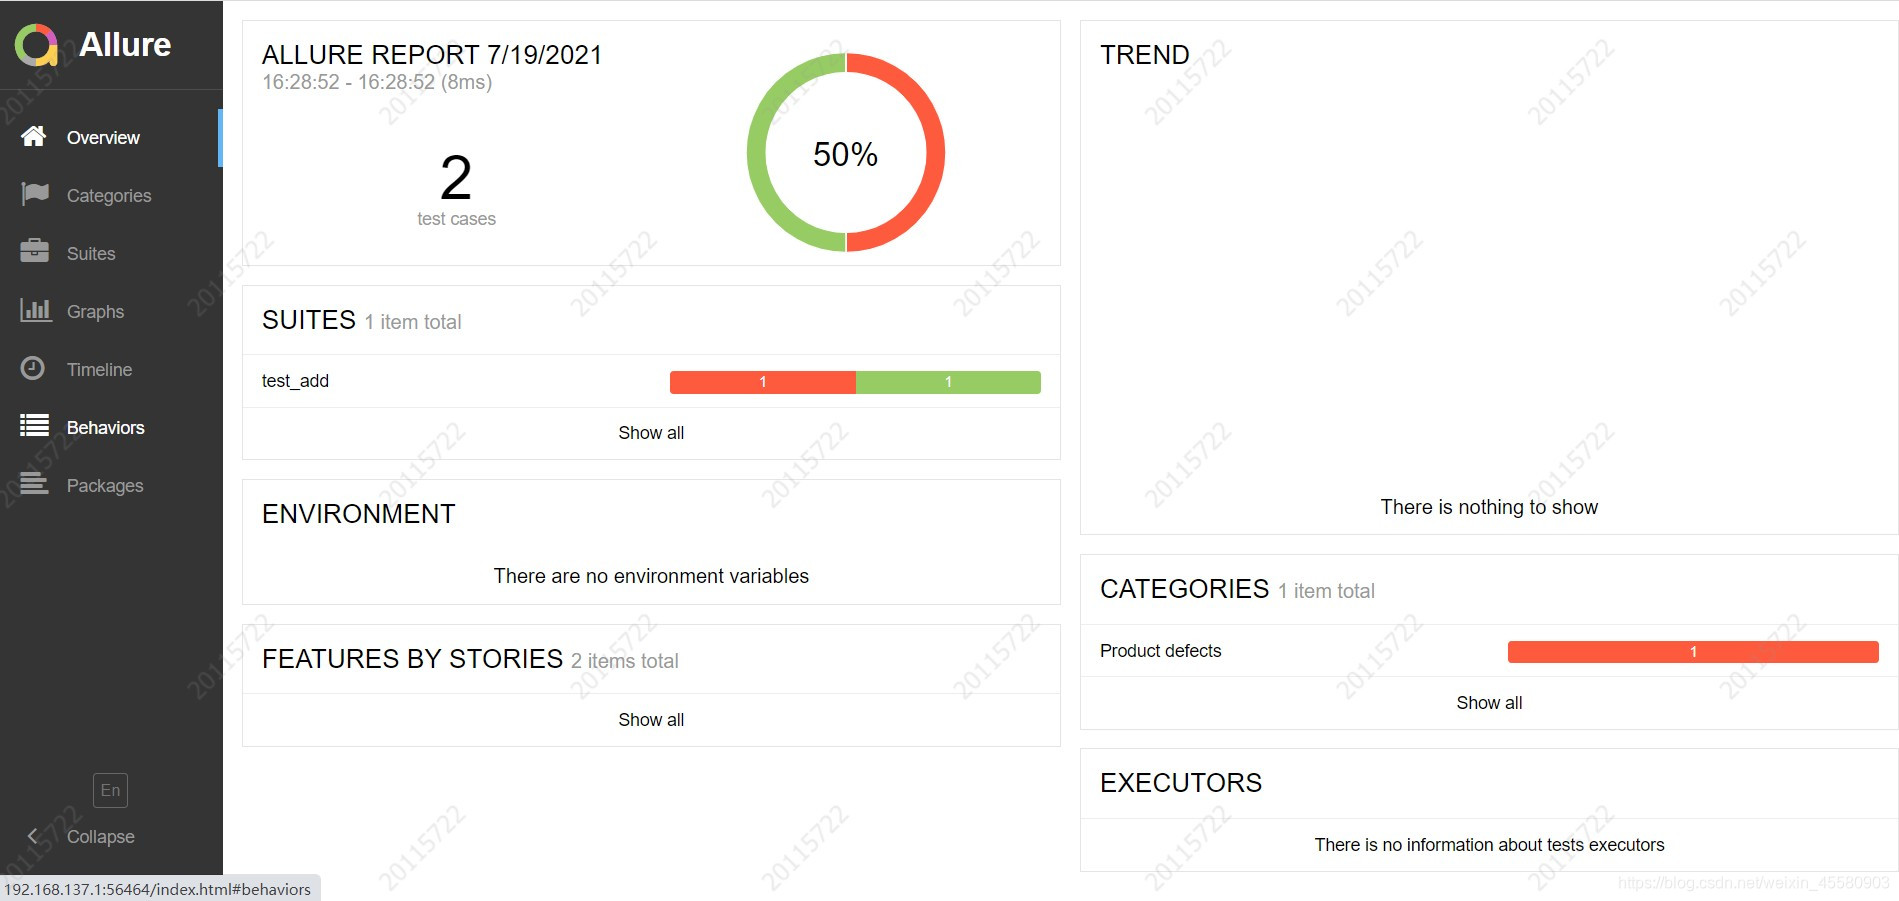
脚本执行完成后,输入如下命令,将在浏览器中自动打开allure报告
allure serve 20210717report

四、新建批处理文件
在本地新建批处理文件(例如D:\Test下新建test.bat),将上面步骤中的所有操作,加入到批处理文件中。
以下为bat文件中的内容示例,其中测试报告以时间来命名(下次再生成报告时,不会将上次的报告覆盖):
::1、切换到pytest自动化脚本路径下
c:
cd C:\Users\PycharmProjects\simpleTest

::2、设置要生成的测试报告名称,格式为:当前时间_report
set str_time_first_bit="%time:~0,1%"
if %str_time_first_bit%==" " (
	set str_date_time=%date:~0,4%%date:~5,2%%date:~8,2%_0%time:~1,1%%time:~3,2%%time:~6,2%
)else (
	set str_date_time=%date:~0,4%%date:~5,2%%date:~8,2%_%time:~0,2%%time:~3,2%%time:~6,2%
)
set foldername=%str_date_time%_report

::3、执行pytest测试脚本
pytest --alluredir=D:\Test\TestReport\%foldername%

::4、用浏览器打开allure报告
allure serve D:\Test\TestReport\%foldername%
五、添加windows定时任务
控制面板 - 管理工具 - 任务计划程序中,创建基本任务
1、设置任务的触发时间,例如我设置的是周一到周五,每天上午9点15执行任务

2、设置任务要执行的操作,即执行test批处理任务
