前言
unity入门小白一个,最近在练习作品中尝试使用双摇杆的操控,来达到以下效果:
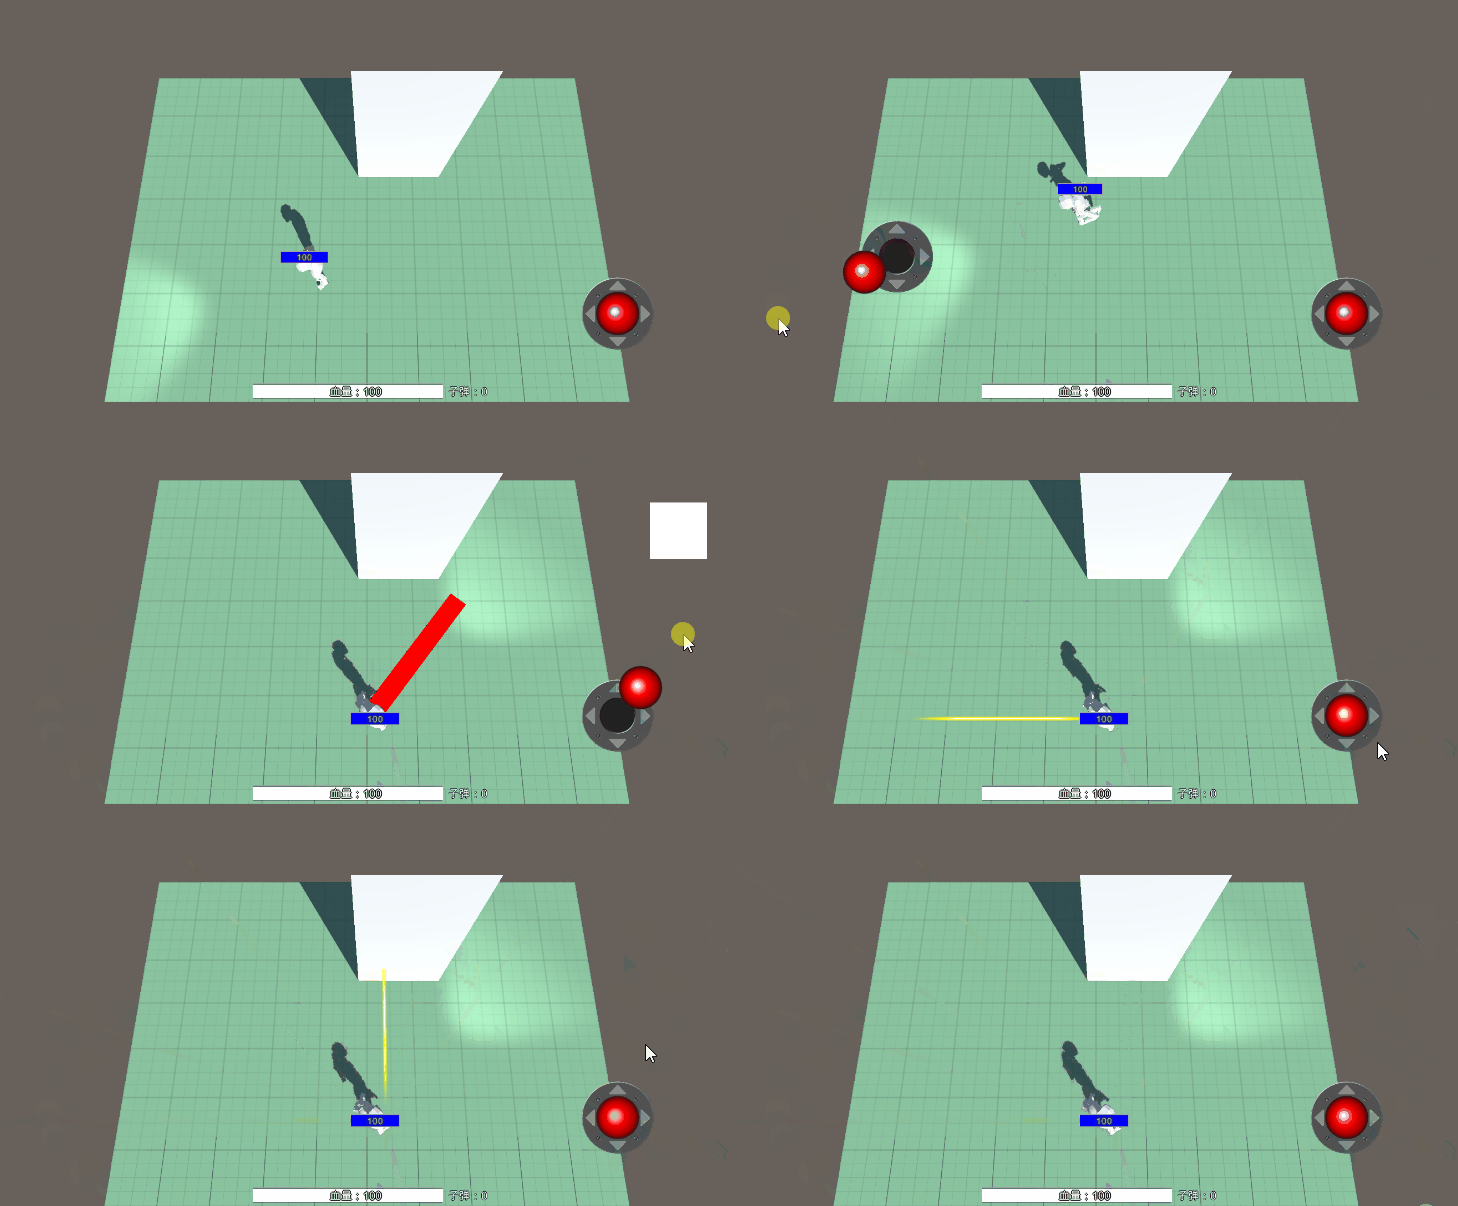
一句话内容:
easyTouch 自带的 Button 组件会影响虚拟摇杆的事件监听,导致不能实现拖拽后释放技能的效果,所以推荐用UGUI或者FGUI做一个新的 button
EasyTouch5的导入
官网地址:unity商店地址
学习版(v5.0.8)地址:点击前往
现在网络上的版本比较多,最新版本是这个

下载好后可以双击导入摇杆包

红线部分可以不用导入
然后在这边就能看到能使用的组件包了

Joystick使用

然后在Axes Properties里绑定操作的对象

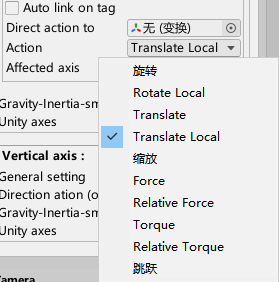

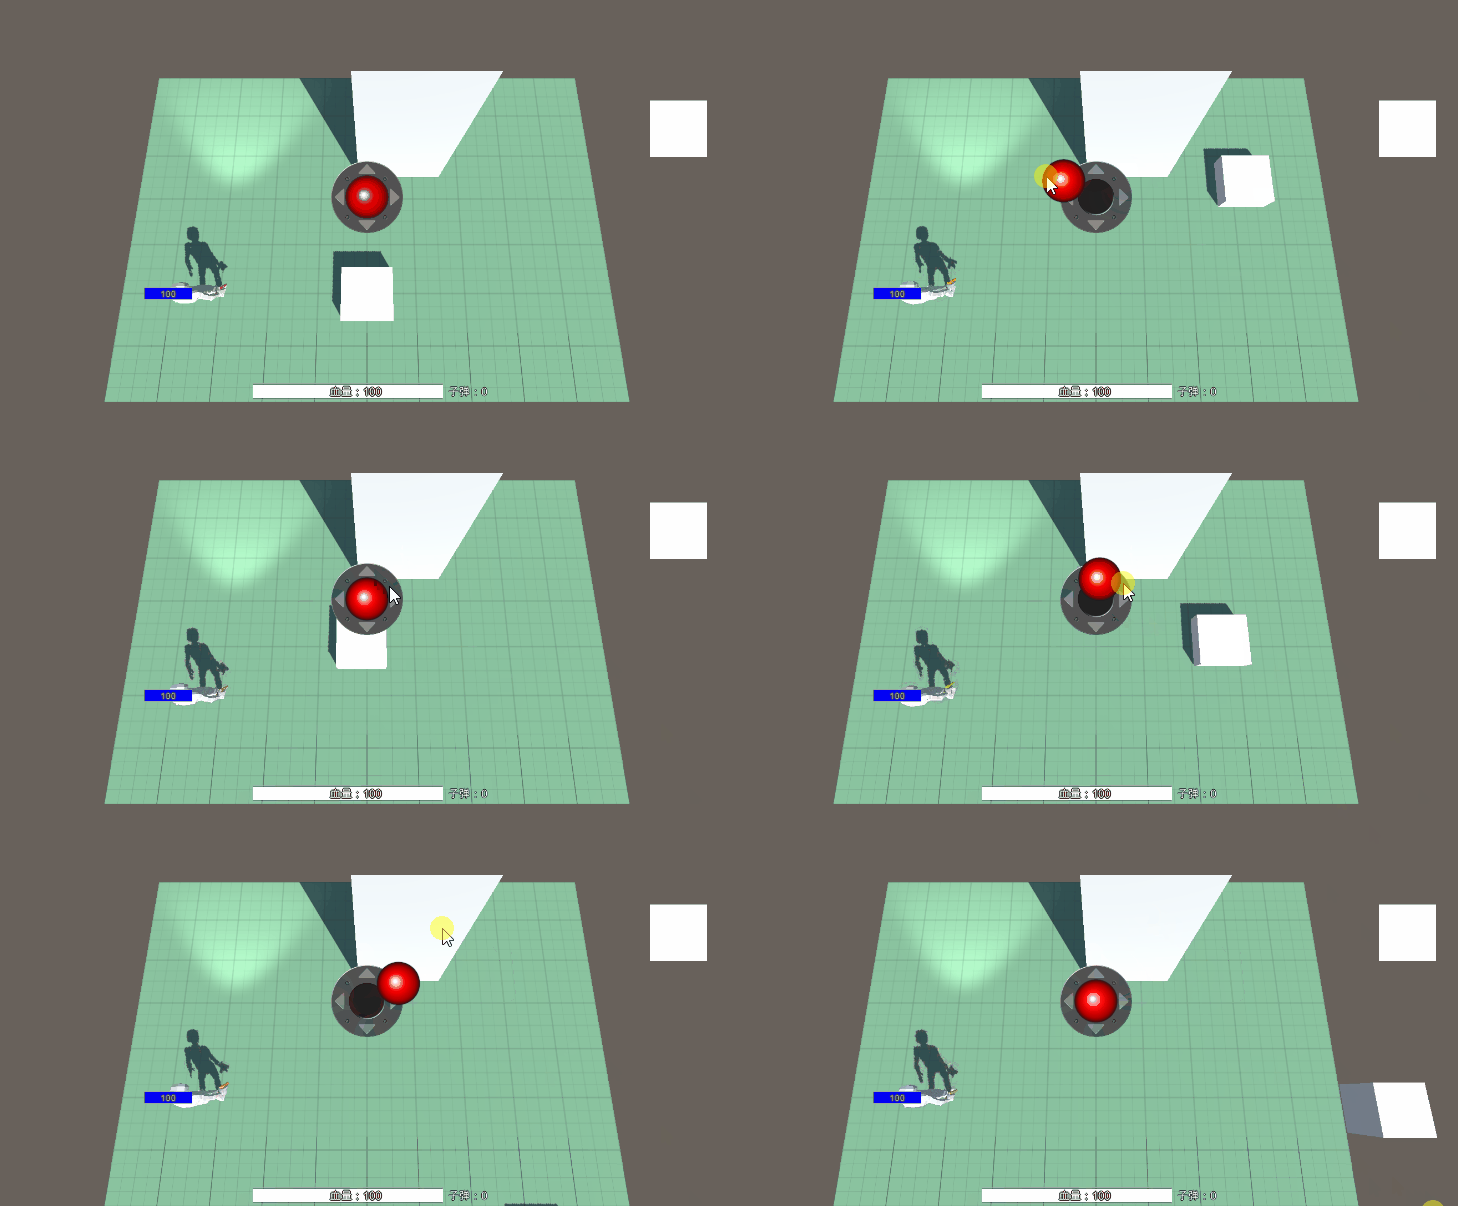
这个就是基本的使用绑定,可以操作的内容和参数非常的多,基本够用。
但我这边人物是用的Uniyt的人物控制器CharacterController来进行移动的,那么就需要进行绑定关联
    private ETCJoystick L_joystick;//声明摇杆
    void Start()//
    {
        cc = gameObject.GetComponent<CharacterController>();//角色控制器
        animator = GetComponent<Animator>();//人物动画控制器
        L_joystick = ETCInput.GetControlJoystick("PlayerMove");//左摇杆

    }
这里注意了,ETCInput.GetControlJoystick("PlayerMove")中的名字是在编辑器这个位置设定的,只能靠名字来确认是哪个摇杆。
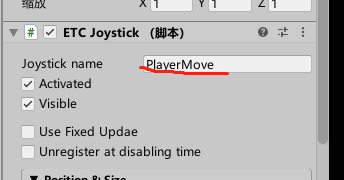
在Awake中写我遇到了报错,估计是没设置好加载顺序的问题。
然后在Update里写控制就好
        //角色使用摇杆移动
        float lx = L_joystick.axisX.axisValue;//摇杆横向参数
        float ly = L_joystick.axisY.axisValue;//摇杆纵向参数

        //角色旋转
        Quaternion rota = player.transform.rotation;
        if (lx != 0 || ly != 0 && !pitfallMoveBool)
        {

            moveV3 = new Vector3(lx, 0, ly).normalized;
            cc.SimpleMove(moveV3 * speed);

			Quaternion finl = Quaternion.LookRotation(new Vector3(lx, 0, ly));//
            player.transform.rotation = Quaternion.LerpUnclamped(rota, finl, 0.5f);
        }
        else
        {
            cc.SimpleMove(Vector3.zero);//设置归零
        }
这里我手动设置了下面向,其实也可以通过绑定摇杆的Rotate Local
来实现
然后是右手的摇杆设置
    //----操控---
    private ETCJoystick L_joystick;
    private ETCJoystick R_joystick;//获取右手的摇杆
    void Start()
    {
        R_joystick = ETCInput.GetControlJoystick("Fire&Aim");//获得摇杆

		//对事件进行监听
        R_joystick.onTouchStart.AddListener(R_joystickTouchStar);
        R_joystick.onMove.AddListener(R_joystickTouchMove);//这里必须要能传Vector2 参数的方法
        R_joystick.onMoveEnd.AddListener(R_joystickTouchEnd);
    }


    public void R_joystickTouchStar()
    {
		//开始触摸时的模块

    }

    public void R_joystickTouchEnd()
    {
		//结束触摸时的模块
    }


    public void R_joystickTouchMove(Vector2 v2)
    {
		//移动时候的模块
    }

}
然后是技能范围绘制,这部分可以参考:利用Easy Touch实现Moba游戏技能释放(前言)
导入FGUI的Button
导入FGUI设置好的button

然后获取Button

    private CharacterController cc;
    public GameObject player;


    //----操控---
    private ETCJoystick L_joystick;
    private ETCJoystick R_joystick;
    private bool isCancelAim;//设定

	//----FGUI---
    private GButton cancelAim;
    void Start()
    {
        cc = gameObject.GetComponent<CharacterController>();
        animator = GetComponent<Animator>();

        L_joystick = ETCInput.GetControlJoystick("PlayerMove");
        R_joystick = ETCInput.GetControlJoystick("Fire&Aim");


        R_joystick.onTouchStart.AddListener(R_joystickTouchStar);
        R_joystick.onMove.AddListener(R_joystickTouchMove);
        R_joystick.onMoveEnd.AddListener(R_joystickTouchEnd);


        cancelAim = GameObject.Find("UIMain").GetComponent<UIPanel>().ui.GetChild("n17").asButton;
        cancelAim.visible = false;//初始化让button不可见,只有在挪动的时候可见
    }


    void Update()
    {
        cancelAim.onRollOver.Add(CancelAimButtonPress);//监听挪入后事件
        cancelAim.onRollOut.Add(CancelAimButtonUp);//监听挪出后事件
	}

    public void CancelAimButtonPress()
    {
        isCancelAim = true;//设定一个全局的bool来判断是不是要取消技能释放
    }

    public void CancelAimButtonUp()
    {
        isCancelAim = false;
    }


    public void R_joystickTouchMove(Vector2 v2)
    {
        cancelAim.visible = true;//移动时候Button出现
    }

    public void R_joystickTouchEnd()
    {

        if (isCancelAim)//判断是否是取消释放的时机
        {
            Debug.Log("取消释放");
        }
        else
        {
        	//……
        }
        cancelAim.visible = false;//移动结束,将取消释放的按钮隐藏
    }
为啥不用自带的button
先新建一个button,并且打开滑动判断

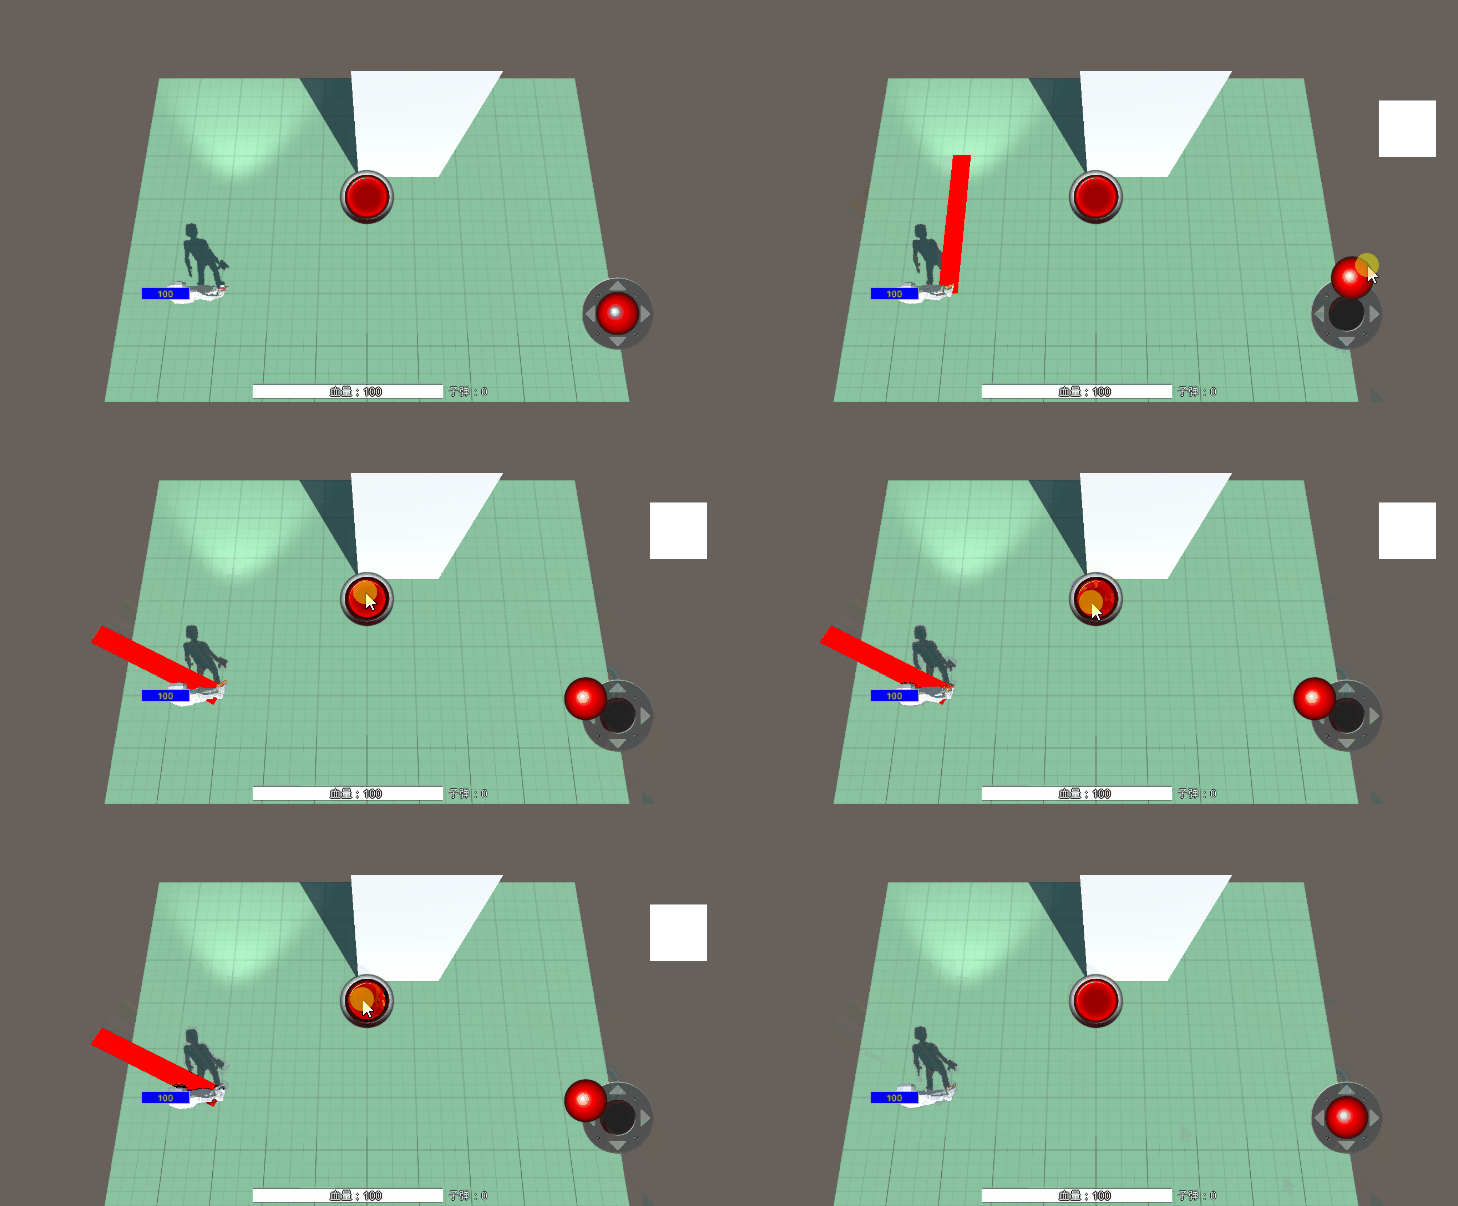
当挪入到button时候,摇杆的move会被顶掉,再挪出虽然还是触摸状态,但是摇杆已经归零重置了。