Unity 之 ShaderGraph Utility节点解析汇总
若你的工程还没有进行基础配置,请查看我的博文Unity 之 ShaderGraph入门使用详解,按照步骤操作完成配置即可,还能顺便学习一下基础操作流程哦~
一,Logic 逻辑节点
1.1 All, Any

- All(全部节点): 输入值所有分量都不为零,则返回true
- Any(任何节点): 输入值任何组件为空,都会返回true
1.2 And, Nand, Or, Not

- And(与节点): 输入A和B都为true,则返回true。
- Nand(非与节点): 输入A和B都为true,则返回false。(相当于A和B经过And运算后,再取反)
- Or(或节点): 输入A或B有一个为true,则返回true。
- Not(非节点): 返回输入的相反值。即输入为true,输出false;输入为false,输出为true。
1.3 Branch
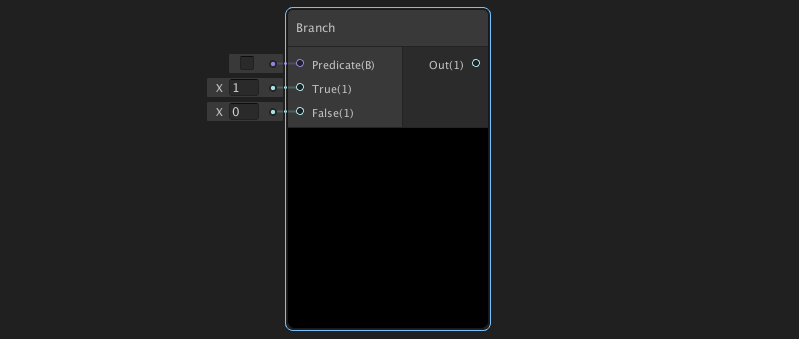
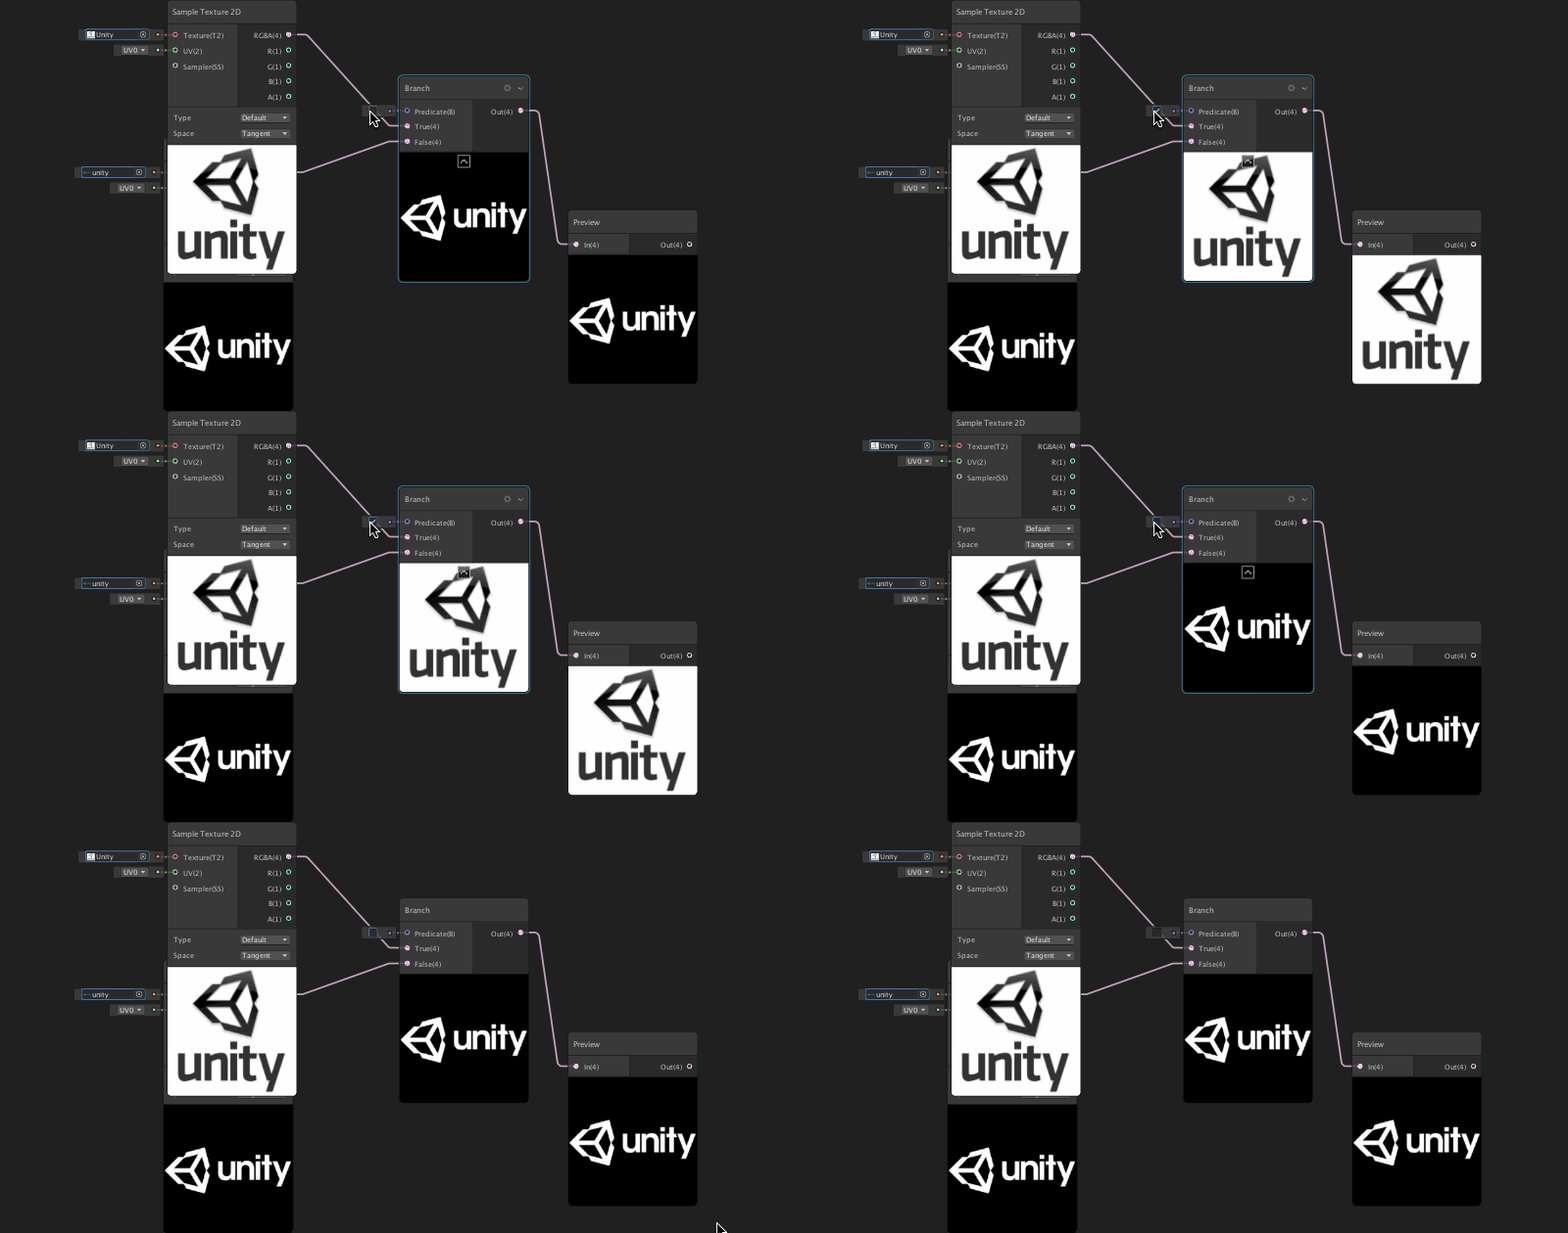
Branch(分支节点): 为着色器提供动态分支。输入Predicate值为True时,输出等于输入True;输入Predicate值为False时,输出等于输入False;
使用示例:
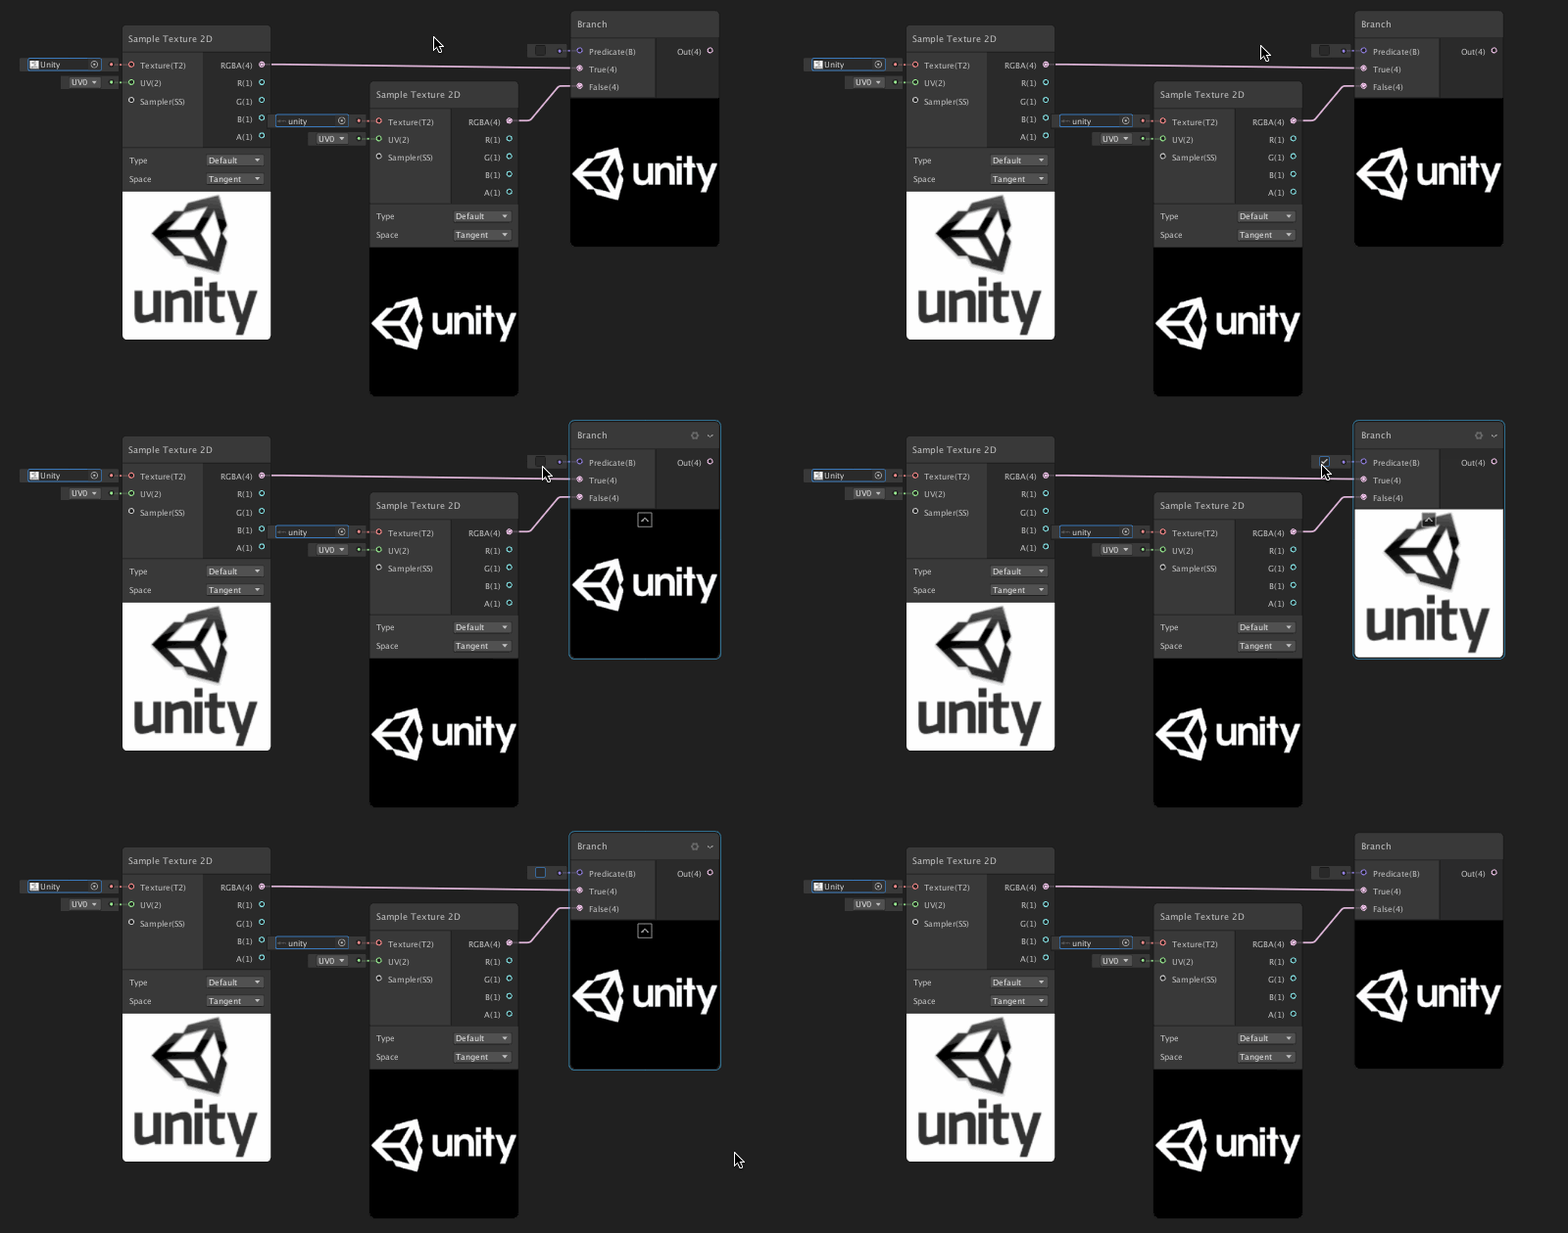
实战过程中,输入Predicate通常结合上面1.1,1.2 的逻辑运算,从而达到分支的效果。
1.4 Comparison
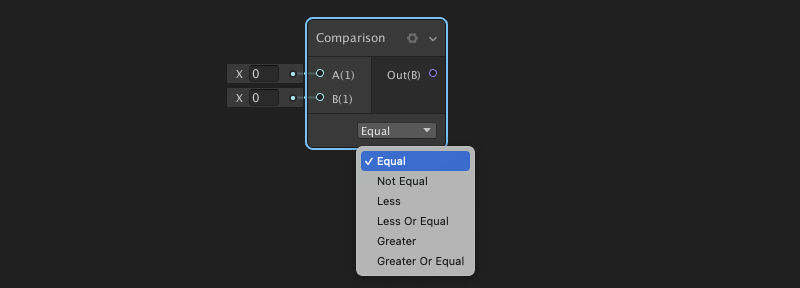
Comparison(比较节点): 根据下拉列表属性选择的条件比较输入A和B两个值,然后返回true或false
下拉列表包括:等于、不等于、小于、小于或等于、大于、大于或等于。
1.5 Is Infinite, Is Na?N, Is Front Face

- Is Infinite(是无限值节点): 若输入In值为无限值,则返回true
- Is Na?N(非数字节点): 如果输入In的不是数字,则返回 true。 (NaN:Not a Number)
- Is Front Face(是正面节点): 是合法数字或者是正面的。
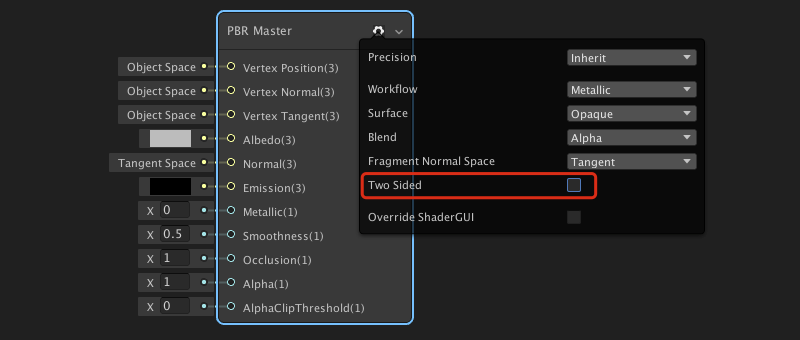
使用Is Front Face(是正面节点),必须要在PBR Master设置中打开Two Sided(双面渲染)属性:
二,Custom Function 自定义节点
2.1 节点介绍
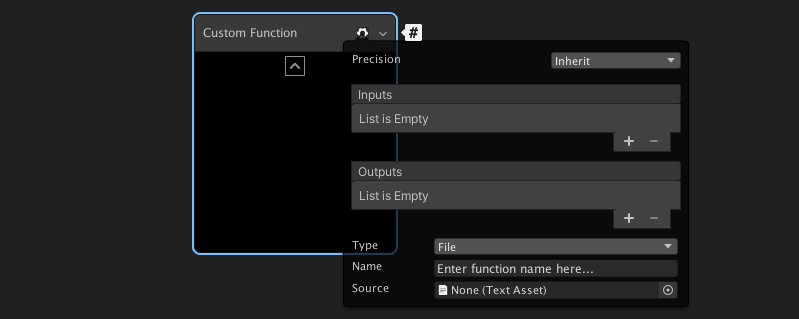
Shader Graph允许您在 Unity 中轻松创作自定义着色器。但是,由于我们的默认节点无法涵盖您想要制作的所有内容,因此该包现在在节点库中带有自定义功能节点。
面板属性:
- Inputs 输入:自定义输入端口
- Outputs 输出:自定义输出端口
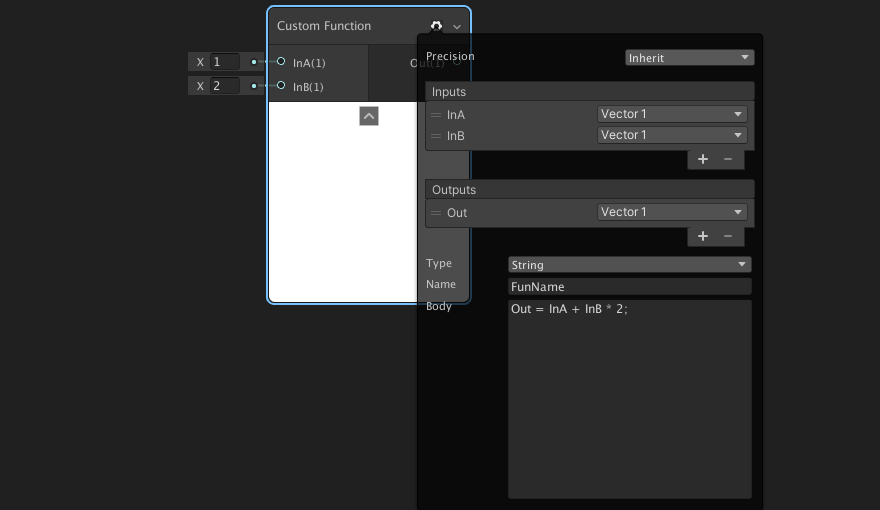
- Type 类型:设置下拉菜单,选择File引用外部文件,选择string直接将函数输入节点
- Name 名称:自定义函数名
- Body 函数体:string模式下可用,直接编辑函数
- Source 来源:File模式下可用,用于引用外部的HLSL文件
2.2 节点使用
点击”设置“按钮,直接进行编辑即可。默认情况下,新的自定义函数节点没有任何输入或输出端口。
三,Preview 预览节点

Preview(预览节点):使我们能够检查着色器图表中特定点的预览。它不会修改任何输入值。
它和编辑器右下角的 Main Preview 差不多,就是为了
默认情况下,编辑器会自动选择预览模式。这取决于我们正在预览的节点类型和其他上游节点。使用预览模式控制,可以手动选择我们喜欢的预览模式。