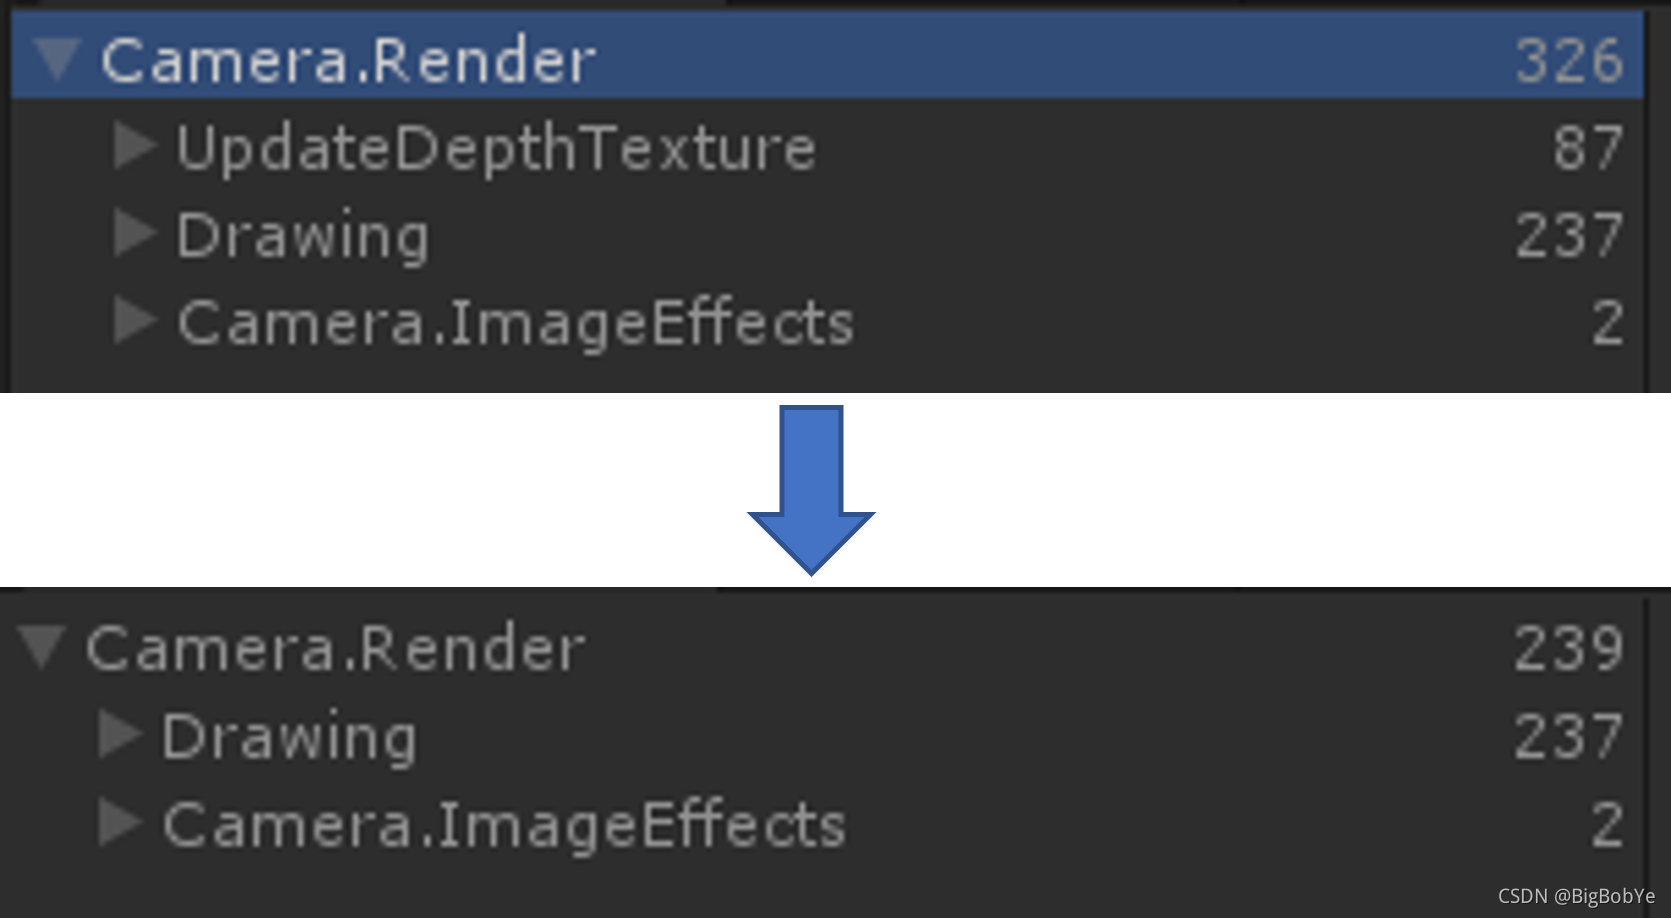
针对于Unity的内置的forward渲染管线,关于如何使用它的深度信息,目前网上大多信息,包括unity的官方文档,提出的使用方式都是对需要使用深度信息的相机首先声明它的DepthTextureMode为Depth,即:
cam.depthTextureMode = DepthTextureMode.Depth;然后可以在后续的shader中(我个人遇到的主要是图像后处理Post processing)可以通过内置的深度纹理变量和深度纹理采样方法来获得深度值:
sampler2D _CameraDepthTexture;

SAMPLE_DEPTH_TEXTURE(_CameraDepthTexture,i.uv);
但是,在Unity内置的forward渲染管线中,它默认为了获取这个深度缓冲,它会对所有视锥体剔除后的不透明物体提前渲染一次,写入这个深度纹理,这个额外出现的render pass,对于某些复杂场景或者对性能有要求的情况来说,不是一个最优的解决方案。因为对于forward渲染管线来说,深度测试z testing是得到正确渲染结果必须要开启,那么我们可以知道,在渲染过程中维护一个正确的深度缓冲是必需,直接利用这个原生的深度缓冲显然是更好的方式。
具体方式是,为相机分别创建两个RenderTexture,一个用于接收颜色结果,一个用于接收深度信息。
在该相机的渲染开始前,在OnPreRender函数中利用该相机的SetTargetBuffers分别设置colorBuffer和depthBuffer,这样就可以将渲染过程中自动生成的深度缓冲读取出来。确认一下Frame Debug,确实没有恼人的额外depth pass了。

?
其基本原理想必和opengl中的COLOR_ATTACHMENT和DEPTH_ATTACHMENT是一致的。
直接将下面的脚本挂在某个想要获得深度的相机上就可以了,然后就根据需要去充分使用这个depthRT吧。
using System.IO.Compression;
using System.Collections;
using System.Collections.Generic;
using UnityEngine;

public class depthBuffer : MonoBehaviour {

	Camera cam = null;
	public RenderTexture colorRT;
	public RenderTexture depthRT;
	// Use this for initialization
	void Start () {
		cam = this.GetComponent<Camera>();
		//cam.depthTextureMode = DepthTextureMode.Depth;
		colorRT = new RenderTexture(Screen.width, Screen.height, 24, RenderTextureFormat.Default);
		depthRT = new RenderTexture(Screen.width, Screen.height, 24, RenderTextureFormat.Depth);
	}

	// Update is called once per frame
	void Update () {

	}
	private void OnPreRender() {
		cam.SetTargetBuffers(colorRT.colorBuffer,depthRT.depthBuffer);
	}

	private void OnRenderImage(RenderTexture src, RenderTexture dest)
	{
		Graphics.Blit(depthRT,dest);
	}

}
颜色图和深度图的结果:

?
?