1. Python下载
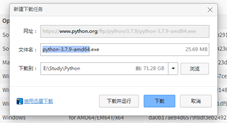
网址如下:https://www.python.org/downloads/
单击Download进入下载页面,根据所用操作系统类型选择相应的Python安装文件进行下载(例如Windows 7的32位操作系统选择Windows x86 executable installer进行下载、 64位操作系统选择Windows x86-64 executable installer )


2. Python安装

注意勾选Add Python 3.7 to PATH选择,这样python的路径自动会加到系统环境变量中,后面就不需要专门配置环境变量了!


3. PyCharm下载
在PyCharm的官网http://www.jetbrains.com/pycharm/download/下载合适的版本并进行安装,此处选择开源且免费的Community(社区版)。


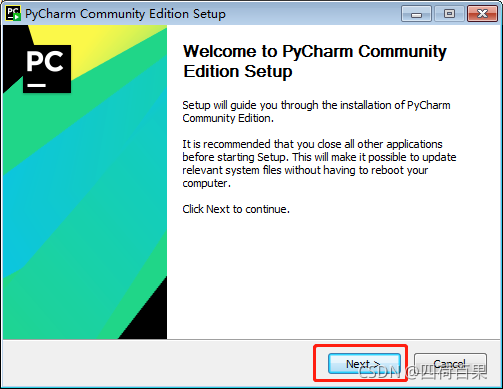
4. PyCharm安装
双击本地的PyCharm安装包"pycharm-community-2021.2.1.exe",进入安装首页,点击【Next>】按钮,如图:
进入“Choose Install Location”界面,选择安装目录,不建议安装系统盘,我选择安装在D盘,继续点击【Next>】,如图:

进入“Installion Optional”界面,勾选Create Desktop Shortcut(创建桌面快捷方式),Create Associations(创建py文件关联),如图:

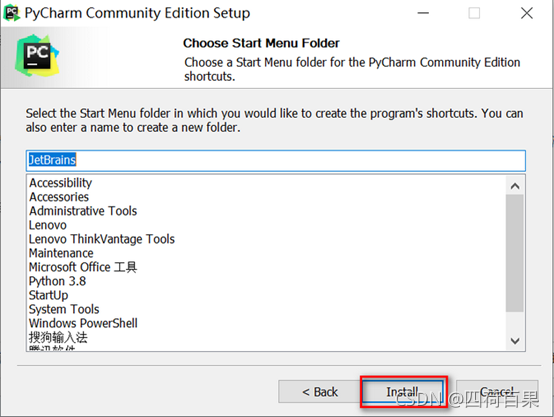
进入“Choose Start Menu Folder”界面,默认开始菜单文件夹为“JetBrains”,点击【Install】按钮,安装软件,如图:
安装等待,安装比较快,几分钟就好了:


5.PyCharm使用
第一次打开PyCharm需要进行环境配置。
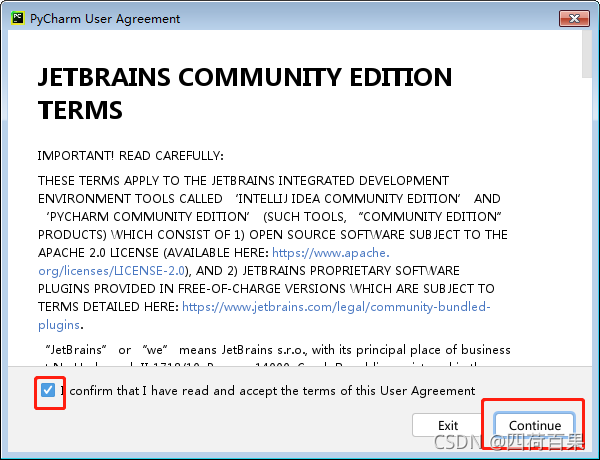
打开PyCharm,桌面双击PyCharm图标,进入程序首页,勾选协议许可"I confirm that…",点击【Continue】,如图:
进入“DATA SHARING”界面,数据信息收集,选择不发送,点击【Don’t Send】,如图:


6. 创建Python项目
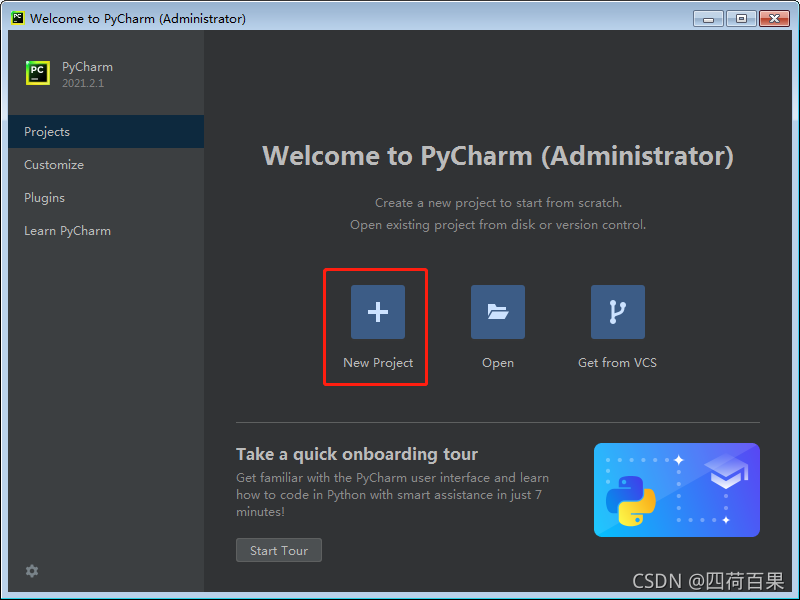
第一次打开在开始界面点击“New Project”。
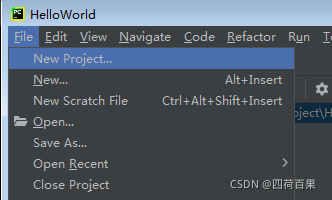
或者主界面中点击“File”>>“New Project”。
会出现如下界面。
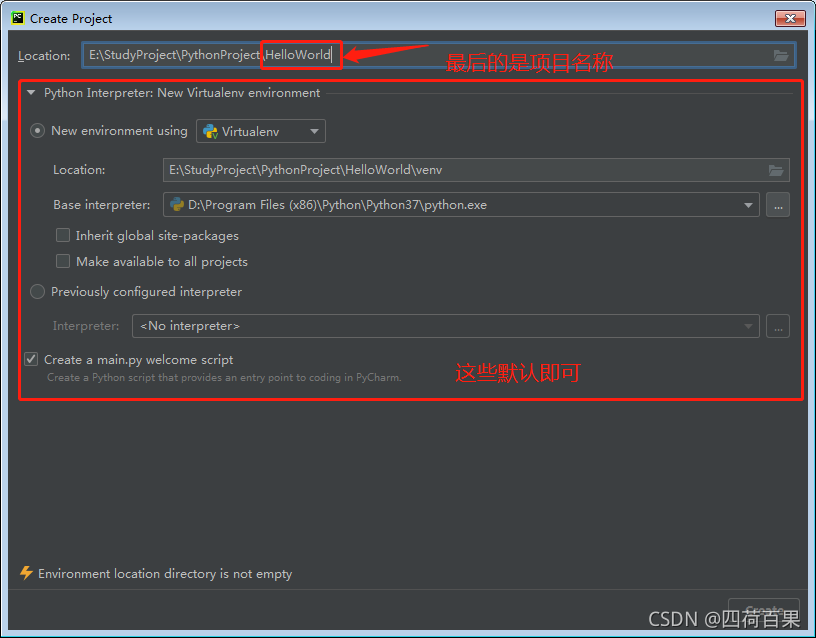
Location是项目的存放路径,默认C盘,建议修改。路径的最后一个文件名默认是项目名称,比如HelloWorld就是项目名称。
点击“Create”开始创建项目。
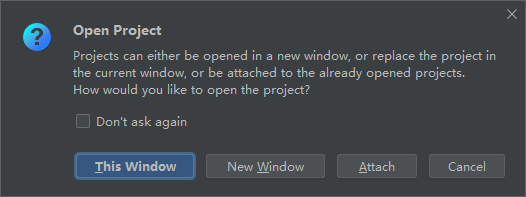
This Window:在当前窗口打开新项目,旧的项目会关闭。
New Window:在新的窗口打开项目,会有两个窗口,新项目和旧项目同时打开(推荐)。
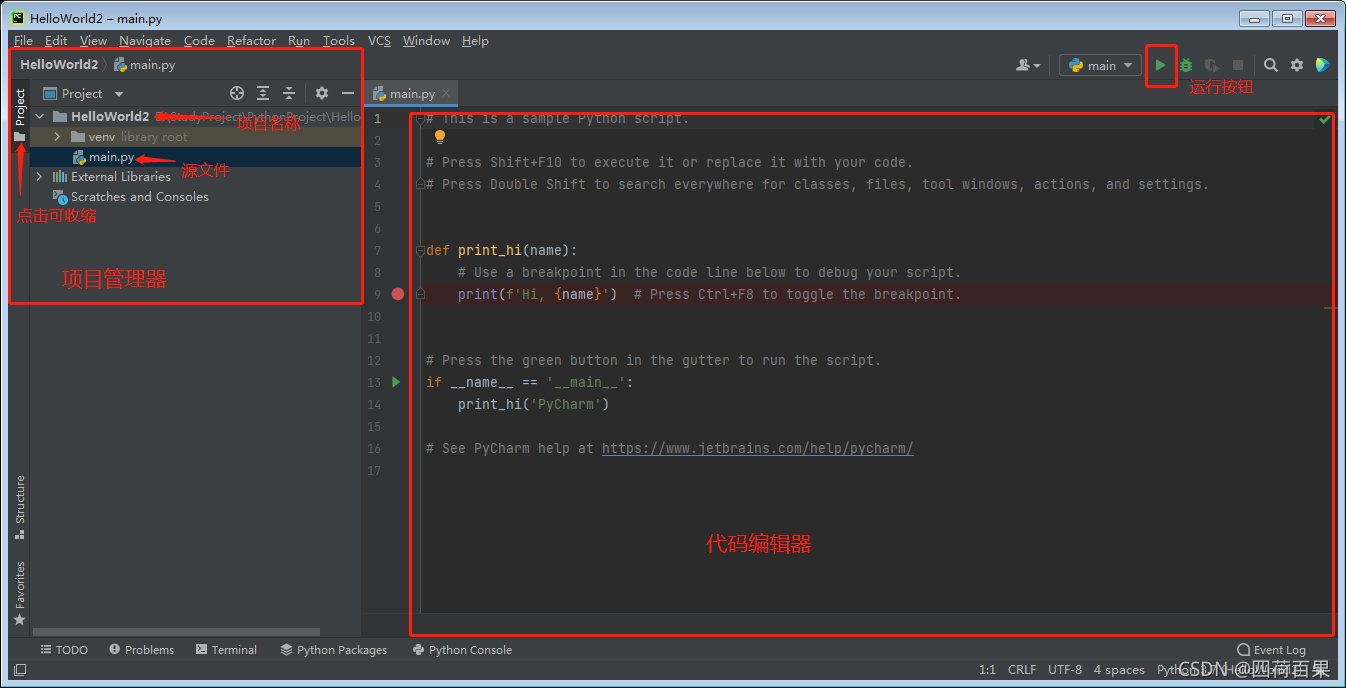
认识主界面:
6. 创建Python文件
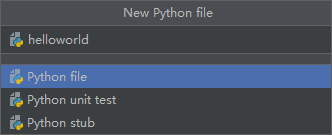
点击选中项目名称,右击选择“New”>>“Python File”。

输入项目名称,回车确定。

print()用于向控制台输出内容。
接下来运行py文件。
在代码编辑器右击,选择“Run File in Python Console”。

在主界面下端,会出现控制台。
