学习目标:入手unity并制作第一款独立游戏
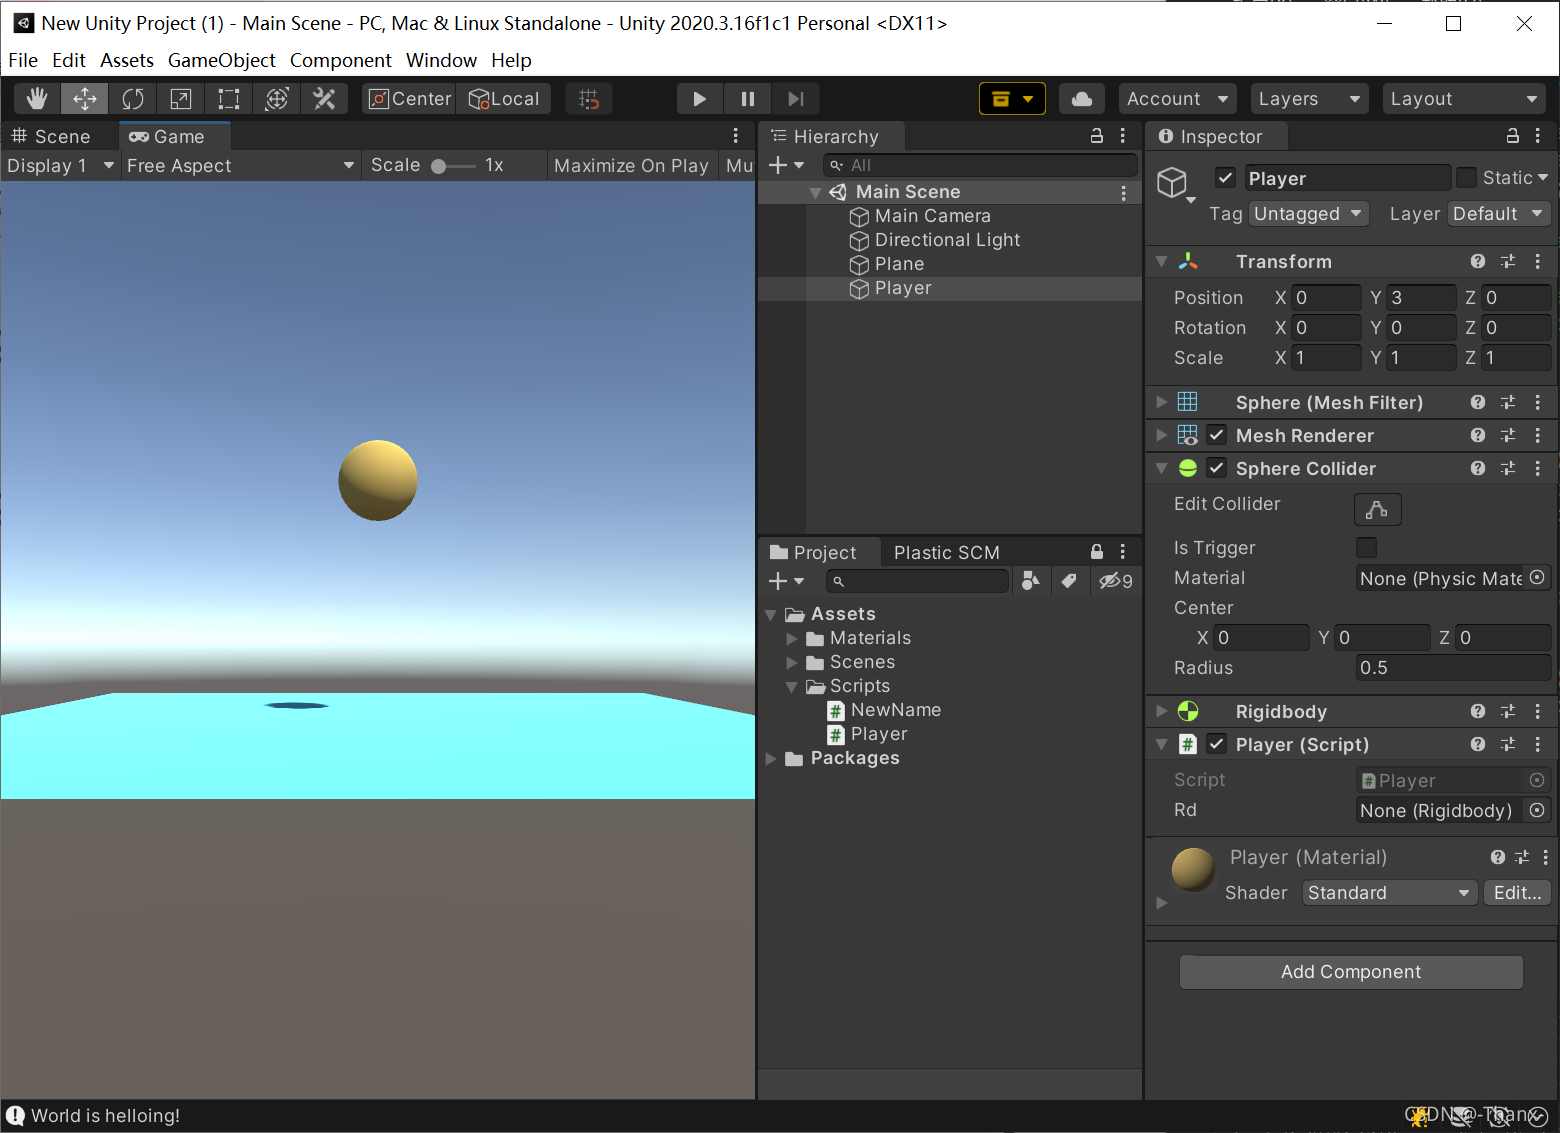
一、建模及基本组件

- Materials:存放材质Material的文件夹,将材质拖动到模型上即可附加,其中添加了Rigidbody刚体材质到小球Player上
- Scenes:场景
- Scripts:存放c#代码的文件夹
- Packages:自带的组件包
- Local/Global切换可以切换控制实体坐标轴

- Project Settings->Input Manager 包含键盘及鼠标输入相应的行为
二、学习代码记录
using System.Collections;
using System.Collections.Generic;
using UnityEngine;

public class Player : MonoBehaviour
{
    // Start is called before the first frame update
    public Rigidbody rd;//创建一个公有Rigidbody对象
    //私有的在unity面板上看不到


    void Start()//游戏启动后运行的部分
    {
        Debug.Log("Hello world!");
        //打印 输出 显示 日志
        rd = GetComponent<Rigidbody>();//将rd实例化,
        //即把Player和rd对应起来建立连接,
        //同时用拖拽"Player"或者"Rigidbody"的方式也是等效的
    }

    // Update is called once per frame
    void Update()//游戏开始后一直运行的部分
    {
        Debug.Log("World is helloing!");
        rd.AddForce(Vector3.right);//赋予一个向右的力默认为1N
        //亦即模型中为(1,0,0)的向量
        rd.AddForce(Vector3.left);
        rd.AddForce(Vector3.forward);
        rd.AddForce(Vector3.back);
        rd.AddForce(Vector3.up*10);//10牛顿
        rd.AddForce(Vector3.down);
        rd.AddForce(new Vector3(0, 0, -1));//创建一个向量

        float h = Input.GetAxis("Horizontal");
        //创建一个对象h 监控键盘输入,控制水平
        float h = Input.GetAxis("Vertical");
        //垂直,即前后
        Debug.Log(h);
        //运行时按下a或left,值从0递减至-1,
        //d或right从0渐变到-1
	    rd.AddForce(new Vector3(h, 0, v));
}
}
三、控制相机跟随移动

- 给Main Camera添加FollowTarget脚本,用来跟随物体移动
- 在代码中Vector3创建一个距离差对象offset,设置为私有全局变量
- Transform创建一个playertransform对象获取player坐标位置
- transfrom可以直接得到此脚本对应的组件位置
- 代码如下:
using System.Collections;
using System.Collections.Generic;
using UnityEngine;

public class FollowTarget : MonoBehaviour
{
    public Transform playertransform;
    private Vector3 offset;
    //创建距离对象
    // Start is called before the first frame update
    void Start()
    {
        offset = transform.position - playertransform.position;
        //transform.position获取MainCamera位置
        //playertransform.position获取小球位置
        //拖拽的方式将小球与playertransform配对
    }

    // Update is called once per frame
    void Update()
    {
        transform.position = playertransform.position + offset;
        //注意这里是+,我一开始是-,游戏开始后相机会固定在平台下方
    }
}
四、场景布置

- 预制体,类似于类的概念
- 创建4个Cube实体作为墙,改变长度和位置使之置于平台四个边上
- 创建食物Food
- 创建预制体文件夹Prefabs,将Food拖入其中,预制体即创建完成


- 控制Food旋转
- 添加脚本Food
transform.Rotate(Vextor.up);//默认一秒执行60次,即一秒旋转60度- 文档查阅操作如下
 也可以登录unity.cn查看中文文档

- 旋转脚本代码如下
using System.Collections;
using System.Collections.Generic;
using UnityEngine;

public class Food : MonoBehaviour
{
    // Start is called before the first frame update
    void Start()
    {

    }

    // Update is called once per frame
    void Update()
    {
        transform.Rotate(Vector3.up);
        //默认一秒执行60次,即一秒旋转60度
    }
}
五、碰撞检测
- player.cs中创建系统事件
- 碰撞的三种状态:Enter,Stay,Exit
    private void OnCollisionEnter(Collision collision)
    {
        Debug.Log("发生碰撞 OnCollisionEnter");
    }
    private void OnCollisionExit(Collision collision)
    {
        Debug.Log("发生碰撞 OnCollisionExit");
    }
    private void OnCollisionStay(Collision collision)
    {
        Debug.Log("发生碰撞 OnCollisionStay");
    }

- Food添加 Food 标签,便于区分物体

- 碰撞判断语句,碰撞器检测到碰撞物体后判断其tag,若为真,物体销毁
        if(collision.gameObject.tag=="Food")
        {
            Destroy(collision.gameObject);
        }
- 碰撞检测弊端:画面会产生碰撞的效果后物体才会消失,吞并食物效果不连贯
六、触发检测
- 触发器本身是碰撞器,只是不会产生碰撞效果
-
将物体的碰撞器部分中的"Is Trigger"勾选上,表示物体拥有触发器属性

-
勾选后player能对Test物体穿模

-
触发器出发状态代码如下:
    private void OnTriggerEnter(Collider other)
    {
        Debug.Log("OnTriggerEnter");
    }
    private void OnTriggerExit(Collider other)
    {
        Debug.Log("OnTriggerExit");
    }
    private void OnTriggerStay(Collider other)
    {
        Debug.Log("OnTriggerStay");
    }

- 触发器代码:直接other.tag,和collision.gameObject.tag不一样,当勾选触发器属性后,碰撞方法内就不会执行
    private void OnTriggerEnter(Collider other)
    {
        Debug.Log("OnTriggerEnter");
        if(other.tag=="Food")
        {
            Destroy(other.gameObject);
        }
    }
七、通过UI显示得分
-
player.cs内定义全局变量score
-
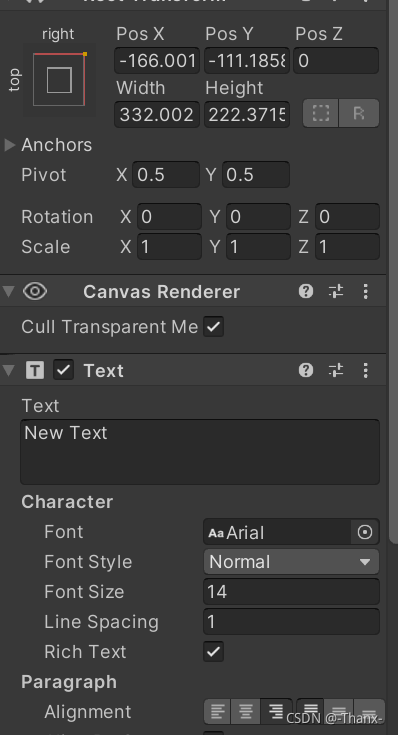
新建UI->text,切换2D模式

-
Canvas表示屏幕对应的视角,也是画布

-
EventSystem表示事件
-
修改文本位置

-
引入UI包
using UnityEngine.UI; -
定义全局变量Text型scoreText
public Text scoreText;将UI的Text拖入player的Score Text内

-
之后更新UI显示内容
ScoreText.text = "得分:"+score; -
显示游戏胜利
教程中提到的方法:
1、Canvas中新建Text文件WinText,取消勾选Text属性,即false

2、创建全局变量GameObject类WinText(注:每一个UI组件本质都是GameObject)
3、游戏中激活WinText的Text属性:WinText.SetActive(true);使Text为真
4、代码如下:
public GameObject winText;
判定部分:
if (other.tag == "Food")
{
	Destroy(other.gameObject);
	score++;
	scoreText.text = "分数:" + score ;
	if(score == 12)
	{
	    winText.SetActive(true);
	}
}
-
我敲完这一段代码后运行发现当得分符合判定条件后 “游戏胜利” 字样并没有出现在屏幕中间,对照教程中的代码一行行检查还是不知道问题所在,上网也查找了很多资料还是不知道原因。于是借鉴资料,学会了另一种方法显示游戏胜利。
-
GameObject.Find()
通过场景里面的名子或者一个路径直接获取游戏对象。
GameObject root = GameObject.Find(“GameObject”);
资料来源: 作者:雨松MOMO https://www.xuanyusong.com/archives/2768
以及Unity3D UI Text文本触发隐藏显示
    public GameObject WinText;
    void Start()
    {
        WinText = GameObject.Find("WinText");
        WinText.SetActive(false);
    }
判定部分:
    if (other.tag == "Food")
    {
        Destroy(other.gameObject);
        score++;
        ScoreText.text = "得分:" + score;
        if (score == 5)
        {
            WinText.SetActive(true);
        }
    }
- 结果展示:(好耶!)

八、游戏打包
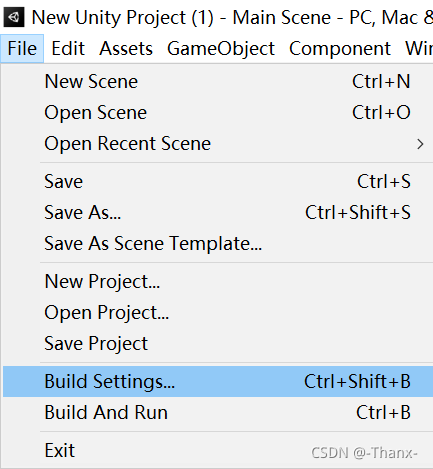
- File->Build Settings,直接将scenes拖进去并选择打包平台后即可打包。打包平台可以在UnityHub中下载


- 修改游戏屏幕设置:打包前选择player settings


九、加点元素
- 随机Food生成:(代码部分)
    float times = 3f;
    public Food food;
    void Update()
    {
        times -= Time.deltaTime;
        if (times < 0)
        {
            Food obj = (Food)Instantiate(food);
            int x = Random.Range(-4, 4);
            int z = Random.Range(1, 9);
            obj.transform.position = new Vector3(x, 4247512 / 10000000, z);
            times = Random.Range(0, 5);
        }
    }