Unity Navigation详解
前言
从事unity相关行业以来始终看不清自己的路该怎么走,到今天才明白不需要花时间去迷茫,只管努力莫问前程。从今天开始每天写一点小东西,记录与整理自己走过的路,也一边寻找自己的路。便从unity的自动寻路Navigation开始吧。
Navigation功能
(1)烘焙路径
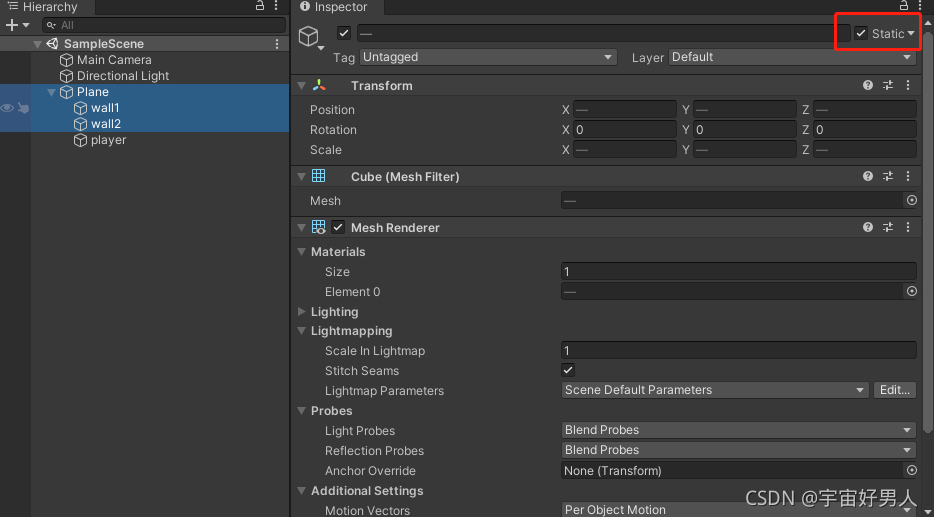
选中地面物体与障碍物,选中物体Static,如下图所示:

下一步如下图步骤调出Navigation面板:

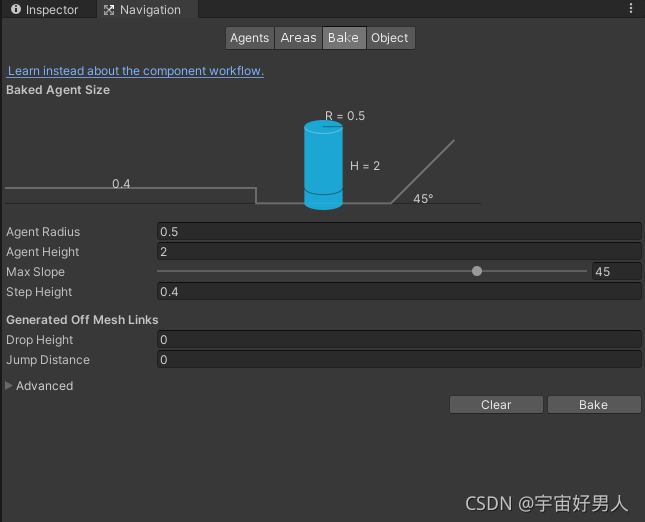
在Navigation面板中选择Bake选项,如无特殊参数要求可直接点击Bake按钮,进行对路径的烘焙,如下图所示:

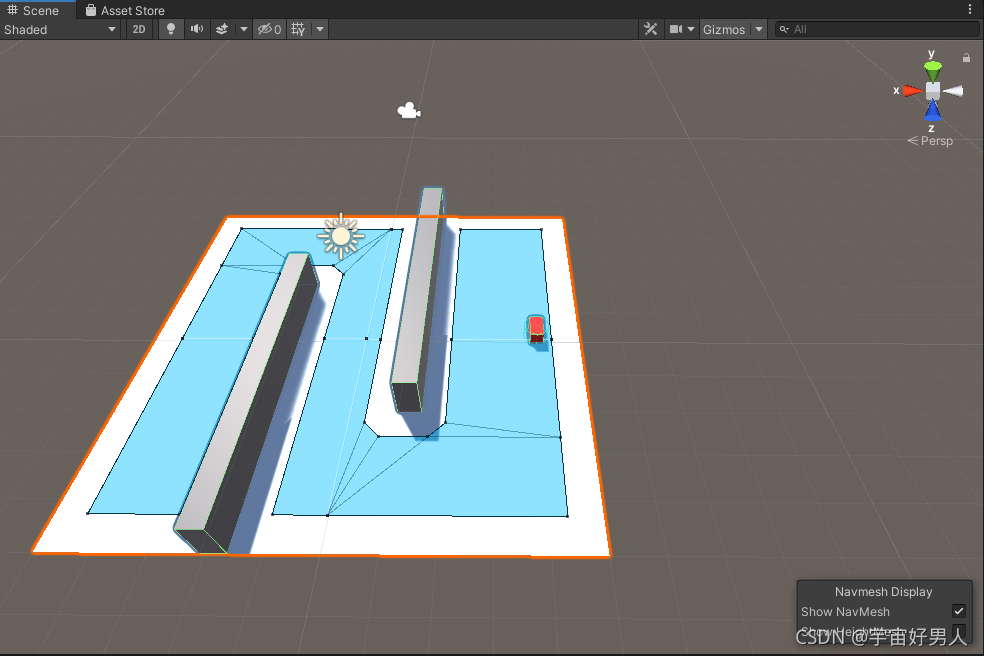
路径烘焙完成之后如下图所示:

(2)寻路物体挂载NavMeshAgent组件

(3)设置起点与终点
需将起点放置于上一步烘焙的路径之上,可手动拖拽寻路物体;终点也需要在烘焙路径的范围之内。使用一个脚本对NavMeshAgent组件进行设置操作,可使用代码设置移动速度、遵循路径时的最大回转速度等值,简单的脚本如下:
using System.Collections;
using System.Collections.Generic;
using UnityEngine;
using UnityEngine.AI;
public class TestScript : MonoBehaviour
{
    NavMeshAgent agent;

    Vector3 right_pos;
    Vector3 left_pos;
    Vector3 forward_pos;
    float speed;
    void Start()
    {
        right_pos = new Vector3(3.5f,transform.localPosition.y,3.5f);
        forward_pos = new Vector3(0.5f,transform.localPosition.y,3.5f);
        left_pos = new Vector3(-4f,transform.localPosition.y,-3.5f);
        speed = 3f;
        agent = this.transform.GetComponent<NavMeshAgent>();
    }

    void Update()
    {
        if (Input.GetKeyDown(KeyCode.A))
        {
            //设置终点
            agent.SetDestination(left_pos);
            agent.speed = speed;
            Debug.Log("左");
        }
        else if (Input.GetKeyDown(KeyCode.W))
        {
            agent.SetDestination(forward_pos);
            agent.speed = speed;
            Debug.Log("前");
        }
        else if (Input.GetKeyDown(KeyCode.D))
        {
            agent.SetDestination(right_pos);
            agent.speed = speed;
            Debug.Log("右");
        }
    }
}
(4)效果演示
