历史文章目录连接: https://blog.csdn.net/yy763496668/article/details/113117040 此链接为CSDN连接,目的为方便大家一览博客目录!内容会定期更新。 |
正文:
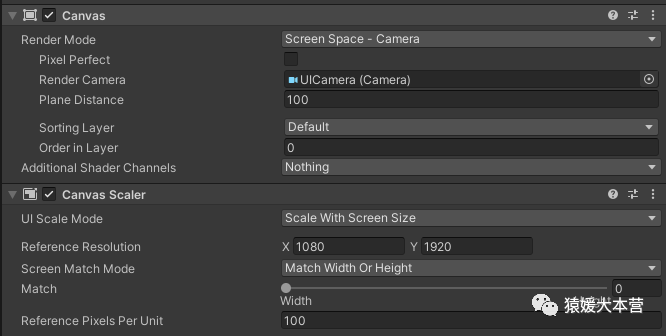
一、设置Canvas模式为相机模式,让UI元素处于最下层,LineRenderer会绘制在最上层。

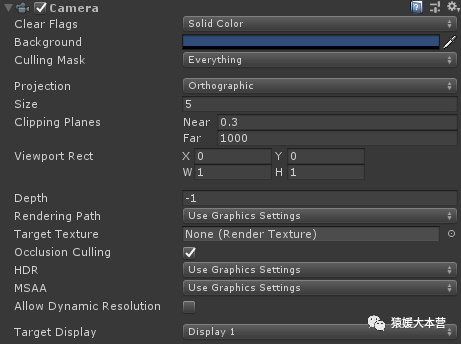
二、相机设置为正交模式即可,然后记得此相机作为Canvas的相机

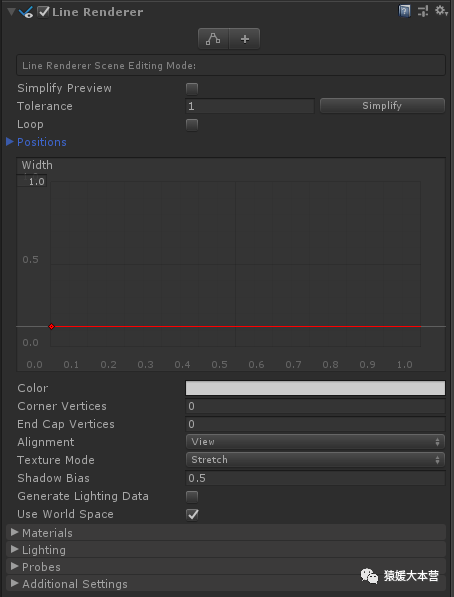
三、添加LineRenderer

四、LineRenderer组件

五、在LineRenderer上挂载脚本
using System.Collections;
using System.Collections.Generic;
using UnityEngine;


public class UILineRenderer : MonoBehaviour
{
    public Transform img1;
    public Transform img2;
    private LineRenderer lineRenderer;
    // Start is called before the first frame update
    void Start()
    {
????????lineRenderer?=?GetComponent<LineRenderer>();
    }
    // Update is called once per frame
    void Update()
    {
        lineRenderer.SetPosition(0, new Vector3(img1.position.x + 0.463f, img1.position.y, 0));
        lineRenderer.SetPosition(1, new Vector3(img2.position.x - 0.463f, img2.position.y, 0));
    }
}
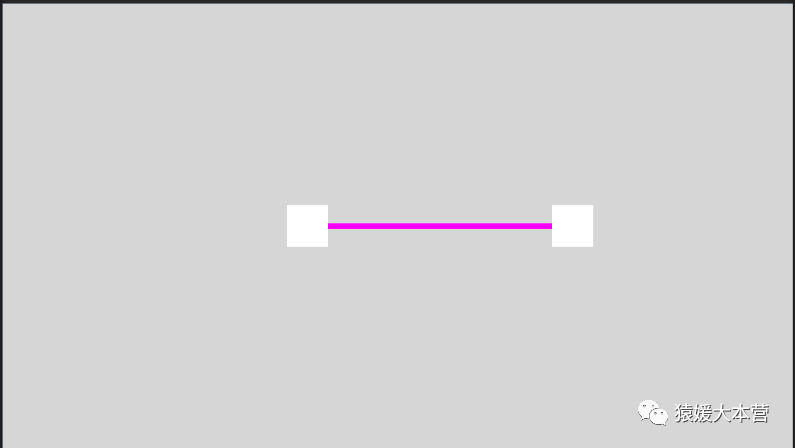
六、效果

以上就是LineRenderer在UI上显示的整个操作。
【文章导航】
https://blog.csdn.net/yy763496668/article/details/113117040
THANKS ALL !!
【关注、点赞,收藏】 关注公众号,您将第一时间收到文章更新 微信公众号:猿媛大本营
|
