序言
目前包括缓动跟随人物,范围限制,房间切换,屏幕抖动。
为什么要自己手写相机脚本?
Unity本身自带Cinemachine等插件,里面有许多摄像机常用功能,但一方面他功能庞大冗杂,另一方面如果我们有特殊的需求,例如随时更换摄像机的限制范围,去读改这些插件的源码会比较吃力。所以,写一个满足自己需求,方便修改的相机脚本极为重要。
此外,虽然是2D摄像机,但里面的很多思想在3D里也有用到。
项目文件链接(包含初始场景和最终场景)
声明:项目内的美术素材来源于:Tiny RPG - Forest 以及 B站UP奥飒姆_Awesome
1. 相机偏移跟随
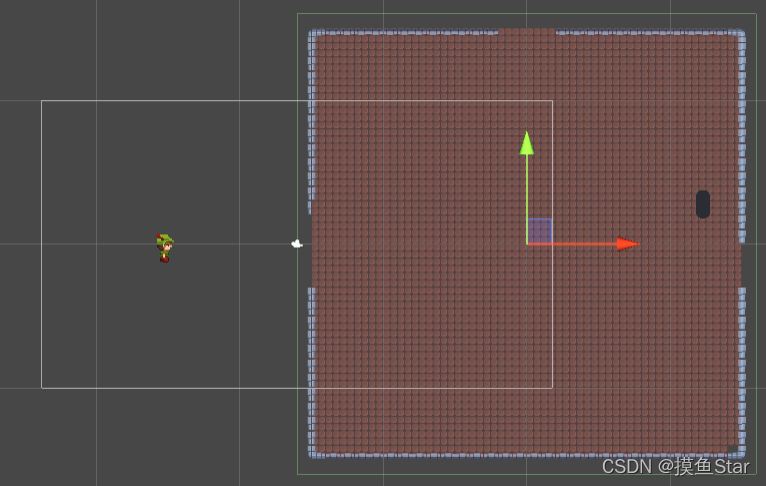
项目里面Start_Scene里 应该有四个物体,Player以及移动脚本、相机、两个房间的瓦片地图、还有一个测试用的CameraBoundary。
我们首先解决相机跟随和偏移,新建一个CameraScript的脚本,添加到MainCamera上。
先说跟随,只要相机的x、y坐标一直等于Player的相机的坐标,那么相机中心就一直正对着玩家位置了。代码为
    Transform target;
    void Start()
    {
        target = GameObject.FindGameObjectWithTag("Player").transform;
    }
    private void FixedUpdate()
    {
        transform.position = target.position;
    }
运行,错误…
原因是相机的z轴坐标也变成了Player的z轴坐标,这样就照不到Player了,处理方法是加上偏移。
我们创建一个Vector3的容器,[SerializeField]Vector3 offset;
([SerializeField]的作用是保证该变量为private型的同时,我们仍可以在Inspector里面观察并调整他的数值。)
然后用target.position+offset再赋值给transform.position
总代码为:
using System.Collections;
using System.Collections.Generic;
using UnityEngine;

public class CameraScript : MonoBehaviour
{
    Transform target;
    [SerializeField]Vector3 offset;

    void Start()
    {
        target = GameObject.FindGameObjectWithTag("Player").transform;
    }

    private void FixedUpdate()
    {
        Vector3 desiredPosition = target.position + offset;
        transform.position = desiredPosition;
    }
}
先将Offset 的z坐标设为-10,然后任意调整x、y坐标,我们就得到了可以偏移跟随的摄像机
运行结果

2. 缓动跟随
给摄像机加一点缓动效果,当离目标点比较远的时候快速飞过去,离目标点比较近的时候则慢慢移动,实现方法有很多,我们用每固定帧平移一定比例的方法。
引入一个smoothSpeed的变量,用Lerp()函数,如果取为0.5,则相当于每固定帧的时候移动当前距离到目标距离的一半。
注意这里我们相当于是直接改变position的值,所以要放在FixedUpdate()里
    public float smoothSpeed = 0.125f;//相机缓动速度
    private void FixedUpdate()
    {
        Vector3 desiredPosition = target.position + offset;

        Vector3 smoothedPosition = Vector3.Lerp(transform.position,desiredPosition,smoothSpeed);
        transform.position = smoothedPosition;
    }
运行结果

3. 范围限制
题主目前只会做方形的范围限制,原理就是分别控制x、y在[leftLimit,rightLimit]和[bottomLimit,topLimit]之间,可以使用clamp函数(),代码为
        Vector3 desiredPosition = target.position + offset;

        desiredPosition = new Vector3(
            Mathf.Clamp(desiredPosition.x,leftLimit,rightLimit),
            Mathf.Clamp(desiredPosition.y, bottomLimit, topLimit),
            desiredPosition.z
            );
这里可以看出,我们需要四个值,x、y的最小、最大值,为了更加优雅的使用,我们可以在用BoxCollider2D 来调控范围大小。BoxCollider2D的大小属性由Size和Offset这两个来决定。
size 表示BoxCollider的长度,即中心点到最左、最右点的两倍,offset表示位置相对于原点的偏移。
转换关系为
    public void refreshBoundary(BoxCollider2D boundary)
    {
        leftLimit =   boundary.transform.position.x - boundary.size.x / 2 + boundary.offset.x;
        rightLimit =  boundary.transform.position.x + boundary.size.x / 2 + boundary.offset.x;
        bottomLimit = boundary.transform.position.y - boundary.size.y / 2 + boundary.offset.y;
        topLimit =    boundary.transform.position.y + boundary.size.y / 2 + boundary.offset.y;
    }
这里我们加上了BoxCollider2D的position,因为BoxCollider2D记录的只是相对范围位置。
运行:

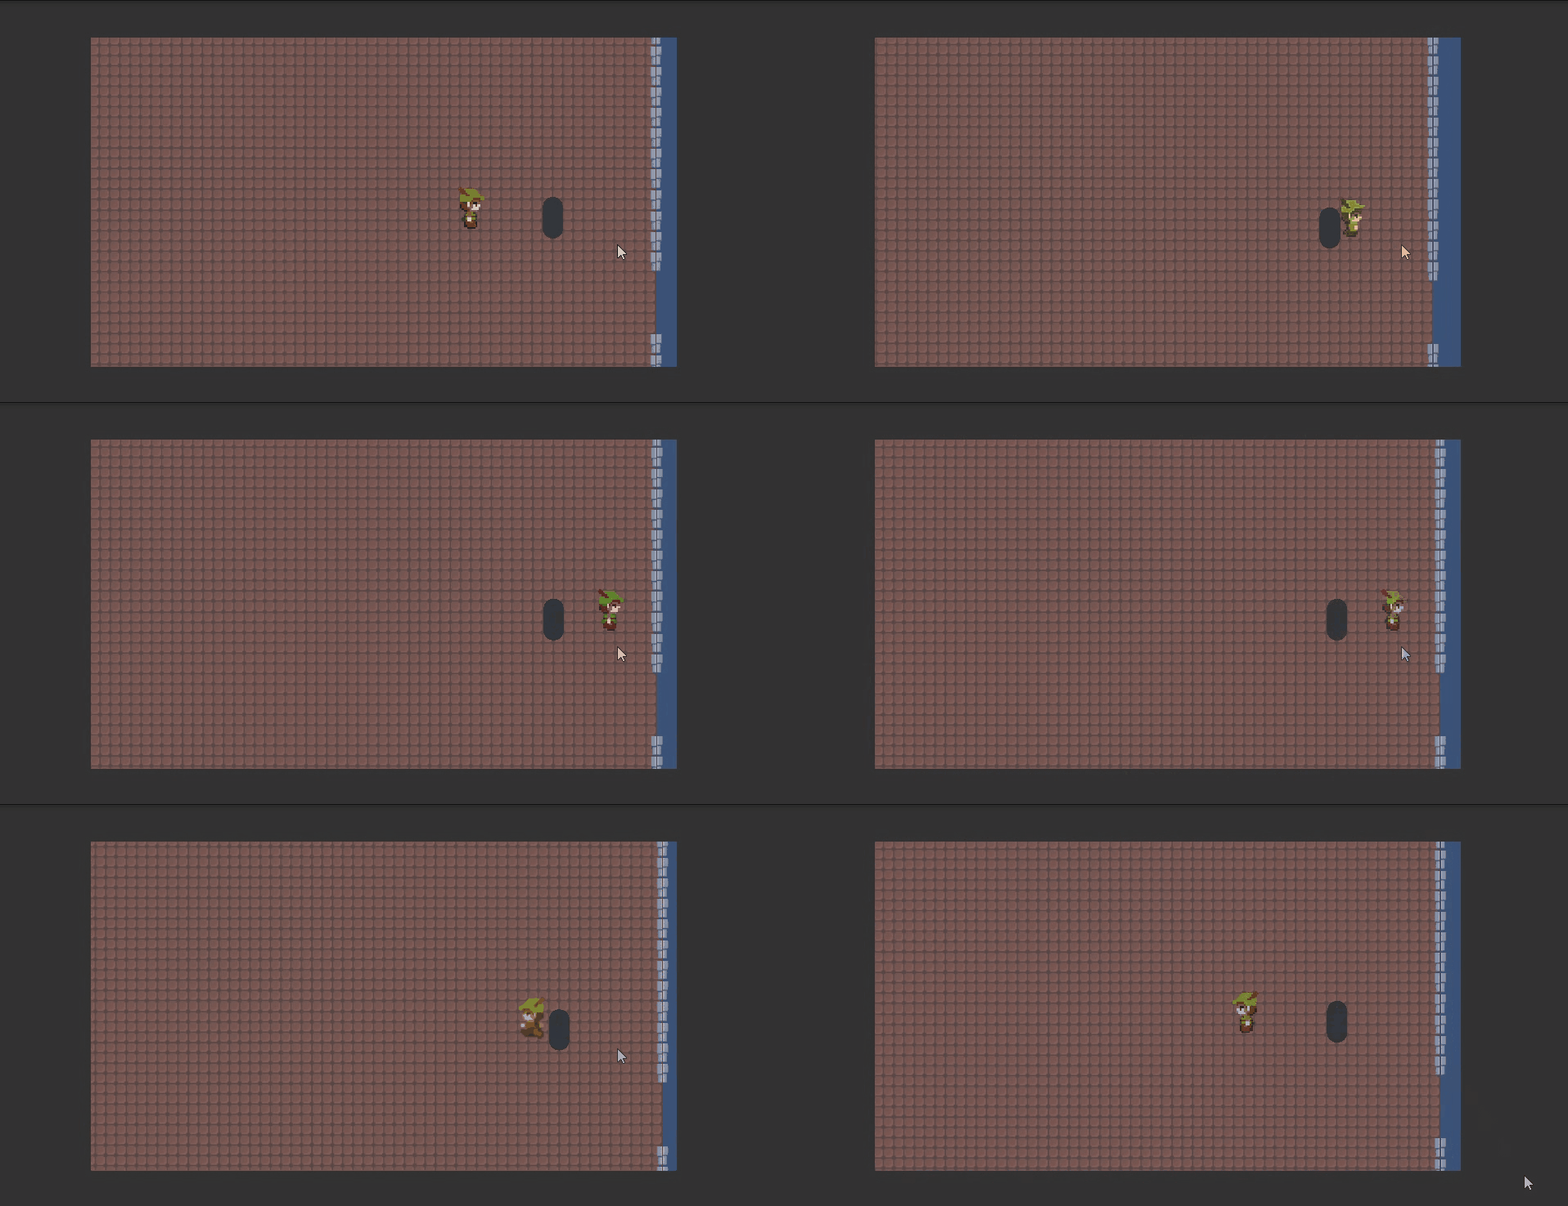
出现错误,我们想要的应该是相机的视野边缘刚好在BoxCollider内,而用这种方法后的结果是相机的中心在BoxCollider内,所以应该再减去相机视野范围的一半。
求相机范围的一半为:
cameraHalfHeight = Camera.orthographicSize;
cameraHalfWidth = cameraHalfHeight * Screen.width / Screen.height;
代码
using System.Collections;
using System.Collections.Generic;
using UnityEngine;

public class CameraScript : MonoBehaviour
{
    Transform target;
    [SerializeField]Vector3 offset;//镜头中心相对于玩家的偏移
    [SerializeField]float smoothSpeed;//缓动速度

    float cameraHalfWidth, cameraHalfHeight;//存储相机视野范围的一半
    float topLimit, bottomLimit, leftLimit, rightLimit;//摄像机活动的范围

    // Start is called before the first frame update
    void Start()
    {
        target = GameObject.FindGameObjectWithTag("Player").transform;

        cameraHalfHeight = GameObject.FindGameObjectWithTag("MainCamera").GetComponent<Camera>().orthographicSize;
        cameraHalfWidth = cameraHalfHeight * Screen.width / Screen.height;

        refreshBoundary(GameObject.Find("CameraBoundary/1").GetComponent<BoxCollider2D>());
    }

    private void FixedUpdate()
    {
        Vector3 desiredPosition = target.position + offset;
        desiredPosition = new Vector3(
            Mathf.Clamp(desiredPosition.x, leftLimit, rightLimit),
            Mathf.Clamp(desiredPosition.y, bottomLimit, topLimit),
            desiredPosition.z
            );

        Vector3 smoothedPosition = Vector3.Lerp(transform.position, desiredPosition, smoothSpeed);
        transform.position = smoothedPosition;
    }

	public void refreshBoundary(BoxCollider2D boundary)
    {
        leftLimit =   boundary.transform.position.x - boundary.size.x / 2 + boundary.offset.x + cameraHalfWidth;
        rightLimit =  boundary.transform.position.x + boundary.size.x / 2 + boundary.offset.x - cameraHalfWidth;
        bottomLimit = boundary.transform.position.y - boundary.size.y / 2 + boundary.offset.y + cameraHalfHeight;
        topLimit =    boundary.transform.position.y + boundary.size.y / 2 + boundary.offset.y - cameraHalfHeight;
    }
}
4. 相机晃动
这里我们使用易实现的随机方向晃动,给Camera创建一个初始位置为(0,0,0)的父物体CameraShake,创建CameraShake脚本。
写一个协程,进行时每帧往随机方向移动,协程结束时返回初始位置
using System.Collections;
using System.Collections.Generic;
using UnityEngine;

public class CameraShake : MonoBehaviour
{
    public static CameraShake instance;
    [SerializeField]float duration, magnitude;//抖动持续时间、抖动幅度

    private void Start()
    {
        instance = this;
    }

    public IEnumerator Shake()
    {

        float elapsed = 0.0f;

        while (elapsed < duration)
        {

            float x = Random.Range(-1f, 1f) * magnitude;
            float y = Random.Range(-1f, 1f) * magnitude;
            transform.localPosition = new Vector3(x, y, 0);
            elapsed += Time.deltaTime;
            yield return null;
        }
        transform.localPosition = new Vector3(0, 0, 0);
    }
}
我在初始房间里放有一个Enemy,当碰到玩家时会触发相机震动的协程。
运行结果

5. 进入新房间的切换
原理就是检测到进入房间后再次调用refreshBoundary(BoxCollider2D boundary) 函数
每个房间我们想要两个触发器,一个RoomCameraBoundary用来存储相机在该房间的视野范围,另一个PlayerInJudge用来检测玩家是否进入该房间。
启用Room里注释的函数
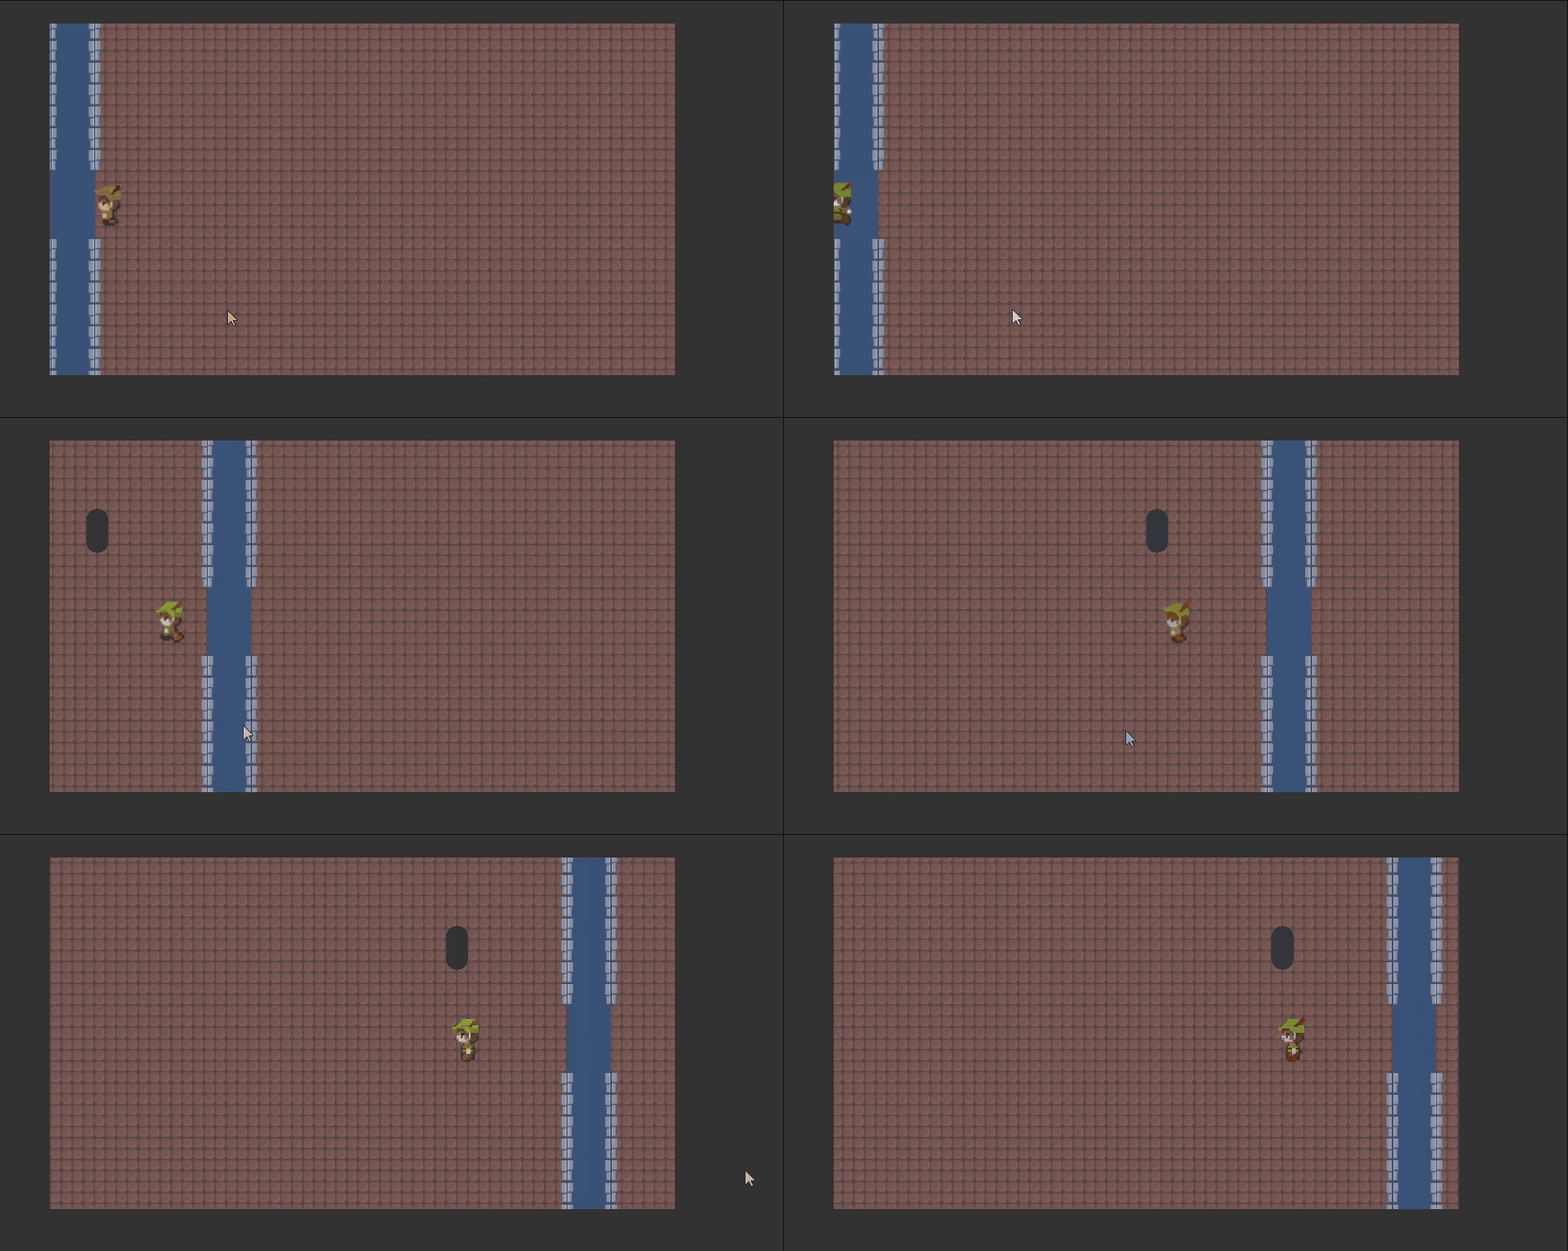
运行结果
