?前言:在现在的许多Unity商业项目中,由于为了热更新,上层的前端业务逻辑代码大部分已经在使用Lua语言,今天来介绍如何基于vs code与IDEA调试Lua代码。
演示项目的环境:
- Unity 2020.3.18f1
- vs code
- IntelliJ IDEA 2021.3.2
- ToLua框架
一、在Lua入口设置监听端口
?在项目的Lua入口程序文件中添加如下代码(一般是工程Lua根目录下的Main.lua文件 如:./xxx/Lua/Main.lua):
local BREAKINFOFUNC, XPCALLFUNC = require("Utils.LuaDebug")("localhost", 7003)
coroutine.start( function() while true do coroutine.wait(0.1) BREAKINFOFUNC() end end)
二、vs code
1、安装vs code
官网下载地址:Visual Studio Code - Code Editing
如遇到下载过慢,解决方法:
在浏览器中,辅助出下载链接地址,并将链接中红色的部分替换为vscode.cdn.azure.cn
2、在vs code的拓展中安装luaide-lite插件
3、打开项目的Lua文件夹
4、选择左侧菜单栏中的运行和调试,点击创建 launch.json文件,环境选择LuaDebug
?如果生成的调试配置文件无法调试,可使用下面这个配置文件
{
    // 使用 IntelliSense 了解相关属性。
    // 悬停以查看现有属性的描述。
    // 欲了解更多信息,请访问: https://go.microsoft.com/fwlink/?linkid=830387
    "version": "0.2.0",
    "configurations": [
        {
            "name": "Unity-Remote",
            "type": "lua",
            "request": "attach",
            "runtimeType": "Unity",
            "localRoot": "${workspaceRoot}",
            "port": 7003,
            "printType": 1
        },
        {
            "name": "Cocos-Remote",
            "type": "lua",
            "request": "attach",
            "runtimeType": "Cocos2",
            "localRoot": "${workspaceRoot}",
            "port": 7003,
            "printType": 1
        },
        {
            "name": "Cocos-Launch",
            "type": "lua",
            "request": "launch",
            "runtimeType": "Cocos2",
            "localRoot": "${workspaceRoot}",
            "mainFile": "src/main.lua",
            "commandLine": [
                "-workdir ${workspaceRoot}",
                "-file src/main.lua"
            ],
            "port": 7003,
            "exePath": "path/to/exe",
            "printType": 1
        },
        {
            "name": "Lua51-Launch",
            "type": "lua",
            "request": "launch",
            "runtimeType": "Lua51",
            "localRoot": "${workspaceRoot}",
            "mainFile": "${file}",
            "port": 7003,
            "printType": 1
        }
    ]
}
调试步骤:
1、设置断点
2、左侧菜单栏,运行和调试,点击播放按钮(快捷键F5)
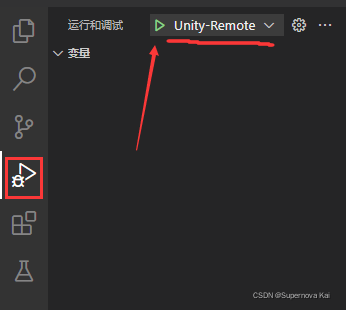
3、启动Unity项目
4、断点命中…
三、IntelliJ IDEA
1、安装IntelliJ IDEA
2、在拓展中安装EmmyLua插件
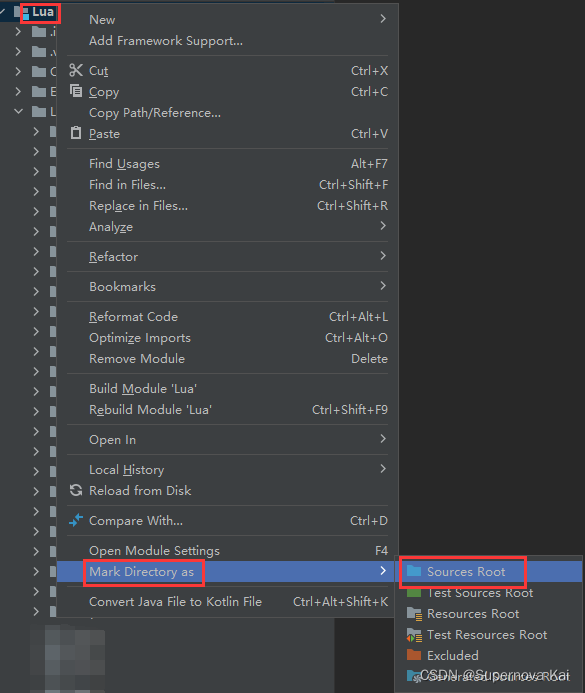
3、打开项目的Lua文件夹
4、将目录设为Sources Root
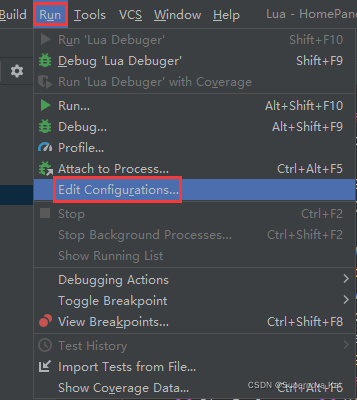
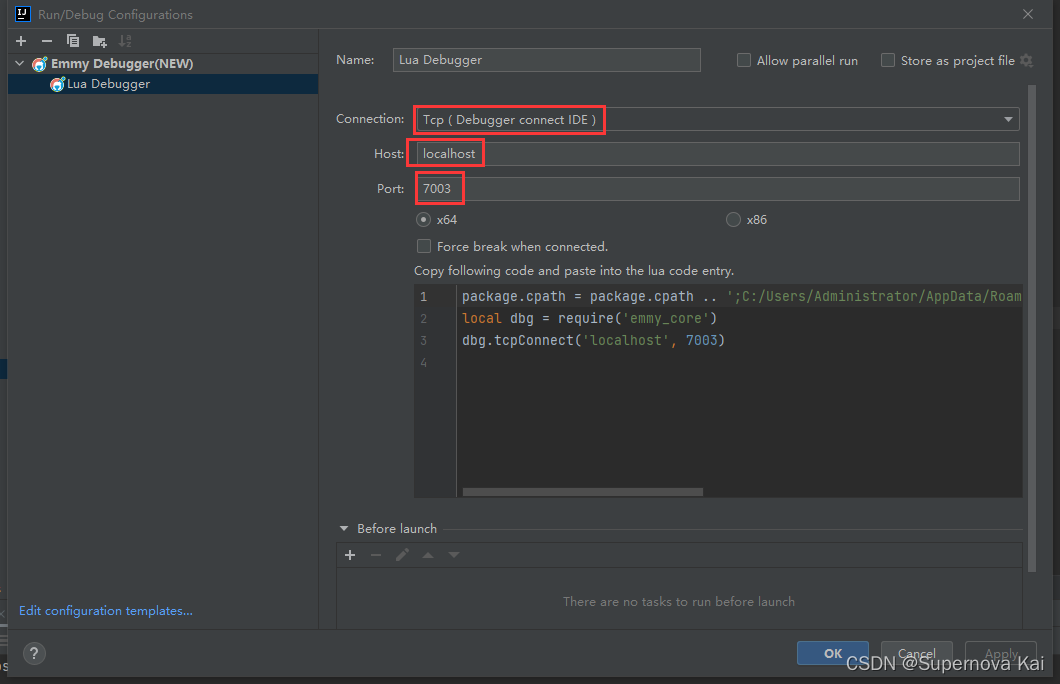
5、添加Lua调试配置,连接类型选择TCP(IDE connect debugger)
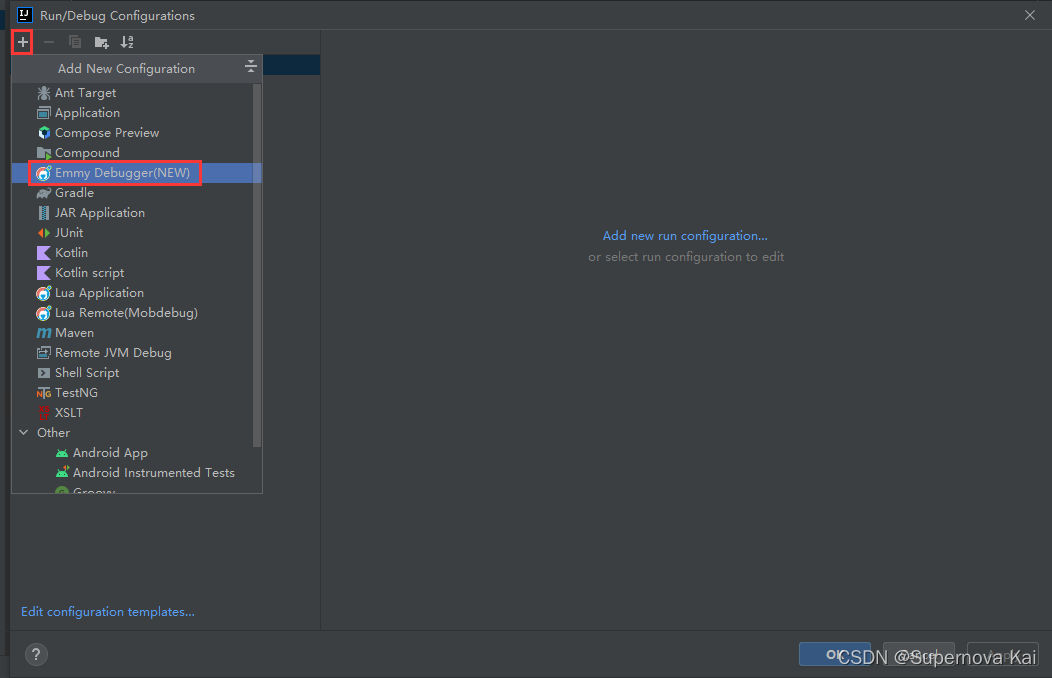
将连接类型选择为TCP(Debugger connect IDE),并设置端口为7003,如下所示:
调试步骤:
1、设置断点
2、IDEA中启动调试
3、启动Unity项目

4、断点命中…