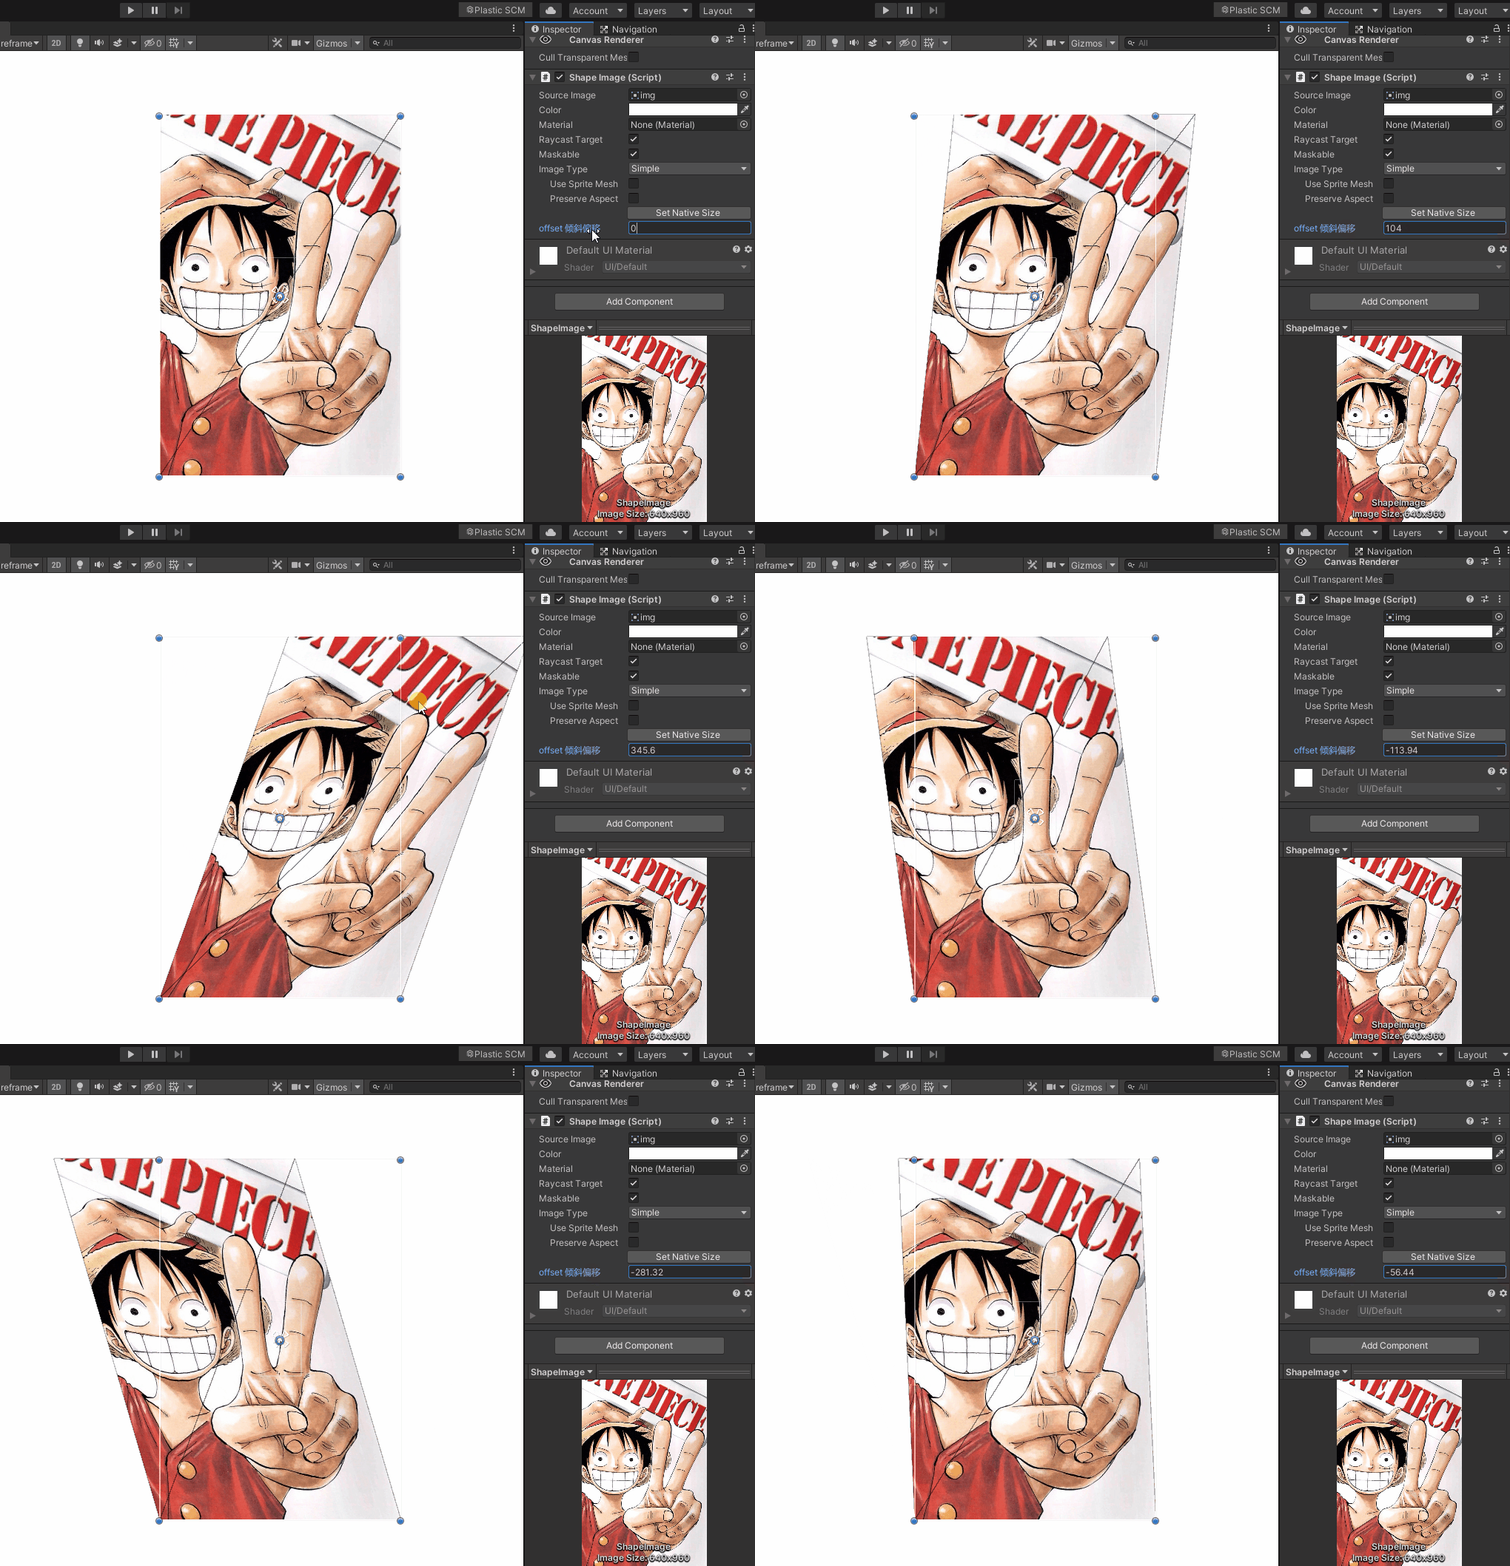
本文最终效果

一、前言
嗨,大家好,我是新发。
前同事问了我一个问题,如何将UGUI的Image进行变形,变成斜斜的,

最直接的就是出图的时候直接就画成斜的,我们不讨论这种情况,这里我们单纯的从技术实现上去思考能不能在Unity中通过UGUI的Image对图片进行倾斜变形。
之前我写过一篇文章 【游戏开发进阶】Unity网格探险之旅(Mesh | 动态合批 | 骨骼动画 | 蒙皮 )

文中我讲过一句话:
我们在
Unity场景中,所有能被渲染出来的物体都会带有网格,比如3D模型、粒子特效、UI、文字等等
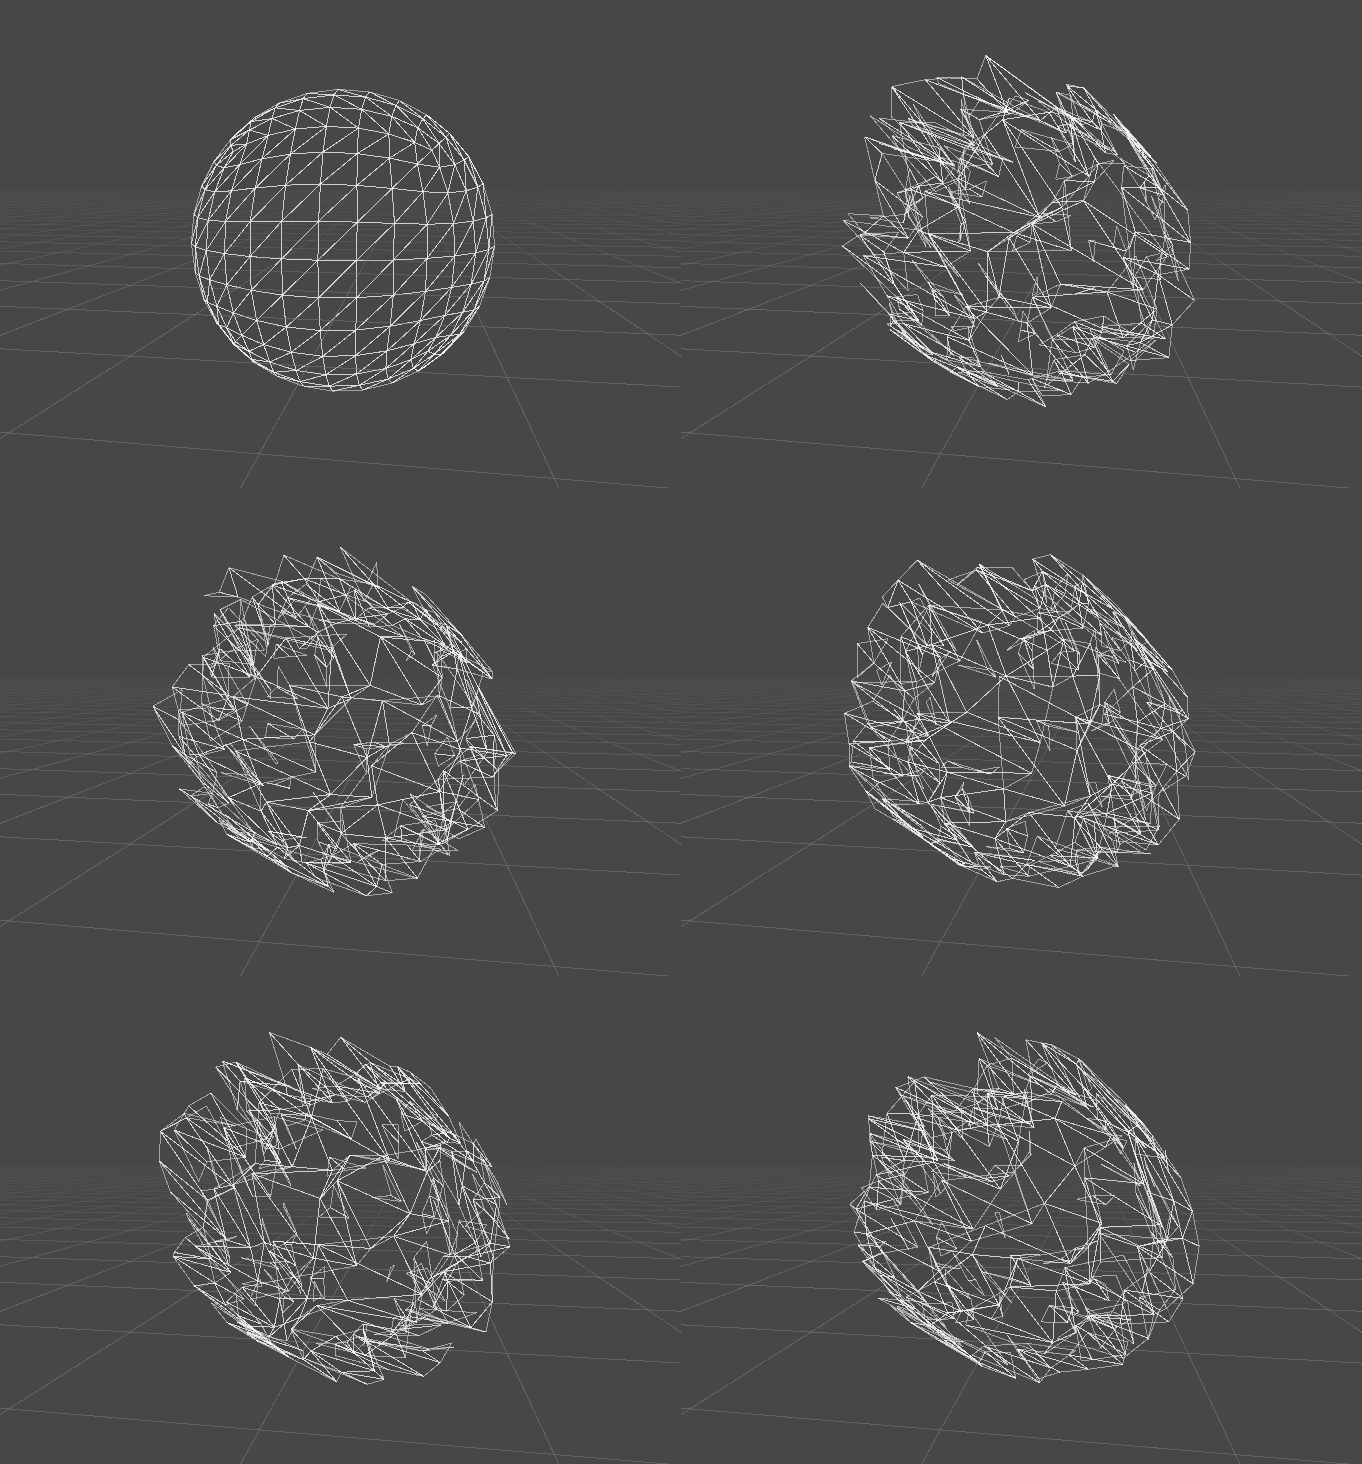
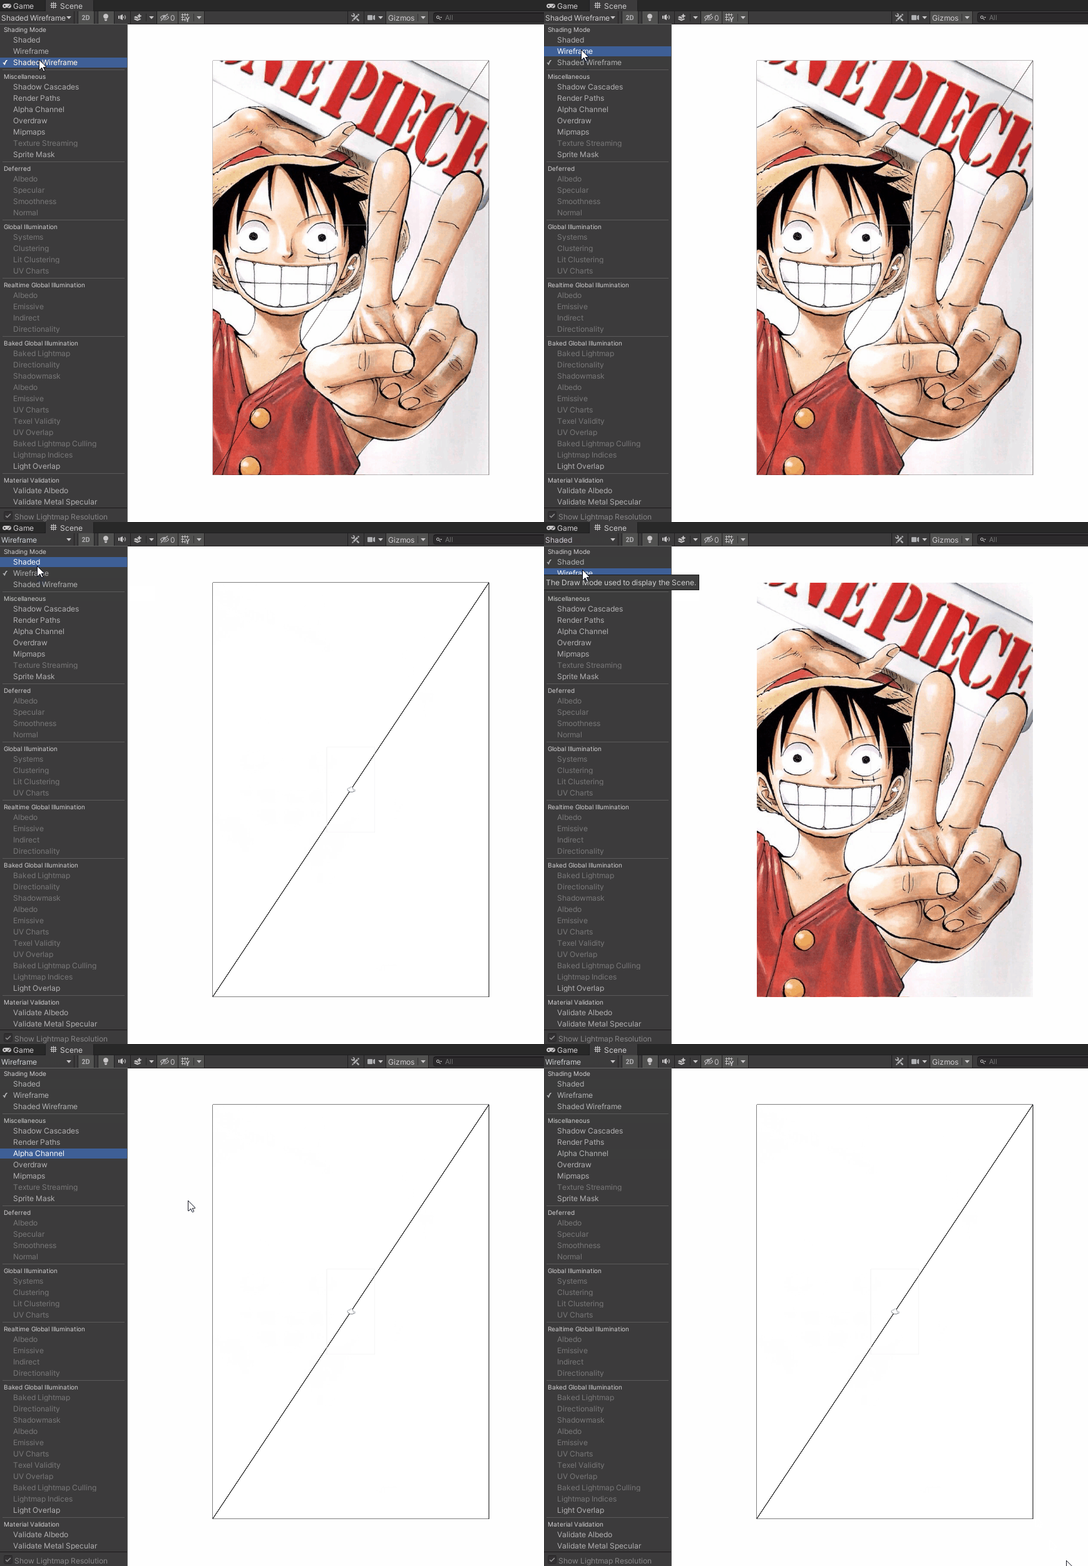
我们的UGUI对象,也是由网格顶点、材质、纹理等配合工作最终由GPU计算渲染出来的,我们可以在Scene视图中选择Wireframe模式,即可看到图片的网格顶点了,如下

我们只需要想办法修改网格的顶点坐标即可达到图片倾斜的效果。
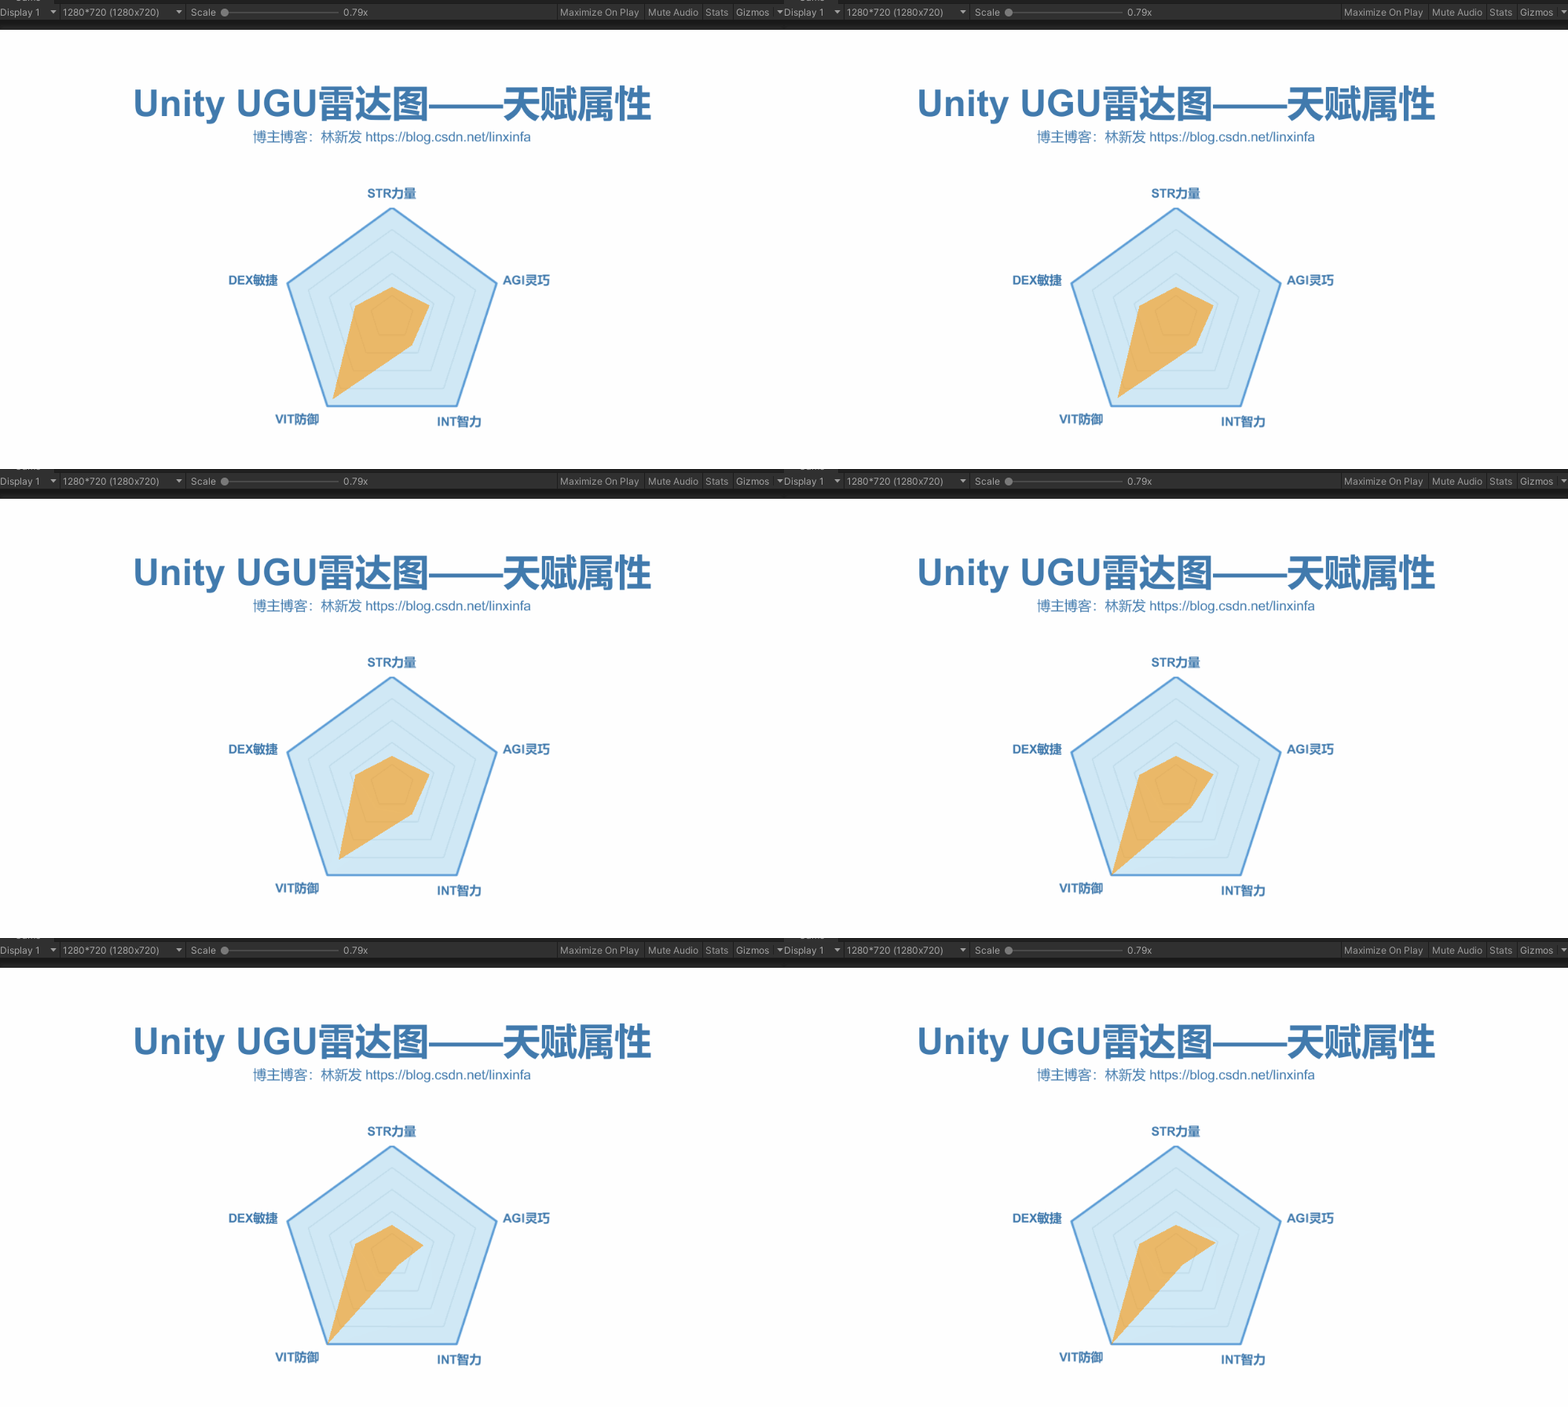
其实,我在更早之前写过另外一篇文章:【游戏开发实战】Unity UGUI制作雷达图/天赋图/属性图/能力图,因为太怕痛就全点了防御力
文中我讲了UGUI实现雷达图的原理与具体实现方法
 老粉应该看过我这边文章,里面我讲过这么一段话:
在UGUI中,不管是RawImage、Image还是Text,它们都是继承MaskableGraphic的,而MaskableGraphic又是继承Graphic的,在Graphic中有个OnPopulateMesh方法。
protected virtual void OnPopulateMesh(VertexHelper toFill);
参数是VertexHelper,我们可以通过VertexHelper来获取顶点信息并操作顶点(修改顶点或者插入新的顶点等)。
我们可以去override这个OnPopulateMesh方法,实现我们自己想要的效果,下面我就来讲下具体操作吧~
二、继承Image,重写OnPopulateMesh方法
我们创建一个ShapeImage脚本,

让它继承Image,重写OnPopulateMesh方法,
using UnityEngine.UI;

public class ShapeImage : Image
{
    protected override void OnPopulateMesh(VertexHelper toFill)
    {
        base.OnPopulateMesh(toFill);
        // TODO 顶点偏移
    }
}
一张精灵图,是由四个顶底组成的,顶点顺序是这样的,

我们可以对1和2两个顶点做一个横向的坐标偏移,即可达到图像倾斜的效果,
获取顶点我们可以通过PopulateUIVertex方法来获得,例:
// 顶点索引
int index = 1;
UIVertex vertex = new UIVertex();
toFill.PopulateUIVertex(ref vertex, index);
接着我们可以对顶点坐标做一个偏移
// 偏移
float offset = 3f;
vertex.position += Vector3.right * offset;
最后重新把顶点数据塞回给VertexHelper对象,如下:
toFill.SetUIVertex(vertex, index);
完整代码如下:
using UnityEngine;
using UnityEngine.UI;

public class ShapeImage : Image
{
    // 倾斜偏移
    public float offset;

    protected override void OnPopulateMesh(VertexHelper toFill)
    {
        base.OnPopulateMesh(toFill);

        UIVertex vertex = new UIVertex();
        toFill.PopulateUIVertex(ref vertex, 1);
        vertex.position += Vector3.right * offset;
        toFill.SetUIVertex(vertex, 1);

        vertex = new UIVertex();
        toFill.PopulateUIVertex(ref vertex, 2);
        vertex.position += Vector3.right * offset;
        toFill.SetUIVertex(vertex, 2);
    }
}
三、挂ShapeImage脚本
我们在Canvas节点下创建一个空物体,重命名为ShapeImage,如下

给它挂上ShapeImage脚本,并设置Source Image成员为精灵图片资源,如下

此时我们发现在Inspector窗口中并没有显示offset参数,不像我们普通的Monobehaviour脚本那样声明了public成员对象就会自动显示到Inspector面包中,此时我们需要重写ImageEditor。
四、ShapeImageEditor编辑器脚本
我们在Editor目录中创建一个ShapeImageEditor脚本,如下

代码如下
using UnityEditor;
using UnityEditor.UI;
using UnityEngine;

[CustomEditor(typeof(ShapeImage), true)]
public class ShapeImageEditor : ImageEditor
{
    public override void OnInspectorGUI()
    {
        base.OnInspectorGUI();
        ShapeImage image = (ShapeImage)target;
        SerializedProperty sp = serializedObject.FindProperty("offset");
        EditorGUILayout.PropertyField(sp, new GUIContent("offset 倾斜偏移"));
        serializedObject.ApplyModifiedProperties();
    }
}
此时我们就可以在Inspector窗口中看到offset参数了,

五、测试
我们调节offset参数,可以看到图片实现倾斜效果啦~
 收工~
收工~
我是新发,https://blog.csdn.net/linxinfa
一个在小公司默默奋斗的Unity开发者,希望可以帮助更多想学Unity的人,共勉~