《保卫萝卜2》关卡选择场景开发-关卡之间的连线开发和关卡按钮特效节点开发
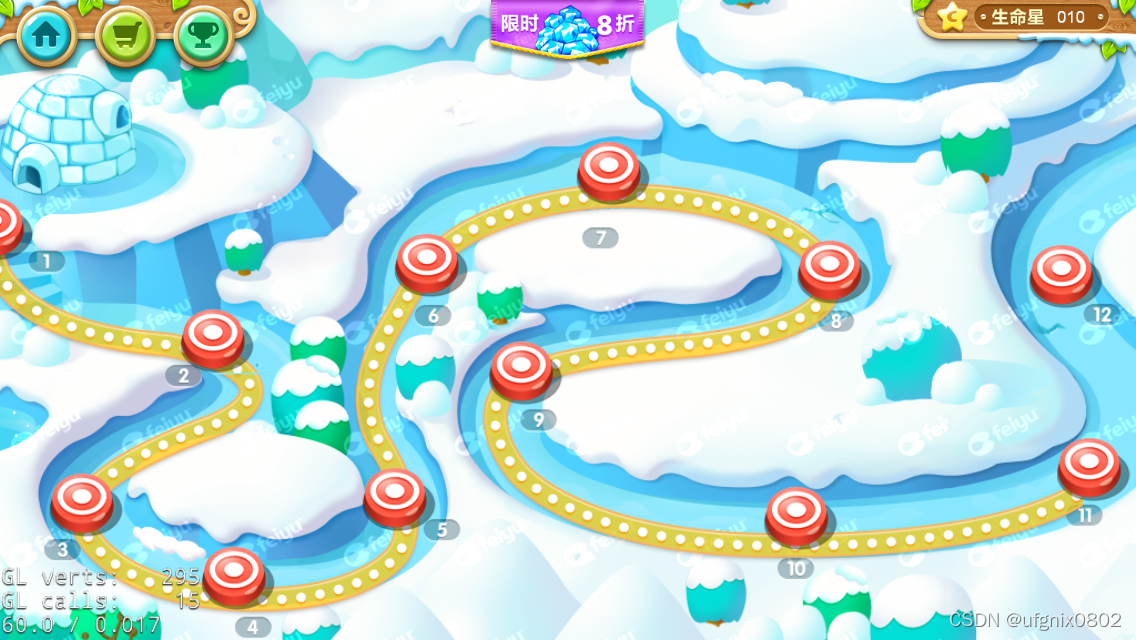
??我们已经实现完《保卫萝卜2》关卡选择页面的关卡按钮开发(链接:https://blog.csdn.net/qq135595696/article/details/123440948),接下来我们实现关卡选择页面的场景开发。同样,在开发之前,我们先看一下完成后的效果图,如下如所示。
关卡之间的连线开发
??《保卫萝卜2》在完成某一个关卡之后,会有一条”走过的路“,这个功能的实现代码比较简单,具体如下:
//level表示关卡
void ChooseLevel::LoadRoute(int level)
{
	Sprite* node = nullptr;
	int index = 0;
	string routePath;
	for (int i = 0; i < level - 1; i++)
	{
		index = i + 1;
		routePath = "route_" + Value(index).asString();
		routePath += ".png";
		SpriteFrameCache::getInstance()->addSpriteFramesWithFile("ChooseLevel/route.plist");
		node = Sprite::createWithSpriteFrameName(routePath);
		if (i % 10 == 9)
			node->setAnchorPoint(Vec2(0, 0.5));
		node->setPosition(Vec2(node->getContentSize().width / 2 + floor(i / 10) * node->getContentSize().width,
			_scrollView->getInnerContainerSize().height / 2 + 20));
		_scrollView->addChild(node, zOrderMap::route);
	}
}
??LoadRoute(int level)函数接收一个int类型的参数,这个参数表示关卡。或许你会诧异,短短的十几行代码就实现了道路的功能?实际上,道路的实现代码可以如此简单,是因为在图片资源上,已经默认帮我们对好坐标位置了。但是需要注意的是,每隔10张需要调整当前道路的锚点,这也是受图片资源的影响。浏览一下资源:https://audioandvideo.ufgnix0802.cn/resources/RouteSource.zip中的Route文件夹下的道路图片,便可非常直观地感受到这一设计技巧。
??另外,使用plist文件取的图片是精灵表单中的资源。那么,这里为什么要用精灵表单呢?这是因为每一张道路图片的大小都是960x640,但是每张图片中的”有效内容“又非常少,大部分都是透明区域,如果把这些道路图片做成精灵表单,那么134张的图片就进行了压缩,这样的话,如果你在web环境下开发《保卫萝卜2》,那么在没有使用精灵表单之前,需要从服务器下载134张道路图片,但是用了精灵表单之后,只需下载一个.plist文件和一张大小为2048x2048的精灵表单即可。这不管是在Native上,还是在web中,都将极大地提高了资源读取的速度。
TIPS:在实际开发中,做Demo阶段,一般不会把所有的图片都制作成精灵表单,而是先用单张的图片,即小图,或称碎图。当项目开发进入到后期时,例如打包测试,才将所有的图片制作成精灵表单。
??最后,在当前场景的init()函数中调用LoadRoute(int level)函数,传递一个关卡数,例如传递11,那么再运行项目,可以看到如下图的效果。

关卡按钮特效节点开发
??关卡按钮特效的实现,实际上是在一个节点中创建了3个精灵,然后特效节点依次重复运行一组组合动作,便产生了”涟漪“的波纹效果,具体实现代码如下:
void ChooseLevel::loadEffectNode(int level)
{
	for (int i = 0; i < 3; i++)
	{
		auto delayTime = DelayTime::create(0.25 * i);
		auto callBack = CallFunc::create([=]() {
			Sprite* effectNode = Sprite::create("ChooseLevel/stagemap_local.png");
			float a = _routeButtonArray[level - 1]->getContentSize().height;
			effectNode->setPosition(Vec2(_routeButtonArray[level - 1]->getContentSize() / 2));
			LoadRouteButtonEffect(effectNode);
			_routeButtonArray[level - 1]->addChild(effectNode);
			_routeButtonEffectArray.push_back(effectNode);
			});
		auto seq = Sequence::create(delayTime, callBack, nullptr);
		_routeButtonArray[level - 1]->runAction(seq);
	}
}

void ChooseLevel::LoadRouteButtonEffect(cocos2d::Sprite* const sprite)
{
	sprite->stopAllActions();
	sprite->setScale(0.35);
	sprite->setOpacity(255);
	float time = 0.8;

	auto delay = DelayTime::create(time * 0.8);
	auto fadeOut = FadeOut::create(time * 0.7);
	auto easeExponentialOut = EaseExponentialOut::create(fadeOut->clone());
	auto delayOut = Sequence::create(delay, easeExponentialOut, nullptr);
	sprite->runAction(delayOut);

	auto callFunc = CallFunc::create([this, sprite]() {
		LoadRouteButtonEffect(sprite);
		});
	auto scaleTo12 = ScaleTo::create(time, 1.35);
	auto delayCall = DelayTime::create(1);
	auto seq = Sequence::create(scaleTo12, delayCall, callFunc, nullptr);
	sprite->runAction(seq);
}
??通过以上代码,实现效果如下:
