cocos creator缓动系统
官方文档:在 Cocos Creator 中使用缓动系统(cc.tween)
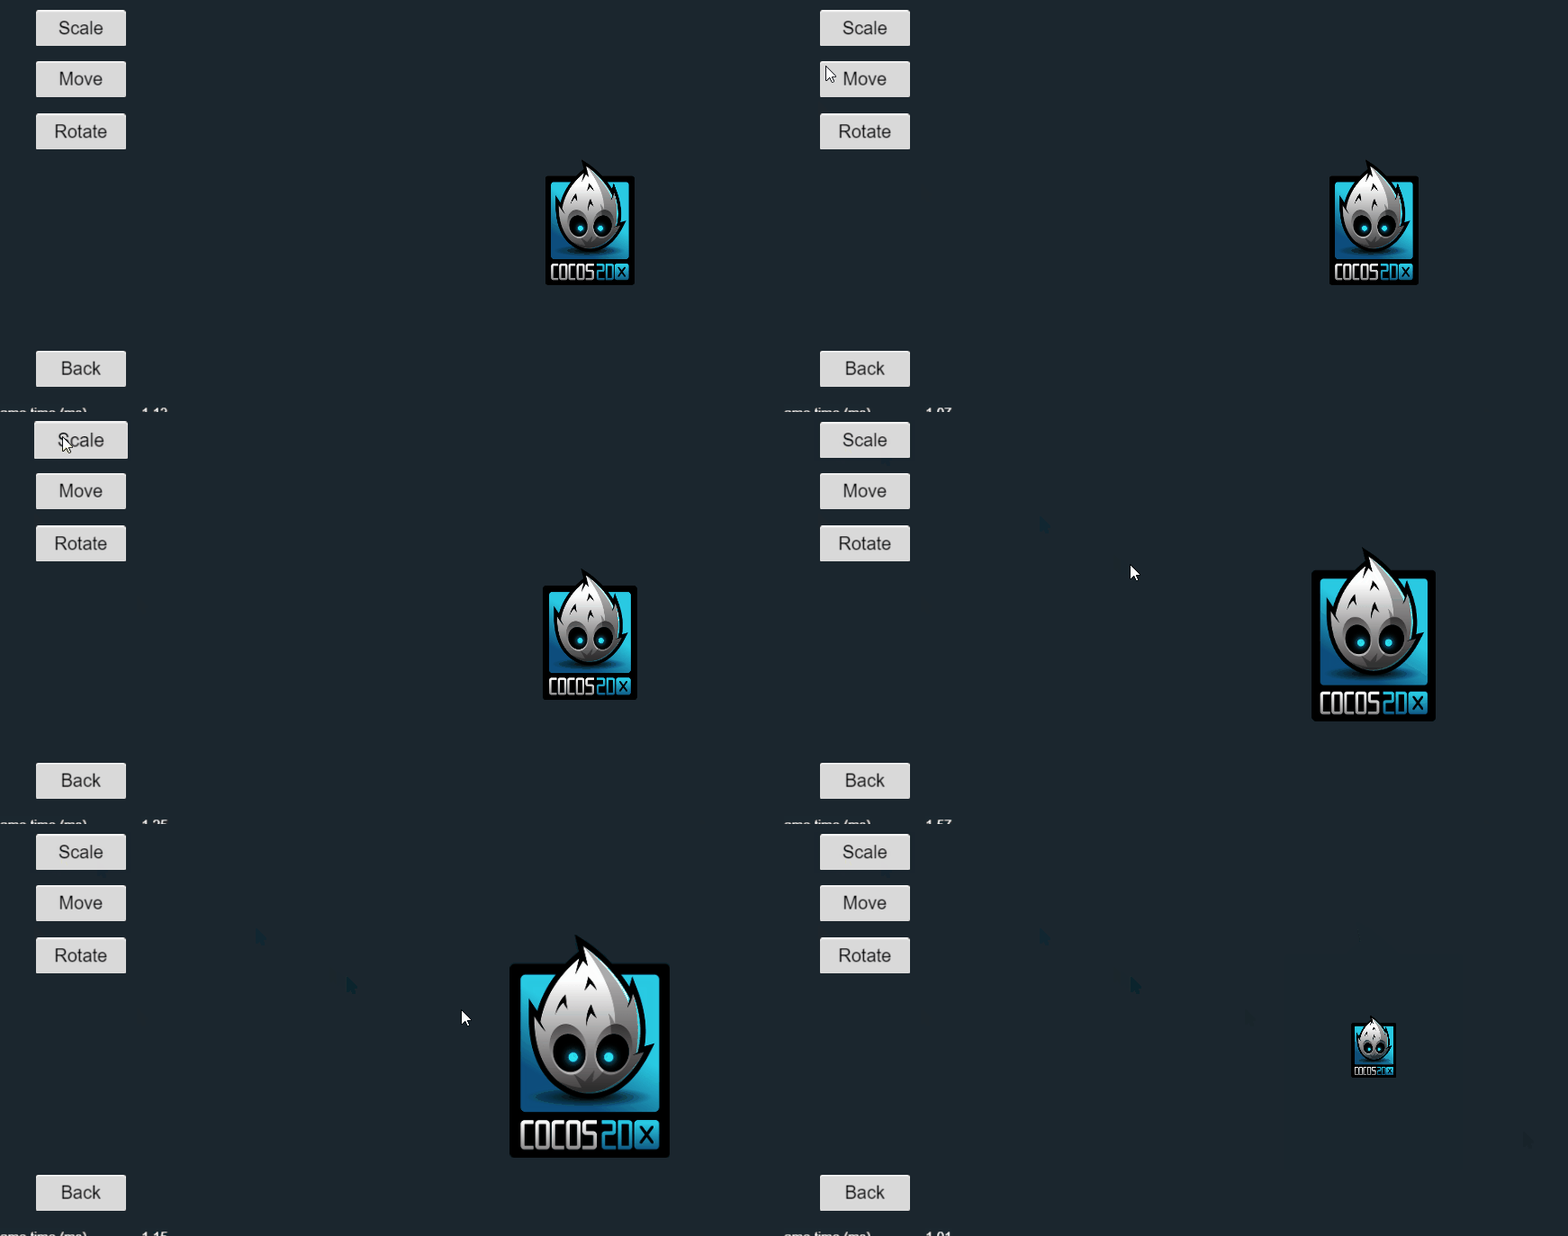
- 首先看一下效果

-
cocos中制作动效需要用到缓动系统,使用cc.tween并传入一个节点使其动起来。
-
举例:
cc.tween(this.picNode)
    .to(1, { scale: 2 })
    .start();
-
传入的
this.picNode就是需要动起来的节点 -
.to后面跟着的第一个数字为运动时长,单位为秒。 -
时间后的大括号里包含节点的一些属性,当使用
to时,则是“到达目标属性”;而当使用by时,则是“相对当前属性”。 -
to和by的区别可以在moveBtn的示例中看出来。 -
注意不要掉了
.start(),没有会直接不执行。 -
完整代码
其中picNode绑定的就是右侧的cocos 图标节点。
xxBtn就是该按钮的绑定事件,还是比较好理解的,在此就不过多解释。
const { ccclass, property } = cc._decorator;

@ccclass
export default class TweenScene extends cc.Component {
    @property(cc.Node)
    picNode: cc.Node = null;

    protected onLoad(): void {
        this._resetPosition();
    }

    private scaleBtn() {
        this.picNode.stopAllActions();
        this._resetPosition();
        cc.tween(this.picNode)
            .to(1, { scale: 2 })
            .start();
    }

    private moveBtn() {
        this.picNode.stopAllActions();
        this._resetPosition();
        cc.tween(this.picNode)
            .to(1, { position: cc.v2(300, 0) })
            .by(1, { position: cc.v2(0, 50) })
            .start();
    }

    private rotateBtn() {
        this.picNode.stopAllActions();
        this._resetPosition();
        cc.tween(this.picNode)
            .to(1, { angle: 180 })
            .start();
    }

    private _resetPosition() {
        this.picNode.scale = 1;
        this.picNode.setPosition(200, 0);
        this.picNode.angle = 0
    }

    private backBtn() {
        cc.director.loadScene("HelloScene")
    }
}
-
要注意,
cc.tween是异步的,即执行动画的同时,也会接着执行下面的代码,当有些代码需要在动画执行完毕后再执行时,需要用上.call()。 -
例如:
-
在
call()中传入一个函数,在执行完上面的动画后执行函数的内容。
这里需要注意this的指向~箭头函数不影响this指向,建议使用。
    private scaleBtn() {
        this.picNode.stopAllActions();
        this._resetPosition();
        cc.tween(this.picNode)
            .to(1, { scale: 2 })
            .call(() => {
                this.picNode.scale = 0.5;
            })
            .start();
    }
