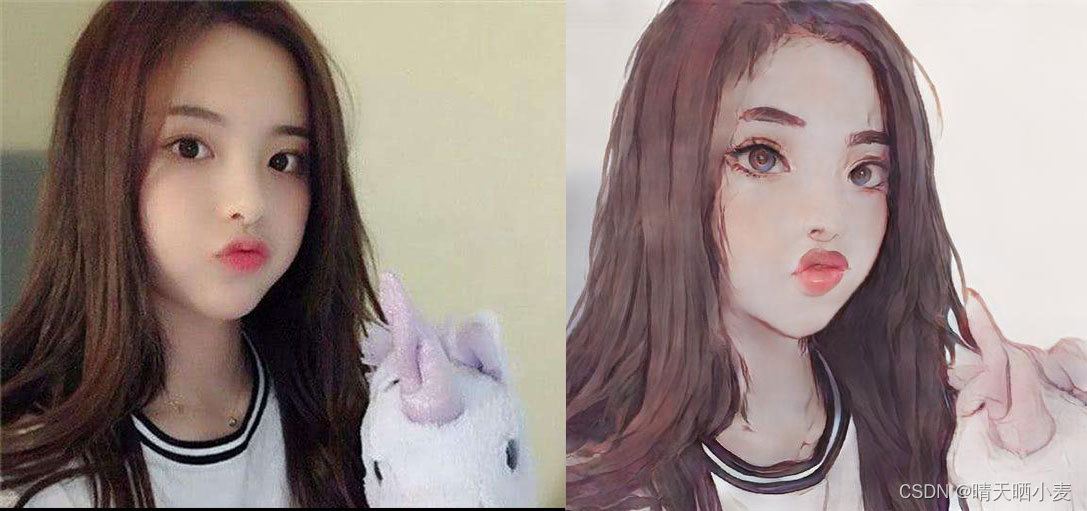
一、效果展示
(图片来源网络,如有侵权请联系删除)


二、技术摘要
1、 直接使用的animegan2自带的模型(https://github.com/bryandlee/animegan2-pytorch)
2、增加了模型转换为onnx的功能,后续在服务器上部署使用,当然也可以不做转换
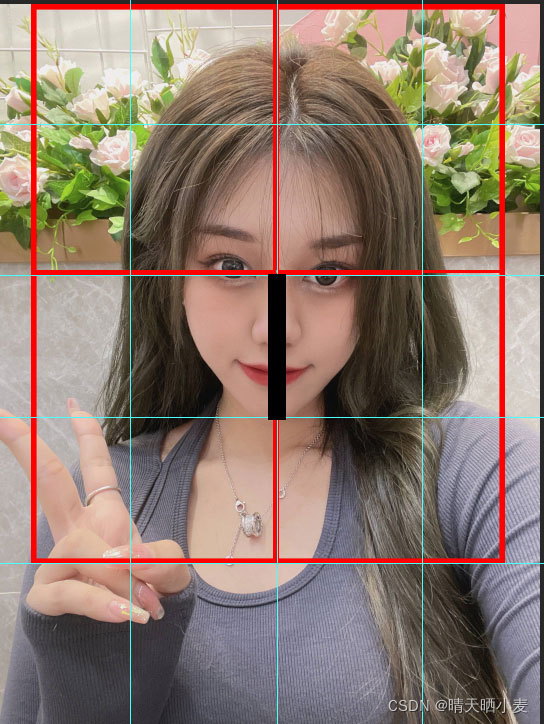
3、因为该模型对于人脸,尤其是大头照效果更佳,所以增加了dlib对人像头肩部的裁切,方法简单粗暴,我也不知道这样处理是否更优,效果看起来还阔以哈。
三、核心功能
首先要做的就是人像裁剪
detector = dlib.get_frontal_face_detector()
predictor = dlib.shape_predictor('./saved_models/shape_predictor_68_face_landmarks.dat')

 image = cv.imread(img_path)
 h, w = image.shape[:2]
 gray = cv.cvtColor(image, cv.COLOR_BGR2GRAY)
 res = detector(gray, 1)

 faces = []
 for face in res:
     shape = predictor(image, face)
     parts = shape.parts()
     faces.append(parts)

 # 裁切出头肩部,保证后续的效果更好
 face = faces[0]
 xScale = 1.5
 yScale = 2
 point1 = [face[27].x, face[27].y]
 point2 = [face[8].x, face[8].y]
 dis = cal_dis(point1, point2)
 x_points = [int(face[27].x - xScale * dis), int(face[27].x + xScale * dis)]
 y_points = [int(face[27].y - yScale * dis), int(face[27].y + yScale * dis)]
 left_top_x = x_points[0] if x_points[0] > 0 else 0
 left_top_y = y_points[0] if y_points[0] > 0 else 0
 right_bottom_x = w if x_points[1] > w else x_points[1]
 right_bottom_y = h if y_points[1] > h else y_points[1]
 result = image[left_top_y:right_bottom_y, left_top_x:right_bottom_x]
这里我选择了人的眉心位置到下巴的距离作为基础距离,以此向上下左右延展,裁切出头部。方法可能简单粗暴了些,对于某些存在透视的图片处理不太好。总体是把人的头肩部取了出来。

然后就是推理部分,这里没什么好说的,直接调用模型推理即可。
result = cv2pil(result)
w, h = result.size

session = onnxruntime.InferenceSession('./saved_models/face_paint_512_v2.onnx')
result = result.resize((640, 640), Image.ANTIALIAS)
result = to_tensor(result).unsqueeze(0) * 2 - 1
result = session.run([], {"anime": result.cpu().data.numpy()})
result = torch.from_numpy(result[0])
out = result.squeeze(0).clip(-1, 1) * 0.5 + 0.5
out = to_pil_image(out)
out = out.resize((w, h), Image.ANTIALIAS)

out.save('./test_imgs/aa.jpg')
四、其他
这里给出资源,包括pytorch执行脚本及模型、转换onnx脚本及onnxruntime推理脚本、dlib裁切脚本,配置环境后可直接运行。
环境如下:
- torch
- torchvision
- dlib
- opencv-python
- Pillow
- onnxruntime
资源路径:animegan2实现人脸动漫化
主业前端程序猿一枚。图片处理方面,作为业余爱好。如有错误,请各位大佬轻喷,谢谢!!😂
