本博客通过脚本实现创建GUI控件、实例化、定位、输出。
一、设置场景
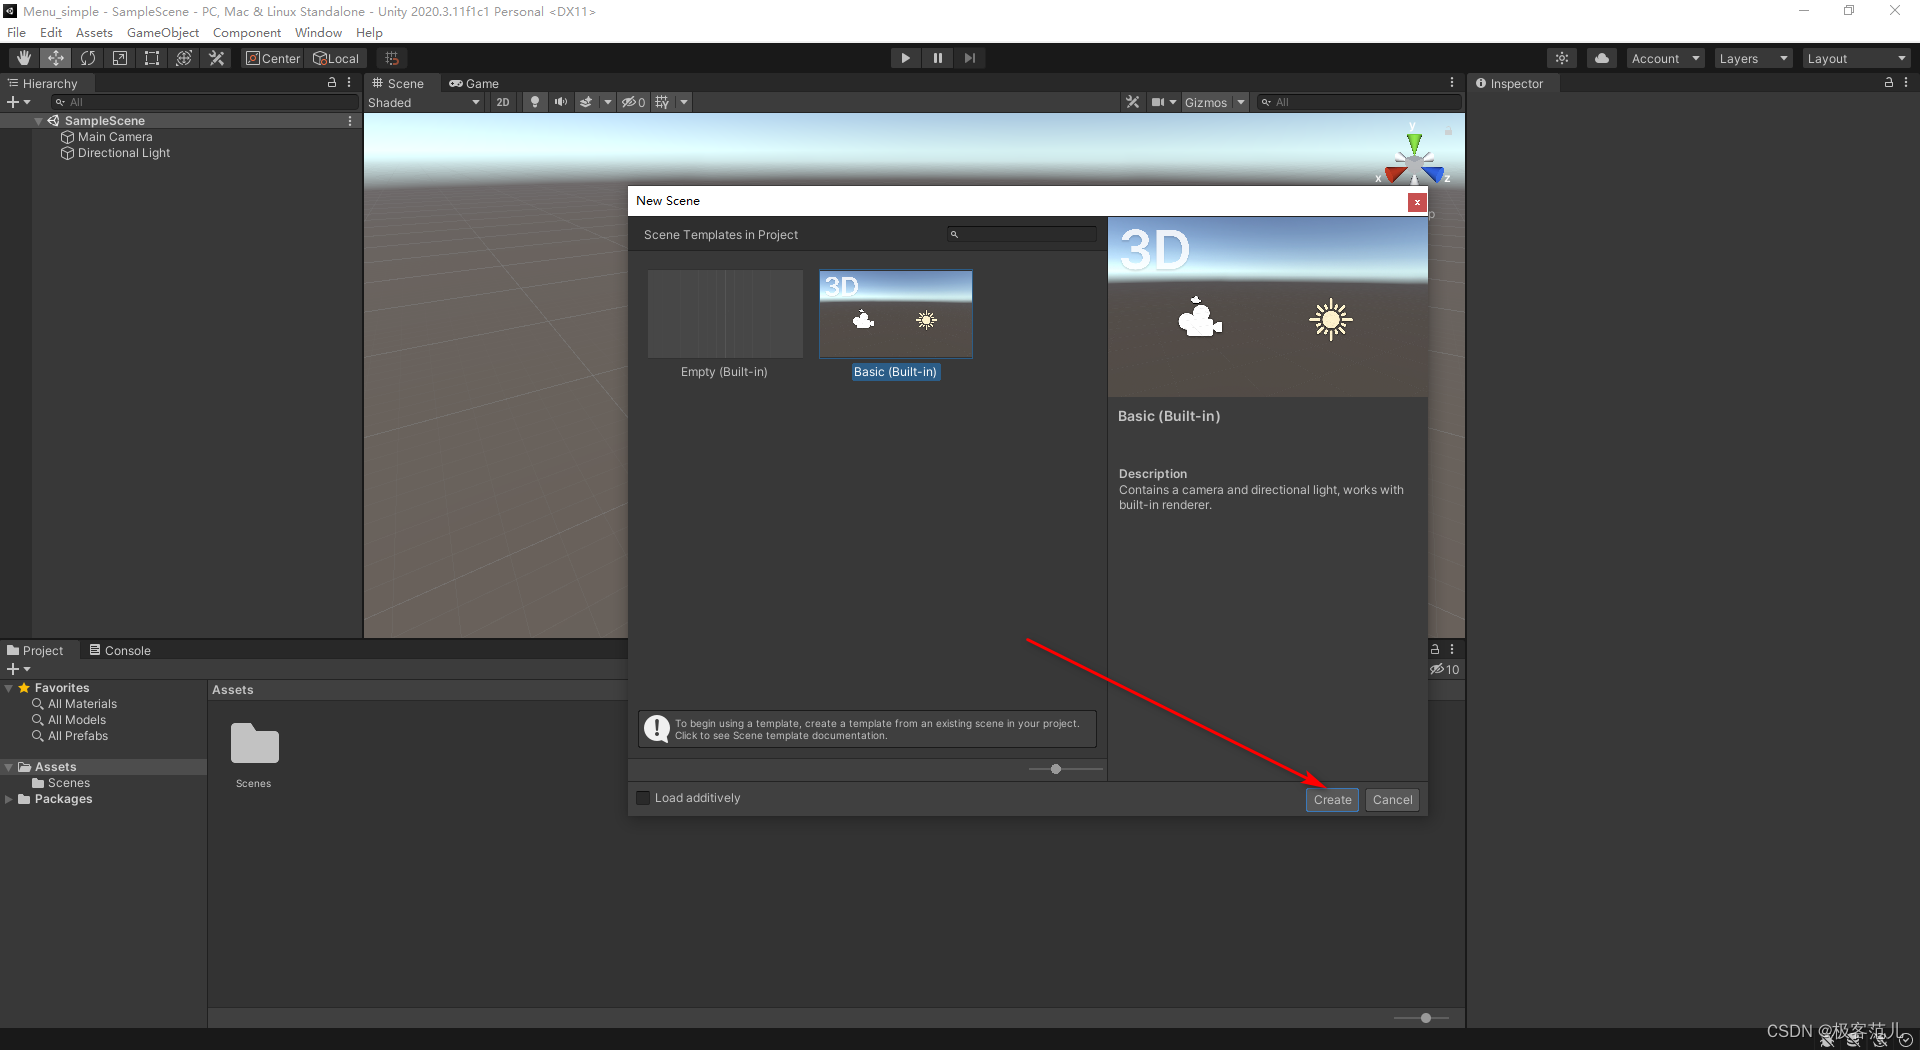
1、File-〉New Scene,创建一个新场景,保存命名为Menu

2、主菜单-〉Assets-〉Create-〉C#,创建一个脚本文件,重命名为Menu。

3、在Project面板中双击该脚本文件,打开Microsoft Visual Studio编辑环境,输入代码
public class Menu : MonoBehaviour
 {   void OnGUI()
    {   if (GUI.Button(new Rect(10, 10, 150, 100),"I am a button"))
                     print("You clicked the button!");
     }
 }

4、在Project-〉Assets中选择Menu脚本对象,将其拖拽到Hierarchy面板中的Main Camera摄像机对象上,使脚本对象与游戏对象关联。

如果失败,检查脚本文件名与cs中的主函数名是否一致,创建cs文件时默认的主文件名会与脚本文件名一致,但后面可能会修改脚本文件名,此时要相应修改主文件名;cs文件如果有错误,也不能建立关联,此时查看console中的错误提示信息。
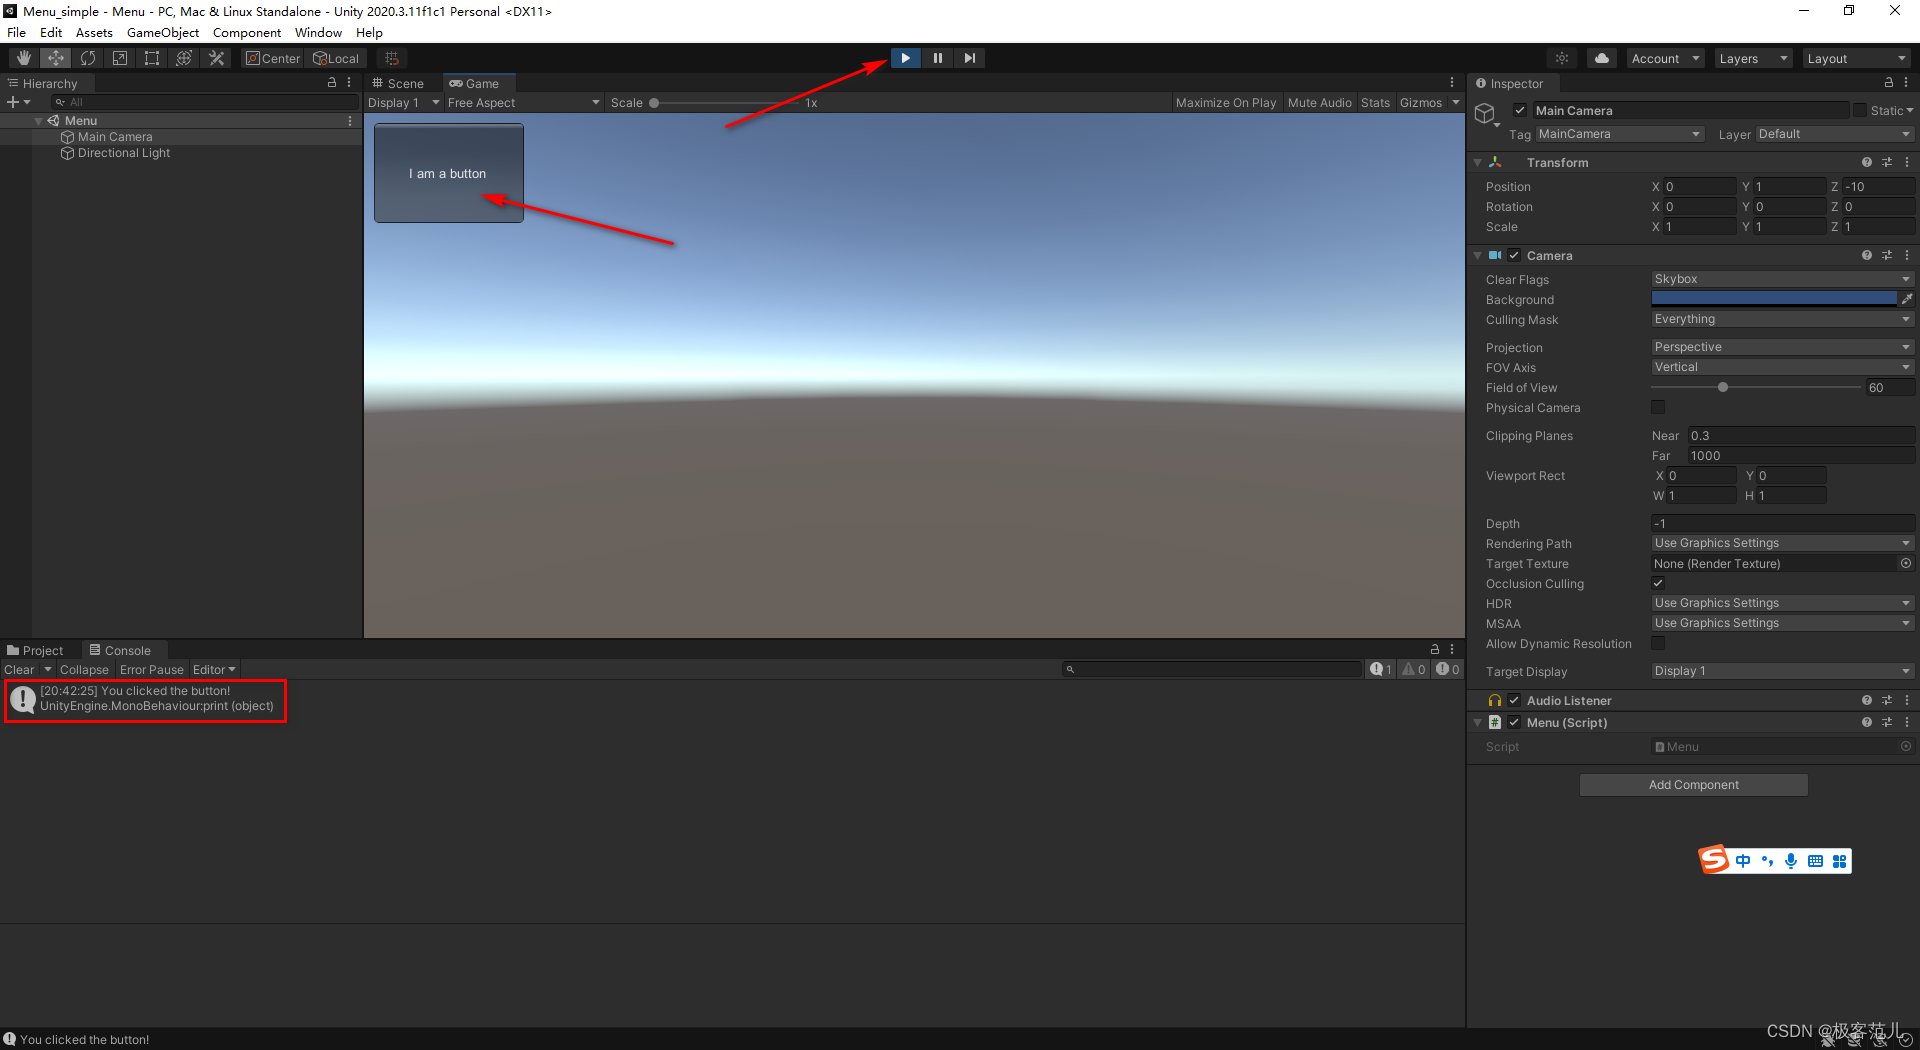
5、运行,Game视图中出现了一个标题为“I am a button”的按钮组件,单击该按钮,在底部工具栏Console控制台面板输出“You clicked the botton!”结果

6、使用Rect()函数添加背景盒子
using System.Collections;
using System.Collections.Generic;
using UnityEngine;

public class Menu : MonoBehaviour
{
    void OnGUI()
    {
        if (GUI.Button(new Rect(10, 10, 150, 100), "I am a button"))
        {
            print("You clicked the button!");
        }
        GUI.Box(new Rect(200, 0, 100, 200), "背景盒子");
        if (GUI.Button(new Rect(210, 40, 80, 20), "按钮1"))
        {
            print("button1");
        }
        if (GUI.Button(new Rect(210, 80, 80, 20), "按钮2"))
        {
            print("button2");
        }
        if (GUI.Button(new Rect(210, 120, 80, 20), "按钮n"))
        {
            print("button N");
        }
    }

}

7、设置屏幕的宽度和高度
Rect()定义了4个 对应屏幕空间像素单位的Integer值属性,分别对应左、顶、宽、高

二、GUI Style的设置
1、GUIStyle,包含了许多属性,都是对控件(control)的风格定义,添加GUISkin类
using System.Collections;
using System.Collections.Generic;
using UnityEngine;

public class Menu : MonoBehaviour
{

    public GUISkin guiSkin;

    void OnGUI()
    {
        if (GUI.Button(new Rect(10, 10, 150, 100), "I am a button"))
        {
            print("You clicked the button!");
        }
        GUI.Box(new Rect(200, 0, 100, 200), "背景盒子");
        if (GUI.Button(new Rect(210, 40, 80, 20), "按钮1"))
        {
            print("button1");
        }
        if (GUI.Button(new Rect(210, 80, 80, 20), "按钮2"))
        {
            print("button2");
        }
        if (GUI.Button(new Rect(210, 120, 80, 20), "按钮n"))
        {
            print("button N");
        }
        GUI.Button(new Rect(0, 0, 80, 20), "左上");
        GUI.Button(new Rect(0, Screen.height - 20, 80, 20), "左下");
        GUI.Button(new Rect(Screen.width - 80, 0, 80, 20), "右上");
        GUI.Button(new Rect(Screen.width - 80, Screen.height - 20, 80, 20), "右下");

        GUI.skin = guiSkin;
    }

}
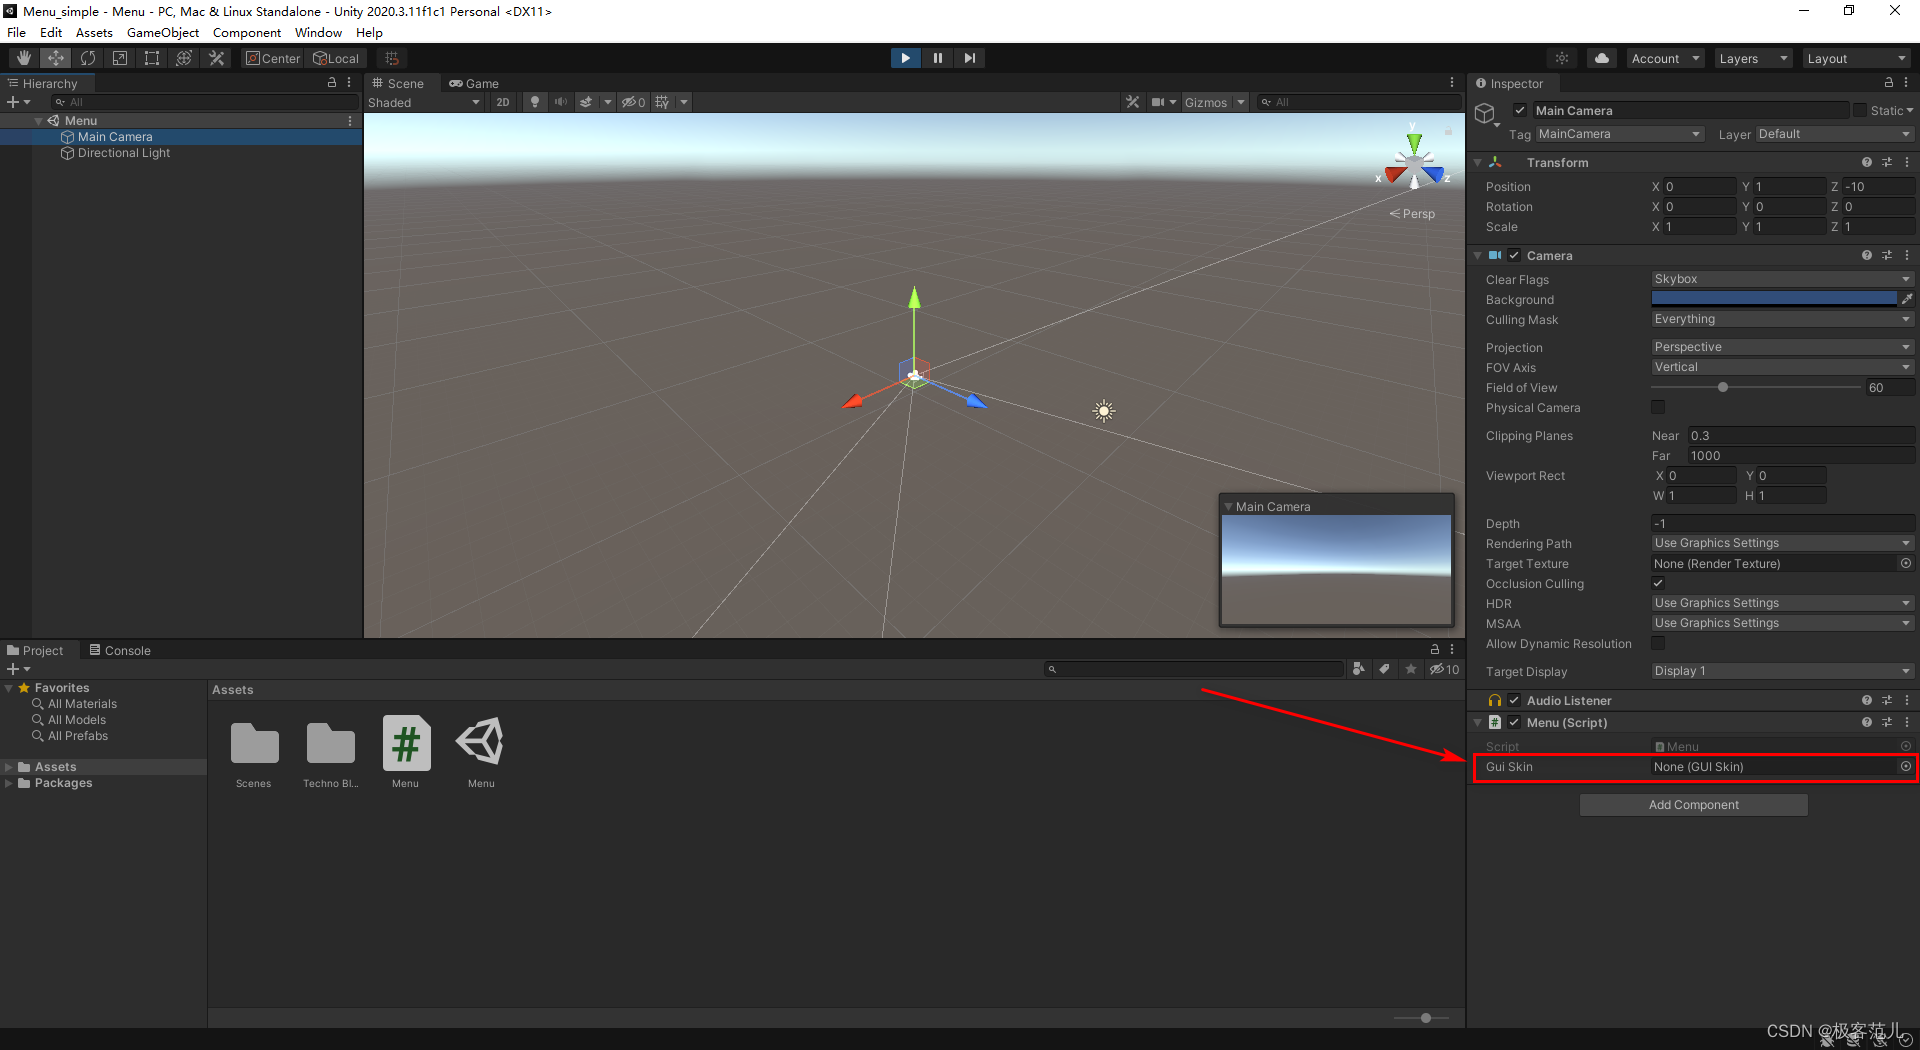
此时,出现GUI Skin控件

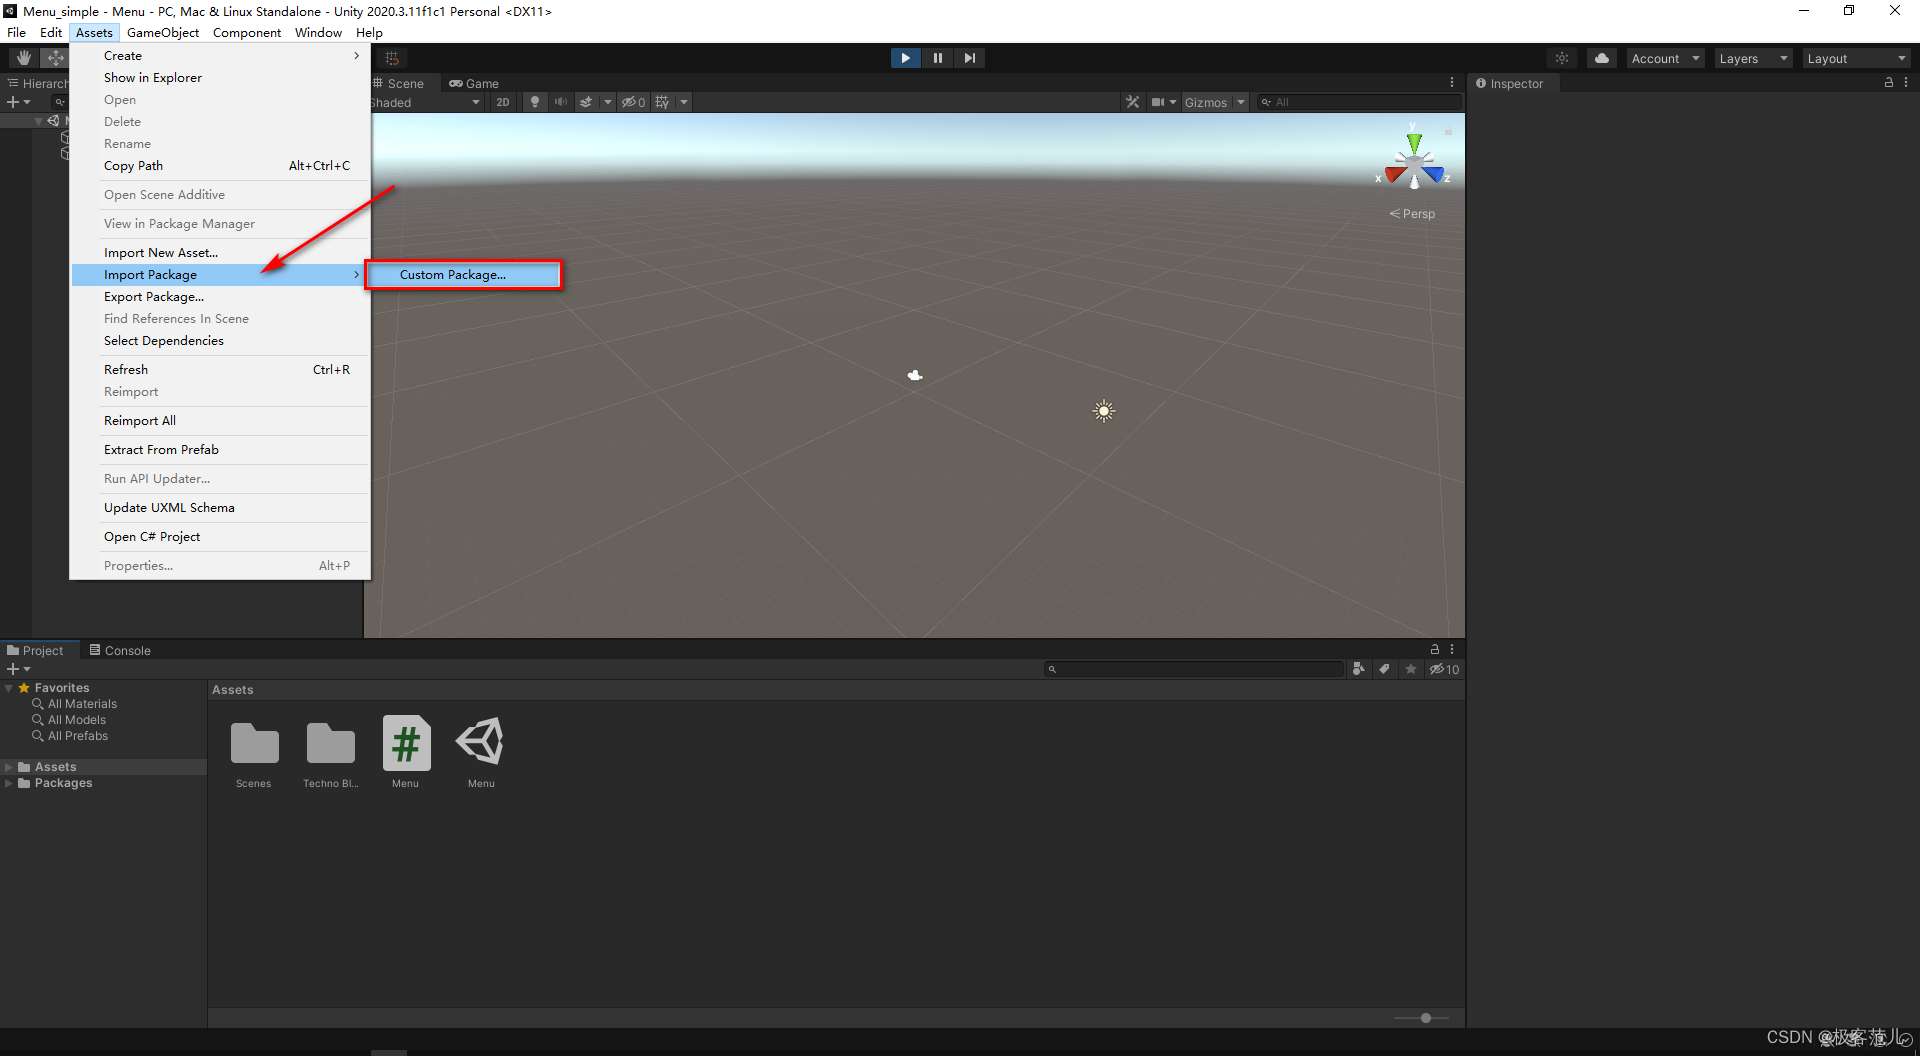
2、导入GUI Skin包
导入Techno_Blue_GUI_Skin.unitypackage、Modern_GUI_Skin.unitypackage、Black_Metal_GUI_skin.unitypackage

