unity+live2d制作galgame框架
前置准备
安装unity【free版即可】 unity下载
下载live2d for unity的sdk cubism-sdk下载
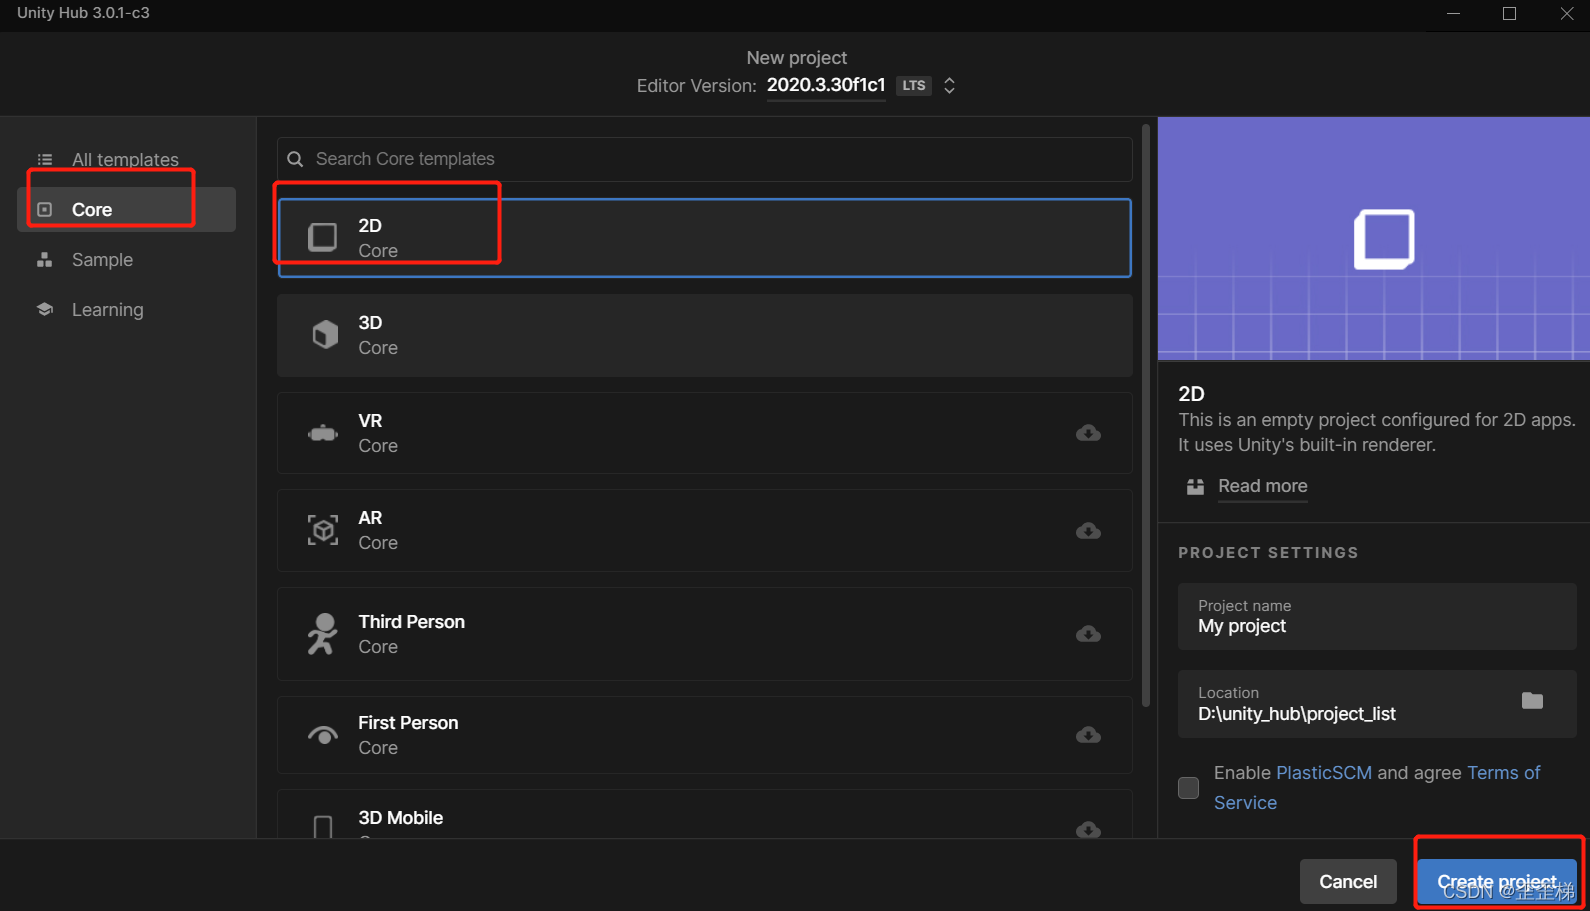
unity创建2d项目并导入sdk(直接奖sdk拖入package并点击import)

分层
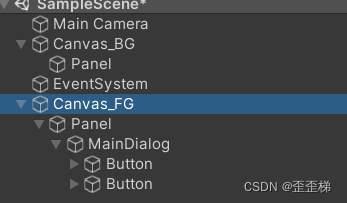
默认的2d模板只有一个主相机,我们可以先增加两个cavas,作为前景和背景的画板
live2d的模型由sdk自己绘制,不需要新增canvas
两个canvas分别命名为Canvas_BG(背景)和Canvas_FG(前景)


按钮和背景图
两个背景分别增加一个panel作为容器,存放背景图或者按钮、对话框

为了设置ui的绘制层级,将背景板的sortorder设置为-1000,前景板设置为1000
分别对panel增加背景图和设置背景色即可达到分层遮罩效果

接着从assert里面选中live2d的模型,拖拽到场景里

这时live2d模型会看不见,需要调整下另外两个canvas的渲染模式为screen space camera并绑定主相机

这样场景里就有了

live2D模型控制
将live2d的模型对象命名为Koharu
则接下来可以通过给Koharu对象挂载下面脚本,提供操作类KoharuModelControl
外部事件通过静态方法GetControlInstance获得实例后,调用实例方法PlayAnimation播放模型动作
通过GetAnimations方法获得可选的动作对象
using Live2D.Cubism.Core;
using Live2D.Cubism.Framework;
using Live2D.Cubism.Framework.Expression;
using Live2D.Cubism.Framework.Motion;
using Live2D.Cubism.Framework.Raycasting;
using System;
using System.Collections.Generic;
using UnityEngine;

public class KoharuModelControl : MonoBehaviour
{
    public Live2D.Cubism.Core.CubismModel _model;
    public static GameObject _koharu;

    [SerializeField]
    private AnimationClip[] _BodyMotions;

    private static KoharuModelControl _this;

    public static KoharuModelControl GetControlInstance(){
        if(_this == null){
            var _instances = UnityEngine.MonoBehaviour.FindObjectsOfType<KoharuModelControl>();
            _this = _instances[0];
        }
        return _this;
    }

    public AnimationClip[] GetAnimations(){
        return _BodyMotions;
    }

    public void PlayAnimation(AnimationClip clip, bool isLoop=false, int priority=CubismMotionPriority.PriorityForce){
        var _motionController = _model.GetComponent<CubismMotionController>();
        _motionController.PlayAnimation(clip, isLoop: isLoop, priority:priority);
    }

    void Start()
    {
        _koharu = GameObject.Find("Koharu");
        _model = this.FindCubismModel();
        Debug.Log("model init " + _model);
    }
更多文章,请搜索公众号歪歪梯Club
