Unity打字机教程
预读
大家好,我是橙子,今天为大家带来的是Unity场景切换进度条的教程。
为什么突然搞这个Unity打字机呢,是我的一位老师,给我了一个题,题目主要涉及的一部分内容就是打字机的这个效果,看了看网上的教程,层次不齐,所以我今天给大家来写一期这个打字机的效果。
★,??★,??★,??★,--------------------华丽的分割线--------------------??★,??★,??★,??★,??
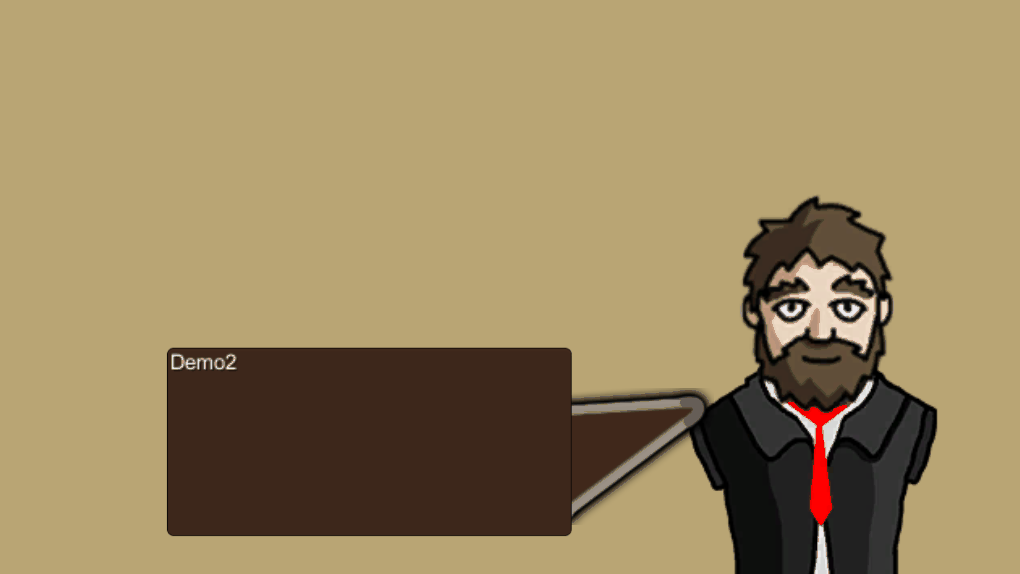
成品
先来看下成品是什么样
我将分成三个案例,深度解析Unity打字机到底是如何做成的!授人与渔不如授人与渔。
第一步 创建UGUI布局 并 修改自适应
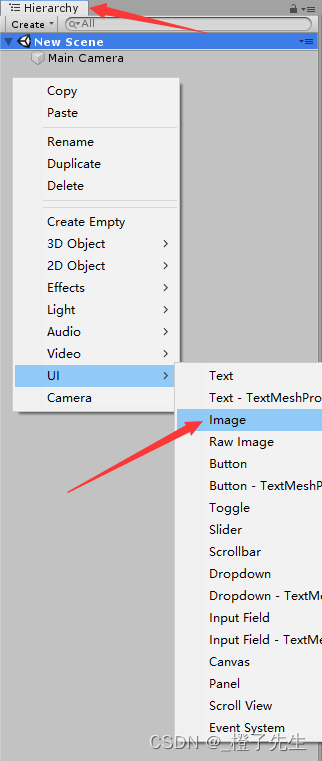
在Hierarchy面板中的空白处,右击直接选择Image创建。
在Inspector窗口中 找到这个 点击后 按住AIt键 点击右下角的按钮

让图片铺满全屏。
然后选中Hierarchy窗口中的Canvas
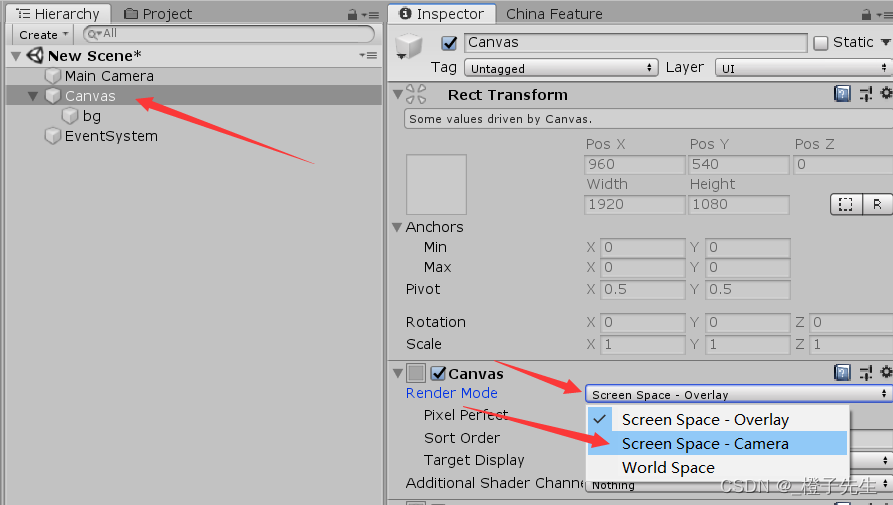
把渲染模式,改为中间的Screen Space-Camera
如果这里不懂为什么要改成中间的 可以看我之前的文章(点击此处跳转)
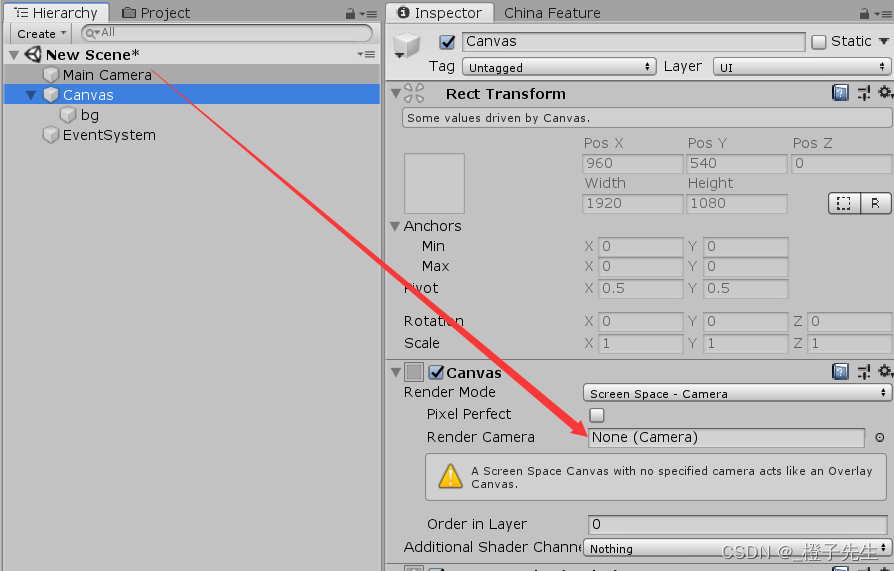
随后把摄像机拖拽过去

把这里改成中间选项 并修改Refrernce Resolution(引用解析)
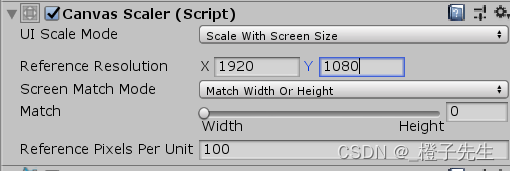
到这里 自适应就做好了,咱们继续设计UI层面
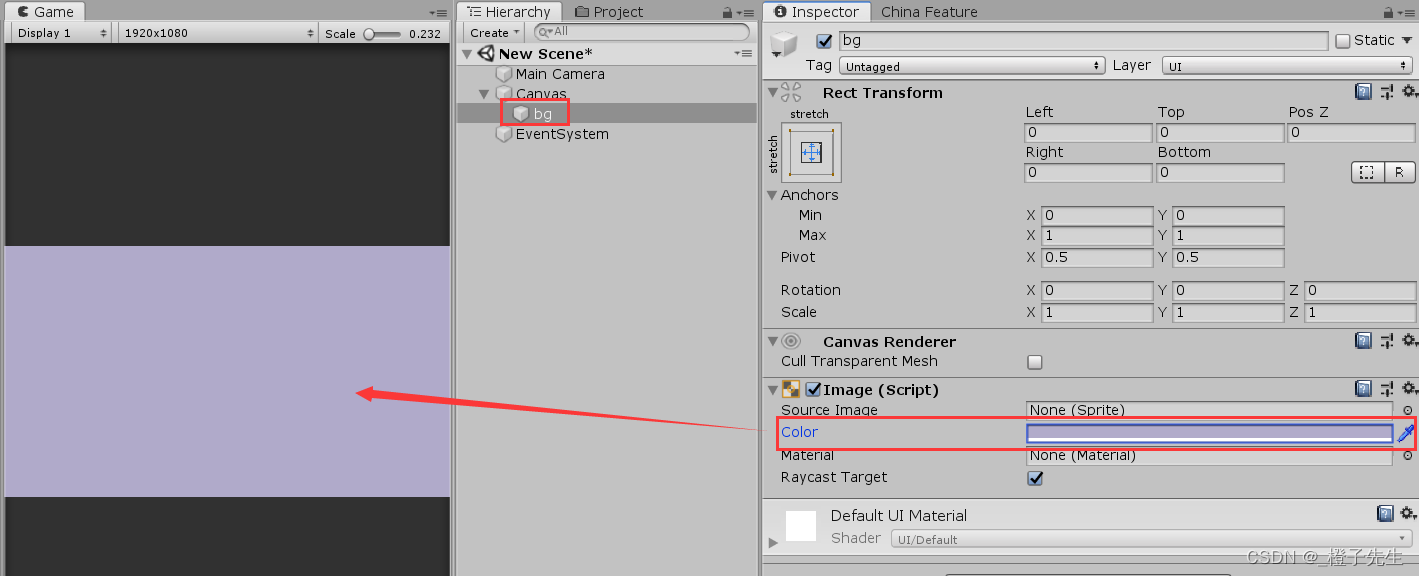
把创建的Image重新命名为bg,然后你可以在他的Color属性里 更改背景的颜色。

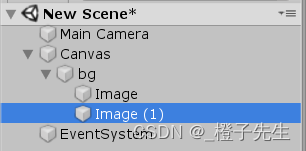
再用刚才的方法,在bg上右击 UI―> Image 创建两个Image 如下图
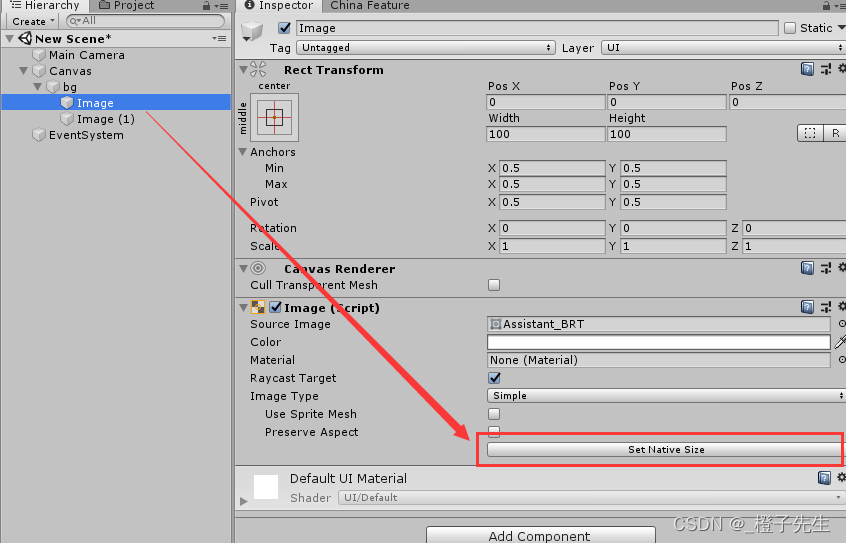
然后把人物素材 添加到Image上
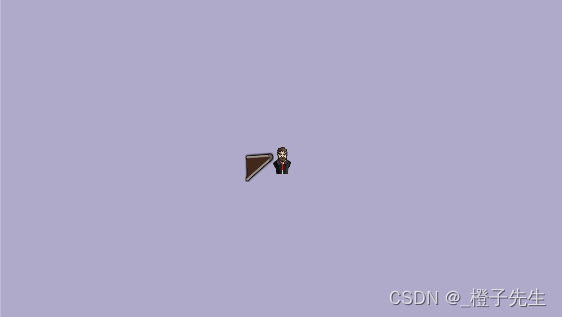
添加完成以后 感觉有点小… 没关系 点击这里让图片显示原始大小即可
如果感觉还是太小,选中第一个Image 在Inspector里更改他的Scale
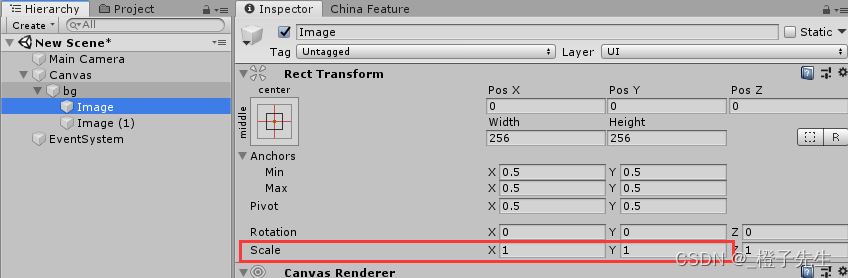
为什么不选最后的Z 因为它是一个2D图片 不需要Z
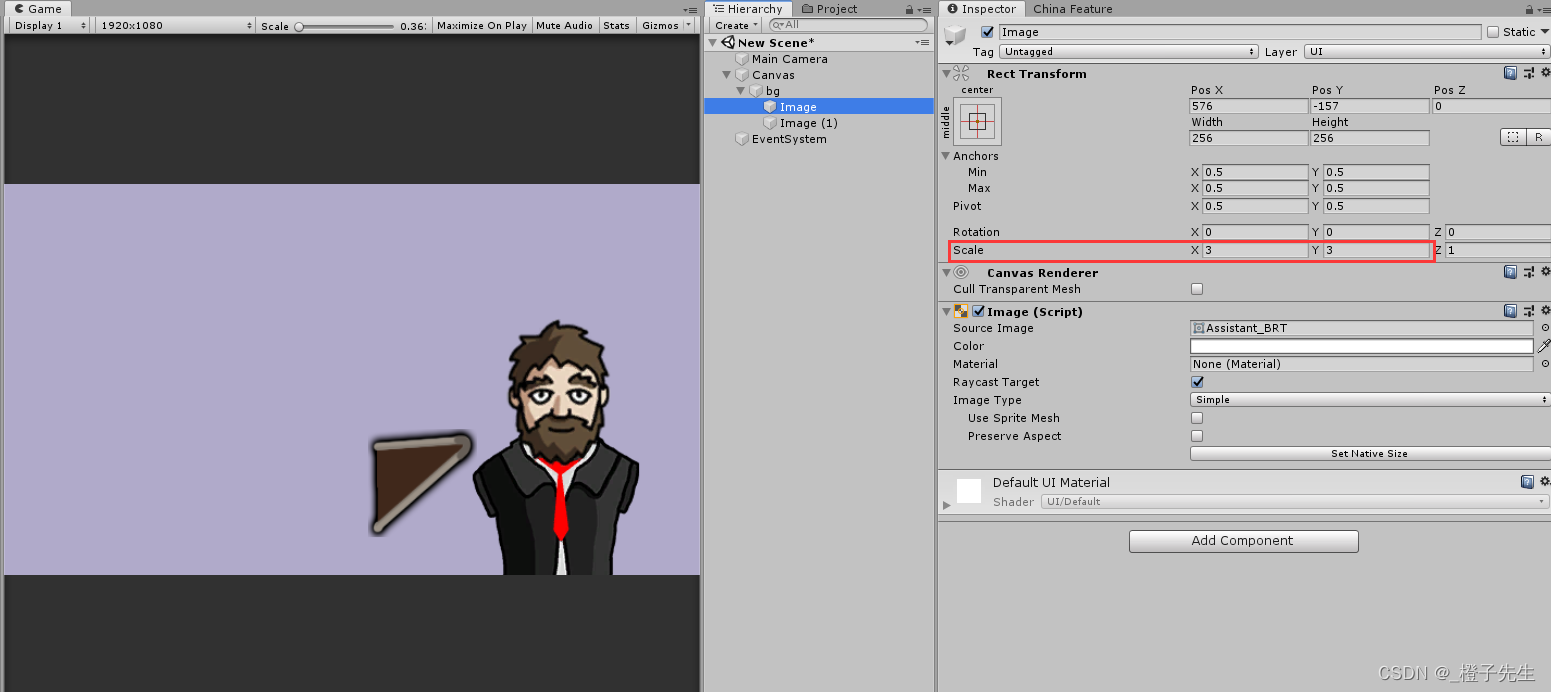
我把他们大小设置为了3 看起来不错
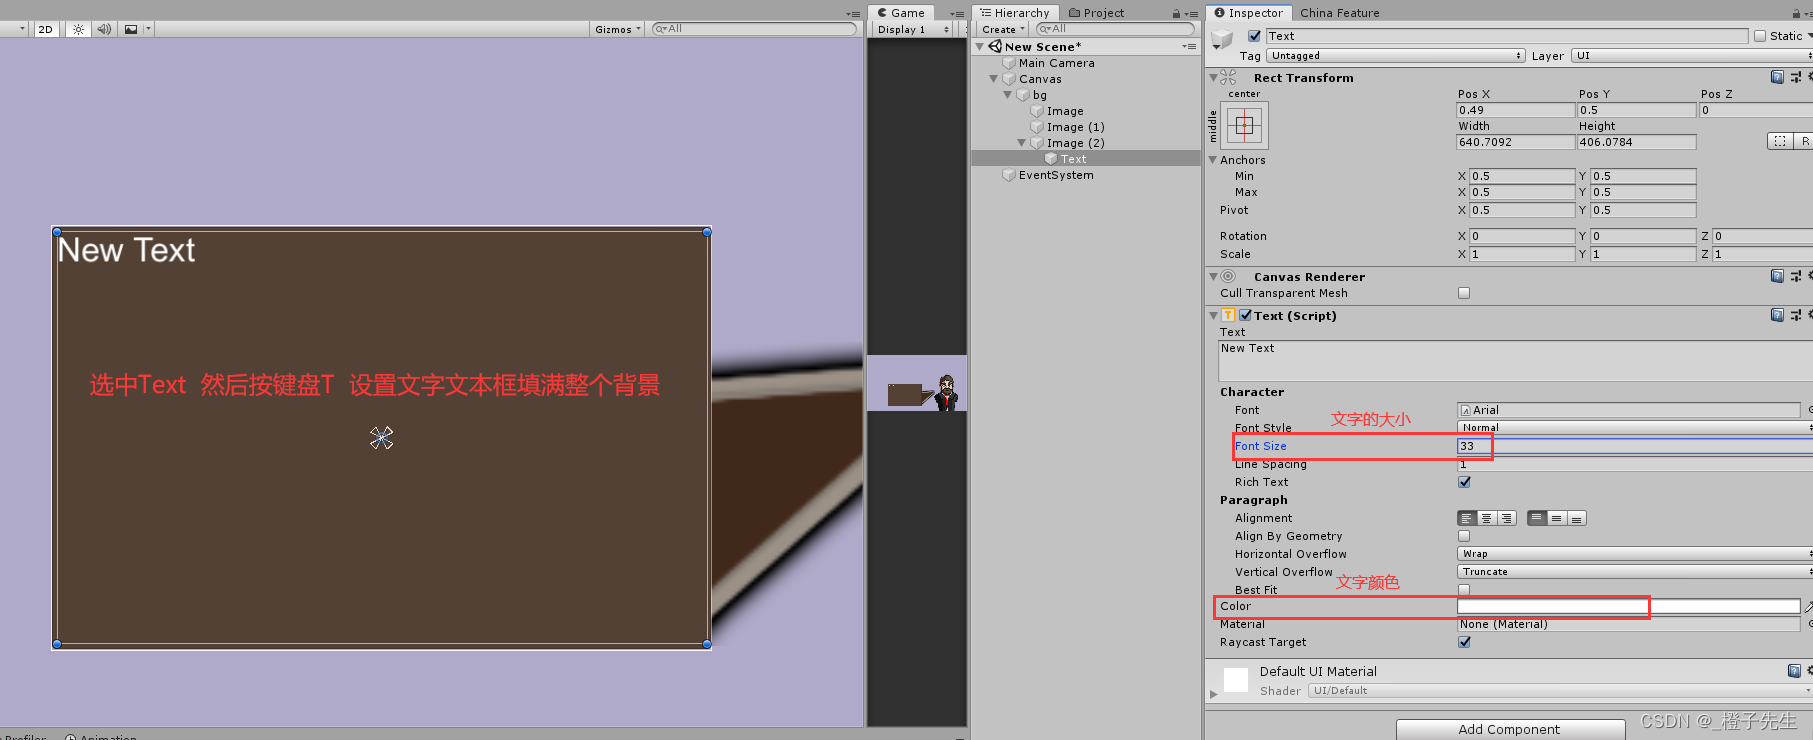
第二步 添加文本框
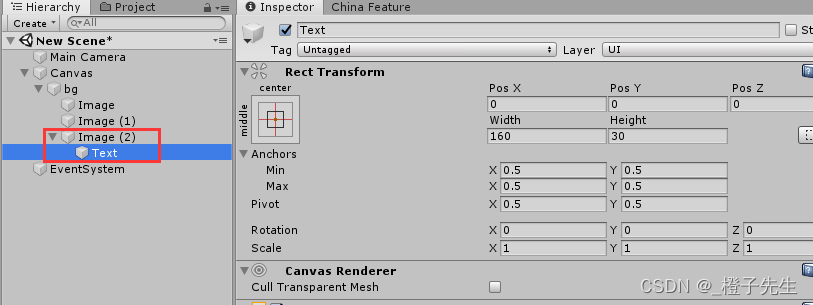
还是在bg上添加 Image 作为文本框的背景 并移动到合适的位置
添加完背景 以后 再从它的身上新建Text组件
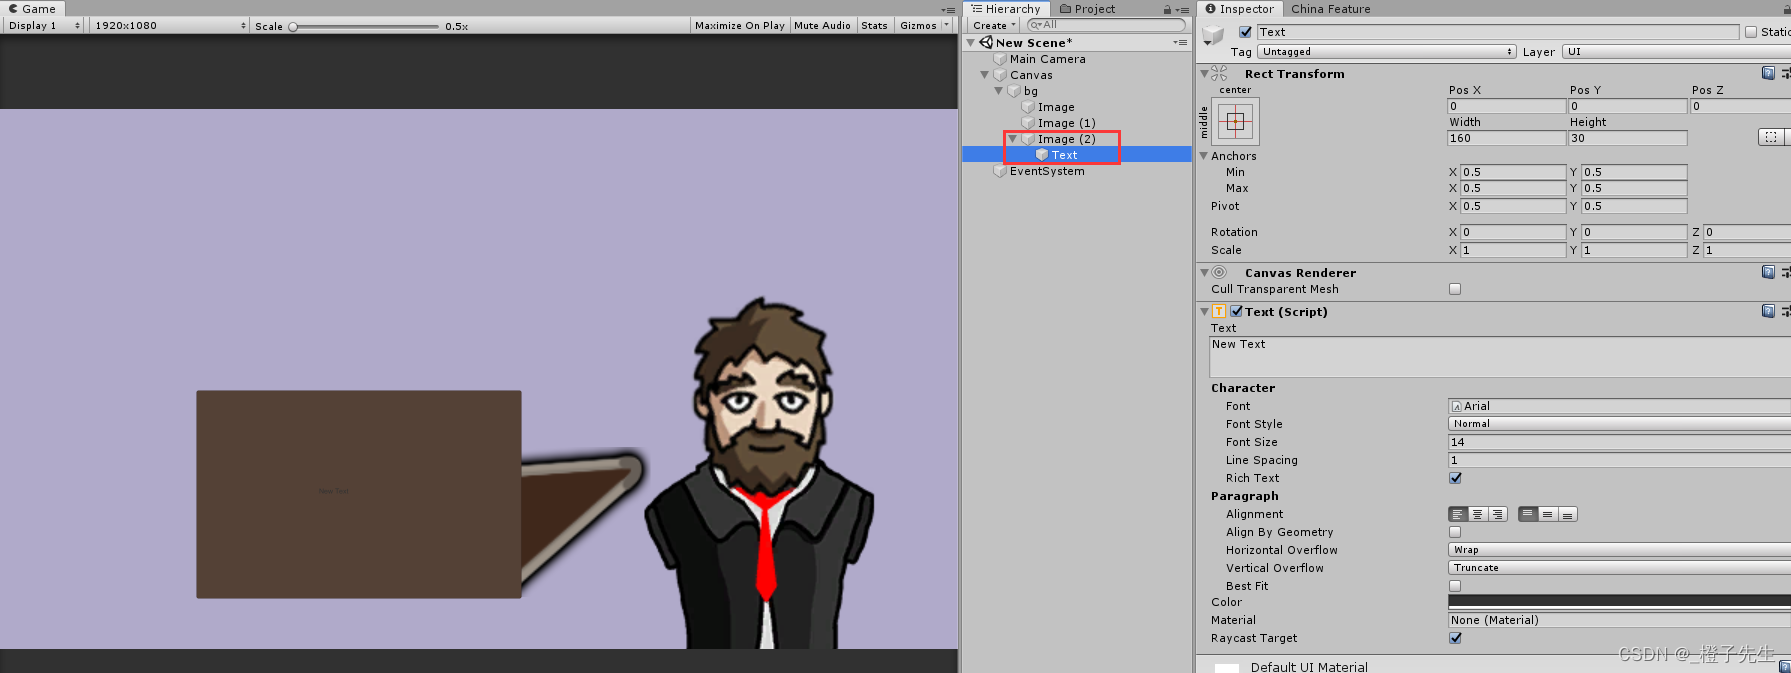
大概就像这样
到这里 我们的UGUI层面就设计的差不多了
第三步 写代码
之第一种:常规写法
下面这种写法,比较传统 在FixedUpdate里每帧执行,这里可能有小伙伴疑惑?为什么不用Update?
因为Update不是每帧固定执行的,如果你电脑性能好,执行的就快一些,如果电脑性能差,就会卡顿一点,做不到完美丝滑的赶脚,所以这里用FixedUpdate Unity不管你电脑好与坏,都是每帧固定执行。
using System.Collections;
using System.Collections.Generic;
using UnityEngine;
using UnityEngine.UI;

public class TypeWriterDemo1 : MonoBehaviour
{
    [Header("打字间隔时间")]
    public float speedTime = 0.1f;//打字间隔时间

    float timer;//计时器时间
    Text TextCompnt;//Text文字组件
    int wordNumber;//文字数量
    bool isStart;//是否开始打字

    string wordContent;//----文字内容

    void Awake( )
    {
        TextCompnt = this.GetComponent<Text>();//从当前物体获取到Text组件
        isStart = true;//bool值的默认值是false  所以这里要重置为true
        wordContent = "你好!我是橙子~\n来自中国的一名Unity开发者,喜欢编程!\nHello! I am Orange ~, a Unity developer from China. I like programming!";
    }

    void FixedUpdate( )
    {
        StartTyping();
    }
    void StartTyping( )
    {
        if (isStart)
        {
            timer += Time.deltaTime;//简单的计时器
            if (timer >= speedTime)//如果计时器时间>打字间隔时间
            {
                timer = 0;//重置
                wordNumber++;//文字数量+1

                //Substring() 官方文档解释:从此实例检索子字符串。 子字符串从指定的字符位置开始且具有指定的长度。
                TextCompnt.text = wordContent.Substring((0), wordNumber);//数字数量的起始字符位置(从零开始)
                if (wordNumber >= wordContent.Length)//数字数量=文字的长度
                {
                    isStart = false;//停止打字
                }
            }
        }
    }
}
之第二种:协程+for循环
这一种呢 比上一种间接了很多,并用上了协程,实现方法相对简单
using System.Collections;
using System.Collections.Generic;
using UnityEngine;
using UnityEngine.UI;

public class TypeWriterDemo2 : MonoBehaviour
{
    public float delay = 0.1f;
    string fullText = "你好!我是橙子~\n来自中国的一名Unity开发者,喜欢编程!\nHello! I am Orange ~, a Unity developer from China. I like programming!";
    string currentText;
    void Start()
    {
        StartCoroutine(ShowText());
    }
    IEnumerator ShowText( )
    {
        for (int i = 0; i < fullText.Length; i++)//遍历插入字符串的长度
        {
            currentText = fullText.Substring(0, i);//看demo1的代码注释
            this.GetComponent<Text>().text = currentText;
            yield return new WaitForSeconds(delay);//每次延迟的时间 数值越小 延迟越少
        }
    }
}
之第三种:while循环 + 协程
这种使用了方法传递的模式,此种相当于封装了方法。
如果一个项目种频繁使用打字机,即可把此代码设置为单例,然后直接向Run方法进行传值。
using System.Collections;
using System.Collections.Generic;
using UnityEngine;
using UnityEngine.UI;

public class TypeWriterDemo3 : MonoBehaviour
{
    [Header("打字速度")]
    public float Speed = 15;

    Text text;

    void Start( )
    {
        text = this.GetComponent<Text>();
        Run("你好!我是橙子~\n来自中国的一名Unity开发者,喜欢编程!\nHello! I am Orange ~, a Unity developer from China. I like programming!", text);
    }
    public void Run(string textToType, Text textLabel)
    {
        StartCoroutine(TypeText(textToType, textLabel));
    }
    IEnumerator TypeText(string textToType, Text textLabel)
    {
        float t = 0;//经过的时间
        int charIndex = 0;//字符串索引值
        while (charIndex < textToType.Length)
        {
            t += Time.deltaTime * Speed;//简单计时器赋值给t
            charIndex = Mathf.FloorToInt(t);//把t转为int类型赋值给charIndex
            charIndex = Mathf.Clamp(charIndex, 0, textToType.Length);
            textLabel.text = textToType.Substring(0, charIndex);

            yield return null;
        }
        textLabel.text = textToType;
    }
}
挂载脚本
在三种选择一种你认为写的最好的,然后把他保存下来,挂载到这个Text上
这个时候 点击运行 即可完美实现打字机效果!~
总结
总体来说,打字机的效果实现不难,主要就是用到了Substring,官方文档解释:从此实例检索子字符串。 子字符串从指定的字符位置开始且具有指定的长度。
其实大白话就是 数字数量的起始字符位置是从零开始的。然后就是去比对字符串的长度。
结束语
不及硅步,无以至千里。
不积小流,无以成江海。
每天进步一点点 谢谢您的观看。
觉得对自己有帮助,欢迎关注、收藏、转发!我们下期再见