Unity2D学习 Fox Game制作 过程1:基本的游戏角色控制,动画效果,镜头控制,物品收集,bug优化
教程学习地址
有进行部分修改,与教材不是完全一致
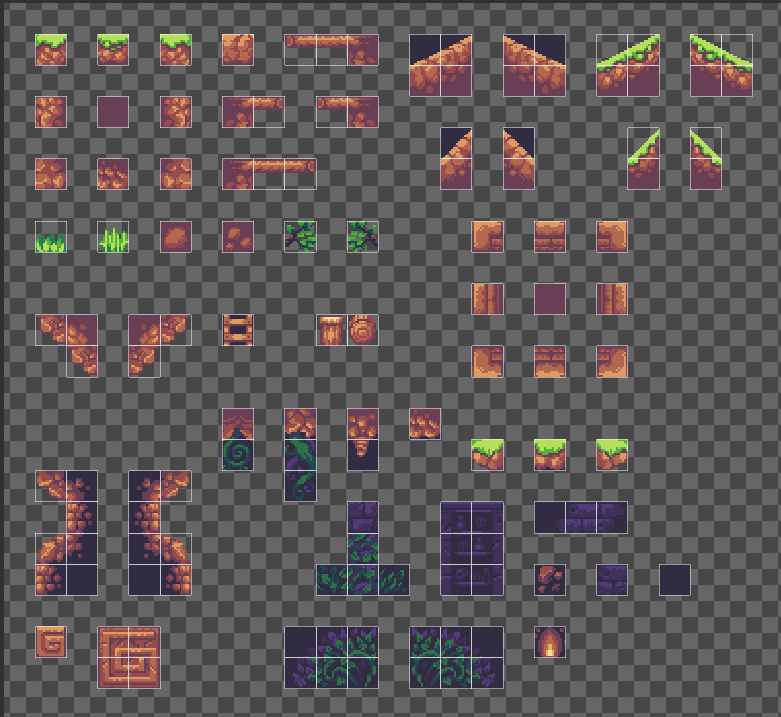
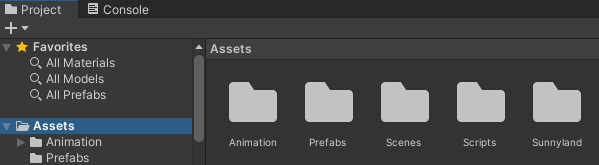
1.素材导入
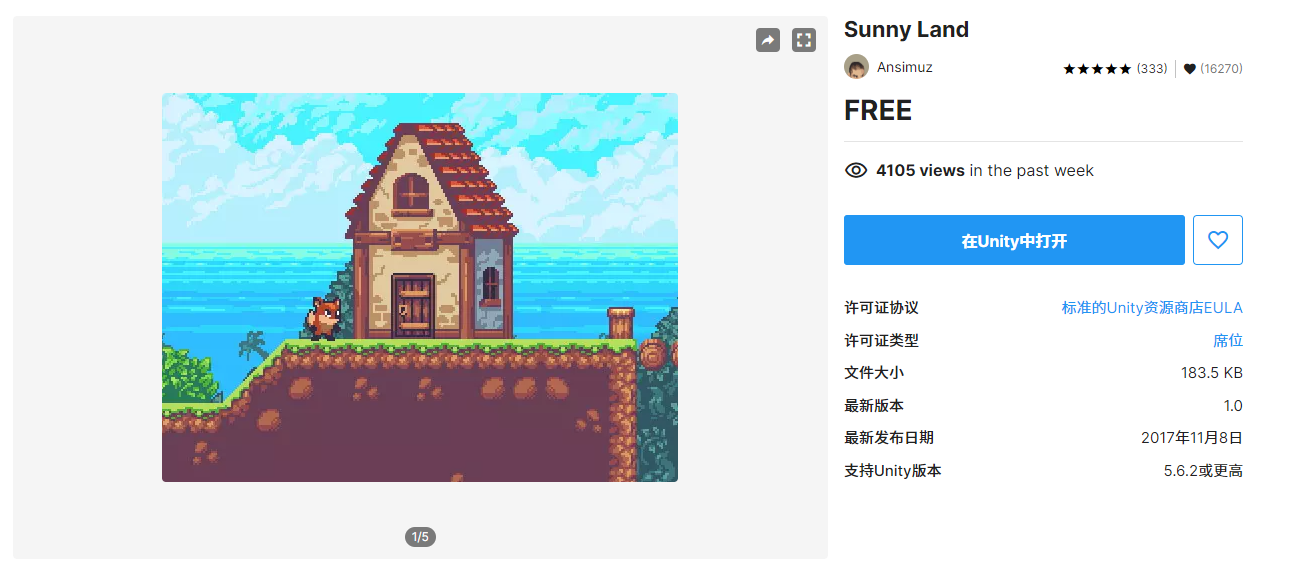
搜索
Unity素材商店
在素材商店搜索Sunny Land
导入
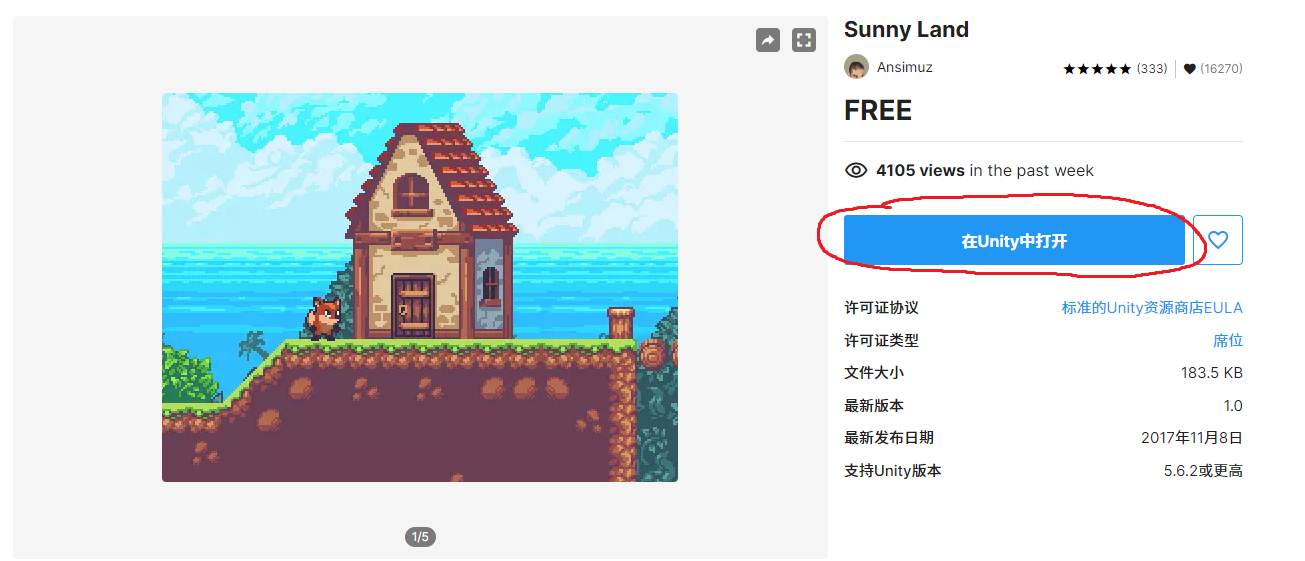
点击在Unity中打开
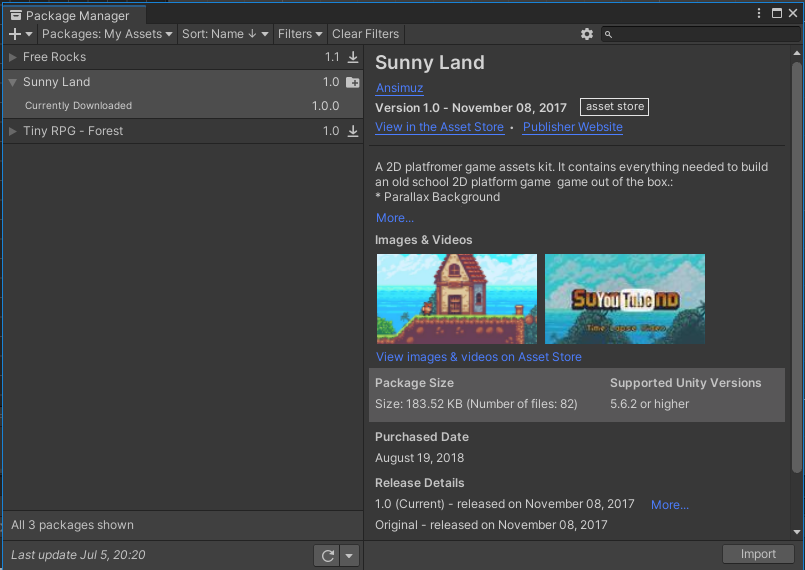
点击右下角Import
若没有下载需要先下载
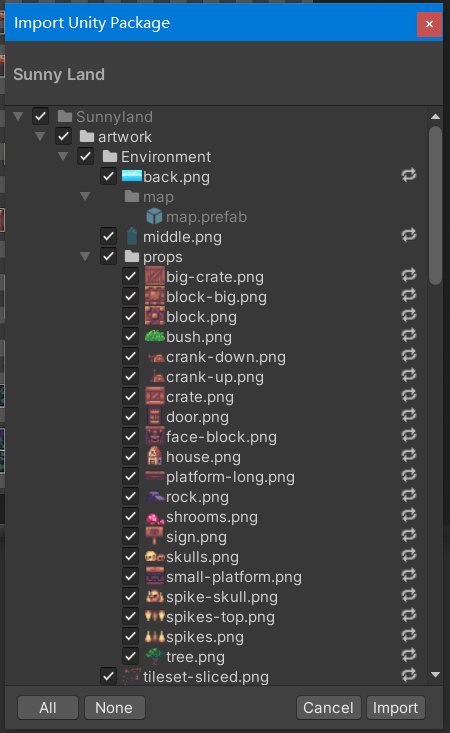
全部选择之后点击Import即可
2.编辑素材
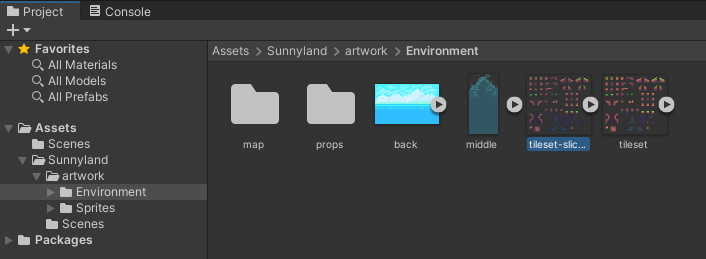
添加背景图
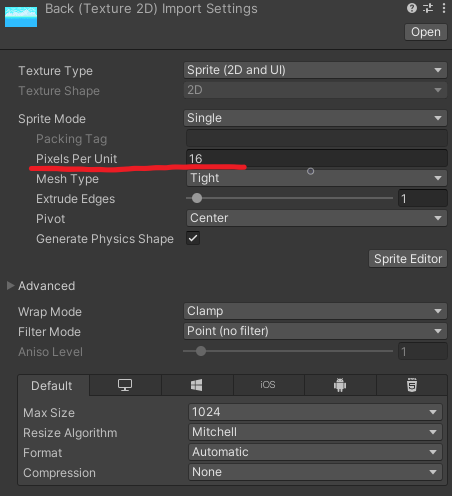
修改Pixels Per Unit为16
即场景中一格为16像素
之后所有素材的Unit都改为16
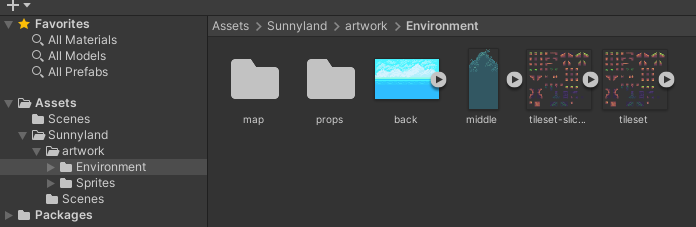
将back拖入即可
创建tilemap
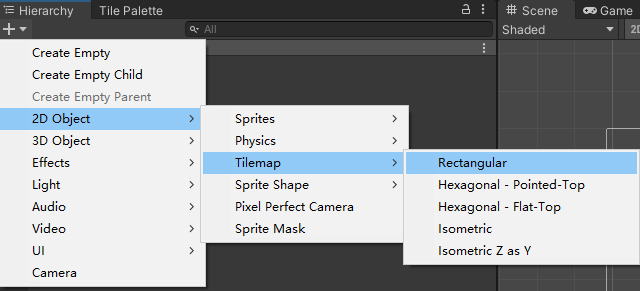
在Hierarchy窗口中创建tilemap
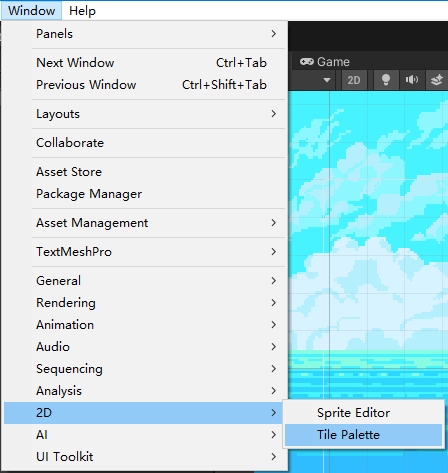
打开Tile Palette
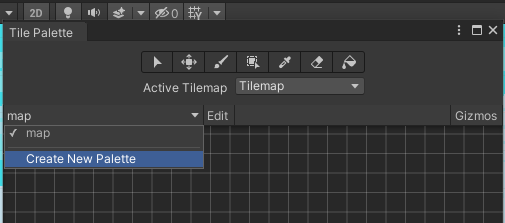
在Tile Palette中创建新Palette
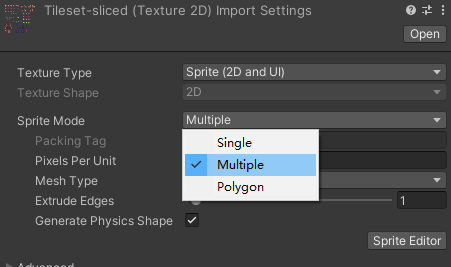
选择tileset设置sprite mode为Multiple,点击Sprite Editor
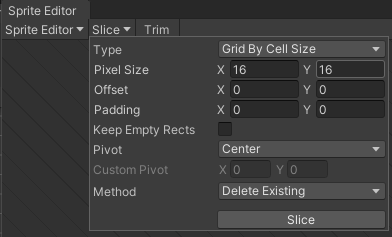
使用自定义尺寸进行切割,保证每个单元可以独立使用
若使用自动切割,无法将每个图块分割成多个单元
Pixel Size是由素材的Pixes Per Unite决定的

将分割好的素材拖拽进入Tile Palette即可
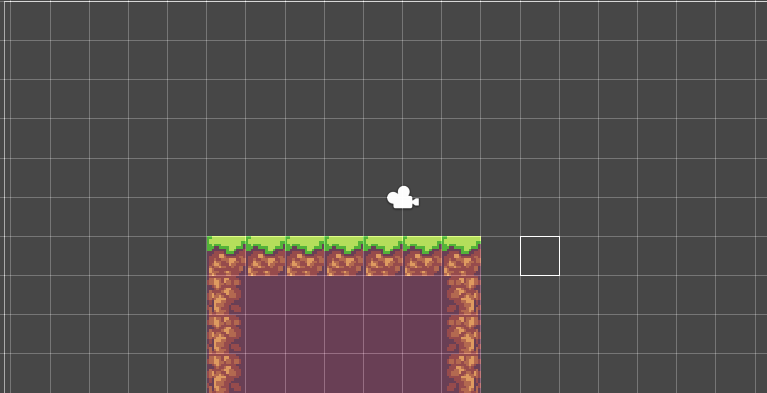
使用Tile Palette的笔刷等工具绘制地图即可
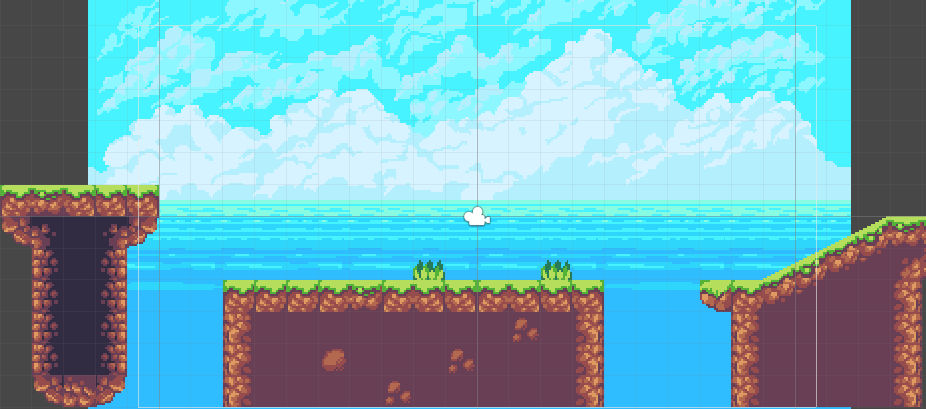
3.图层Layer
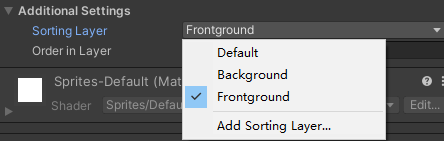
选择和添加图层
越下面越先显示
4.游戏角色添加
添加载体
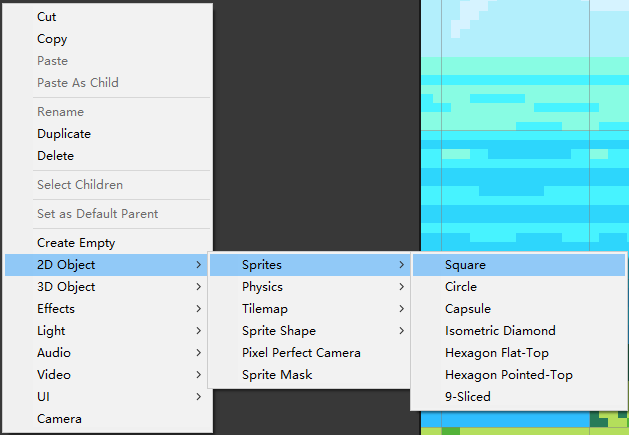
右键添加sprites载体

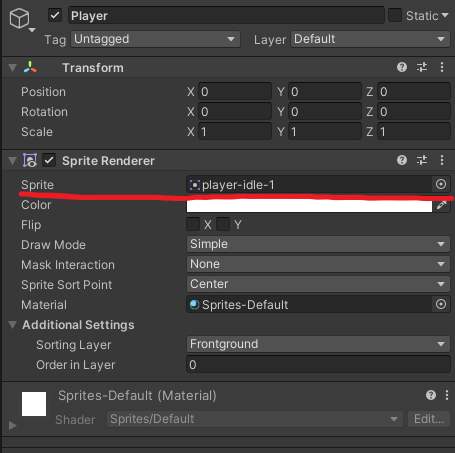
选中载体,拖拽角色素材到sprite
Rigidbody

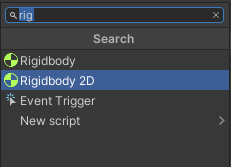
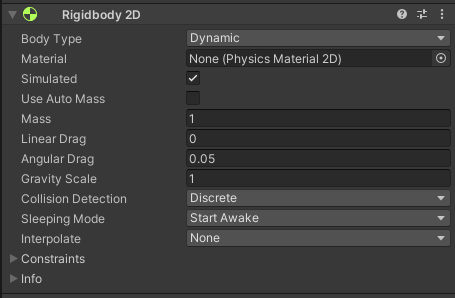
给角色添加2d刚体属性
Collider
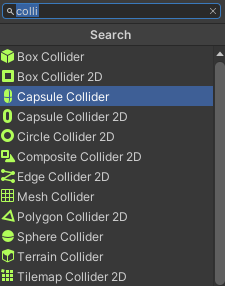
给角色添加2d碰撞体属性

为tilemap创建碰撞体属性
5.角色移动

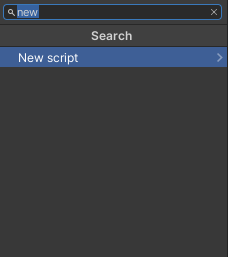
为角色创建脚本
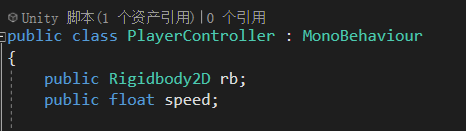
打开脚本添加两个属性后保存
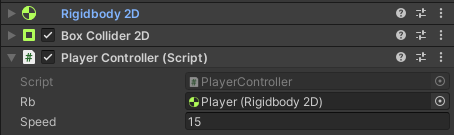
选中角色obj为两个属性赋初值,将rigidbody2d拖动到rb
    //移动
    void Movement()
    {
        float horizontalMove;
        horizontalMove = Input.GetAxis("Horizontal");

        if(horizontalMove != 0)
        {
            rb.velocity = new Vector2(horizontalMove * speed, rb.velocity.y);
        }
    }
构造简单的移动函数,在update中调用
6.角色朝向&跳跃
void Movement()
    {
        float horizontalMove = Input.GetAxis("Horizontal");//获取的值为-1到1之间的浮点数
        float faceDirection = Input.GetAxisRaw("Horizontal");//获取的值为-1,0,1

        if(horizontalMove != 0)
        {
            rb.velocity = new Vector2(horizontalMove * speed * Time.fixedDeltaTime, rb.velocity.y);
        }

        if(faceDirection != 0)
        {
            transform.localScale = new Vector3(faceDirection, 1, 1);
        }

        if (Input.GetButtonDown("Jump"))
        {
            rb.velocity = new Vector2(rb.velocity.x, jumpForce * Time.fixedDeltaTime);
        }

    }
7.动画效果Animator
添加Animator
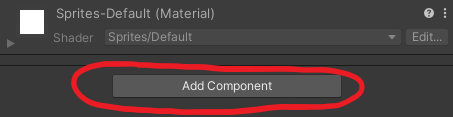
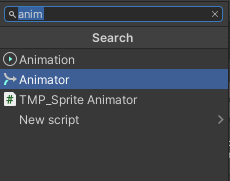
添加Animator属性
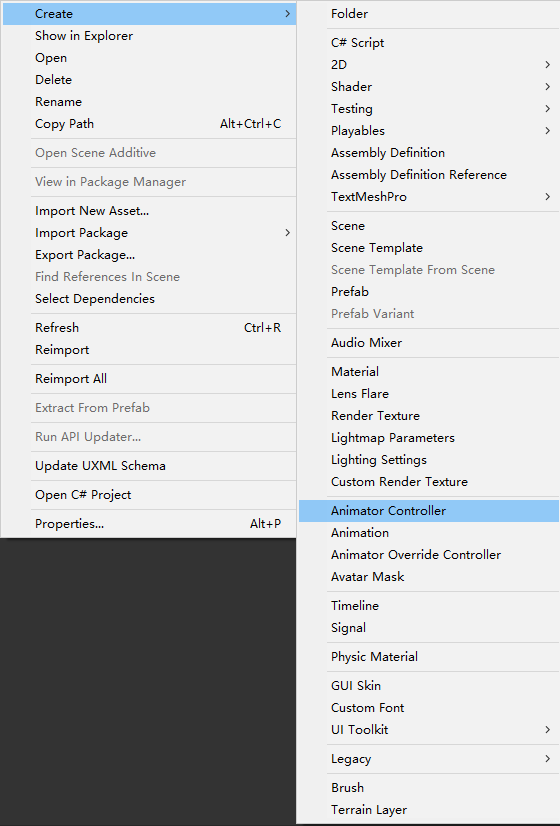
在Project窗口创建Animator Controller


拖动Animator Controller至Animator中的Controller进行绑定
角色idle动画
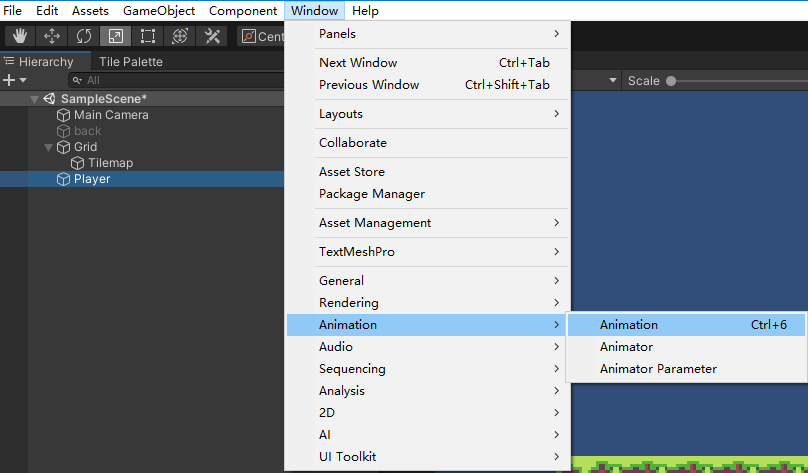
选中角色后打开Animation窗口

选中idle图片拖拽进入Animation,自动生成关键帧

可以通过时间轴长度和修改Samples改变播放速度,samples由此处打开
角色run动画

选中角色obj,创建新动画
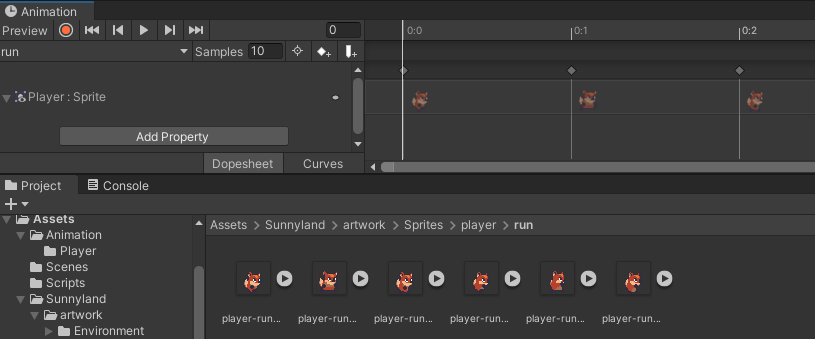
选中run图片拖拽进入Animation,自动生成关键帧
可以通过时间轴长度和修改Samples改变播放速度,samples打开方式见上
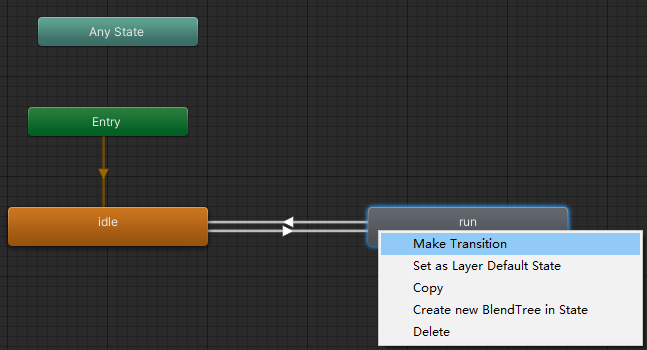
打开animator,为idle和run动画建立transition

在animator窗口左侧添加参数

点击transition的箭头,修改参数,保证动画可以立刻切换


点击transition的箭头,添加条件判断,进行动画转换
    public Rigidbody2D rb;
    public Animator animator;
    public float speed;
    public float jumpForce;
添加public Animator animator,用于绑定角色动画的Animator
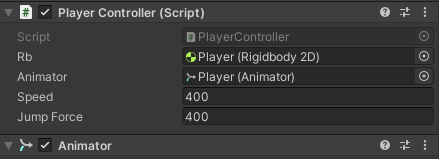
拖拽Animator到C#Script的Animator进行绑定
    void Movement()
    {
        float horizontalMove = Input.GetAxis("Horizontal");//获取的值为-1到1之间的浮点数
        float faceDirection = Input.GetAxisRaw("Horizontal");//获取的值为-1,0,1

        //移动
        if (horizontalMove != 0)
        {
            rb.velocity = new Vector2(horizontalMove * speed * Time.fixedDeltaTime, rb.velocity.y);
        }

        if(faceDirection != 0)
        {
            transform.localScale = new Vector3(faceDirection, 1, 1);
            animator.SetBool("isRun", true);
        }
        else
        {
            animator.SetBool("isRun", false);
        }
        //跳跃
        if (Input.GetButtonDown("Jump"))
        {
            rb.velocity = new Vector2(rb.velocity.x, jumpForce * Time.fixedDeltaTime);
        }

    }
修改Movement(),通过animator.SetBool()方法设置Animator的参数
角色jump动画
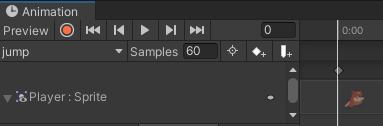
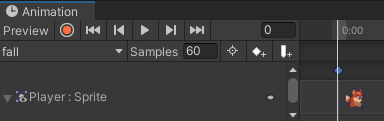
创建跳起和下落的动画
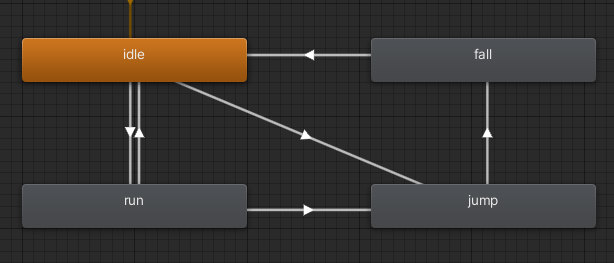
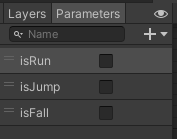


创建各个动画之间的transition,创建新的属性值,调整参数,添加转换条件
   void Movement()
    {
        float horizontalMove = Input.GetAxis("Horizontal");//获取的值为-1到1之间的浮点数
        float faceDirection = Input.GetAxisRaw("Horizontal");//获取的值为-1,0,1

        //移动
        if (horizontalMove != 0)
        {
            rb.velocity = new Vector2(horizontalMove * speed, rb.velocity.y);
        }

        if (faceDirection != 0)
        {
            transform.localScale = new Vector3(faceDirection, 1, 1);
            animator.SetBool("isRun", true);
        }
        else
        {
            animator.SetBool("isRun", false);
        }
        //跳跃
        if (Input.GetButtonDown("Jump"))
        {
            rb.velocity = new Vector2(rb.velocity.x, jumpForce);
            animator.SetBool("isJump", true);
        }

    }

    void SwitchAnim()
    {
        if (animator.GetBool("isJump"))
        {
            if (rb.velocity.y <= 0)
            {
                animator.SetBool("isJump", false);
                animator.SetBool("isFall", true);
            }
        }
        else if (collider.IsTouchingLayers(ground))
        {
            animator.SetBool("isFall", false);
        }
    }
修改角色脚本,实现动画转换
8.代码及碰撞体优化
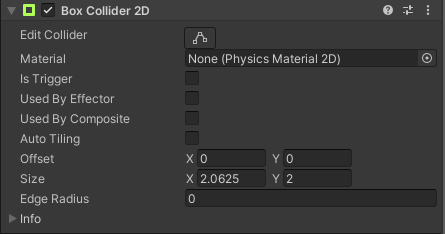
碰撞体优化

修改Box Collider为Box Collider+Circle Collider
防止角色横向移动时被tilemap的单位格碰撞体卡住和无法上坡
代码优化
private Rigidbody2D rb;
    private Animator animator;
    private Collider2D coll;

    public float speed;
    public float jumpForce;
    public LayerMask ground;


    // Start is called before the first frame update
    void Start()
    {
        rb = GetComponent<Rigidbody2D>();
        animator = GetComponent<Animator>();
        coll = GetComponent<CircleCollider2D>();
    }
修改属性为私有,在Start()方法中初始化
9.镜头控制
方法1:为Camera添加Script
    public Transform player;

    // Update is called once per frame
    void Update()
    {
        transform.position = new Vector3(player.position.x, player.position.y, transform.position.z);
    }
该脚本实现镜头实时跟随角色移动
不推荐
方法2:Cinemachine插件
功能详解
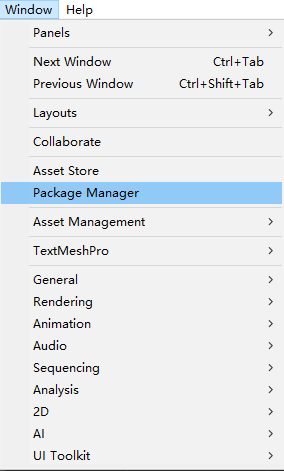
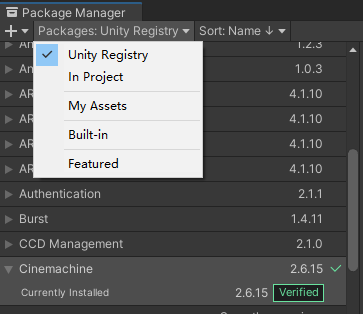
打开Package Manager,安装Cinemachine插件

安装完成后添加Cinemachine 2D Camera组件

创建成功后会与Main Camera绑定
镜头跟踪
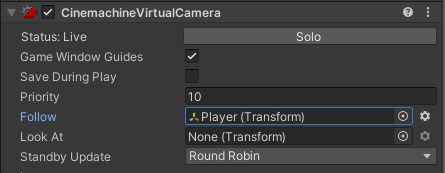
设置cinemachine的follow为player
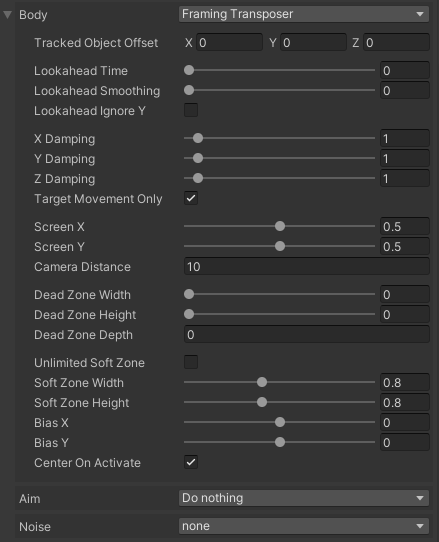
根据需求自行设置Body的参数
镜头移动限制

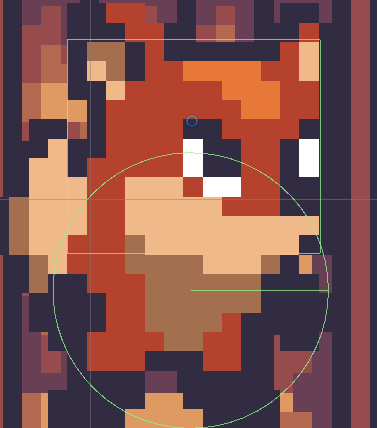
为cinemachine添加confinder组件

为背景添加Polygon Collider组件,自行调整大小,设置为Trigger
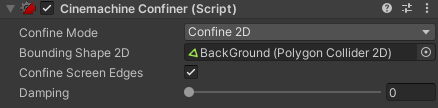
Confider组件的Bounding Shape 2D属性设置为BackGround,镜头即被限制在BackGround的Polygon Collider中移动
10.物品收集
樱桃创建

创建存放Cherry的obj

为Cherry添加碰撞体组件,更改为trigger属性

为Cherry创建动画
过程同第七步
物品收集脚本
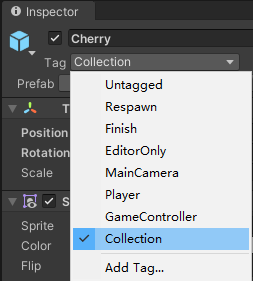
添加新的tag,切换Cherry的tag属性为新添加的Collection
    public int cherryCount = 0;

    private void OnTriggerEnter2D(Collider2D collision)
    {
        if(collision.tag == "Collection")
        {
            Destroy(collision.gameObject);
            cherryCount += 1;
        }
    }
在角色控制脚本中添加新的属性和方法,实现角色收集樱桃
Prefabs
创建Prefabs文件夹
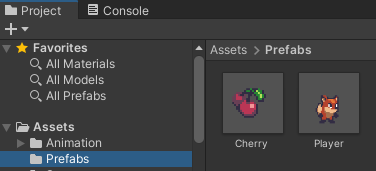

将场景中已经创建好的obj拖入Prefabs文件夹,自动生成Prefab 预制件
11.优化Player Controller代码
原本代码对于速度的控制放在update内,可能出现电脑性能不同player速度不同的情况
void Update()
        {
            SwitchAnim();
            checkHorizontalMove();
            checkJump();
            checkGround();
        }
void FixedUpdate()
        {
            horizontalMove();
            jump();
        }
修改代码,将对于玩家输入的判断全部放在Update内,对游戏物理上的控制放在FixedUpdate内
Update每帧调用一次,FixedUpdate每0.02秒执行一次,所以FixedUpdate中控制物理变化与电脑性能无关,但是若在FixedUpdate中判断玩家输入可能出现FixedUpdate执行时控制输入结束,导致无法实时控制角色,所以对玩家输入的判断放在Update中
详细可以网上查阅资料
        void checkHorizontalMove()
        {
            faceDirection = Input.GetAxisRaw("Horizontal");//获取的值为-1,0,1
        }

        void checkJump()
        {
            if (Input.GetButtonDown("Jump")) isJump = true;
        }

        void checkGround()
        {
            isOnGround = feetColl.IsTouchingLayers(ground);
        }

        //横向移动
        void horizontalMove()
        {
            if (faceDirection != 0)
            {
                rb.velocity = new Vector2(faceDirection * speed, rb.velocity.y);
                transform.localScale = new Vector3(faceDirection, 1, 1);
                animator.SetBool("isRun", true);
            }
            else
            {
                rb.velocity = new Vector2(0, rb.velocity.y);
                animator.SetBool("isRun", false);
            }
        }

        //跳跃
        void jump()
        {
            if (isOnGround)
            {
                if (isJump)
                {
                    rb.velocity = new Vector2(rb.velocity.x, jumpForce);
                    animator.SetBool("isJump", true);
                }
            }
            isJump = false;
        }


        void SwitchAnim()
        {
            if (faceDirection != 0)
            {
                animator.SetBool("isRun", true);
            }
            else
            {
                animator.SetBool("isRun", false);
            }

            if (animator.GetBool("isJump"))
            {
                if (rb.velocity.y <= 0)
                {
                    animator.SetBool("isJump", false);
                    animator.SetBool("isFall", true);
                }
            }
            else if (feetColl.IsTouchingLayers(ground))
            {
                animator.SetBool("isFall", false);
            }
        }
详细代码
12.限制角色跳跃次数
角色可以无限制的跳跃,不合常理
        void checkJump()
        {
            if (Input.GetButtonDown("Jump")) isJump = true;
        }
        void checkGround()
        {
            isOnGround = feetColl.IsTouchingLayers(ground);
        }
        //跳跃
        void jump()
        {
            if (isOnGround)
            {
                if (isJump)
                {
                    rb.velocity = new Vector2(rb.velocity.x, jumpForce);
                    animator.SetBool("isJump", true);
                }
            }
            isJump = false;
        }
通过这3个方法实现角色只有在地上时能够跳跃
checkJump,checkGround放在Update中,jump放在FixedUpdate中
13.解决角色有时无法跳跃的bug
经过测试,发现是由于tilemap每格之间为独立碰撞体,有时会将角色弹起,导致isOnGround判断为false而无法跳跃

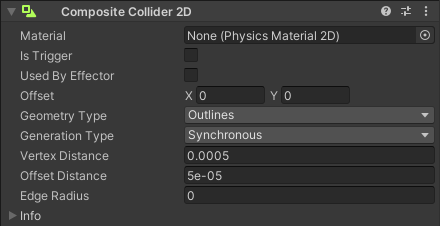
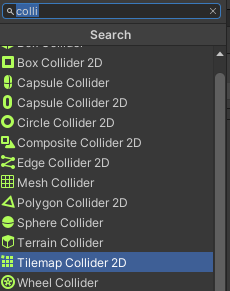
为tilemap添加Composite Collider 2D组件

Tilemap Collider 2D勾选Used By Composite,Rigibody 2D的Body Type更改为Static
14.解决撞墙不掉落的bug
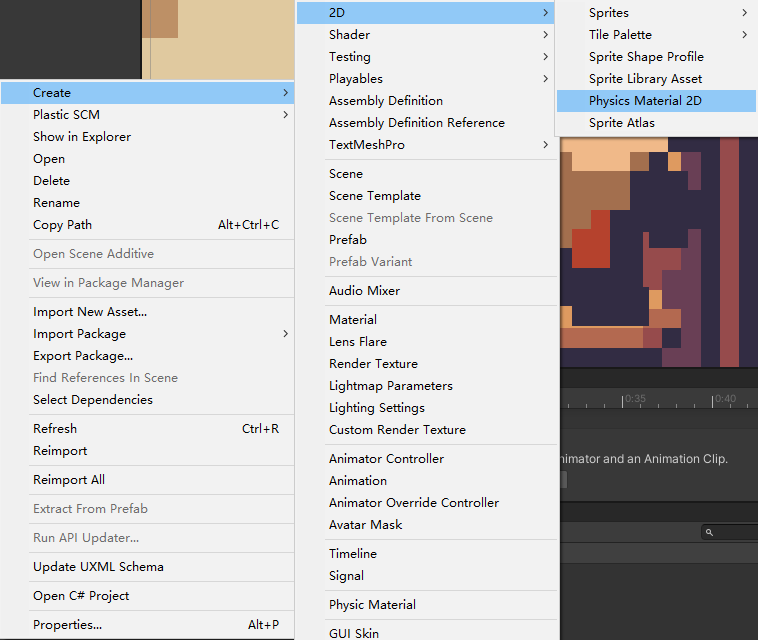
创建Material 2D

修改Friction为0,即摩擦力为零

为Player的两个Collider添加为新建的Material