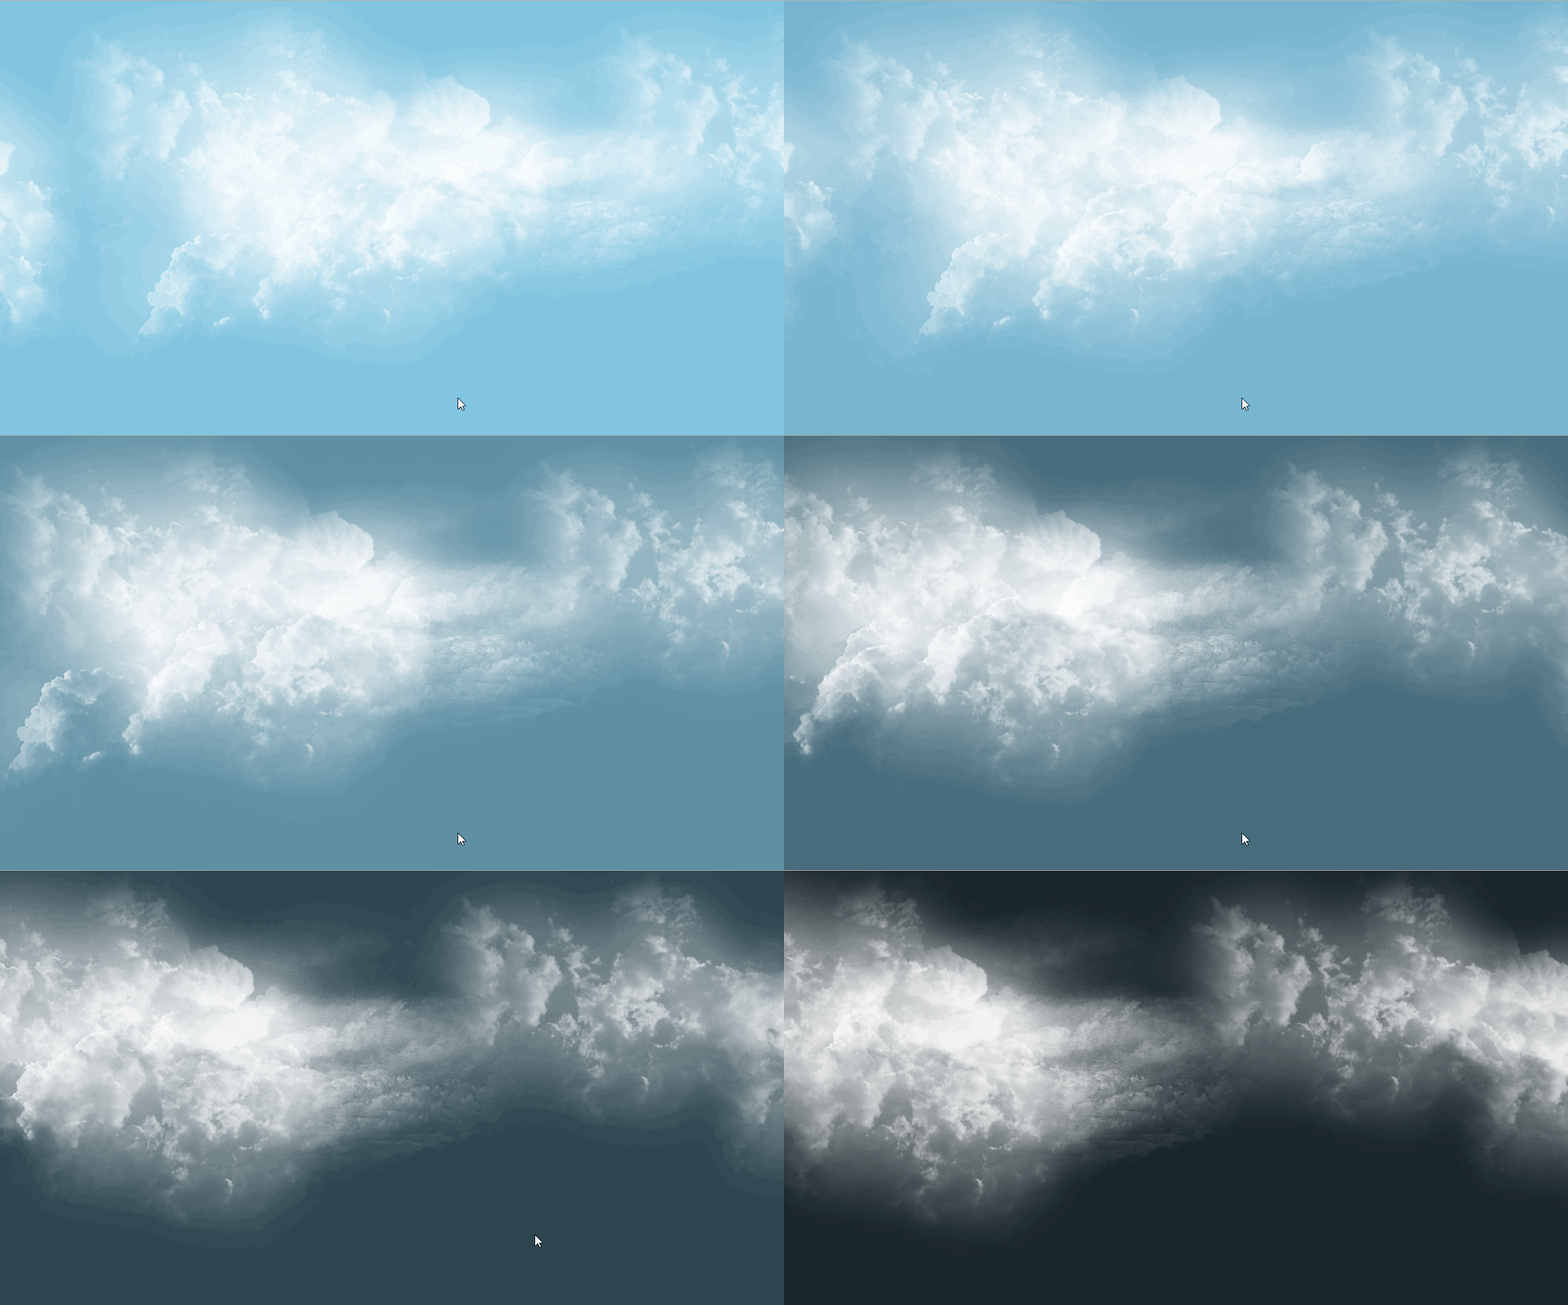
使用到的图片素材:(都是一些云朵图片,背景是透明的)
图片一
图片二:
图片三:
先写html结构,html结构很简单,只需要4个div标签即可,外面包裹的div用来设置背景,即天空颜色,里面三个div用来放云朵:
<div class="bg">
    <div class="cloud_one"></div>
    <div class="cloud_two"></div>
    <div class="cloud_three"></div>
</div>
接下来写CSS样式:
设置一个天蓝色的背景色:background-color: skyblue;
然后设置背景动画,变化的效果是:天蓝色–> 黑色–> 天蓝色
@keyframes sky {
      0%{
        background-color: skyblue;
      }
      50%{
        background-color: #000;
      }
      100%{
        background-color: skyblue;
      }
    }
然后设置动画播放:animation: sky 10s linear infinite;
设置完之后,就可以得到下面天空变化的效果:

接下来再来设置云朵的样式,三个云朵样式都是一样的:
.bg .cloud_one{
      width: 300%;
      height: 100%;
      background: url('./images/cloud_one.png') repeat-x;
      position: fixed;
      top: 0;
      left: 0;
      animation: cloud 20s linear infinite;
    }
然后再设置云朵动画,主要是让云朵不断向左移动:
@keyframes cloud {
      from{
        left: 0;
      }
      to{
        left: -200%;
      }
    }
然后让动画播放:animation: cloud 60s linear infinite;
来看看最终效果吧!

下面是完整代码:
<!DOCTYPE html>
<html lang="en">
<head>
  <meta charset="UTF-8">
  <meta http-equiv="X-UA-Compatible" content="IE=edge">
  <meta name="viewport" content="width=device-width, initial-scale=1.0">
  <title>Document</title>
  <style>
    *{
      padding: 0;
      margin: 0;
    }
    /* 设置背景样式 */
    .bg{
      height: 100vh;
      background-color: skyblue;
      animation: sky 10s linear infinite;
    }
    /* 设置云彩样式 */
    .bg .cloud_one{
      width: 300%;
      height: 100%;
      background: url('../day09/images/cloud_one.png') repeat-x;
      position: fixed;
      top: 0;
      left: 0;
      animation: cloud 20s linear infinite;
    }
    .bg .cloud_two{
      width: 300%;
      height: 100%;
      background: url('../day09/images/cloud_two.png') repeat-x;
      position: fixed;
      top: 0;
      left: 0;
      animation: cloud 40s linear infinite;
    }
    .bg .cloud_three{
      width: 300%;
      height: 100%;
      background: url('../day09/images/cloud_three.png') repeat-x;
      position: fixed;
      top: 0;
      left: 0;
      animation: cloud 60s linear infinite;
    }
    /* 设置云彩轮播 */
    @keyframes cloud {
      from{
        left: 0;
      }
      to{
        left: -200%;
      }
    }
    /* 设置天空轮播 */
    @keyframes sky {
      0%{
        background-color: skyblue;
      }
      50%{
        background-color: #000;
      }
      100%{
        background-color: skyblue;
      }
    }
  </style>
</head>
<body>
  <div class="bg">
    <div class="cloud_one"></div>
    <div class="cloud_two"></div>
    <div class="cloud_three"></div>
  </div>
</body>
</html>


