UnityAR Vuforia(��ͨ)3D����ʶ��(ObjectTarget)
����汾��֪
Unity2020.3.5f1c1
UnityAndroid��Project Settings�C>Player�C>
- Minimum API Level:Android 6.0(API Level 23)
- Target API Level:Android 11.0(API Level 30)
�������Ǿ�������֮��,����������Ӧ���á�

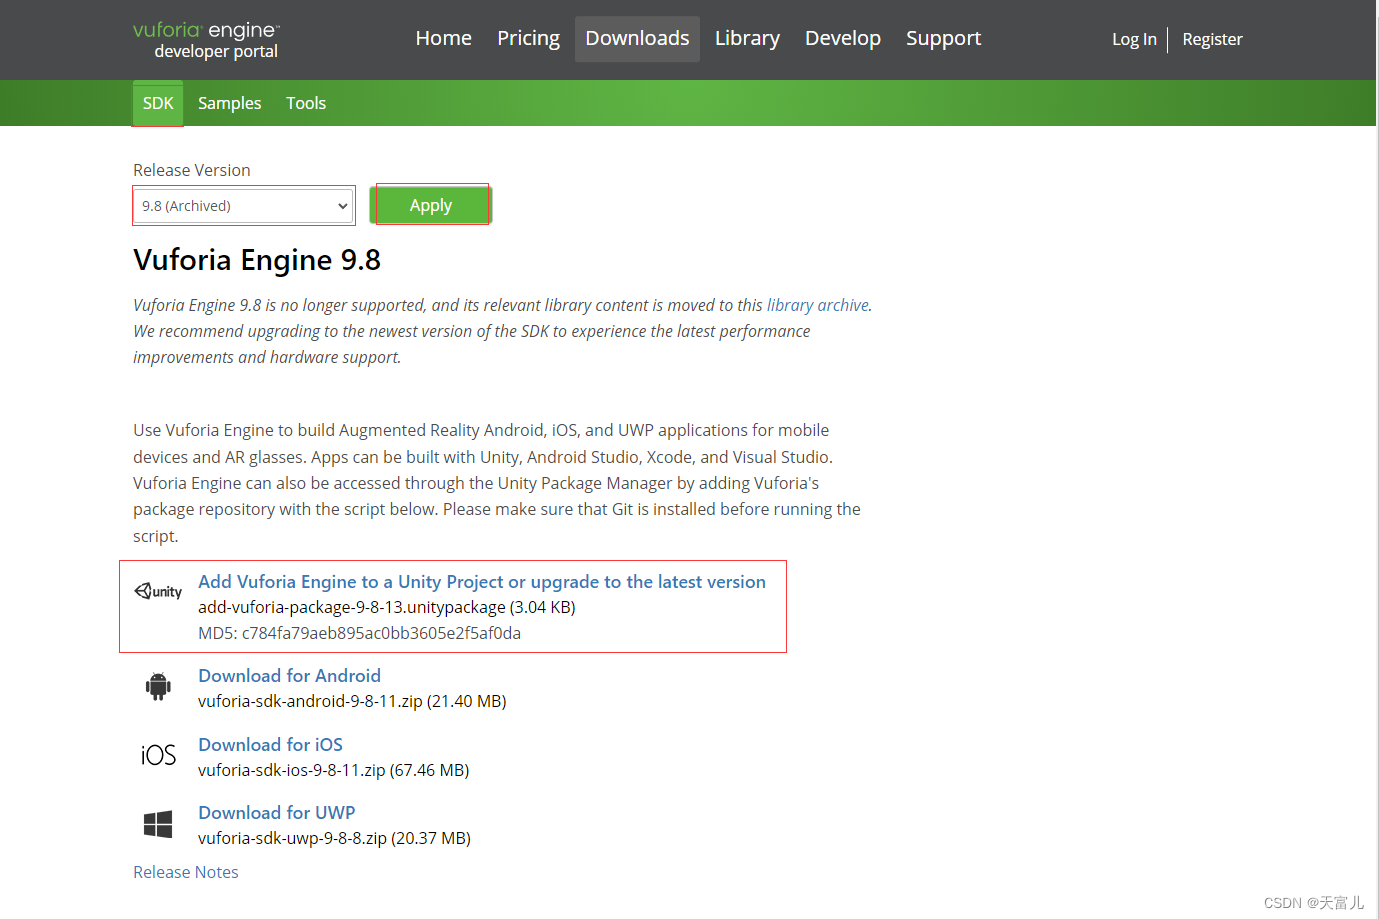
Vuforia Engine 9.8
��Ŀ����ʱ,Vuforia Engine�Ѿ����������°汾Ϊ10.10�������������°汾��ObjectTarget����,���°汾���������ʹ��,��ʹ�þɰ汾9.8:Vuforia Engine������
Vuforia ���� 9.8 ������֧��,����ؿ����ݽ������˿�浵��
������뼰����
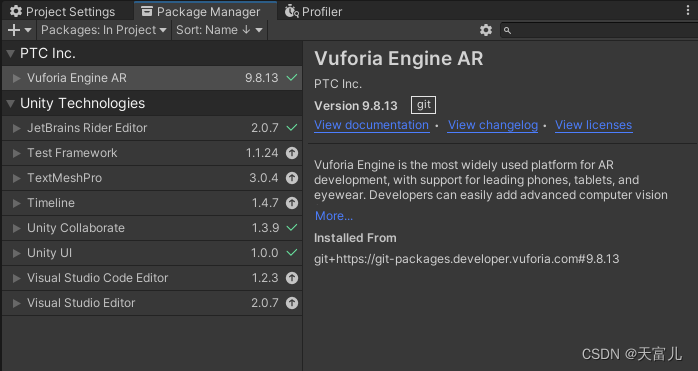
Vuforia���������һ������,���ԴӲ˵�Assets -> Import Package -> Custom Package���뵽Unity��Ŀ�С�������������ű���Unity��Ŀ�н��б�Ҫ�ĸ���,��װ�����������µ�Vuforia����SDK(.unitypackage)��
�� Vuforia �������ӻ���µ����� Unity ��Ŀ (SDK ����)
�����������Զ������µ� Vuforia ����汾���ӵ����� Unity ��Ŀ�С�
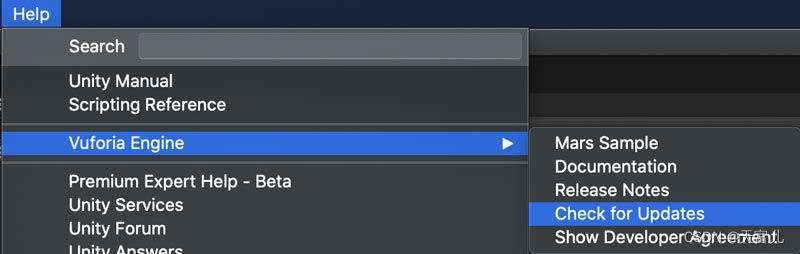
Ҫ�ֶ�����Ƿ����µĸ��¿���,��ת��Help -> Vuforia Engine -> Check for Updates:
3D��������ɨ��
��Ҫ�ڰ��ֻ��ϰ�װһ��Vuforia Object ScannerӦ��,����3D���������ɨ�衣
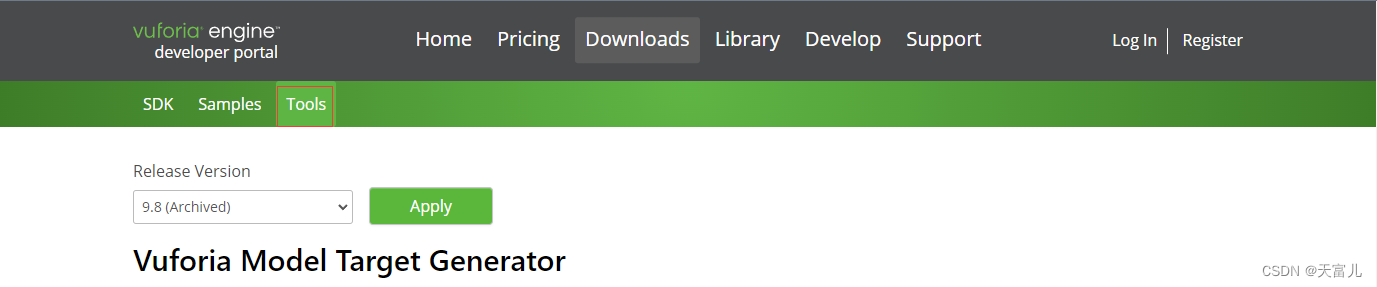
����ҳ�����¶ˡ�
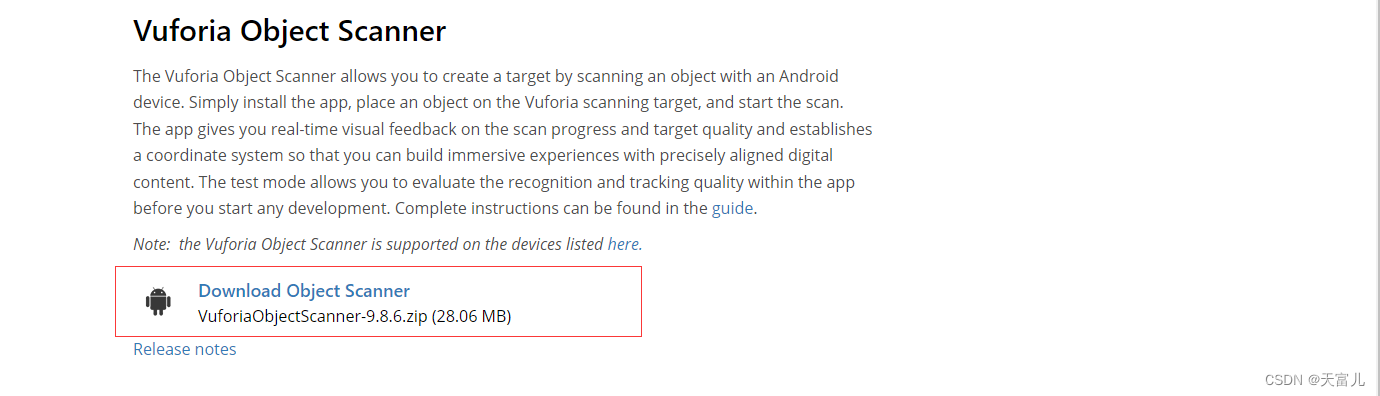
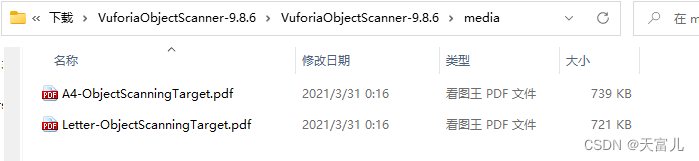
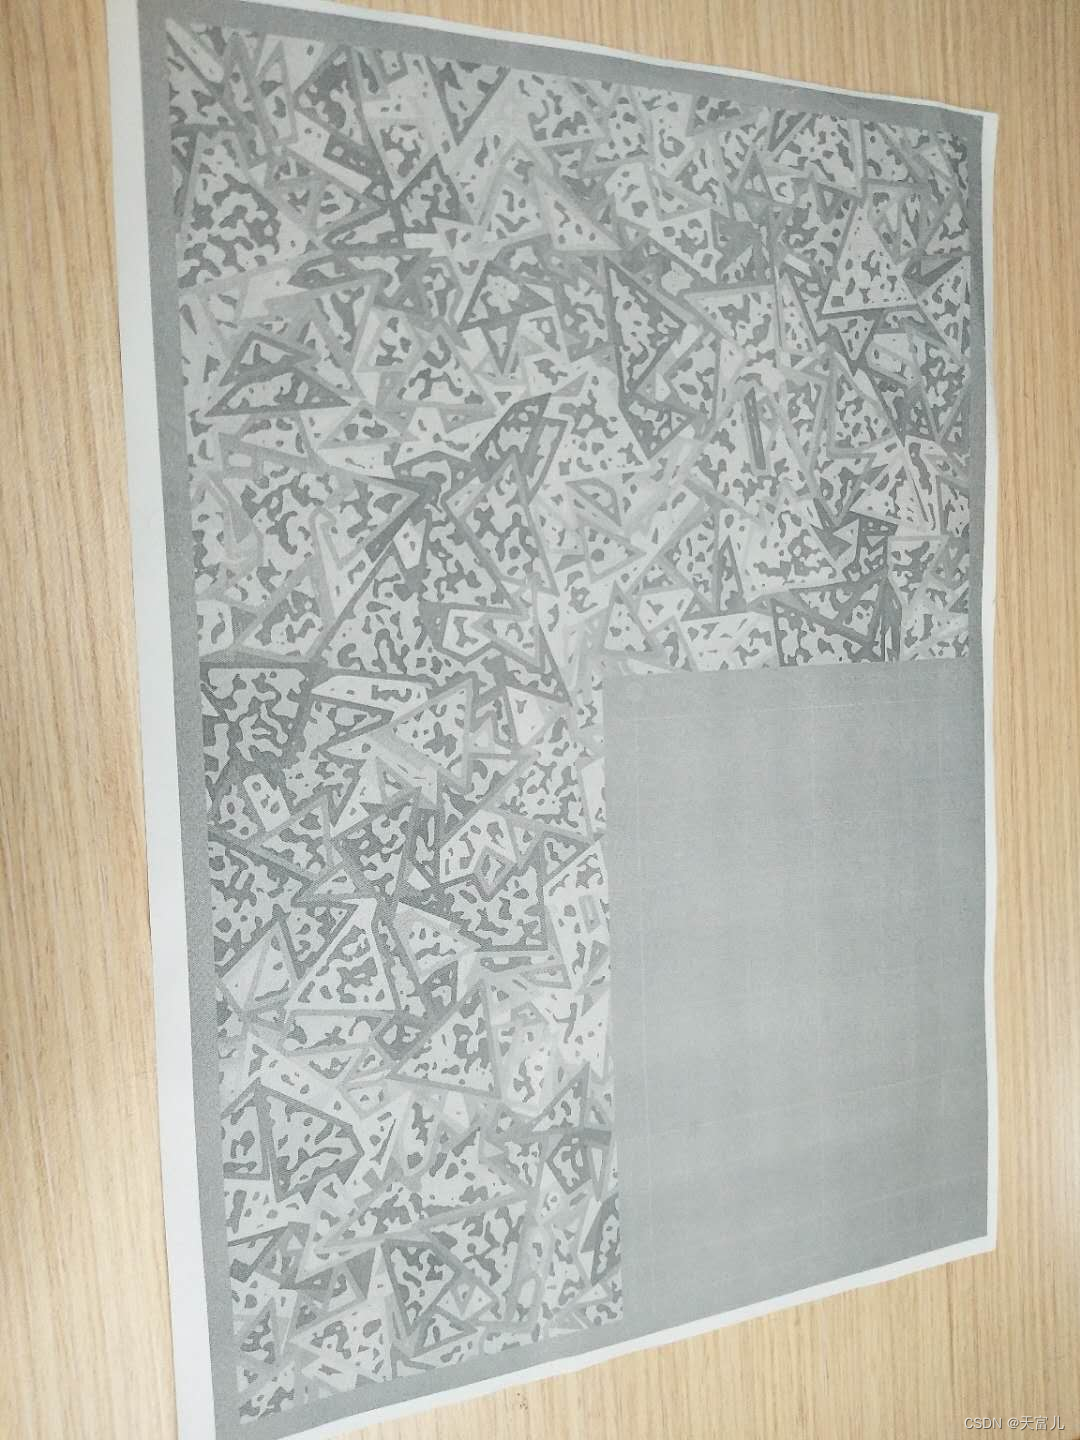
���ص�ѹ�����в�ֹ�г����apk�ļ�,��������.pdf�ļ�,�����ɨ������ʱ������Ҫ�õ�ɨ���ͼ,��Ҫ������ŵ���ͼֽ֮��,����Ҫ�Լ���ӡ��
�����������ֻ�,��apk�ļ������ֻ���װ����ͼ,
����,����������ɨ����ά���塣
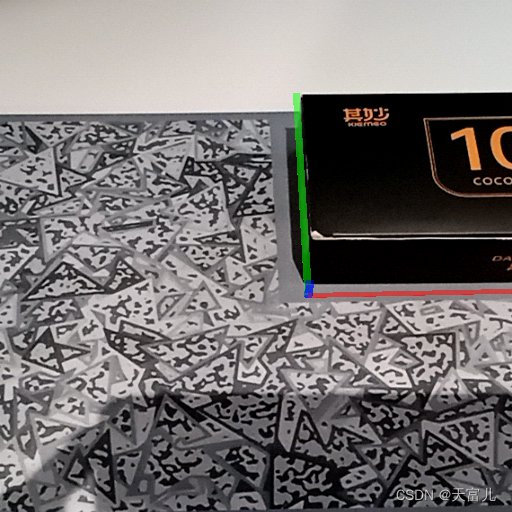
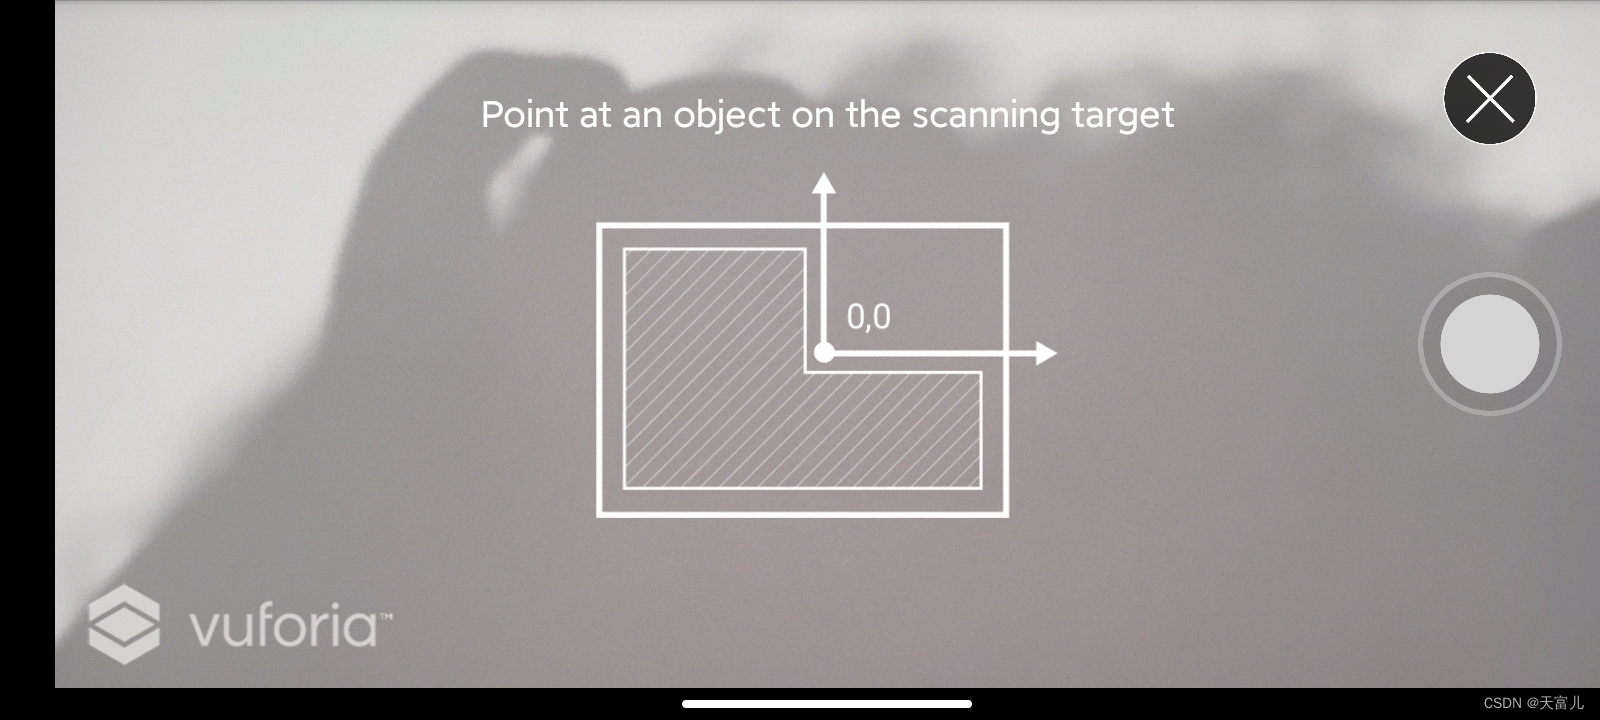
�����ӷŵ�ֽ�ϵĻ�ɫ����,�������и�����ϵ,���Ӵ���λ�÷źþͿ��ԡ�
����ֻ��ϰ�װ�õ�Scanner��
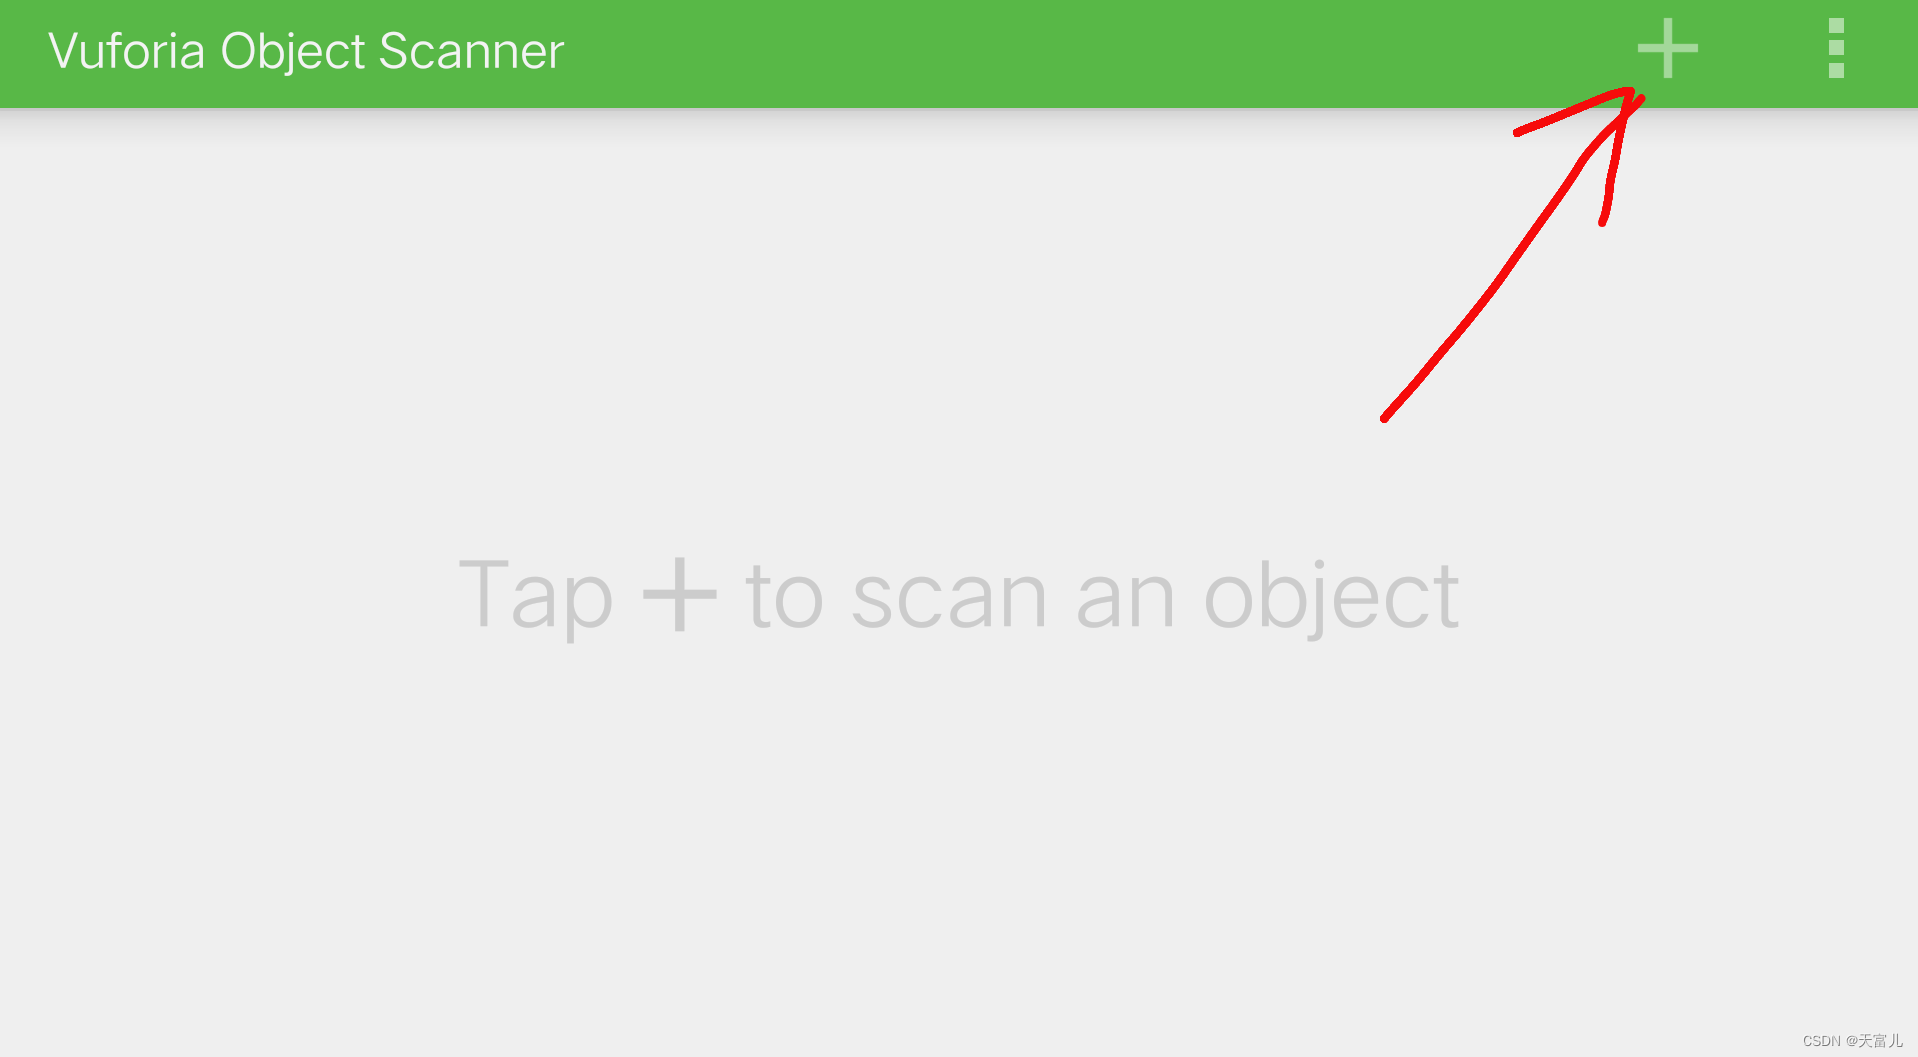
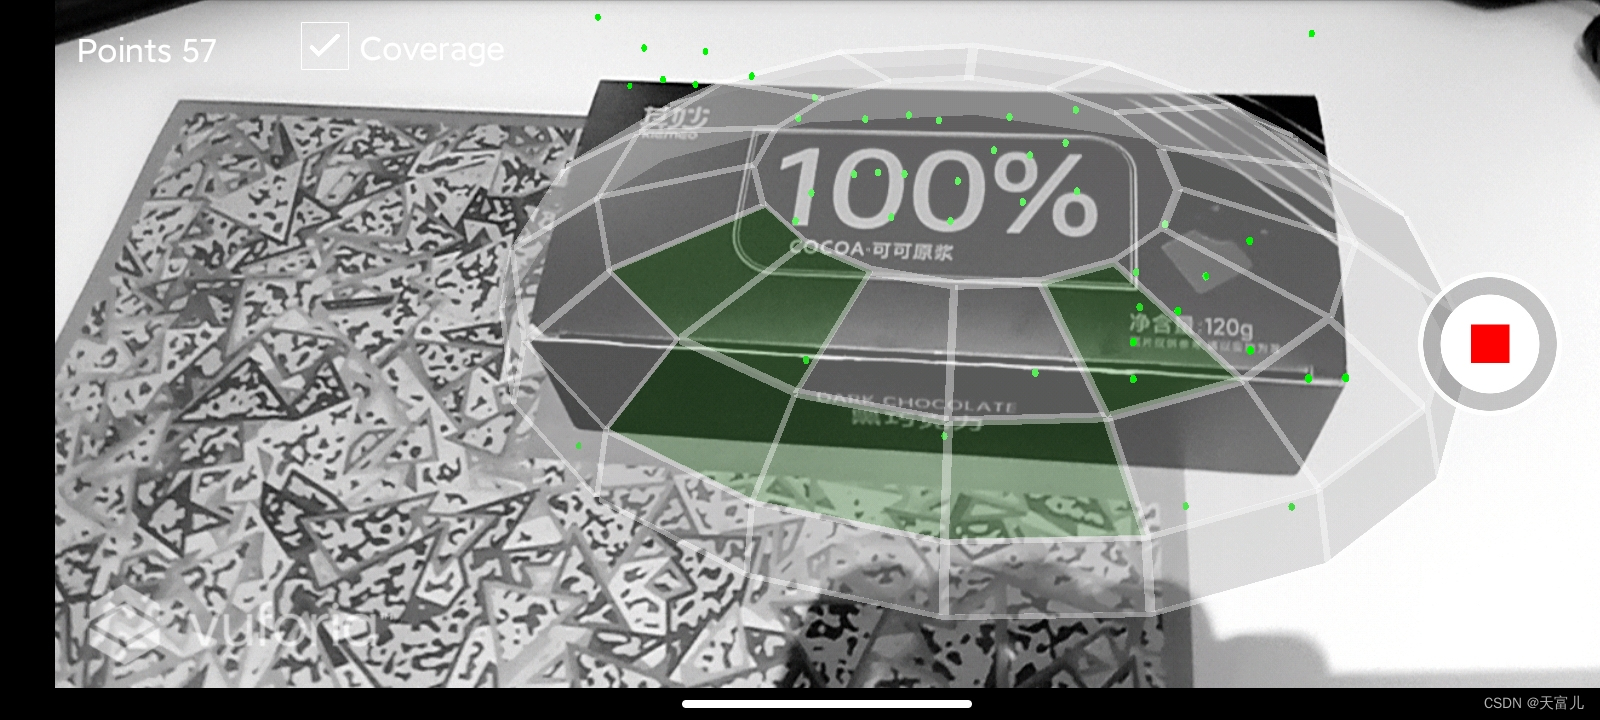
�����ӻ����:
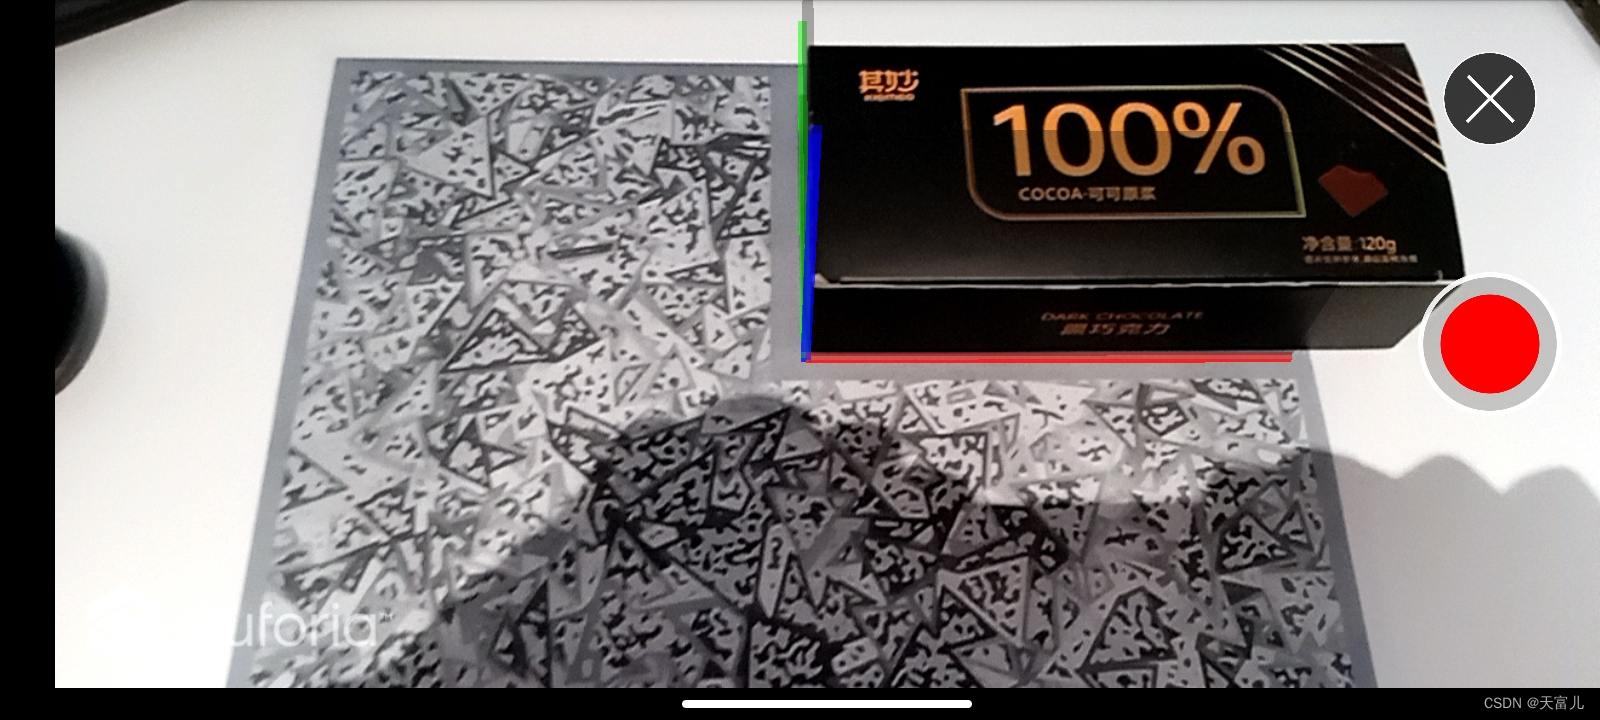
�����߾��Ǹ�ͨ����һ������ϵ,�����ɫ¼��ť�����ɿ����������кܶ���ɫ��ʶ���,ʶ���Խ��,Խ���ױ�ʶ��,����һ�����߿������,ת��ֽ,ʹ�ֻ��ܹ�һȦɨ�����,ɨ��ʶ��,���־ͻ�����ɫ,�����ܶ�ʶ��㡣
 ע��:ʶ���Ŀ�꾡���ܴ��,��֮ǰ�ñʲ���,��Ȼʶ���ܶ�,���Dz��Ի��Ǻ���ʶ��;���о���ת��ֽ,�����ܴӸ�������ʶ��,�����ʶ��㡣
����,�����ʶ�����׳̶Ⱥ���ɫ��dzû�й�ϵ,���������ϵļ��׳̶��й�ϵ,Խ���Ӿ�Խ���ױ�ʶ��,����:����һ��д���ֵ�ֽ�ű�һ���м����Ա�����ɫ�ʵ�ֽ�Ÿ�����ʶ��
���о��Dz�Ҫ��Բ�εĶ���,���籭��,�Ҳ����˺ü���Բ�εĶ���,����̫����ʶ��
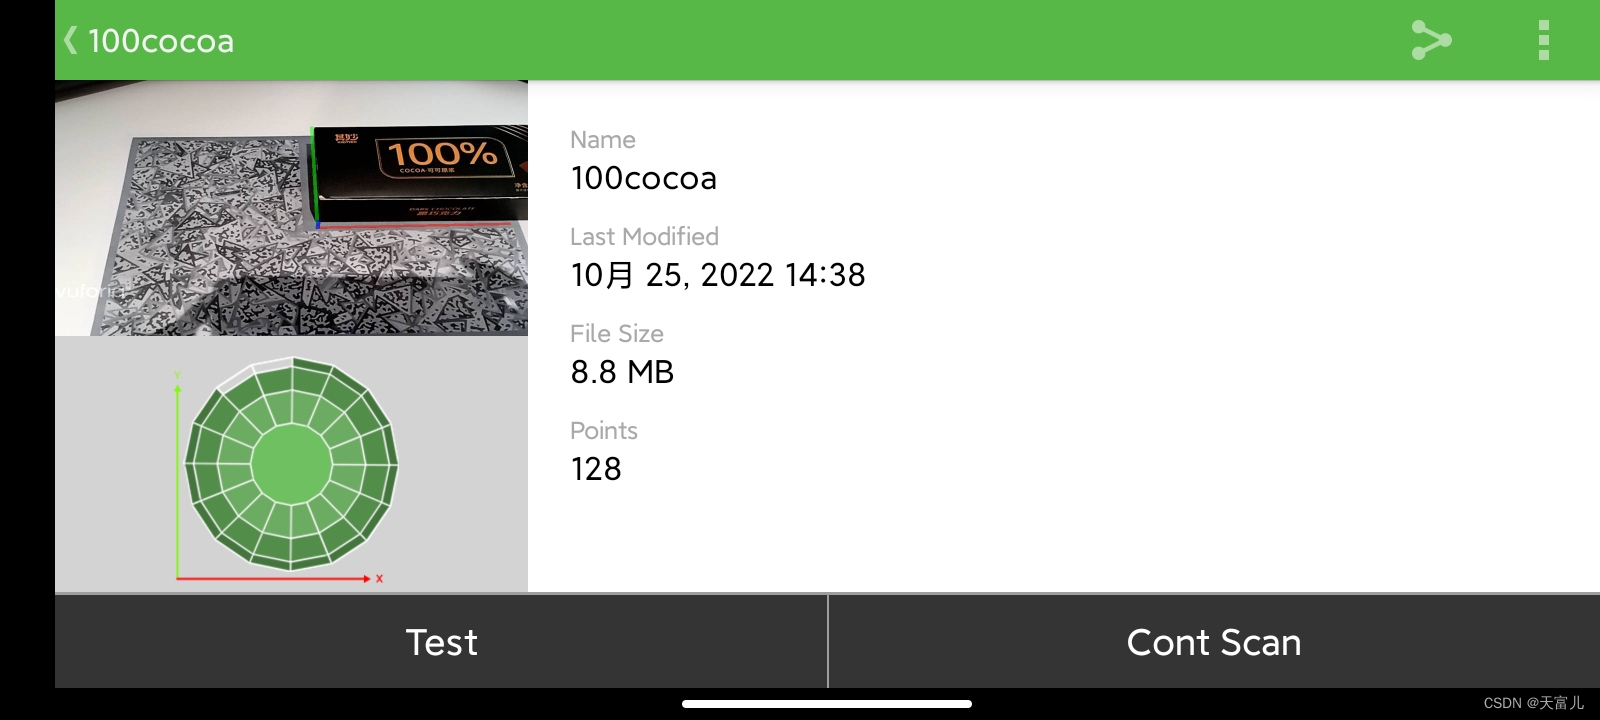
ʶ�����֮��,����Թ�,ȡ������100cocoa,����֮��
���Test,�����Ӵ�A4ֽ��������,ɨ�����,���ɿ������ӵ�ԭ�㡣
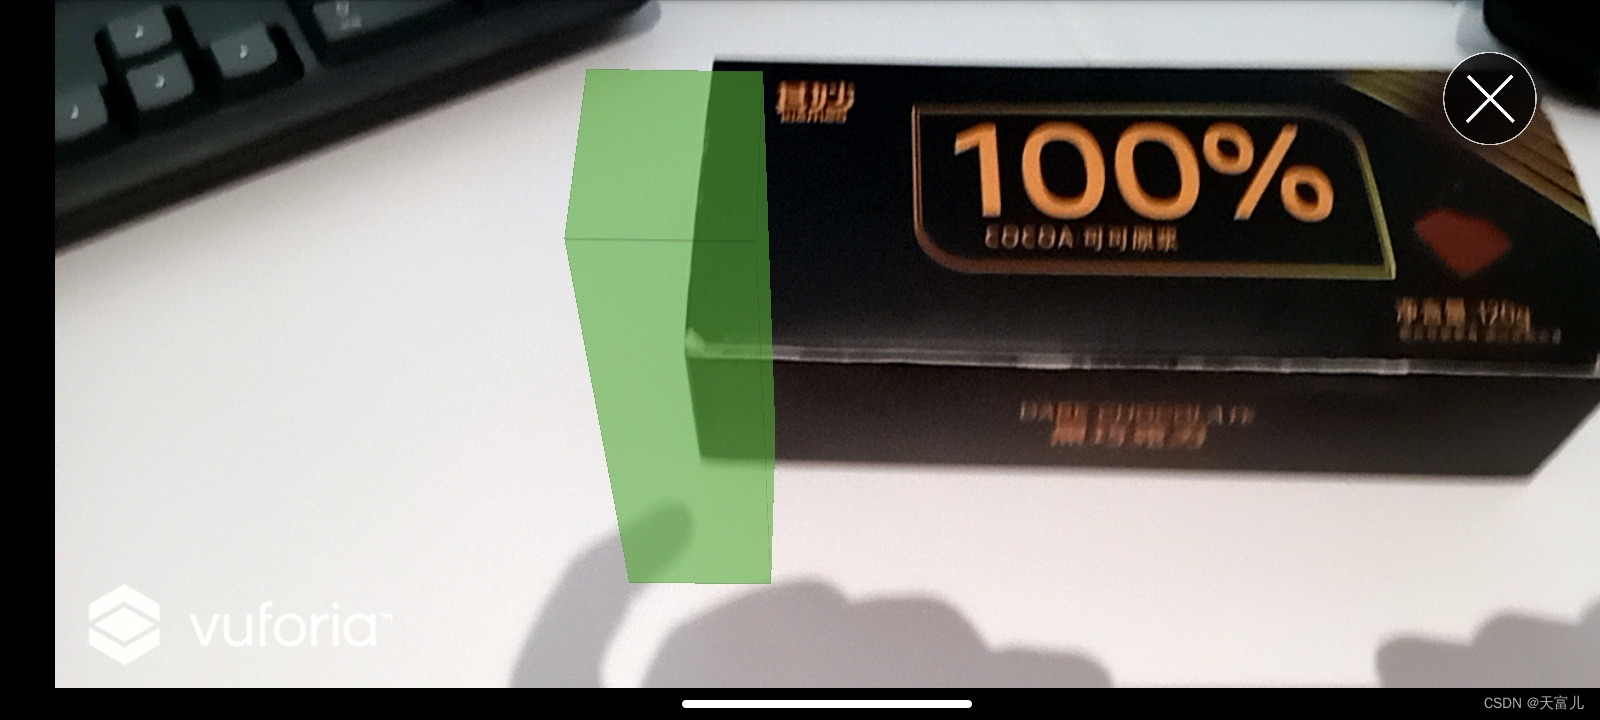
����,���Գɹ�,����ϴ��������ϡ�
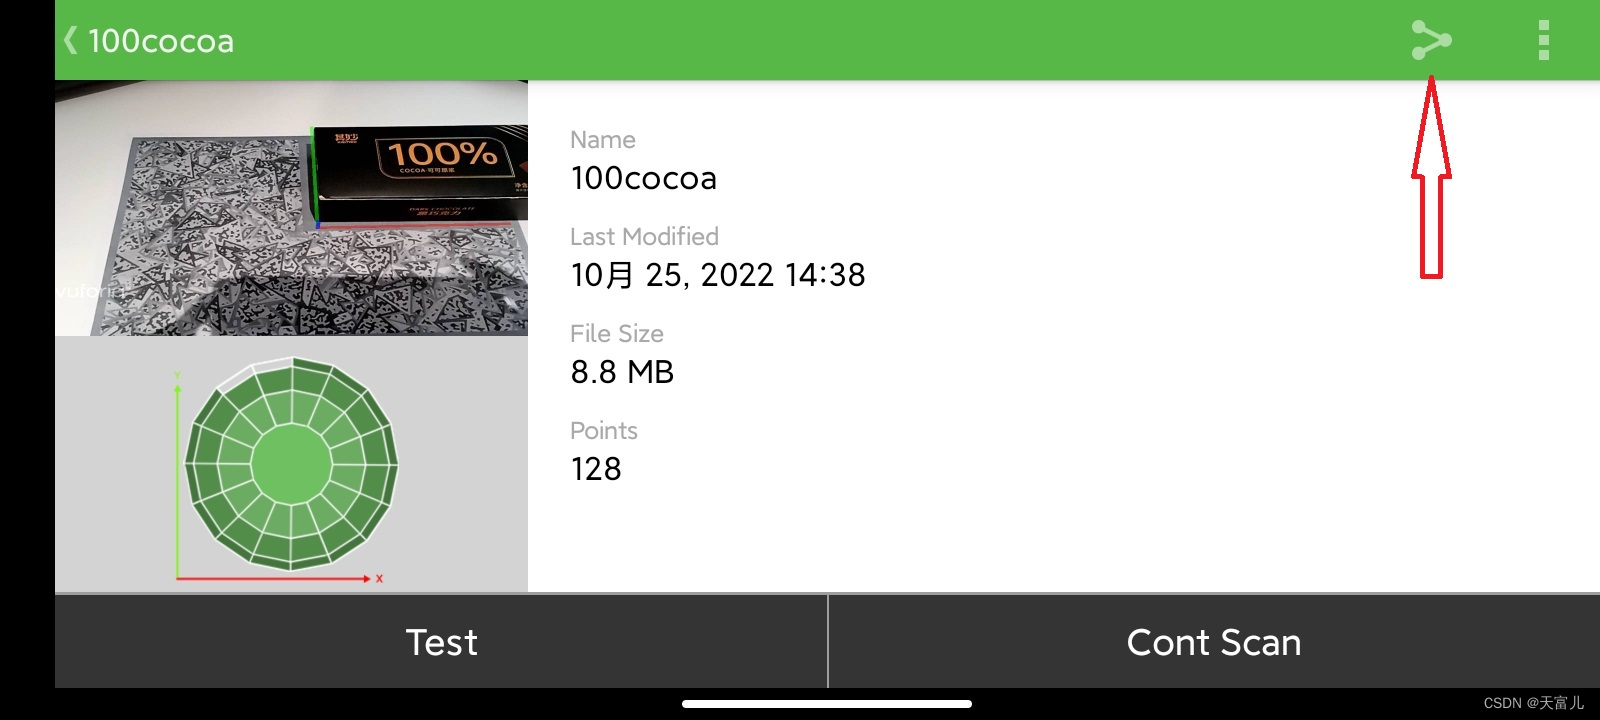
ʹ�ý����������͵������֮����һ��.od�ļ���

����,�˴�ɨ����ά����IJ���������,��������֮ǰ���ϴ�ͼƬ����,����.od�ļ��ϴ�����ͨ������

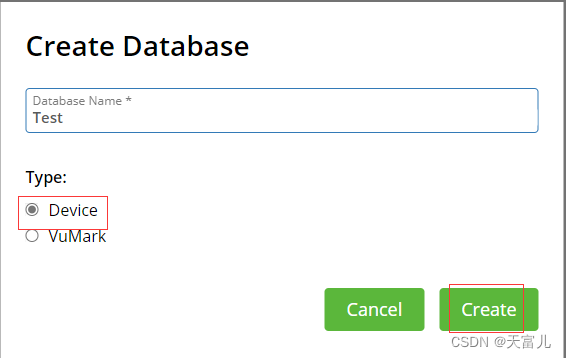
���ȴ���Database��(���Ƹ����Լ��������ȡ)
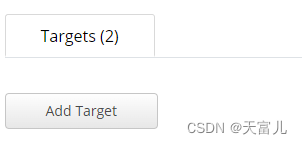
�����ú���������(Add Target)��
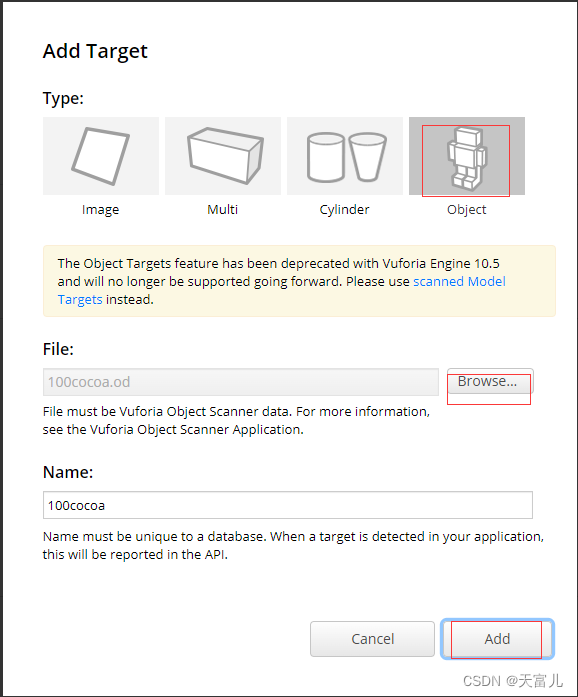
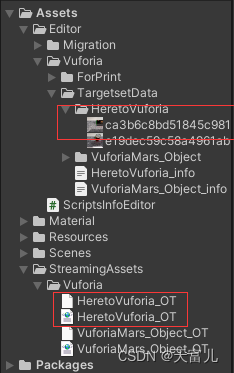
���ղ��ϴ���100cocoa.od�ļ��ϴ����ɴ������;���������ؾ���UnityPackage�ļ���

����Unity��:
Unity��������
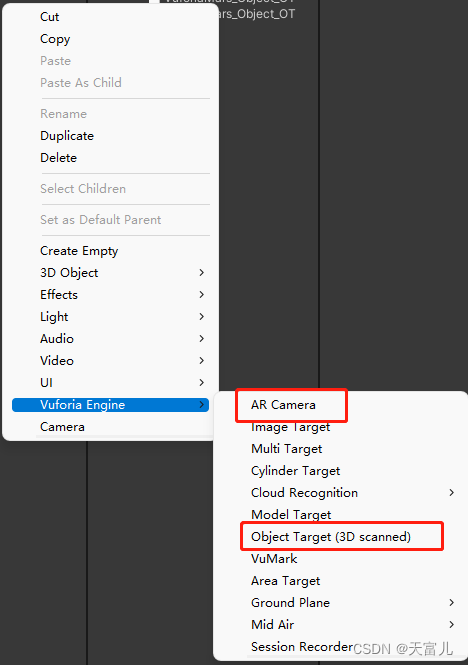
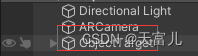
Unity�����³���,����Vuforia��ͨ����е�ARCamera��ObjectTarget,��ɾ��ԭ������MainCamera��
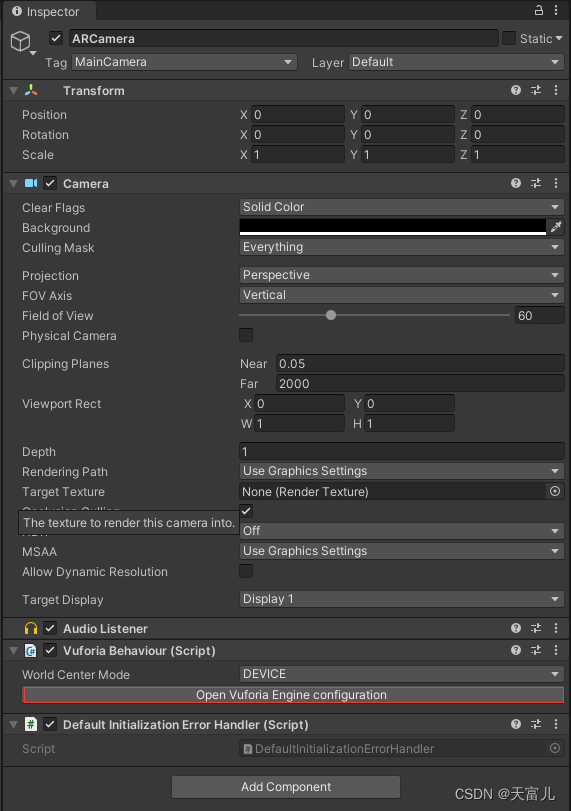
��ARCamera�µ�Vuforia Behaviour����������֤�顣
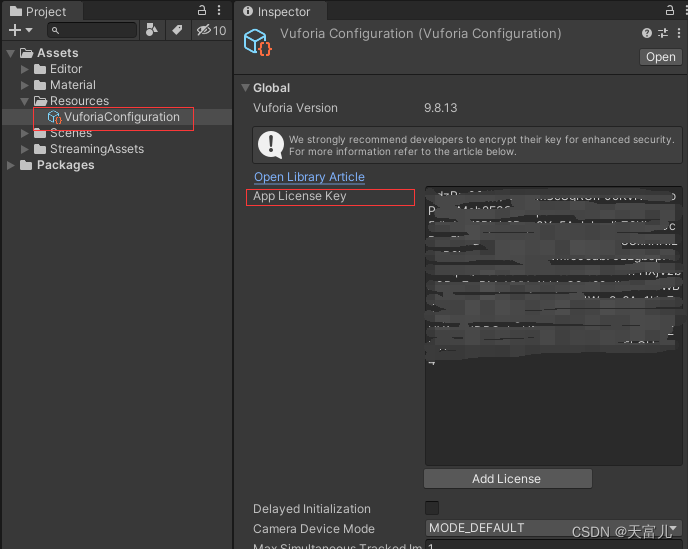
����֤���������������,��License Manager�еõ�License Key,����ͼ:
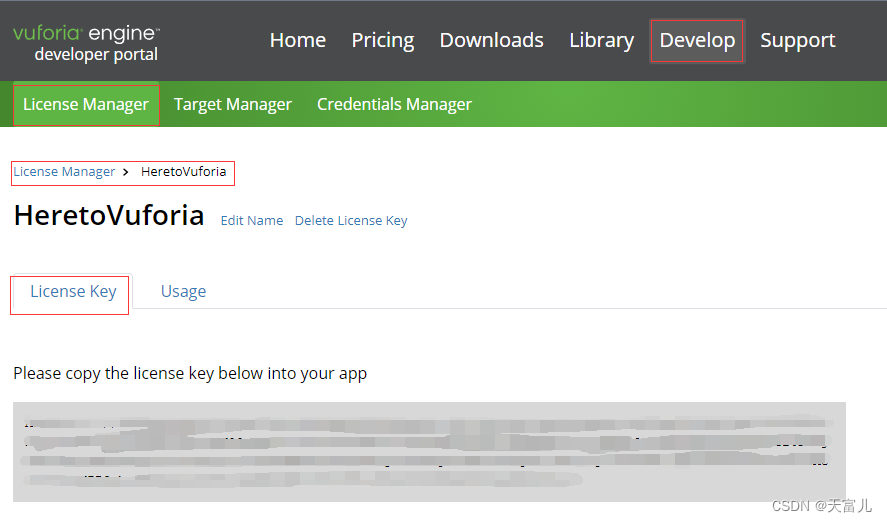
����Կ���Ƶ�Unity��App License Key�С�
ѡ��ObjectTarget�C>Inspector����������á�
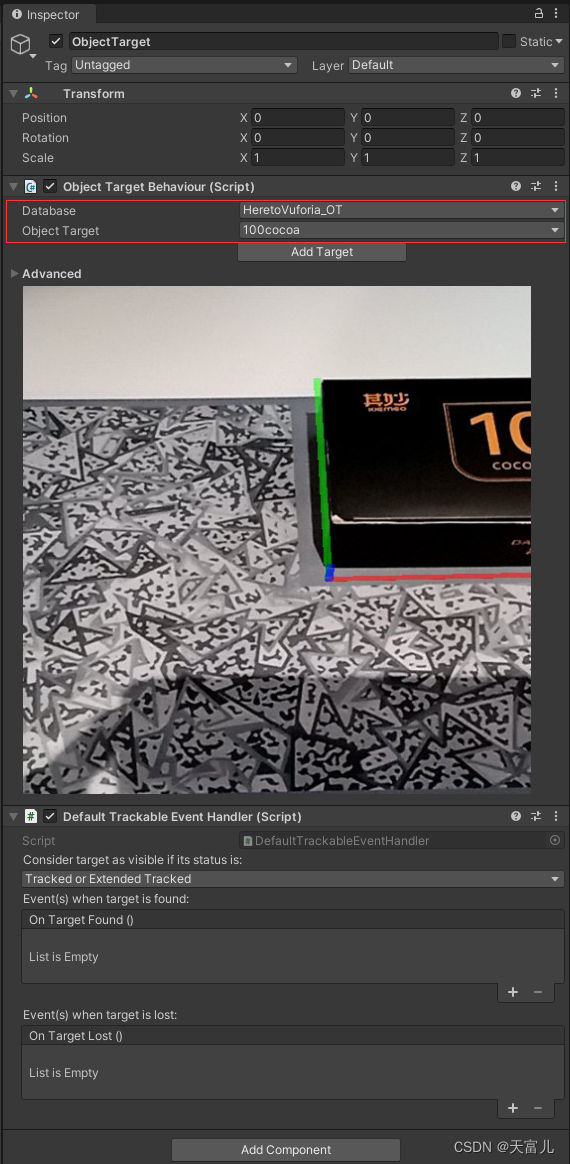
��ͼƬ���½�һ������,���ڲ��ԡ�
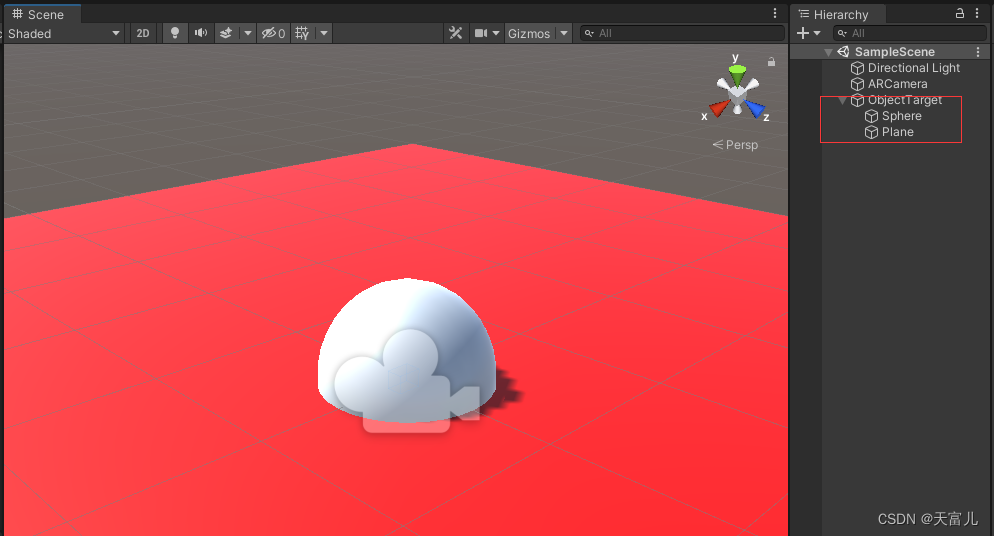
���ˡ����泡��,������в��ԡ�## ���&APK��������
�����ﱣ����һ����ʹ�õİ汾,�Ա�֮������汾���´����ķ���:https://download.csdn.net/download/f_957995490/86819483